Tricolor Pendant Quilling Technique [Eng-Esp]
Hello everyone...✨
Hello to my dear Hivers and the dear community of artists,#Jewelry as always very pleased and excited to be here again, showing you my work made with love and especially for you.
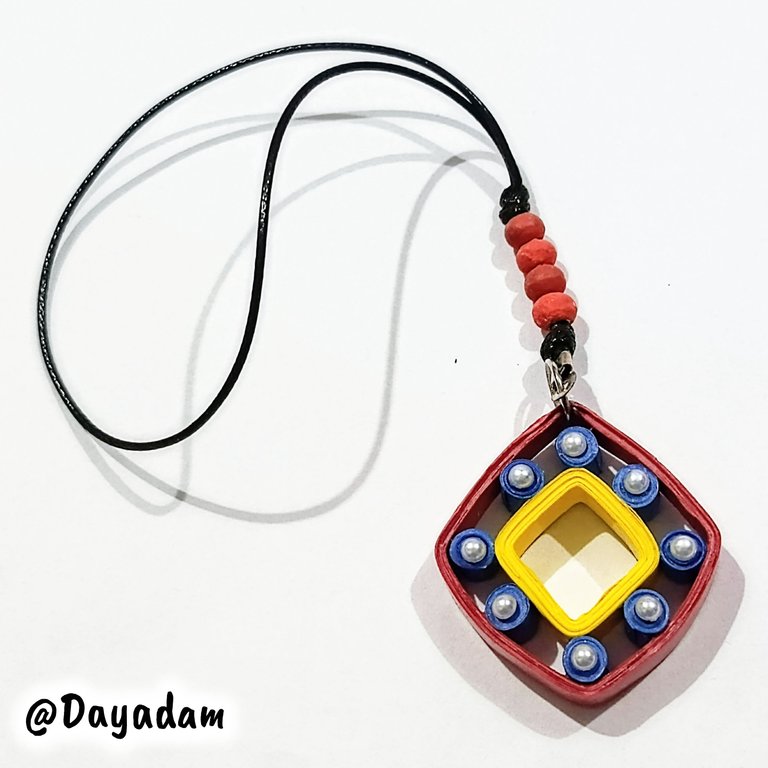
I really enjoy working with my country's tricolor. During my time at Hive, I have made various accessories. A few days ago, I made a pair of dangling earrings, and today I decided to make a decorative pendant using the quilling technique, which can be used as a keyring, to decorate a purse or bag, or for any other purpose.
Hoping you like it, I leave you my creative process:
Let's get started:😃

Hola a Todos...✨
Hola a mis queridos Hivers y a la querida comunidad de artistas #Jewelry, como siempre muy complacida y emocionada de encontrarme por acá nuevamente, mostrándole mi trabajo hecho con mucho amor y especialmente para ustedes.
Me gusta mucho trabajar con el tricolor de mi país, eventualmente durante el tiempo que llevo en hive he realizado diversos accesorios, hace unos días realice un par de zarcillos colgantes y para hoy decidí llevar a cabo un colgante decorativo en la técnica de quilling, que nos puede servir para un llavero, como también para decorar una cartera, bolso o darle cualquier otro uso.
Esperando que sea de su agrado, les dejo mi proceso creativo:
Comencemos:😃
 |
 |
 |

• Cintas para quilling.
• Aguja para quilling.
• Mandril para realizar cuadrados.
• Argolla de bisutería.
• Medias perlas blancas.
• Pega blanca extra fuerte (de carpintería).
• Pincel.
• Tijera.
• Quilling strips.
• Quilling needle.
• Mandrel for making squares.
• Jewelry ring.
• Half pearls.
• Extra strong white glue (carpentry glue).
• Paintbrush.
• Scissors.

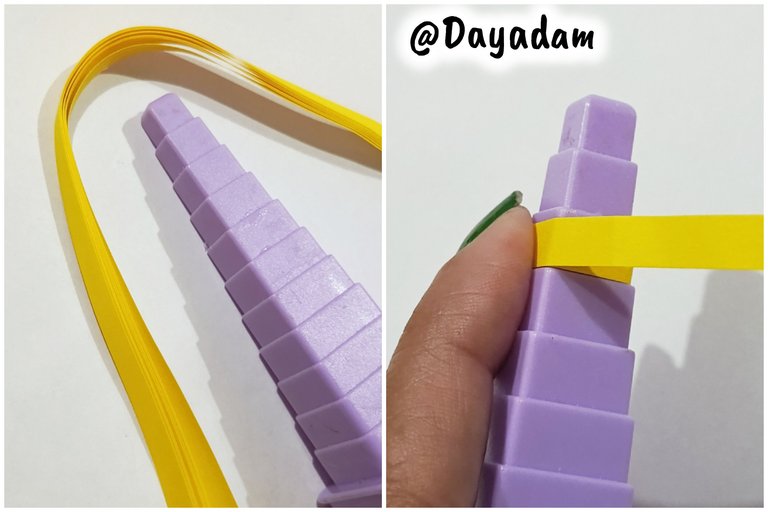
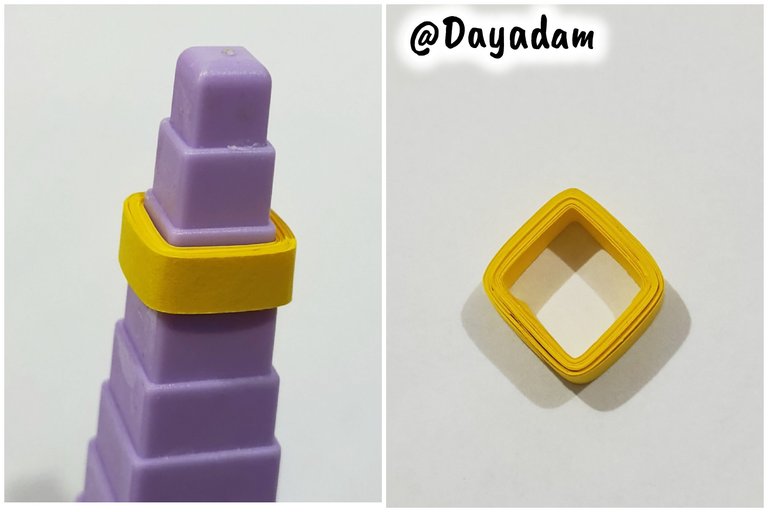
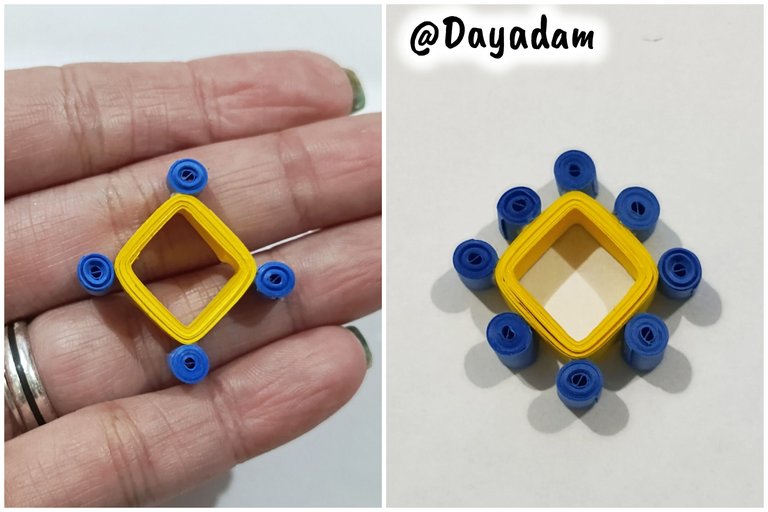
• We start by taking a mandrel to make squares and a 5 mm wide yellow quilling ribbon, which we roll onto the mandrel in size 3 from top to bottom. Once we have finished rolling all the ribbon, we seal it with white glue and remove it from the mold.
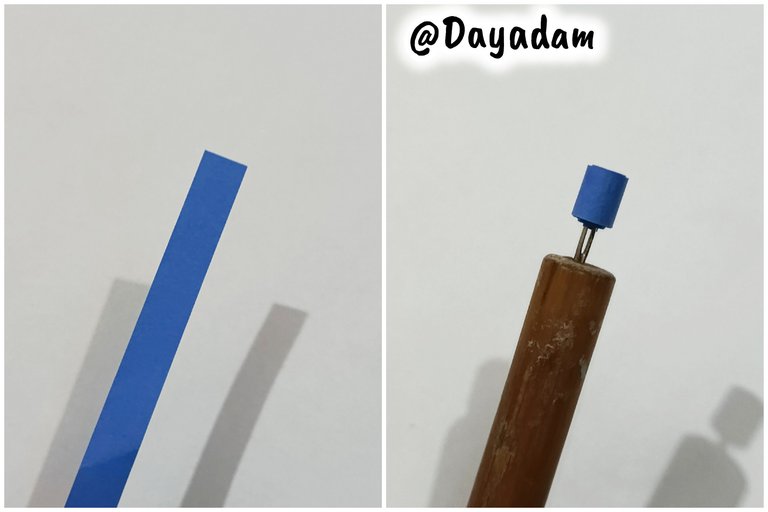
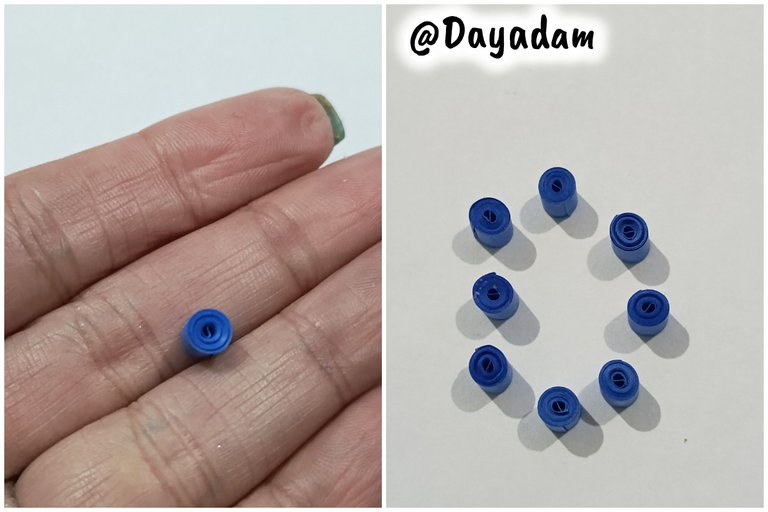
• Now take a 5 mm wide blue ribbon and use the quilling needle to make a closed circle. Roll the entire ribbon onto the needle and when finished, seal it with white glue and remove it from the needle. You will need eight identical circles.

• Comenzamos tomando un mandril para realizar cuadrados, y una cinta para quilling de color amarilla de 5 mm de ancho la cual enrollaremos en dicho mandril en la medida número 3 de arriba hacia abajo, terminamos de enrollar toda la cinta, sellamos con pega blanca y sacamos del molde.
• Ahora tomaremos cinta de 5 mm de ancho de color azul, con la aguja para quilling procedemos a realizar un círculo cerrado, enrollamos toda la cinta en la aguja y al finalizar con la misma sellamos con pega blanca, sacamos de la aguja. Necesitaremos ocho círculos iguales.
 |  |
 |  |
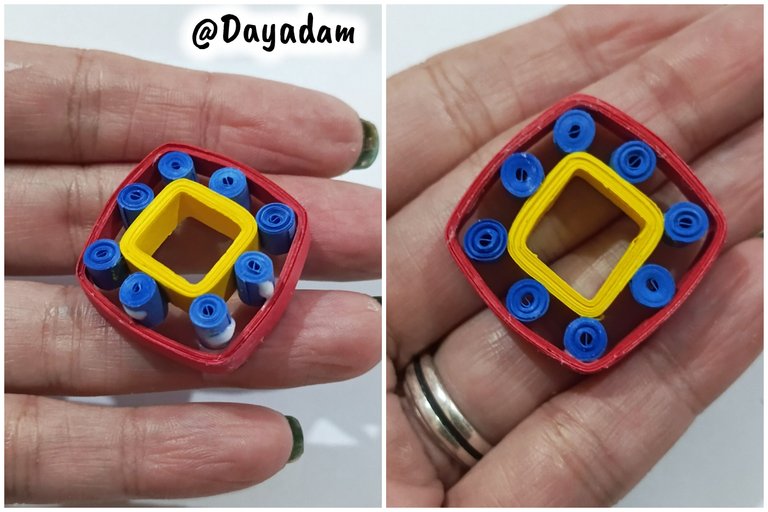
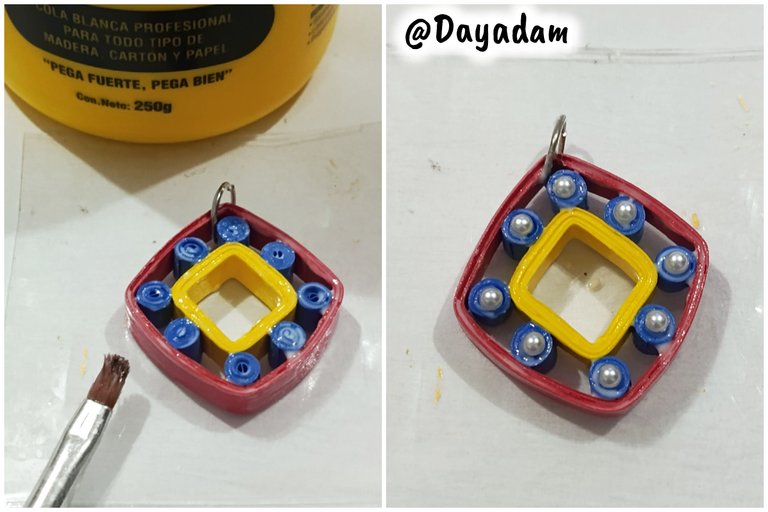
• Take the yellow square piece and start sticking the circles on as shown in the image.
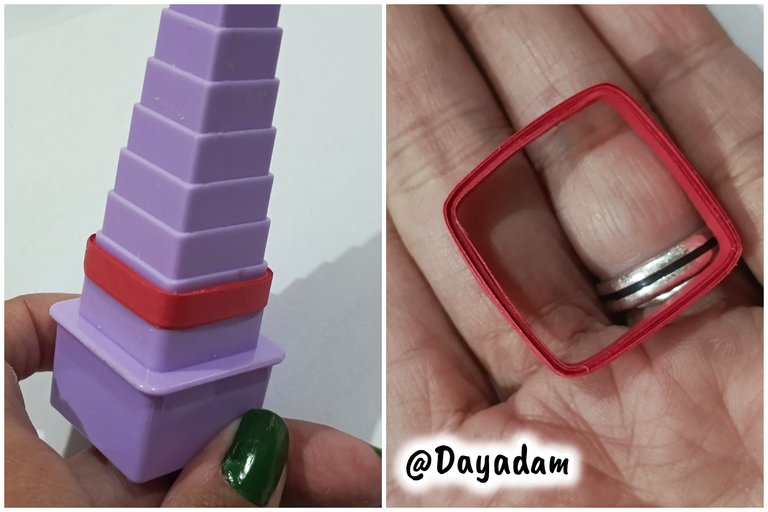
• Now, using red tape that is 5 mm wide, we will make another piece on the square mandrel, this time measuring 2 from bottom to top. I made this piece so that it would fit into the yellow and blue piece I made earlier. As you can see, I placed it around it.

• Tomamos la pieza amarilla cuadrada, comenzamos a pegar los círculos tal y como pueden ver en la imagen.
• Ahora con cinta roja es 5 mm de ancho realizaremos otra pieza en el mandril para cuadrados esta vez en la medida número 2 de abajo hacia arriba. Esta pieza la realicé de manera que calzara en la pieza amarilla y azul que realicé con anterioridad, como pueden ver la coloqué alrededor de la misma.
 |  |  |
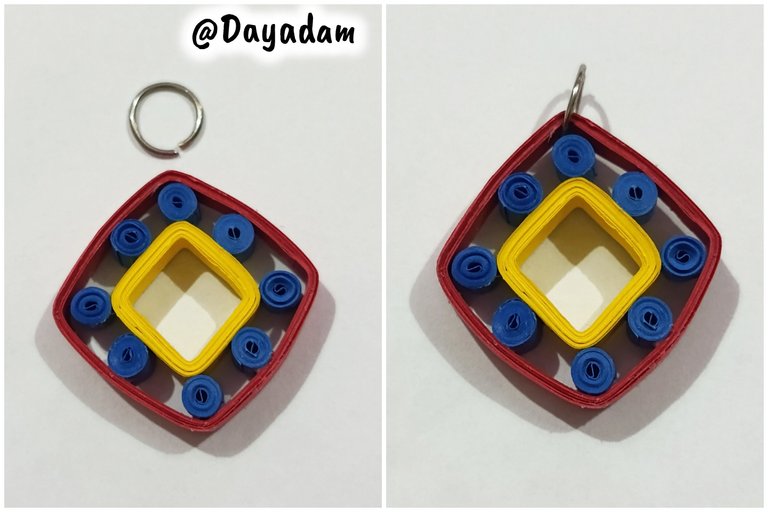
• I took a jewelry ring and placed it on top of the piece.
• To protect the piece and laminate it, I applied several layers of extra-strong white glue, allowing each layer to dry before applying the next. While the last layer of glue was still wet, I decorated it by placing white pearls in the blue circles.
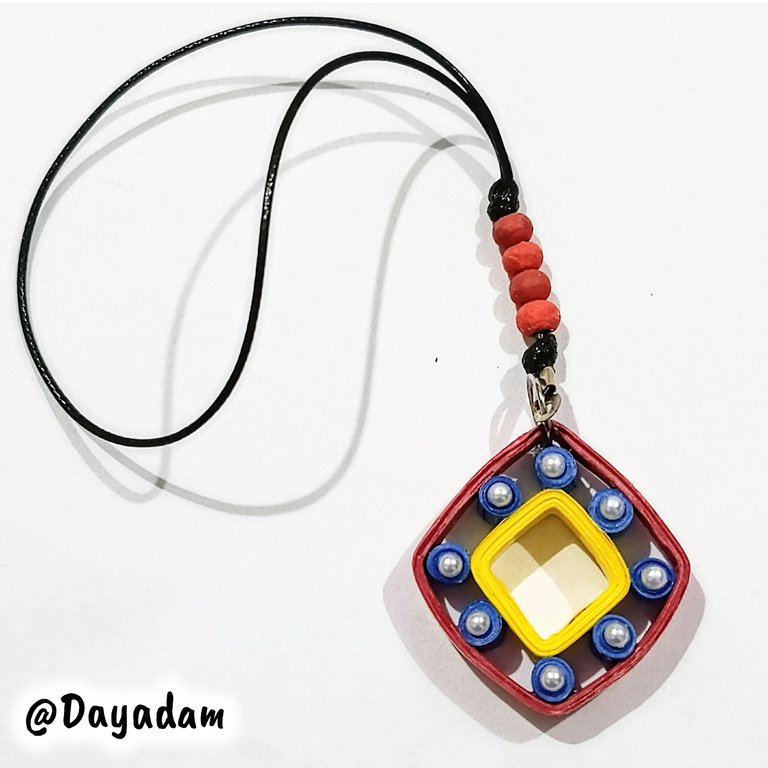
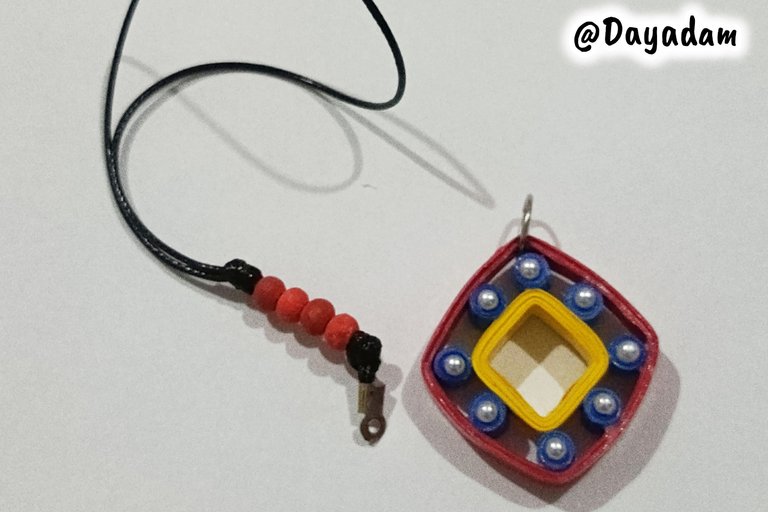
• To finish, I added a black snakeskin thread pendant decorated with some red wooden pearls.
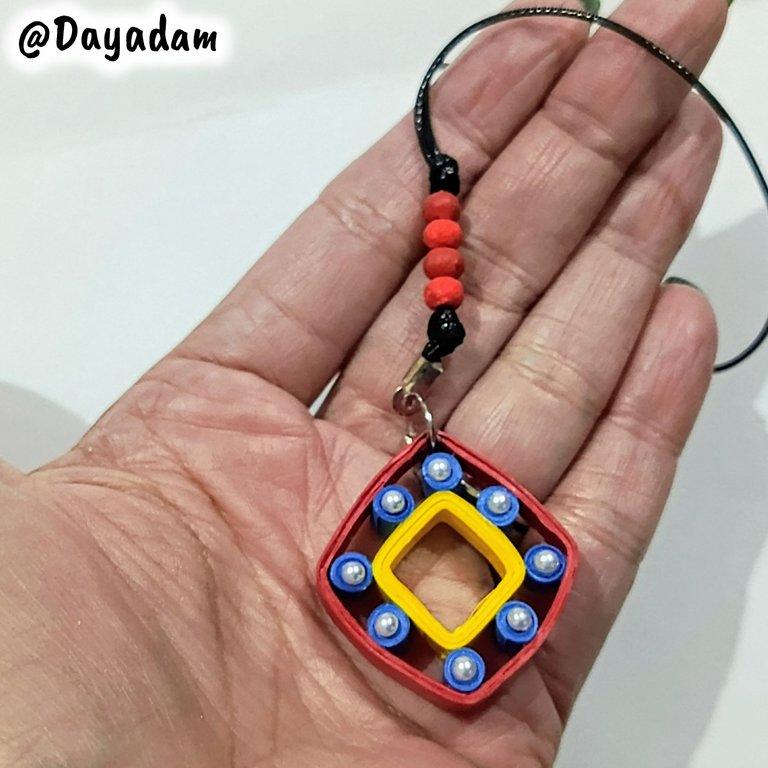
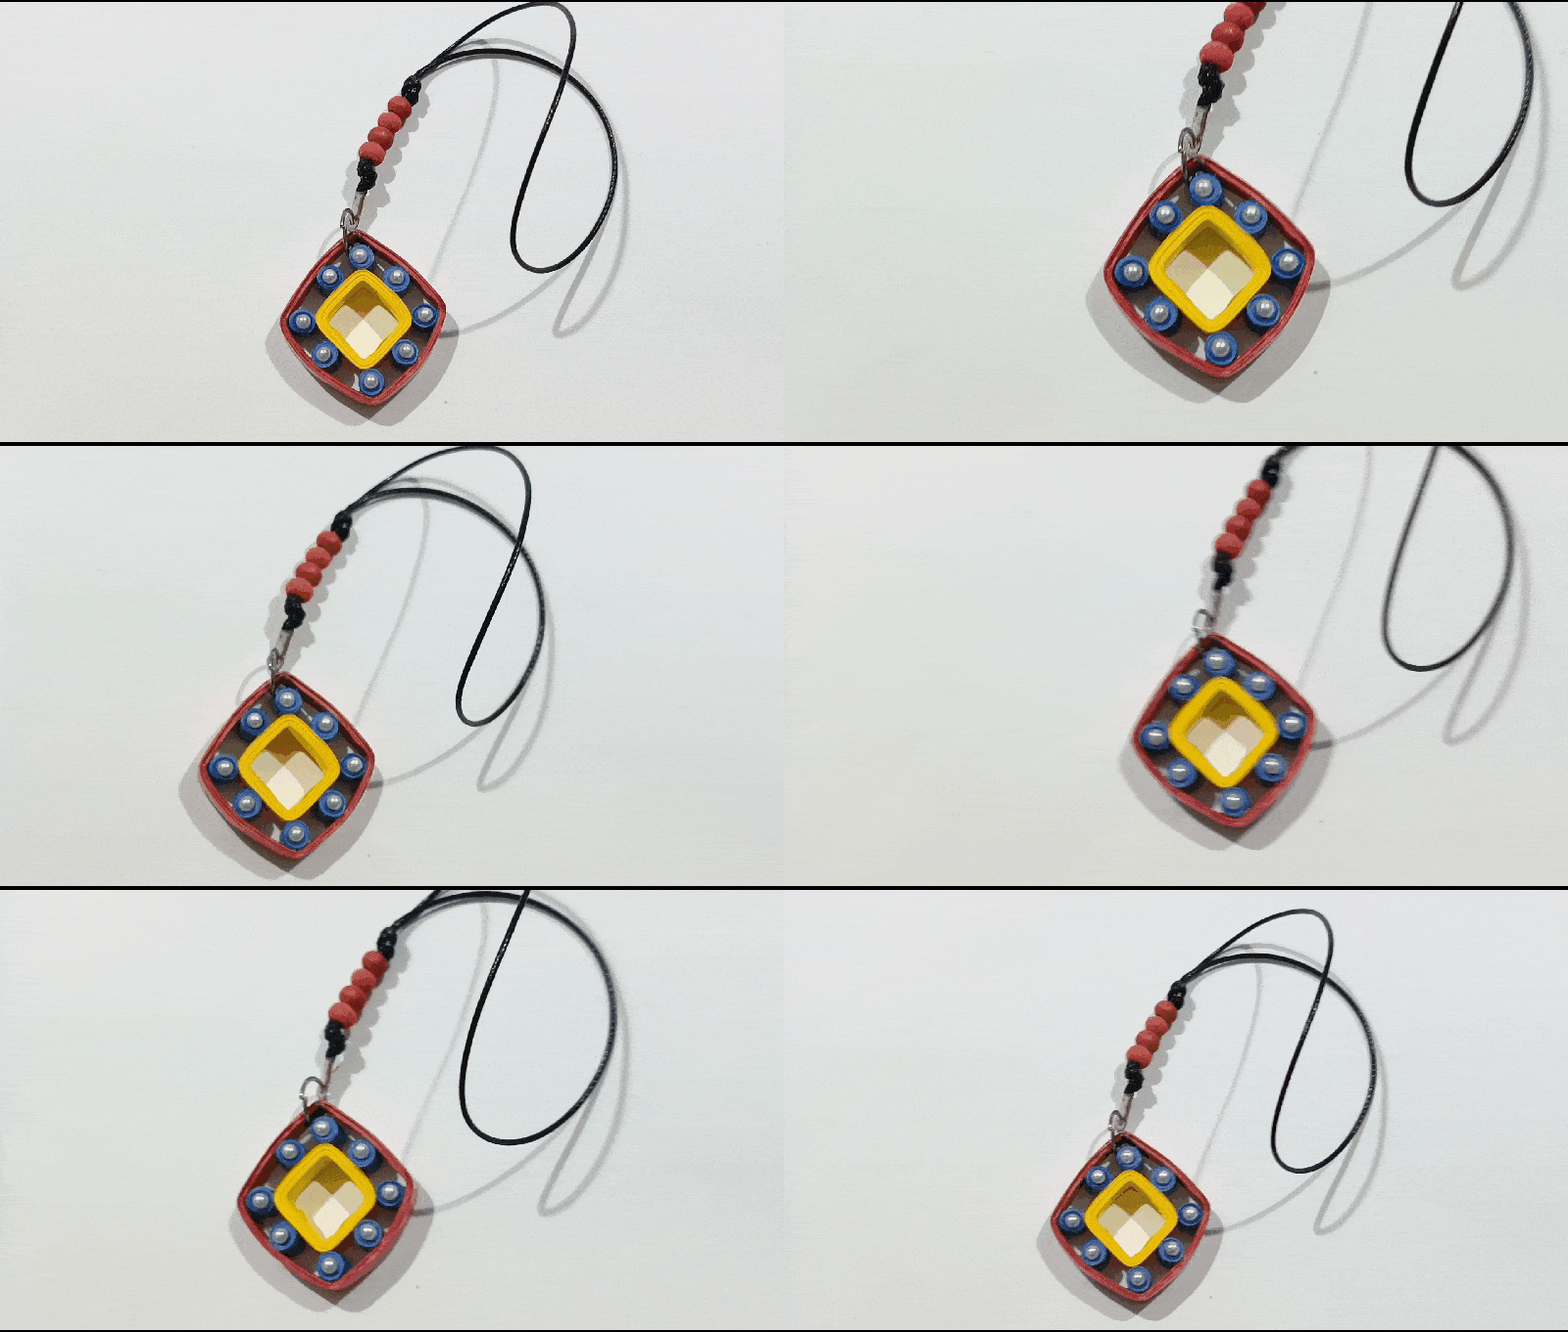
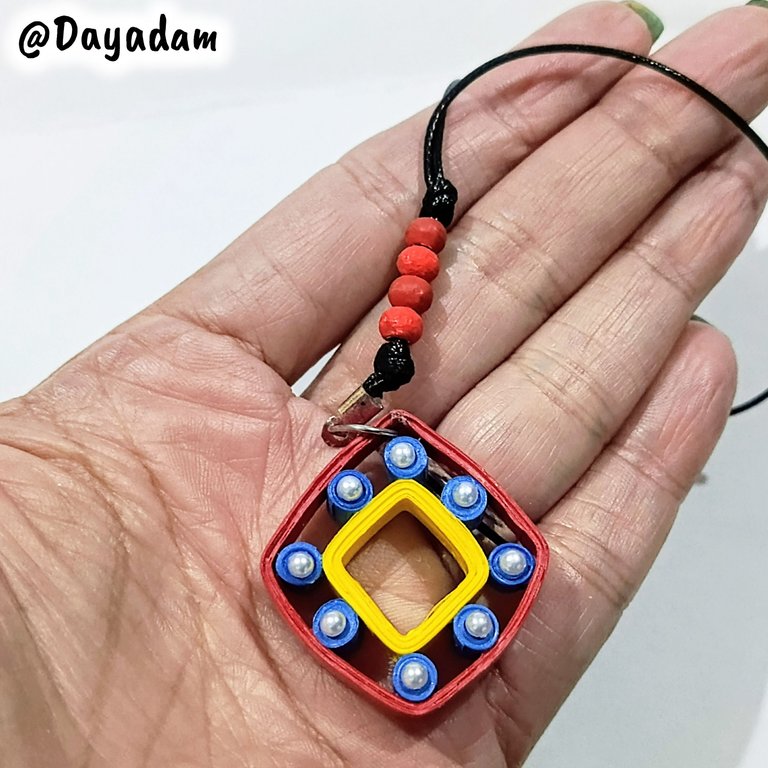
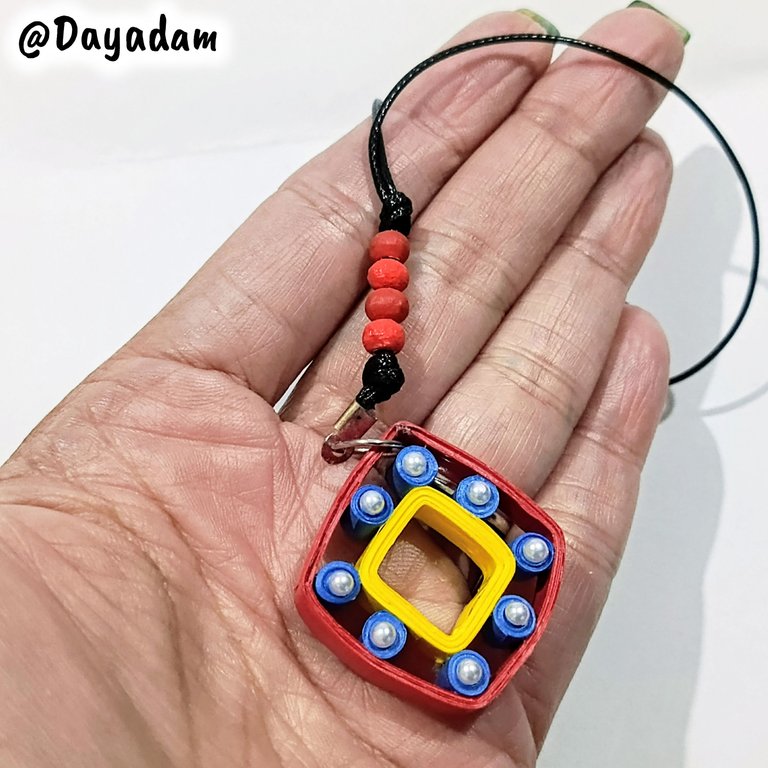
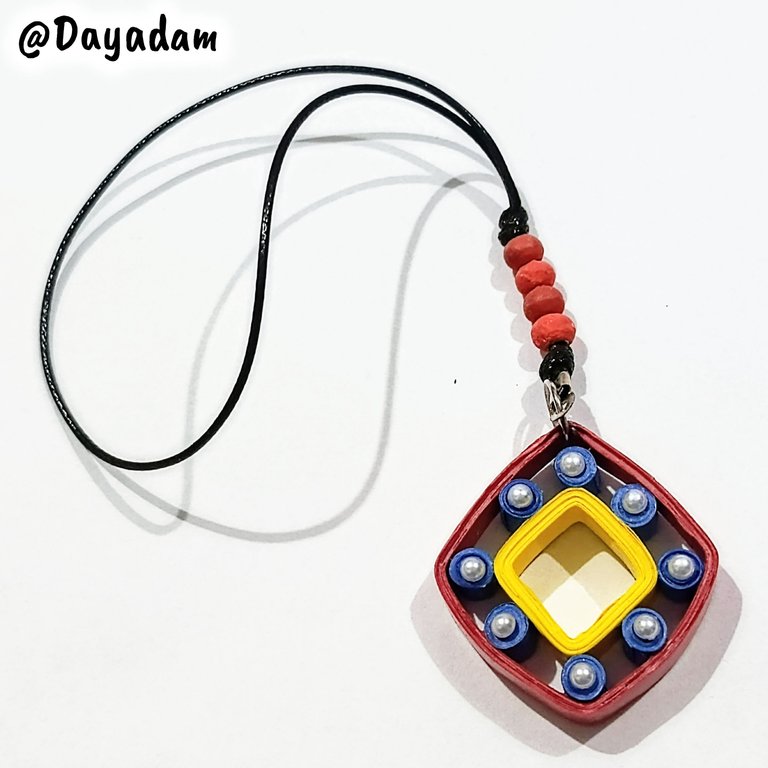
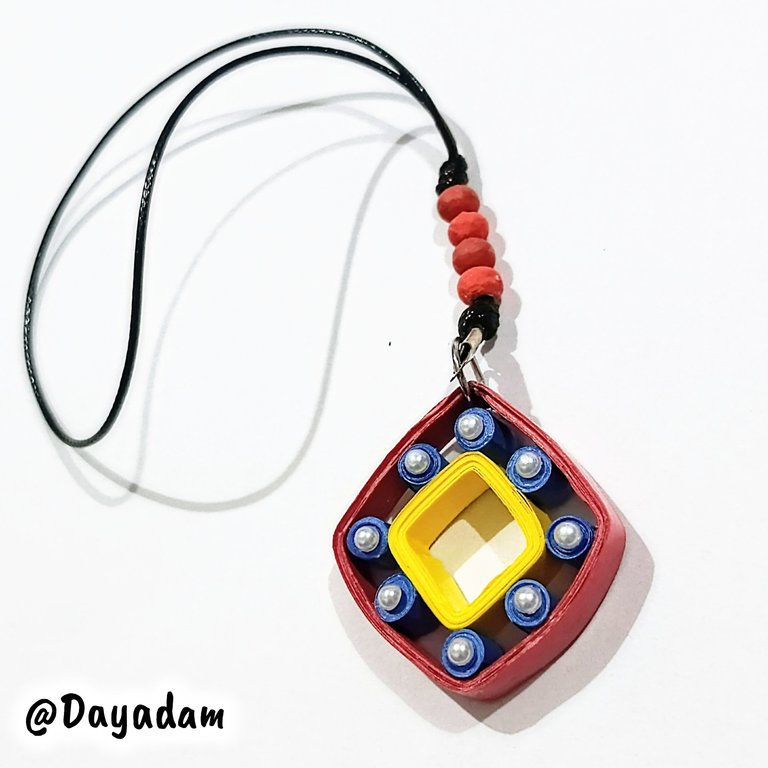
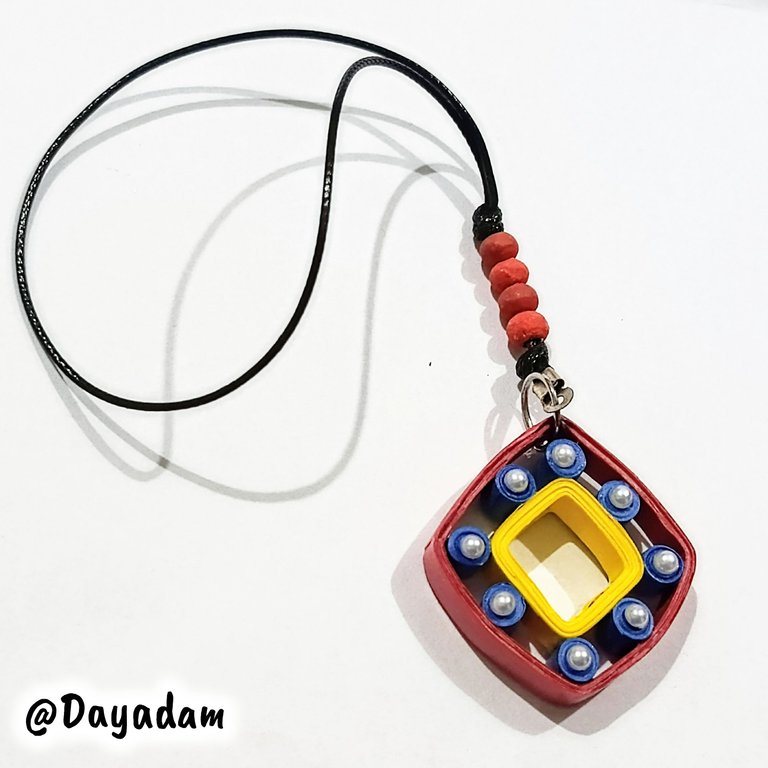
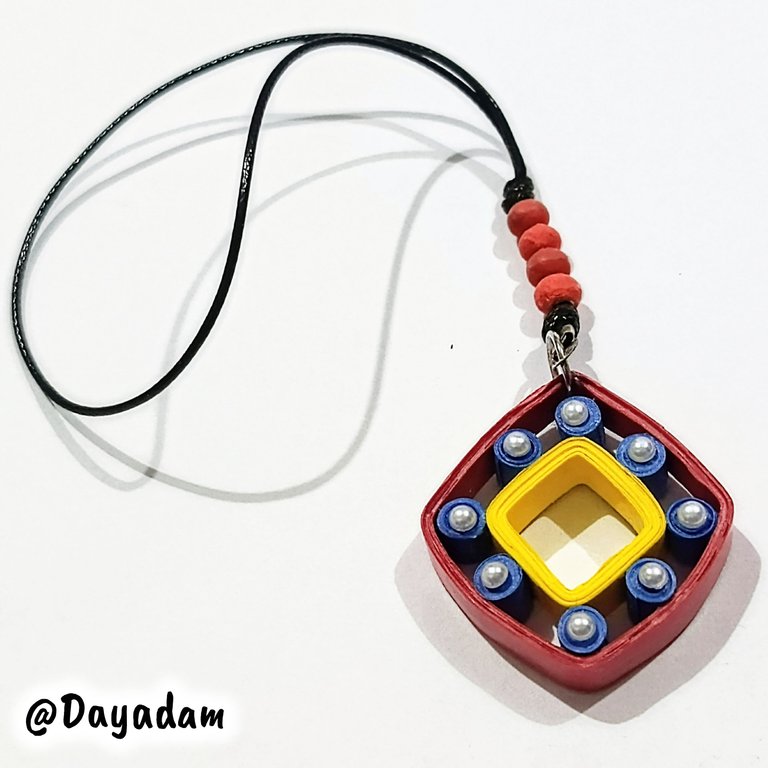
This is how I finished this decorative three-color pendant using the quilling technique.

• Tomé una argolla de bisutería y la coloqué arriba de la pieza.
• Para proteger la pieza y plastificarla, le apliqué varias capas de pega blanca extra fuerte dejando secar entre una capa y otra, aproveche en la última capa que la pega estaba húmeda y para decorar le coloqué perlas blancas en los círculos azules.
• Para finalizar coloque un colgante de hilo piel de serpiente de color negro decorado con algunas perlas de madera color rojo.
De esta manera finalice este colgante decorativo tricolor, en la técnica de quilling.
 |  |  |

 |
 |  |
 |
 |  |
 |  |
 |
 |
What did you think, did you like it?
I hope you did, I hope you liked my explanation, procedure and photos, I made them with love for you.
"Let out that muse that inspires you, and let your imagination fly".
Thank you all, see you next time ✨.

¿Que les pareció, les gustó?
Espero que sí, que les haya gustado mi explicación, procedimiento y fotos, los hice con mucho cariño por y para ustedes.
"Deja salir esa musa que te inspira, y deja volar tu imaginación".
Gracias a todos, nos vemos en la próxima✨


Sending Love and Ecency Curation Vote!
 Please Vote for our New Proposal! 🙏
Thanks for the support ✨
Your tricolor pendant is absolutely stunning.
I love how you've used different techniques and tools to create such a beautiful piece. The combination of yellow and blue are special set of colors that make the design pop.
Thank you so much for your kind words. I'm glad you liked the color palette and the combination I created with the technique. Best regards.
!PIZZA
@dayadam, sorry! You need more to stake more $PIZZA to use this command.
The minimum requirement is 20.0 PIZZA staked.
More $PIZZA is available from Hive-Engine or Tribaldex
Espectacular quedó ese colgante tricolor, la colocación de las perlas en el color azul y la manera como las colocaste quedó genial, te felicito.
Muchísimas gracias mi corazón un gusto de verdad, que hayas apreciado mi trabajo 💛💙❤️
!LADY
https://www.reddit.com/r/crafts/comments/1osrhua/tricolor_pendant_quilling_technique/
This post has been shared on Reddit by @dayadam through the HivePosh initiative.