Christmas Reindeer Charm for Necklace // Quilling Technique [Eng-Esp]
Hello everyone... 🎄🎅✨
Hello to my dear Hivers and the dear community of artists #Jewelry, as always very pleased and excited to be here again, showing you my work made with love and especially for you.
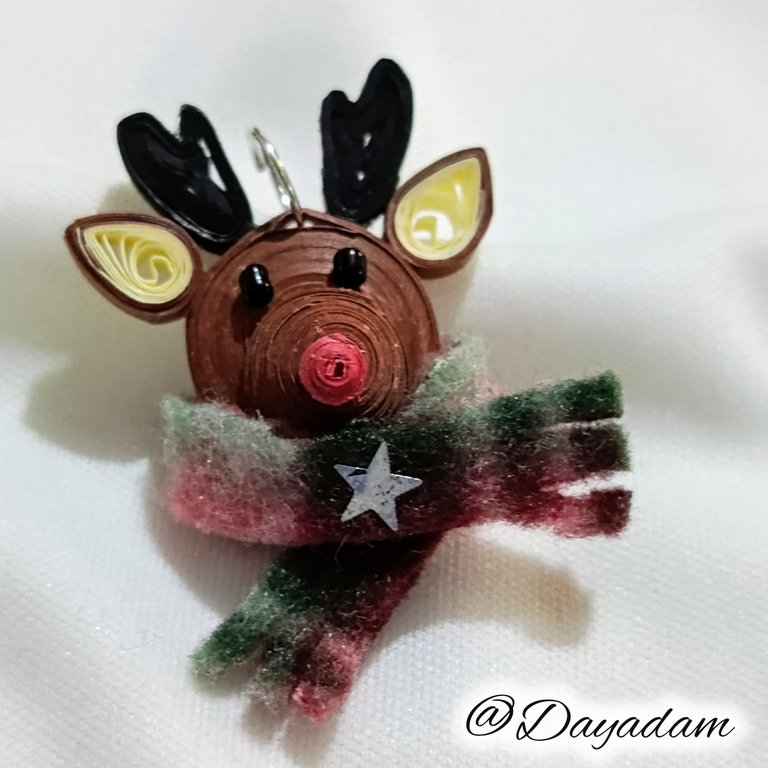
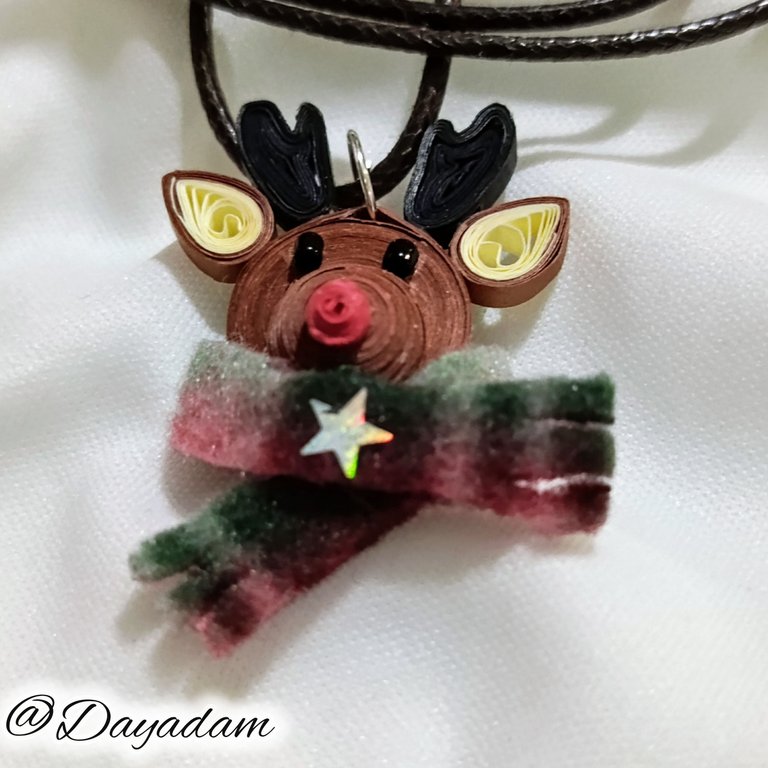
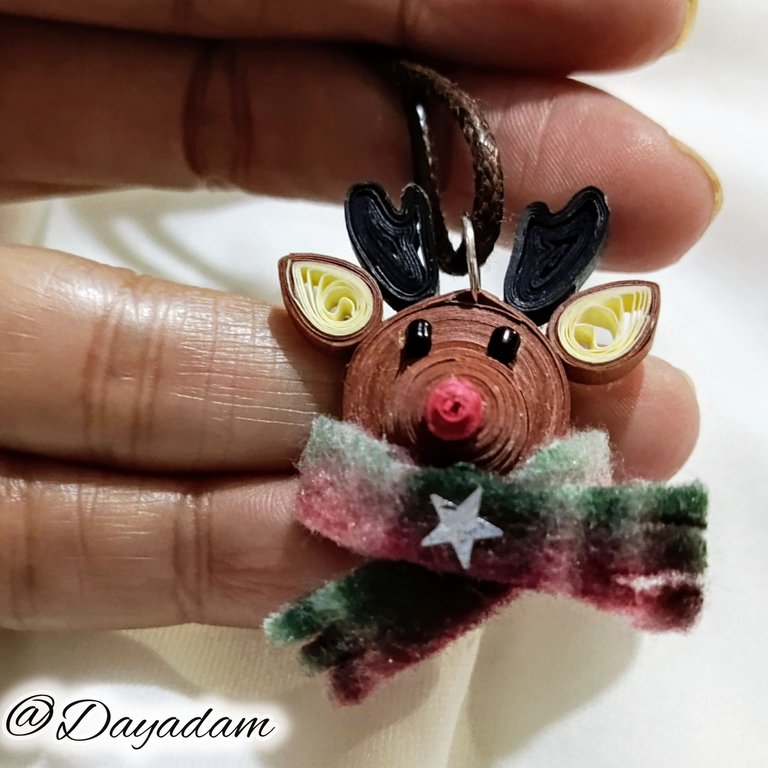
For today I join the Christmas contest with a small necklace charm that I bring you with the figure of a Christmas tadpole in the quilling technique, decorated with some other materials.
If you want to participate in the contest of your Jewelry community this Christmas season, I leave you the guidelines of the same, cheer up and do not stay without participating. I invite @gaboamc2393, @chacald.dcymt, @yolimarag.
Hoping you like it, I leave you my creative process:
Let's start:😃

Hola a Todos... 🎄🎅✨
Hola a mis queridos Hivers y a la querida comunidad de artistas #Jewelry, como siempre muy complacida y emocionada de encontrarme por acá nuevamente, mostrándole mi trabajo hecho con mucho amor y especialmente para ustedes.
Para hoy me uno al concurso Navideño con un pequeño dije para collar que les traigo con la figura de un renito navideño en la técnica de quilling, decorado con algunos otros materiales.
Si quieres participar en el concurso de tu comunidad de Jewelry de esta temporada navideña, te dejo las pautas del mismo, animate y no te quedes sin participar. Invito a @gaboamc2393, @chacald.dcymt, @yolimarag.
Esperando que sea de su agrado, les dejo mi proceso creativo:
Comencemos:😃

• Cintas de quilling.
• Plantilla para moldear círculos.
• Manta polar.
• Estrella decorativa.
• Argolla de bisutería mediana.
• Aguja para quilling.
• Pega blanca extra fuerte (de carpintería).
• Tijera.
• Pincel.
- Template to mold circles.
- Polar blanket.
- Decorative star.
- Medium size costume jewelry ring.
- Quilling needle.
- Extra strong white glue (carpentry glue).
- Scissors.
- Brush.

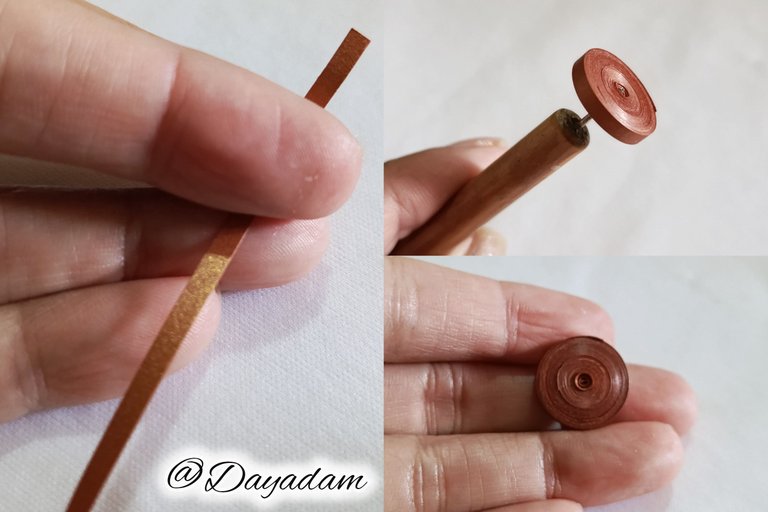
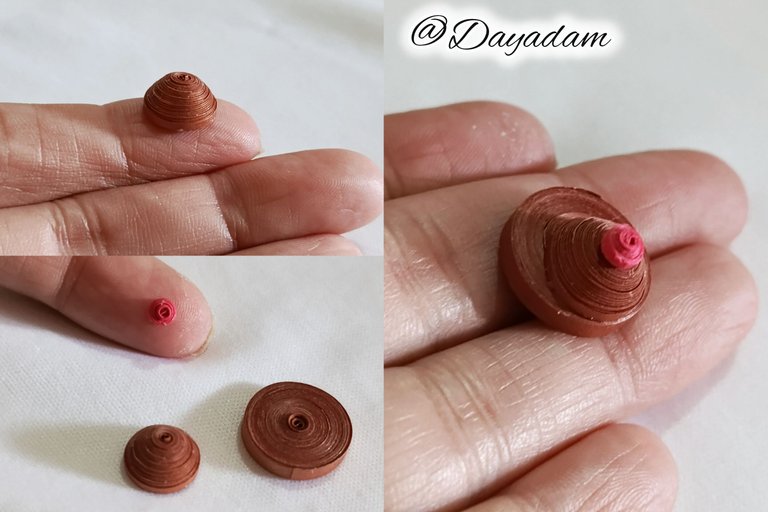
- We start by taking 3 mm wide bronze colored quilling ribbon with the needle we are going to roll until we reach the end of the ribbon we seal it with glue we take it out of the needle to form a closed circle. This will be the base of the pendant, that is to say the head of the little reindeer.
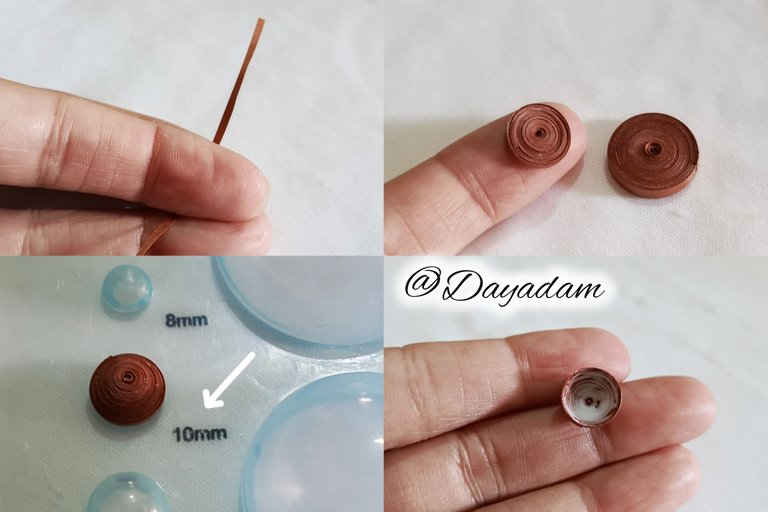
- For the nose I took a 1 mm wide bronze ribbon, with it I made a closed circle, I molded it in a template to mold circles in the 10 mm size and in the internal part I applied a little white glue, to prevent the piece from deforming, let it dry.
- To complete the nose of the rhinestone, I made a small closed circle of red color with 1 mm wide tape, I glued the two pieces of the base of the pendant as you can see in the image.

• Comencé tomando cintas para quilling de 3 mm de ancho color bronce con la aguja vamos a enrollar hasta llegar al final de la cinta sellamos con pega sacamos de la aguja para formar un círculo cerrado. Esta será la base del dije,es decir la cabeza del renito.
• Para la nariz tomé cinta de color bronce de 1 milímetro de ancho, con ella realicé un círculo cerrado, moldee en una plantilla para moldear círculos en la medida número 10 mm yen la parte interna apliqué un poco de pega blanca, para evitar que la pieza se deforme, deje secar.
• Para completar la nariz del renito, hice un pequeño círculo cerrado de color rojo con cinta de 1 milímetro de ancho, pegué las dos piezas de la base del dije como pueden ver en la imagen.
 |  |
|---|
 |
|---|
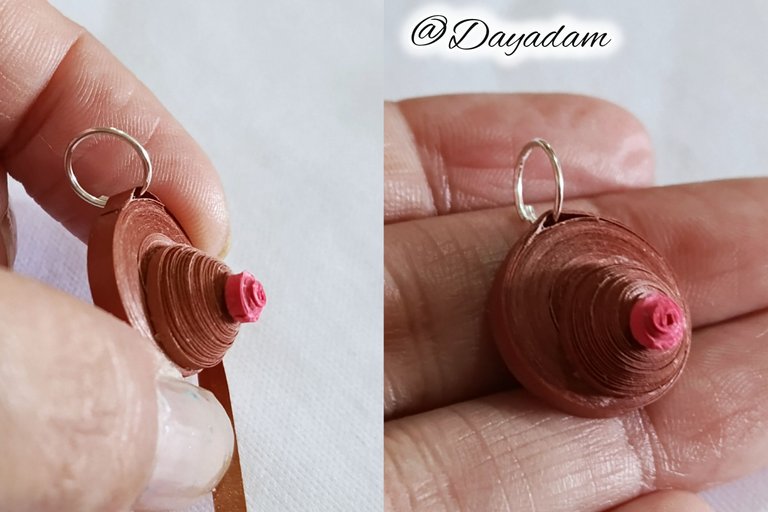
- I took another piece of bronze colored ribbon 3 mm wide and passed it around the circle and inserted a costume jewelry ring in it, finished wrapping the piece of ribbon, and sealed it with glue.
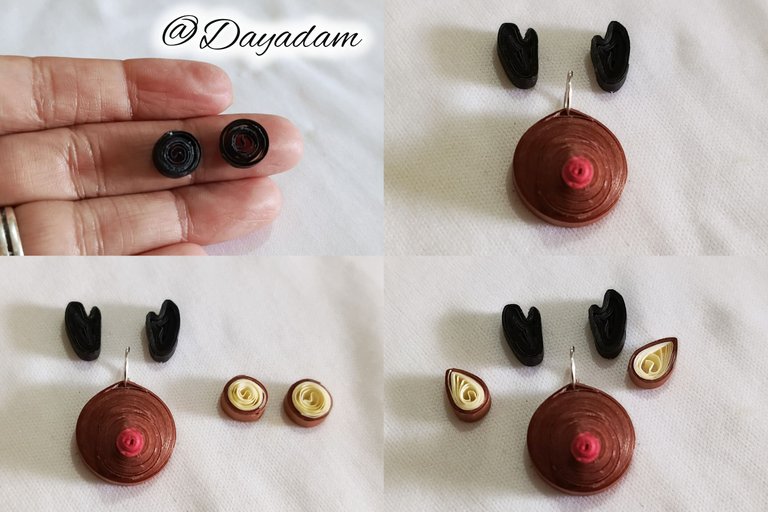
- For the horns of the tadpole I made two half-open black circles with 3 mm wide ribbon, and molded them as you can see in the picture.
- For the little tadpole's ears I took beige and bronze colored tape and made two semi-open circles combined with both tapes and then molded them in the shape of a leaf.
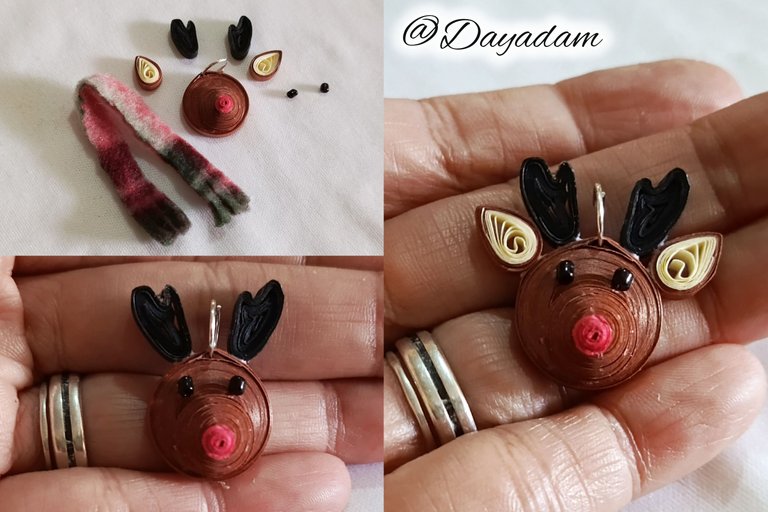
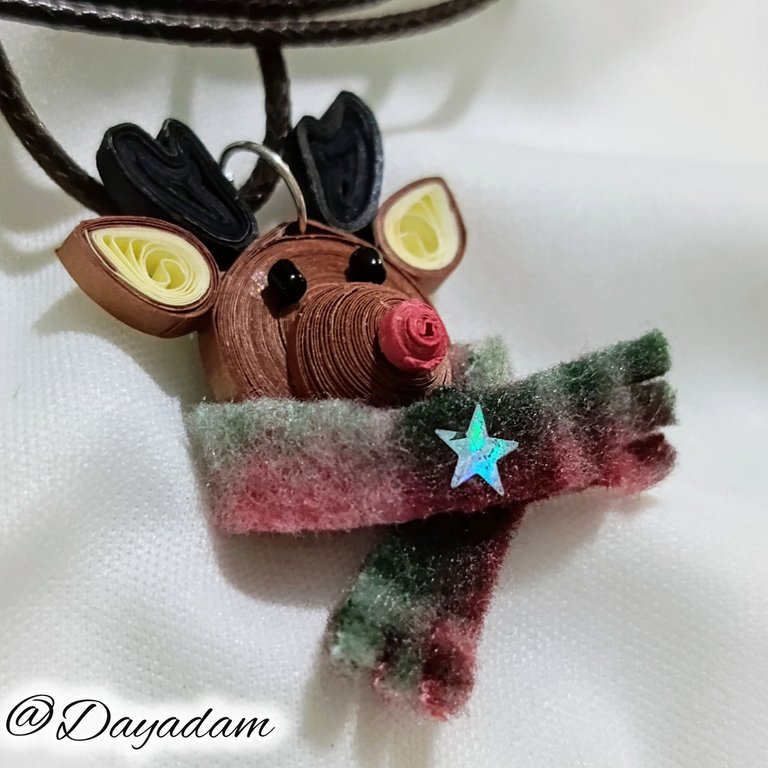
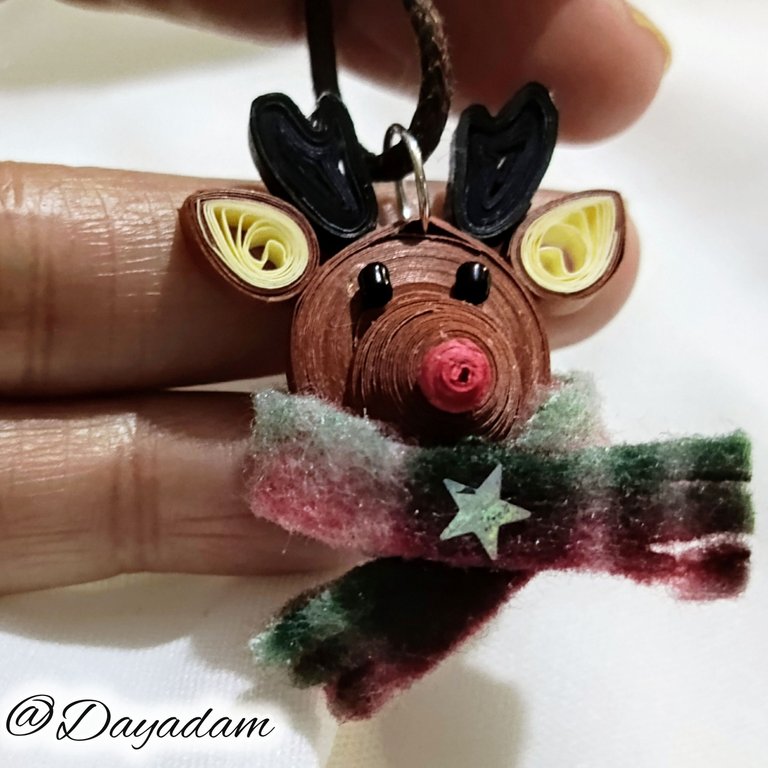
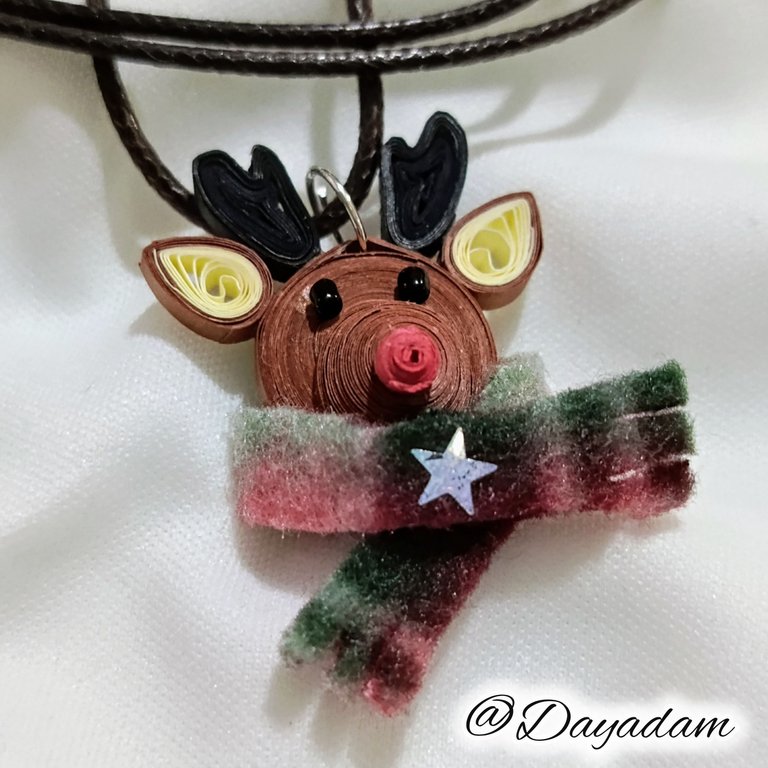
- At this point I proceeded to glue the little horns and the ears on the base of the charm, that is, on top of the head, I placed two black beads for the eyes, and I made a scarf with a small piece of polar blanket, and glued it to the bottom of the piece.
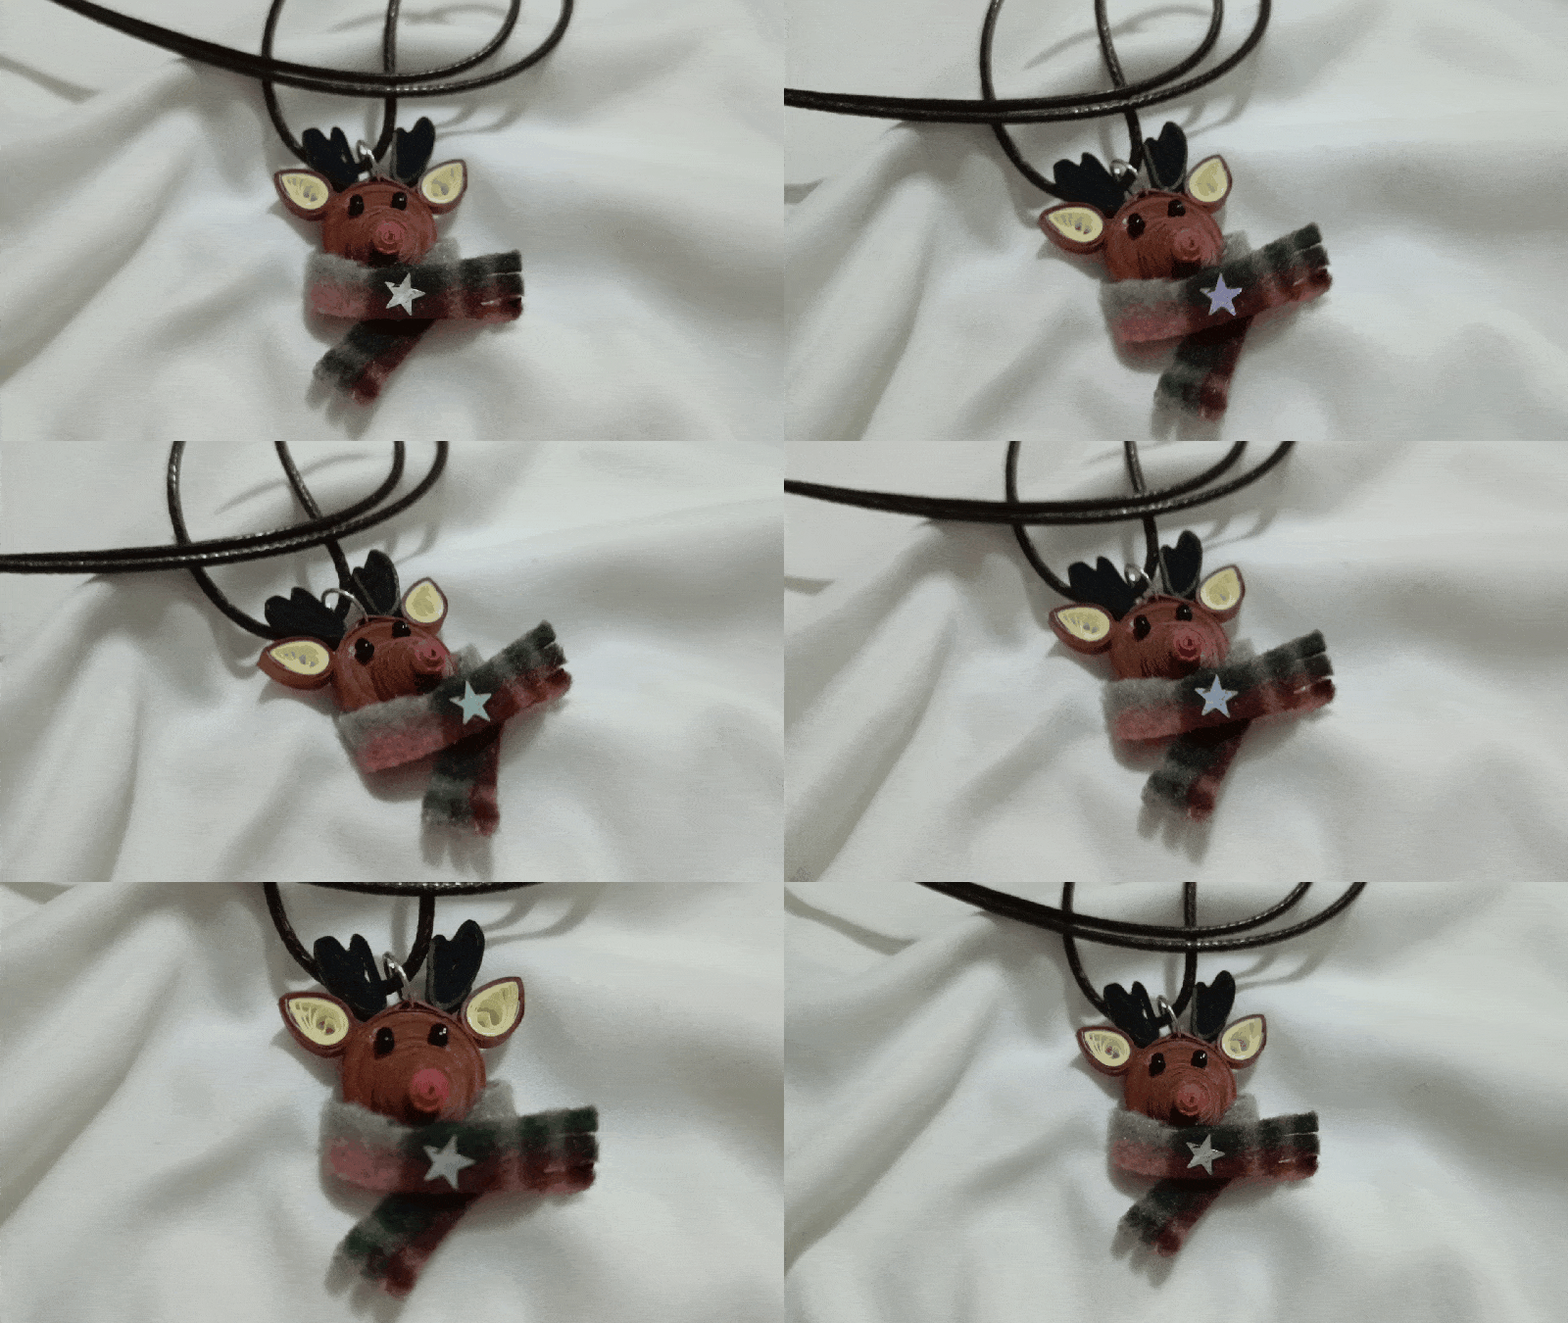
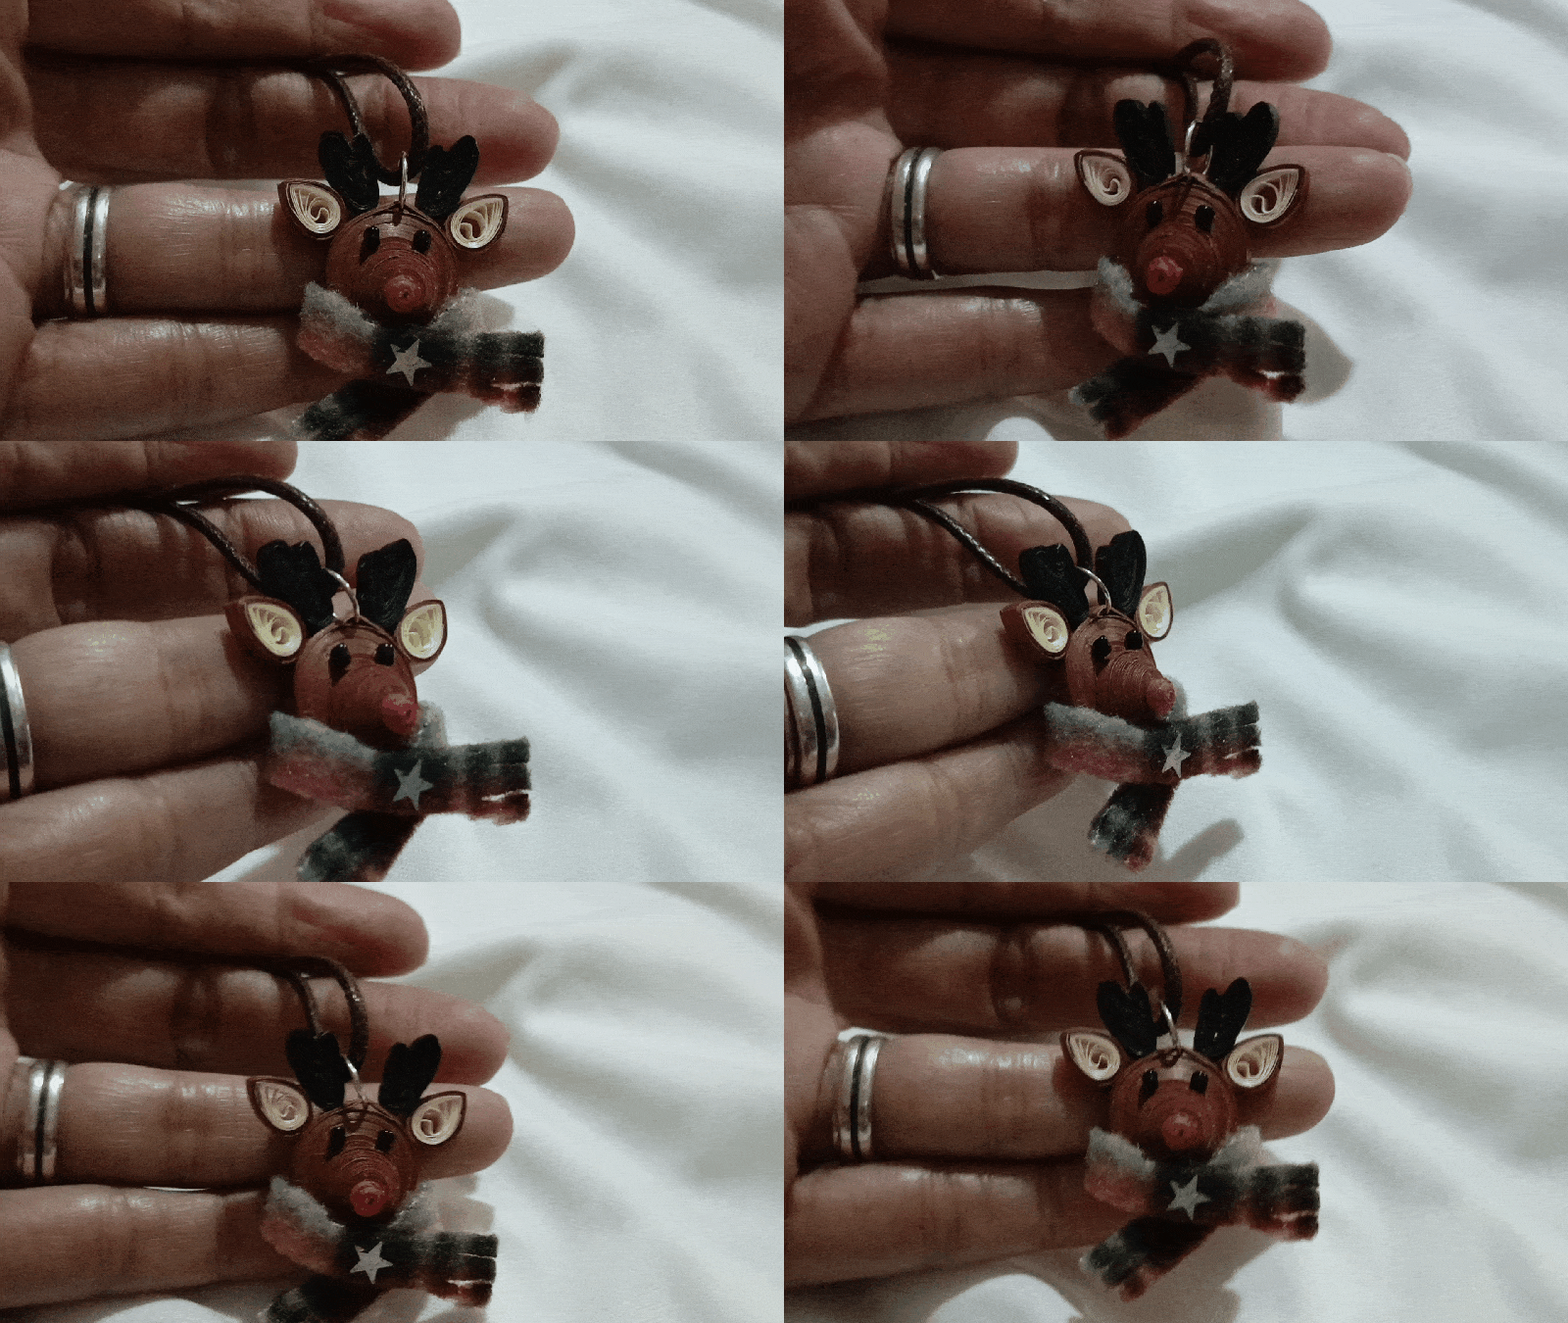
This way we have this little necklace charm of a little christmas reindeer, in the quilling technique.

• Tomé otro trozo de cinta color bronce de 3 mm de ancho y lo pasé alrededor del círculo en ella introduje una argolla de bisutería, terminé de enrollar el trozo de cinta, selle con pega.
• Para los cuernos del ranito realicé dos círculos semiabiertos color negro con cinta de 3 mm de ancho, y moldee tal como pueden ver en la imagen.
• Para las orejas de renito tome cinta color beige y color bronce y realicé dos círculos semiabiertos combinados con ambas cintas luego moldee en forma de hoja.
• En este punto procedí a pegar los cuernitos y las orejas de la base del dije, es decir, arriba de la cabeza, coloqué dos canutillos de color negro para los ojitos, e hice una bufanda con un pequeño trozo de manta polar, y lo pegué de la parte de abajo de la pieza.
De esta manera tenemos esta pequeño dije para collar de un renito navideño, en la técnica de quilling.
 |  |
|---|
 |
|---|


What did you think, did you like it?
I hope you did, I hope you liked my explanation, procedure and photos, I made them with love for you.
"Let out that muse that inspires you, and let your imagination fly".
Thank you all, see you next time 🎄🎅✨.

¿Que les pareció, les gustó?
Espero que sí, que les haya gustado mi explicación, procedimiento y fotos, los hice con mucho cariño por y para ustedes.
"Deja salir esa musa que te inspira, y deja volar tu imaginación".
Gracias a todos, nos vemos en la próxima.🎄🎅✨

Todas las fotos usadas en este post son de mi autoría y han sido sacadas en mi celular personal un Redmi 9T, editadas en InShot y Canva Banner y separador hecho por mí en Canva Traducido con la ayuda de DeepL

Que hermoso te quedó este colgante...me encantan los detalles en tela le dan un toque tan elegante. Lo quiero 🥰
Feliz navidad y bendiciones para el nuevo año 🎄🎁
!discovery 50
!DIY
Gracias mi reina, yo te daría todo no lo dudes.
Feliz Navidad y que este venidero año sea lleno de infinitas bendiciones para ti y para tu familia. Un abrazote.
This post was shared and voted inside the discord by the curators team of discovery-it
Join our Community and follow our Curation Trail
Discovery-it is also a Witness, vote for us here
Delegate to us for passive income. Check our 80% fee-back Program
Thank you for the support ✨
You can query your personal balance by
!DIYSTATSThank you for the support @melinda010100 and @ecency May this coming year be filled with many blessings.
Quedó hermoso este Reno Navideño y muy coqueto con su bufanda... Lo usaría totalmente
Gracias mi linda. Un venidero año lleno de infinitas bendiciones 💕
Owww que lindo este reno de verdad tienes una imaginación increíble, y hacerlo en tu técnica es maravilloso gracias por tan lindo tutorial y diseño, un accesorio muy navideño sin duda.
Muchísimas gracias de verdad que un placer para mí que te haya gustado.
Que este próximo año que viene esté lleno de muchísimas bendiciones para mi bella comunidad ✨
Te quedo precioso y muy navideño amiga, gracias por la invitación, yo participe con unos zarcillos de flores navideñas.
Este reno quedó hermoso 💚 😍
!DIY
Gracias hermosa un placer que te haya gustado.
Que este venidero año esté lleno de infinitas bendiciones para ti y toda tu familia un abrazote... ❤️
You can query your personal balance by
!DIYSTATSTe botaste con esa inspiración navideña, solo puedo agregar !Que imaginación! Que pases junto a los tuyos un venturoso y próspero año 🤗
Muchísimas gracias mi linda por tus palabras y tus buenos deseos.
Que para ti y tu familia esté lleno este nuevo año que comienza de infinitas bendiciones 💕
This pendant is so cute. The reindeer charm works perfect for the season. Amazing work