Inspired to make my own Dress
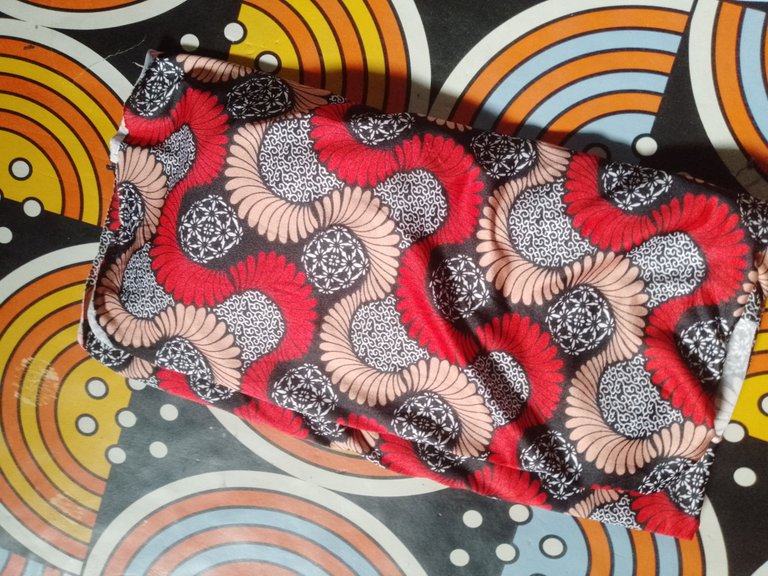
This time around, I thought to change the narrative and start making dresses for myself. So she gave me a light flowery Lycra fabric. I didn't think twice before deciding to use it for a cowl neck gown, considering the nature of the fabric.
This is the fabric mom gave me
I started by drafting an upper bodice pattern.
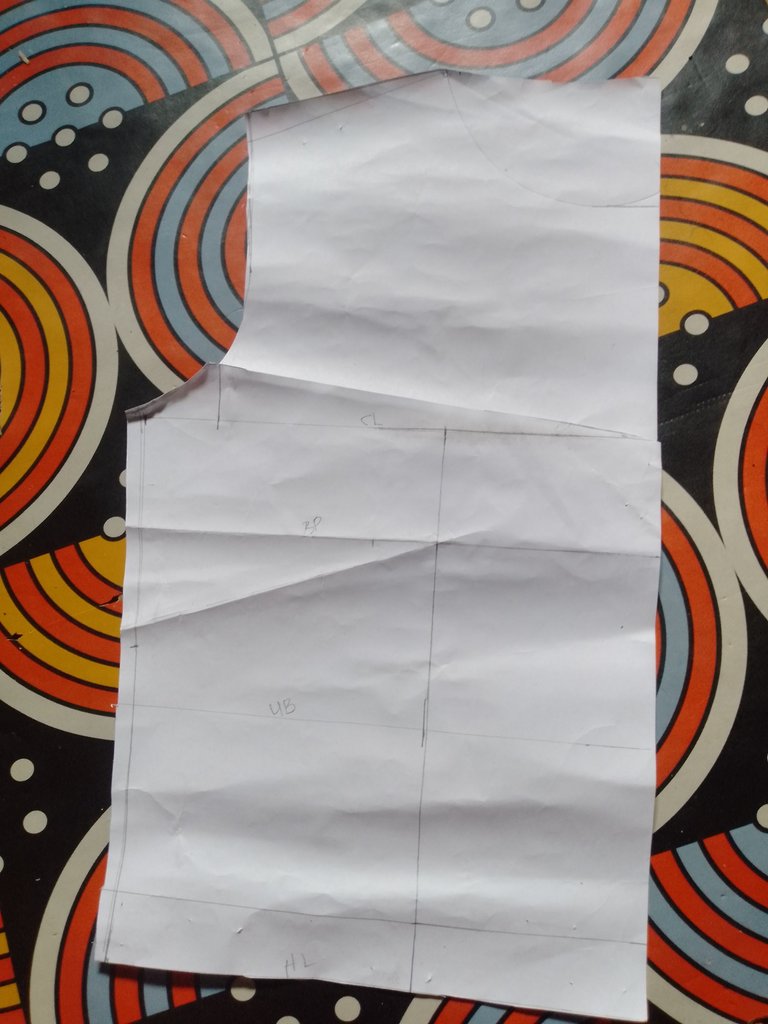
I used only one pattern for the front and the back. I didn't cut out the front neckline because it's cowl I intend to make.
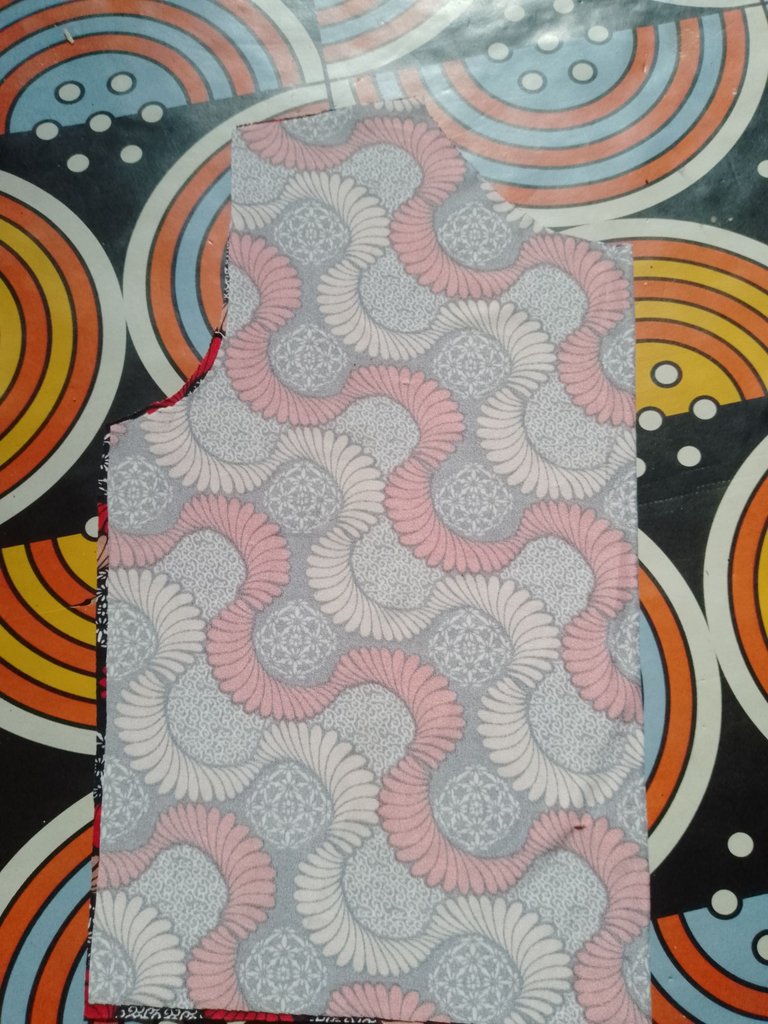
I traced the pattern on fabric for the back bodice and carved out the neckline for the back.
On the same pattern, I went up by 1 inch from the armhole.
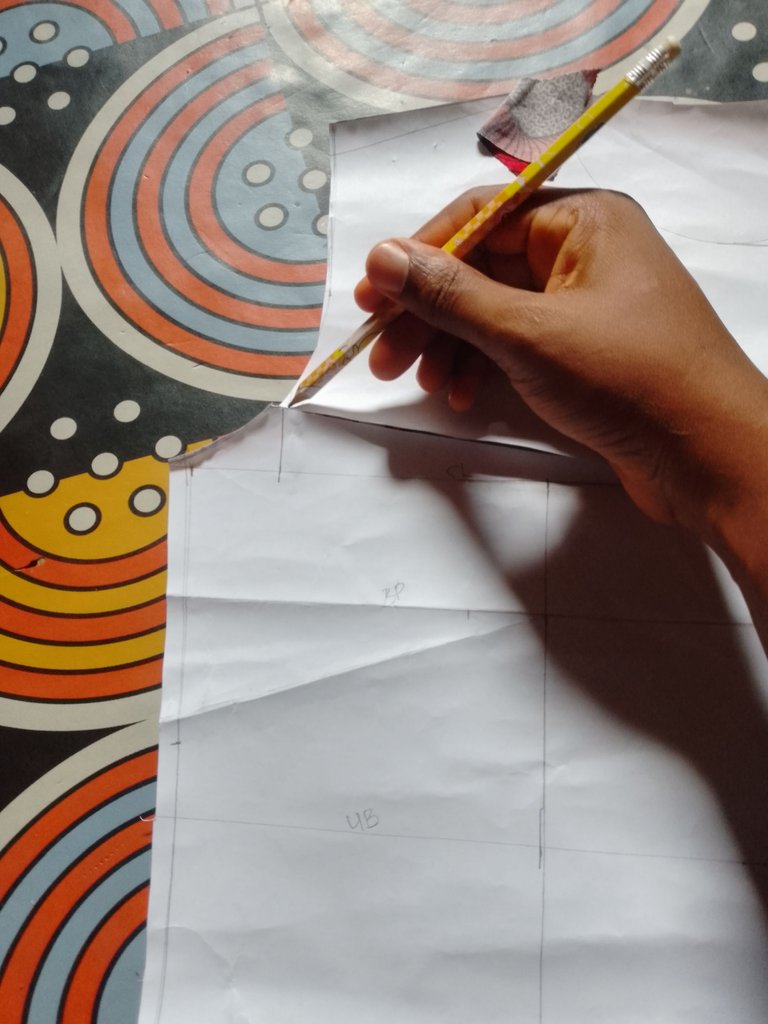
Then drew a slant line from the 1 inch mark to the chest line. I slashed through the line but not to the very end and opened up the pattern.
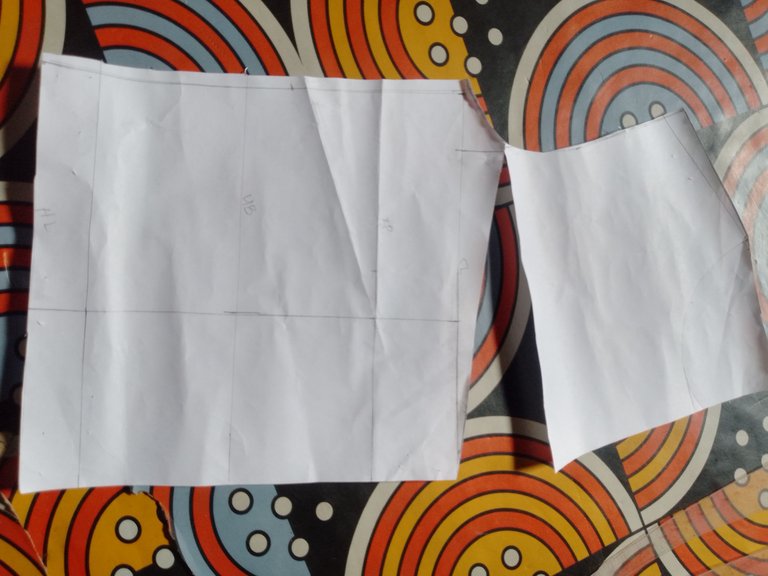
I opened the slashed pattern to a height of 7 inches. You can open it as high as you want or create another slash to allow for more opening.
NOTE; opening the pattern beyond 7 inches can reveal your cleavage.
I transferred the pattern to fabric and this is the outcome
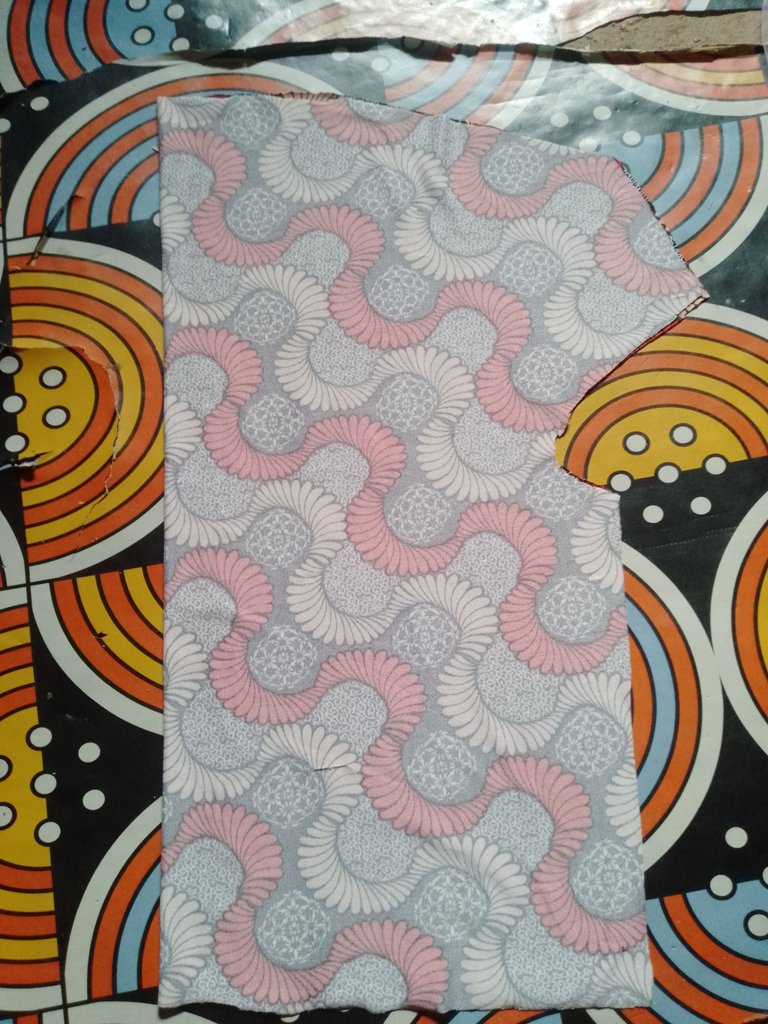
Then I cut out face in to turn the neckline for both front and back bodice. The face in is 3 inches below the armhole.
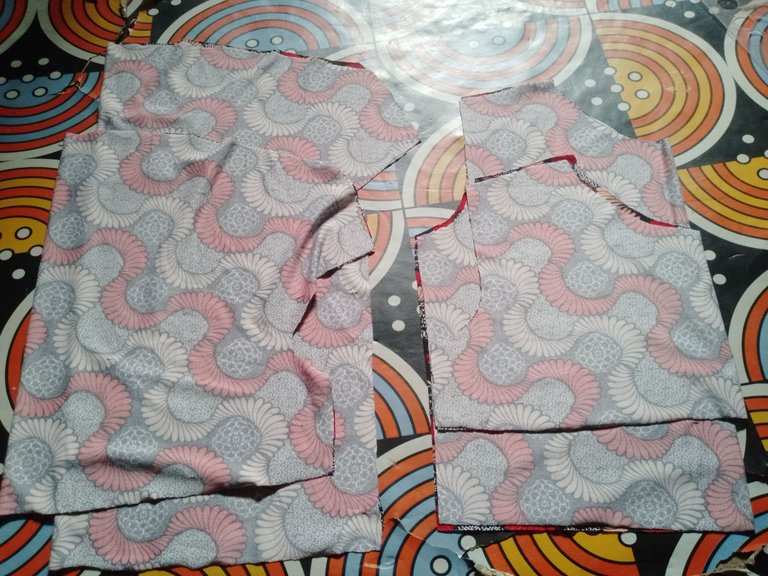
The upper bodice is settled so I drafted the skirt part - both front and back.
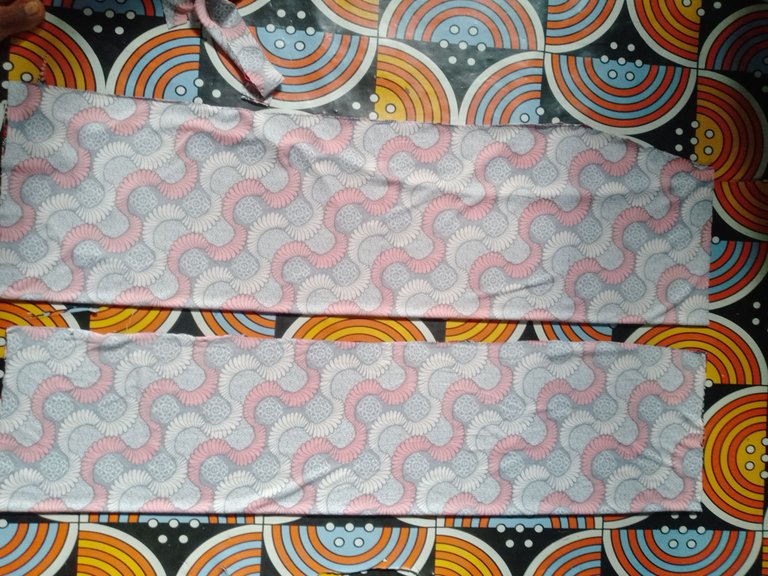
I used the hip allocation method to draft the skirt part of the dress (Would probably make another post to explain it)
I chose a basic sleeve for the dress
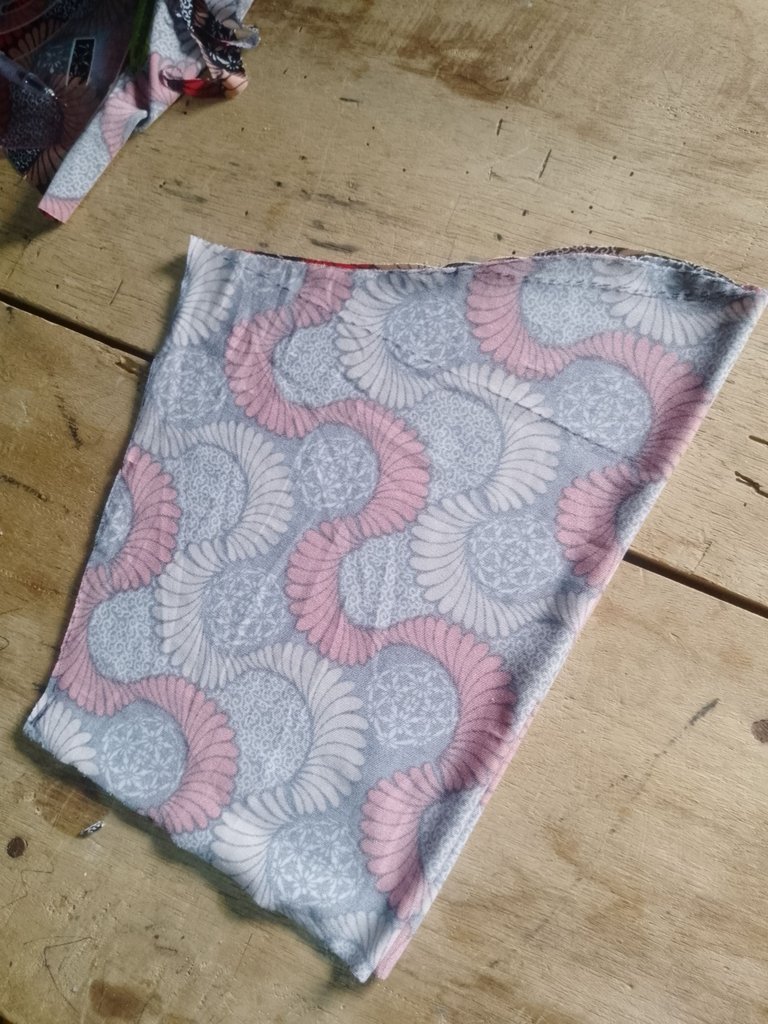
Now I have all the parts of the dress ready. It's time to sew them together.
I turned the neckline of the front and back of the upper bodice.
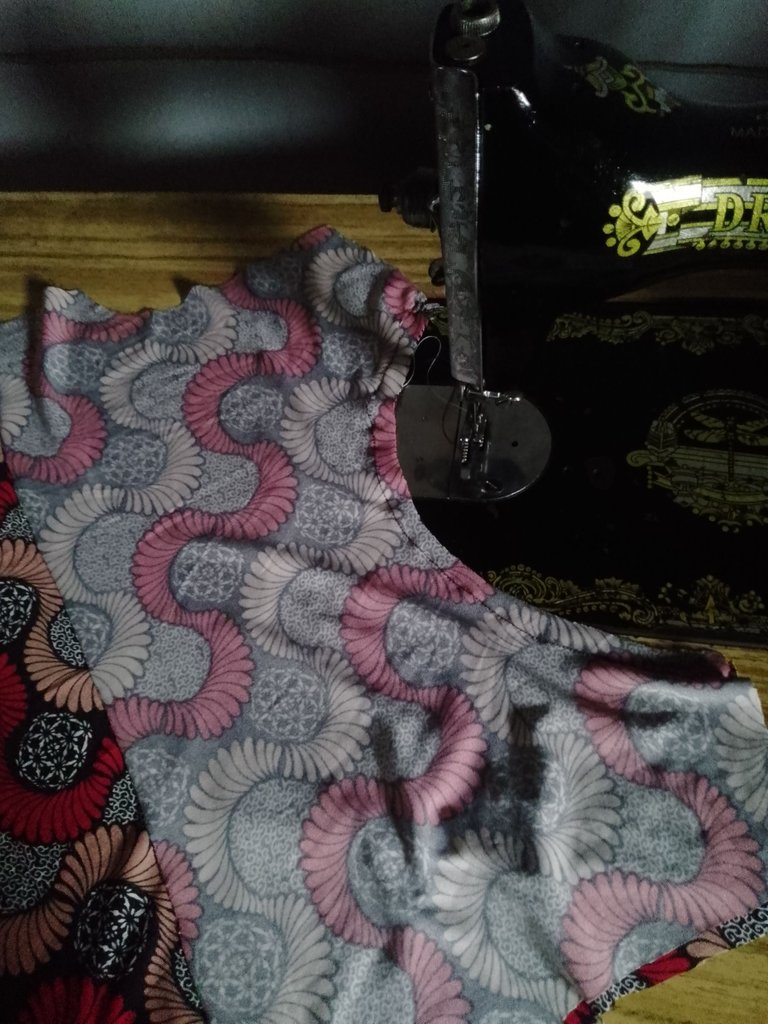
After turning in with the face in,I joined the front part of the top to the front part of the skirt and did the same for the back.
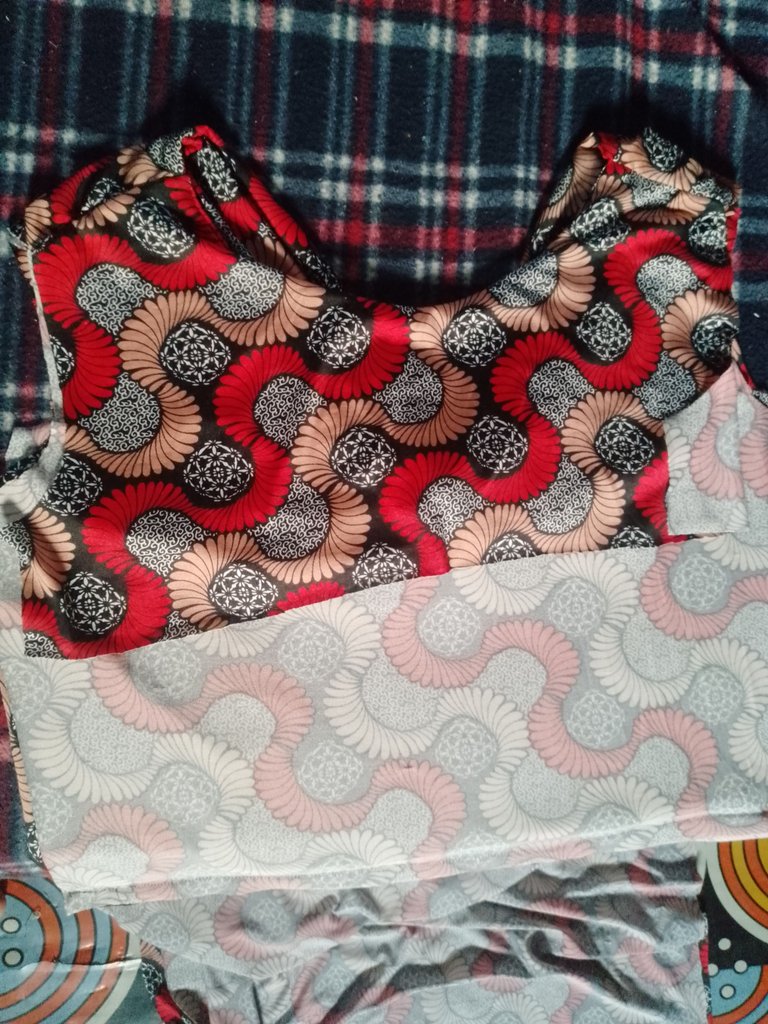
Then I joined them at the shoulder.
Remember that we now have a single bodice each for both front and back.

I think I joined the dress at the shoulder before sewing the skirt part to the top. 😌 😌
Then I laid the dress, right side against the right side in order to shape it.
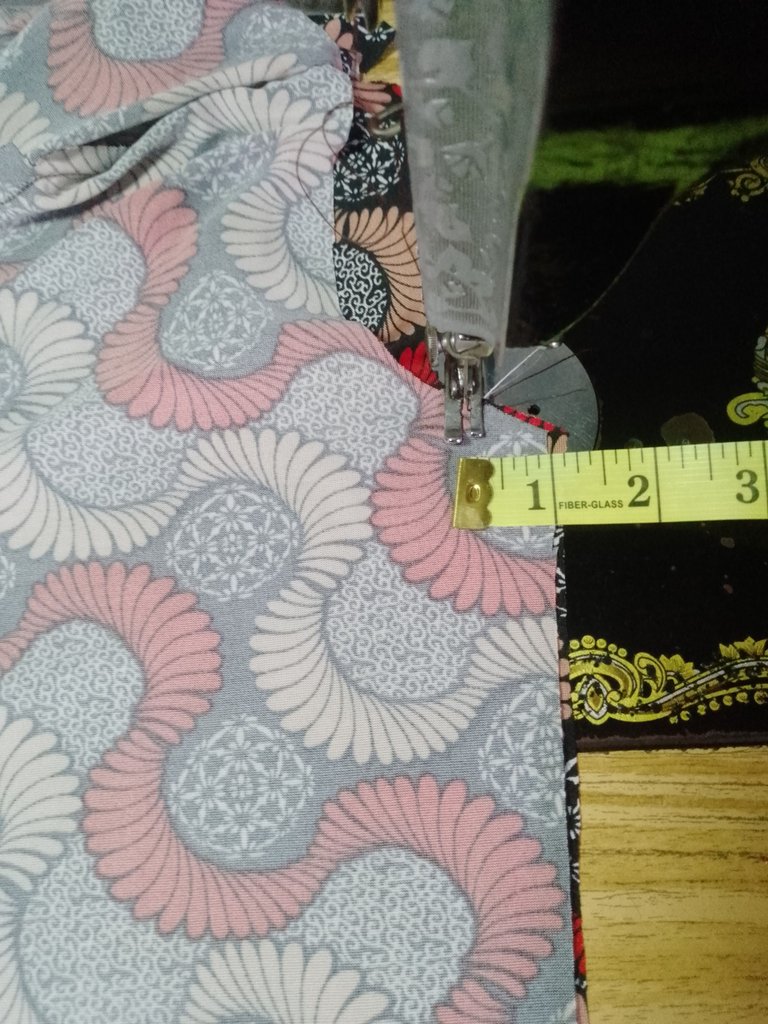
I shaped with 1 inch
✓ I didn't add allowance to the pattern because the fabric is super stretchy.
✓ there was no zipper allowance as well.
This is the outcome
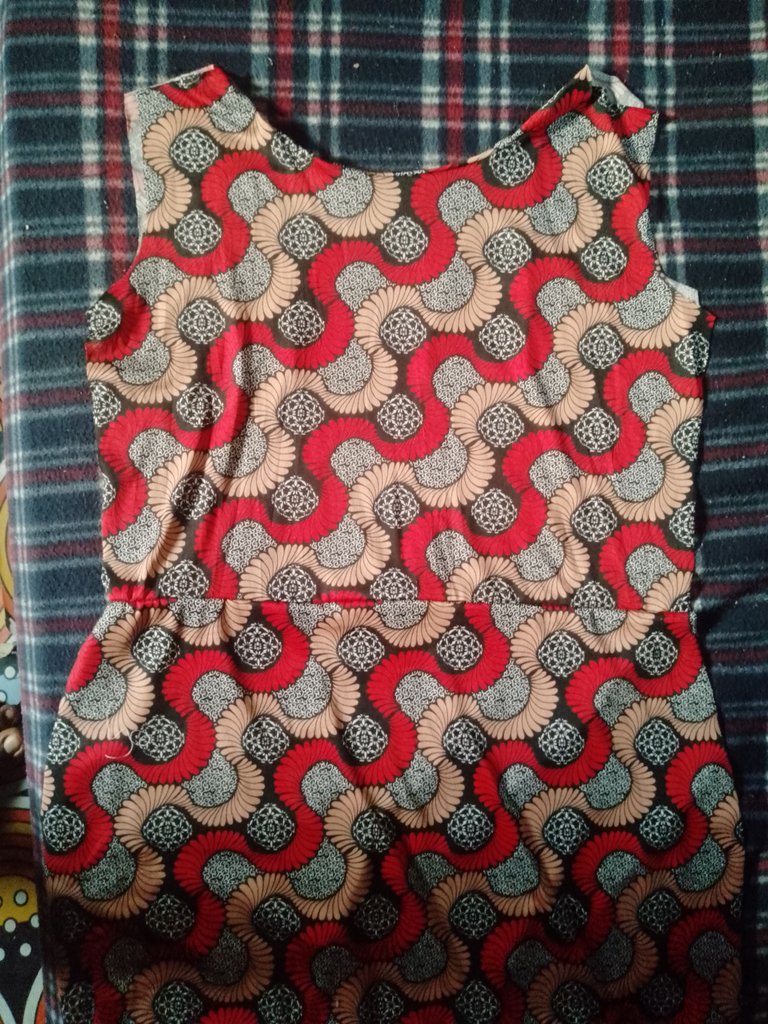
The next part is the sleeve
I folded in the hem with 1 inch
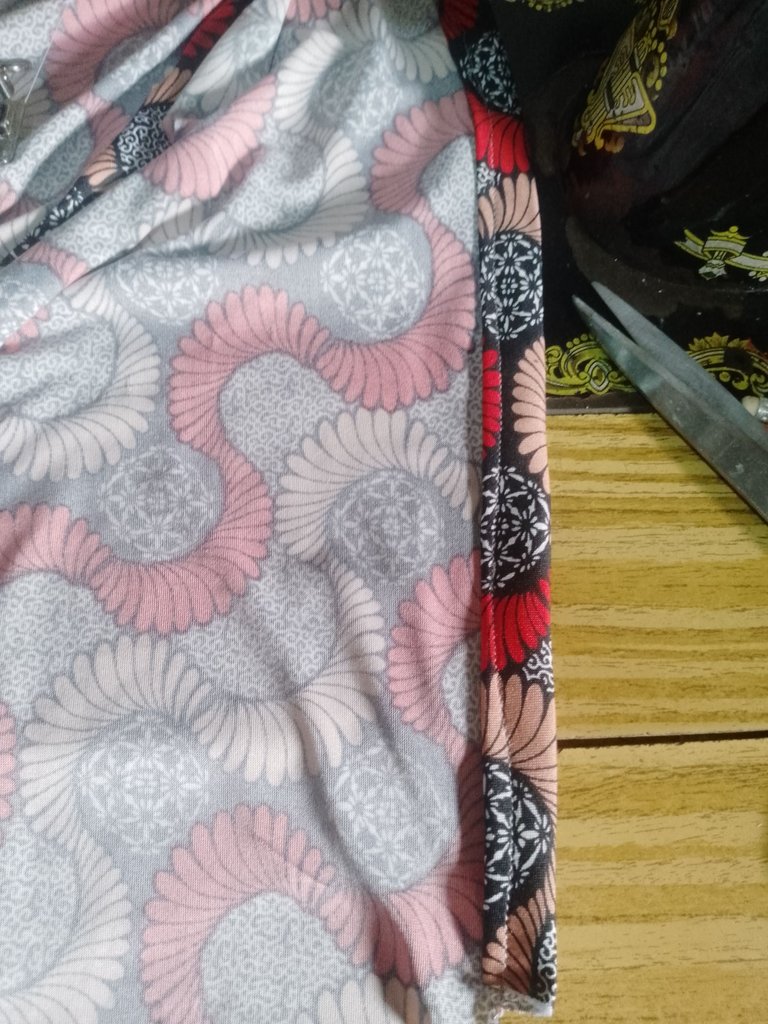
Then shaped the sleeve with the same 1 inch and attached it to the dress.
This is the final look of the dress
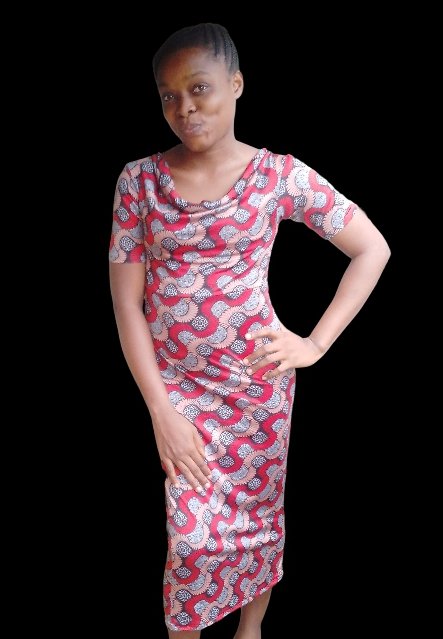
I'm excited to achieve this.
My mom was happy when I sent her the picture as well.
Posted Using InLeo Alpha
I congratulate you for having the courage to make this dress by yourself, I think the result is very beautiful.
Please remember to write a little more about your creation process.
Thank you @kattycrochet
I wont forget to write a little more about the creation process
Well done dear.
I was wondering if it was an African print fabric It's courageous of you to start making your own outfits.
Awwn awwn
I appreciate your comment. I'll do more of making my own clothes now
What's up with the paper drawing always? The tailors I have around me don't do these drawings 😅.
Okay, they're tailors and not fashion designers, right?😂
The dress looks good on you.
Looking like 'already made'
Tailors and fashion designers, no be me talk am oh.
The paper part is pattern drafting, it's another part of fashion designing. There are people who don't sew, they only pattern draft. I started transitioning to pattern drafting late last year.
Thanks for the compliment.
Too much fashion grammars here😂
I've heard you
😂😂
Doing sewing for yourself is very healthy and I'm glad to visit your blog and find that you made this project for yourself. How nice that your mom will be happy too! You look so pretty! 🌼 💫 🌼 💫 🌼
Thanks for the heads up @tesmoforia
Keep up the good work. 👏🎵
Dear beloved Hive creator,
Coding poet Gudasol here to support you sharing your art + life on Hive.
As a fellow creator, I know how hard it is to get the word out there.
I built cXc.world to help creators like us get more support from the blockchain community + beyond.
Share your music on cXc.world, and copy the Markdown for a easy post includes embedded players for Spotify, Youtube, Soundcloud.
That way, you can earn HIVE + stack streams on centralized platforms, as they do still matter.
Not a music creator? No problem. You can still use cXc.world to find + share music you love.
What's next?
Preview the next evolution of cXc, Tetra.earth.
Expose local music from your area!
We're helping grassroots musicians, and you can too by adding their music (no sign up or WAX account required).
Join our community 🐬
Find fellow music lovers in cXc's Discord
Bad news: Saying see you later to Hive! 👋
We didn't get the needed support to continue cXc.world on Hive, as our DHF proposal lacked votes, but [Good News Everyone] cXc.world will add a Markdown copy button, allowing you to easily share your music + music you find on Hive.
For now, we're on WAX, with tools you can use to mint your own Music/Media NFT collection.
Curious about the future of Earth + ET relations? New economic systems?
Find more apps + art from Gudasol
Want to build tools like I used to share this?
I'd love to show you some tips on AI Code generation