Colocando la columna de la base del tanque para amurarlaºººººPositioning the tank base column to be anchored to the tank base
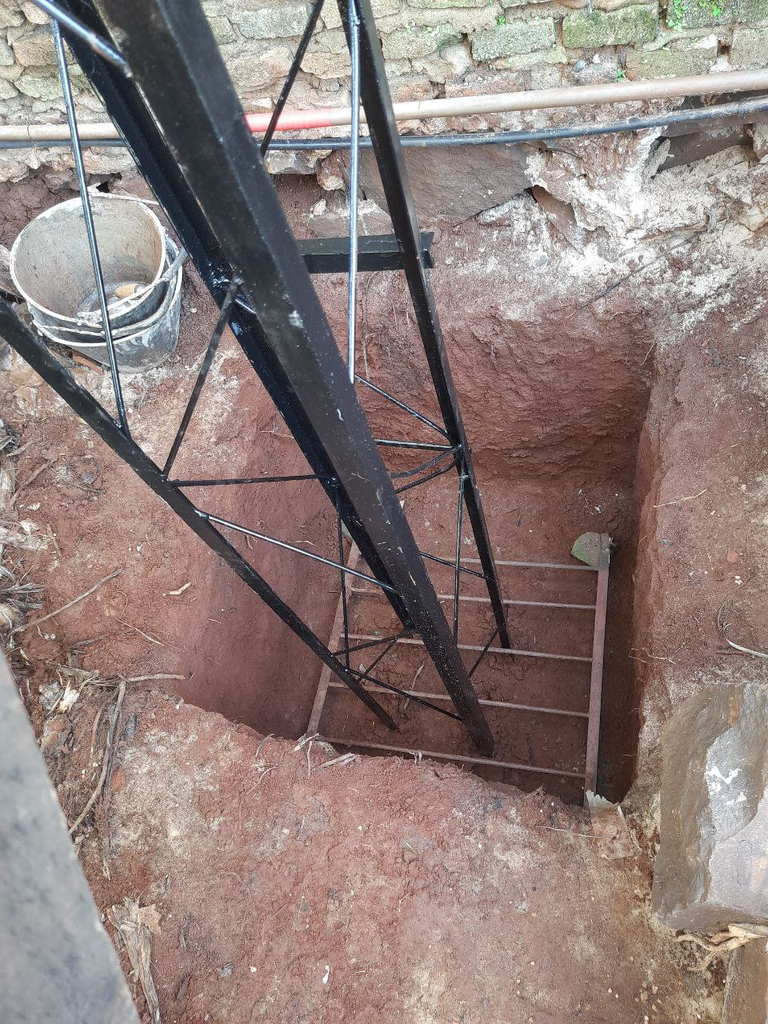
Hola a todos, para todos los que han estado siguiendo referente a la fabricacion de la base del tanque de agua de 10000 litros, bueno amigos me inunda la alegria de que por fin conclui con la misma y ahora viene lo mas facil, con esto quiero decir que luego de haber cavado la base de 90 x 90 x 1 metro de profundidad, agregueen el fondo lo que seria la parrilla de la base, luego dicha columna, la cual agregue mas hierro abajo y los solde, quedando muy bien.
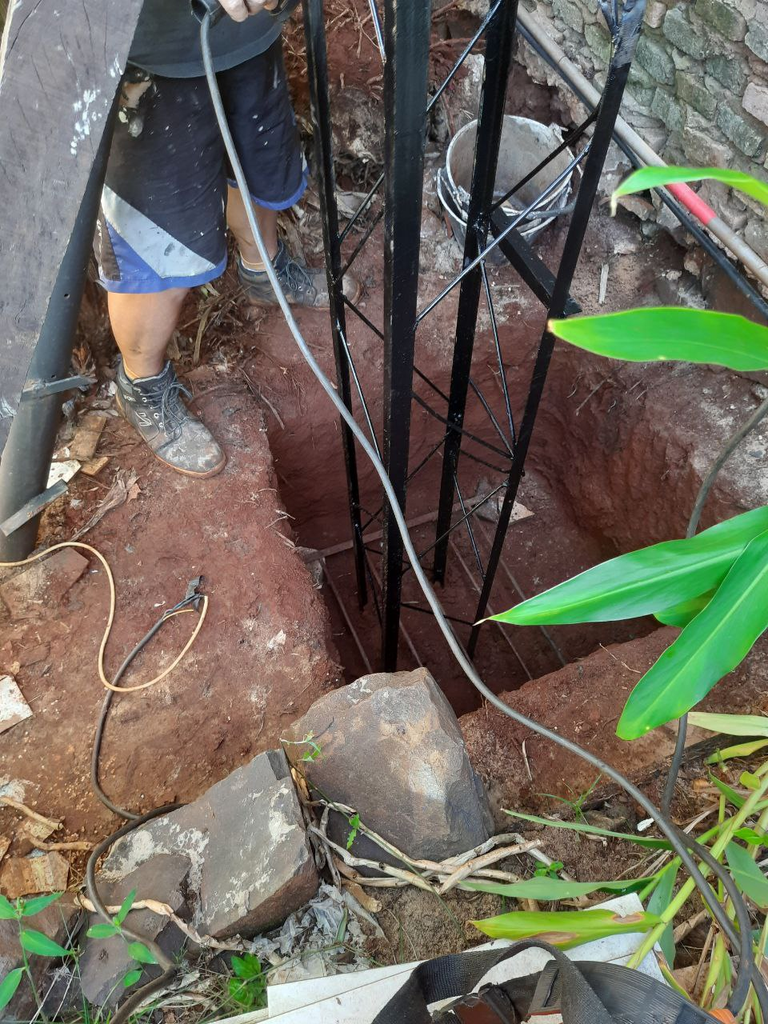
Lo siguiente bueno, fue preparar un brazos de refuersos los cuales los amure en la pared con bulones del 10 pulgadas, para despues soldar sobre dicha columna es brazos de hierro, de esa manera la misma que mucho mas firme, bueno previo a soldar lo antes mencionado, fue dejar bien a plomo de ambos lados la columna, para que quede bien derecha, de esa manera no correra ningun riesgo en caerse dicho tanque.
En esta foto podemos observar lo que les comente referente a los brazos, que cumplen la funcion de soporte, porque al estar bien fija y amurada sobre la pared, dicha columna no se mueve y al estar todo a plomo, lo siguiente fue terminar de soldar bien la parte de abajo o sea la parrilla.
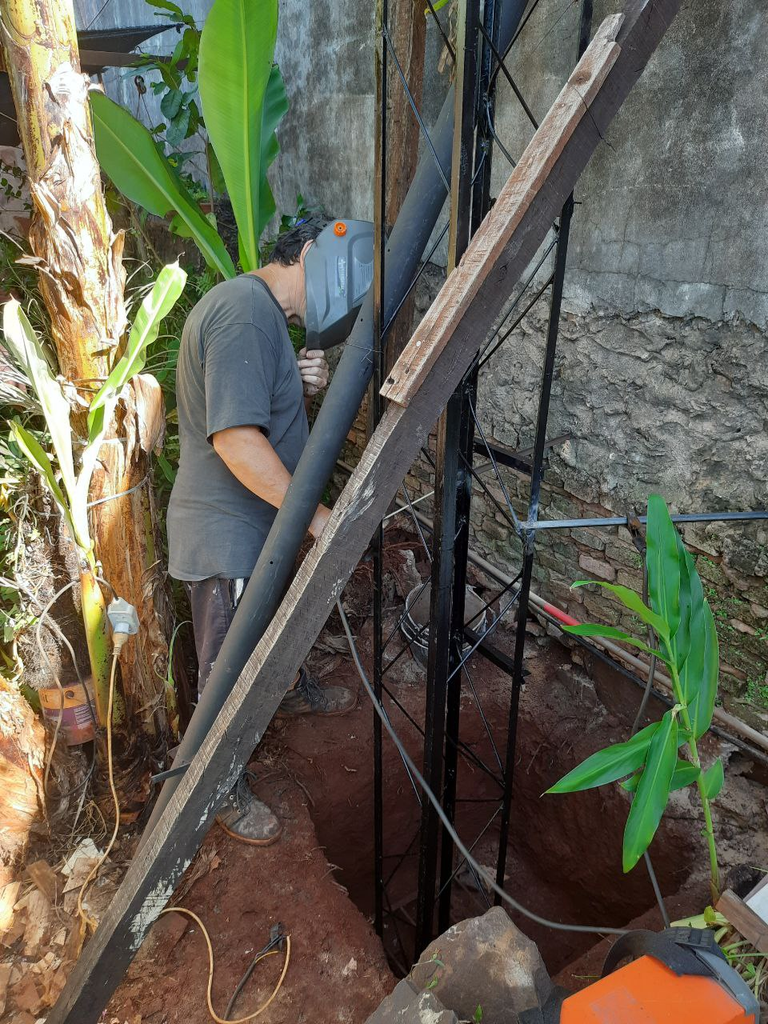
La verdad se me hacia un poco incomodo el de realizar dicho trabajo, porque justo es en la parte donde se encuentran lasplantas de bananas, pero bueno como siempre digo lo que es mi lema, SI TODO LO QUE HACEMOS LO HACEMOS CON AMOR Y PERSEVERANCIA, LAS COSAS SALEN BIEN, como en este caso.
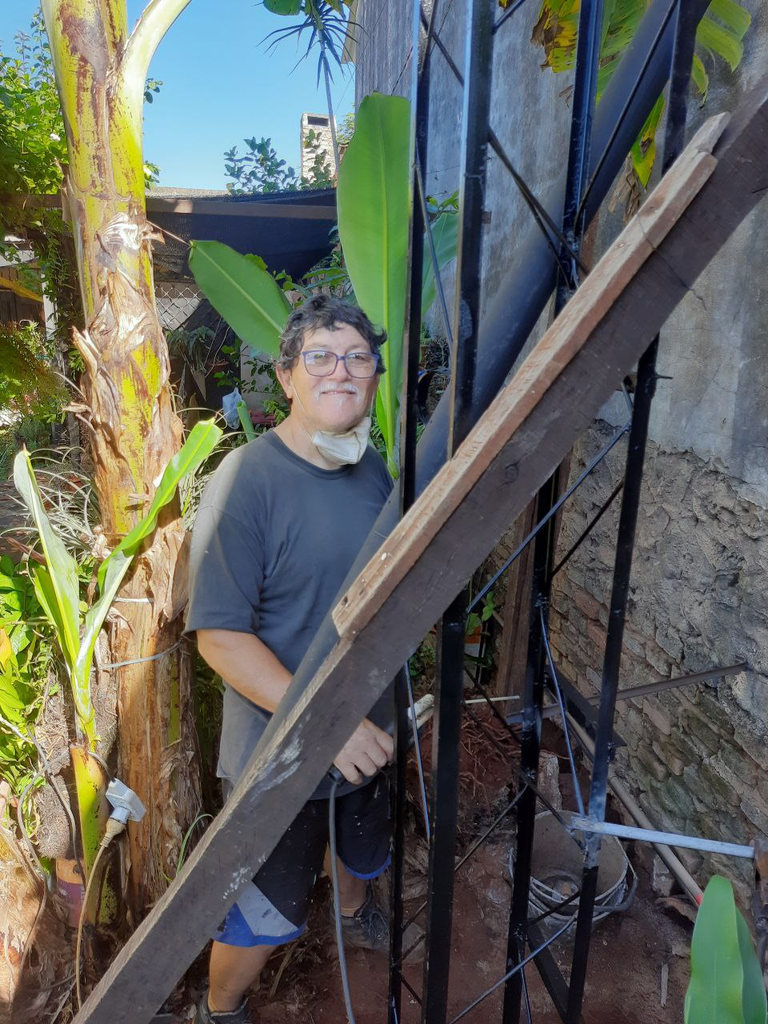
Como pueden ver mi gran sonrisa, es por haber llegado hasta aqui con el armado de la base del tanque de agua, que es muy imporatnte, por la funcion que cumple y bueno teniendo en cuenta tambien su altura por la presion del agua hacia el interior de la casa.
MUCHAS GRACIAS POR SEGUIRME Y LEERME, QUE PASEN UN EXCELENTE DIA.
ENGLISH
Hello everyone, for all those who have been following concerning the manufacture of the base of the water tank of 10000 liters, well friends floods me the joy that I finally concluded with the same and now comes the easiest, with this I mean that after digging the base of 90 x 90 x 1 meter deep, add the bottom what would be the grill of the base, then the column, which added more iron below and weld them, being very well.
The next good thing, was to prepare an arm of refuersos which amure in the wall with bolts of 10 inches, and then weld on the column is iron arms, that way the same that much firmer, well prior to welding the above mentioned, was to leave well plumb on both sides of the column, so that it is well straight, that way will not run any risk in falling the tank.
In this picture we can see what I said about the arms, which serve as support, because being well fixed and mounted on the wall, the column does not move and being all plumb, the following was to finish welding well the bottom or the grill.
The truth was a little uncomfortable to do this work, because it is just in the part where the banana plants are, but well as I always say what is my motto, IF EVERYTHING WE DO WE DO IT WITH LOVE AND PERSEVERANCE, THINGS GO WELL, as in this case.
As you can see my big smile, is for having arrived here with the assembly of the base of the water tank, which is very important, for the function it fulfills and also taking into account its height for the water pressure inside the house.
THANK YOU VERY MUCH FOR FOLLOWING ME AND READING ME, HAVE A GREAT DAY.