Ositos de Peluche: ¡Te enseño cómo hacerlos! 🧸 [ENG/ESP]
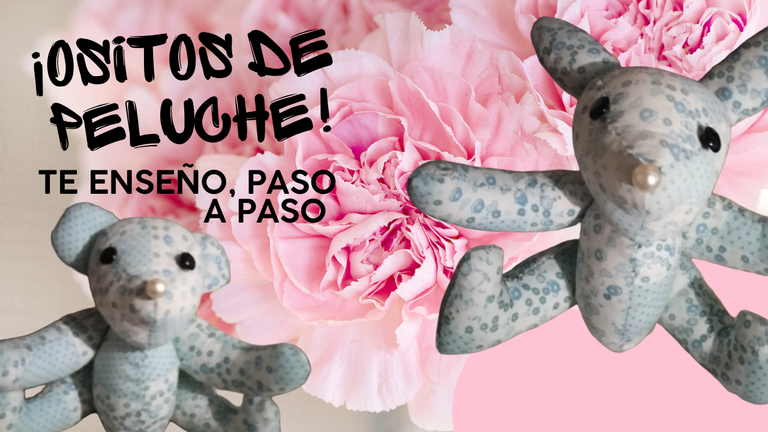
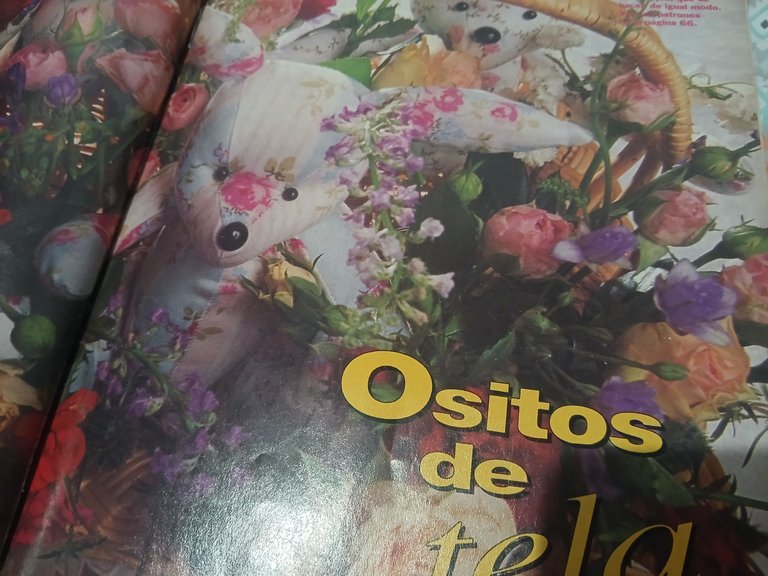
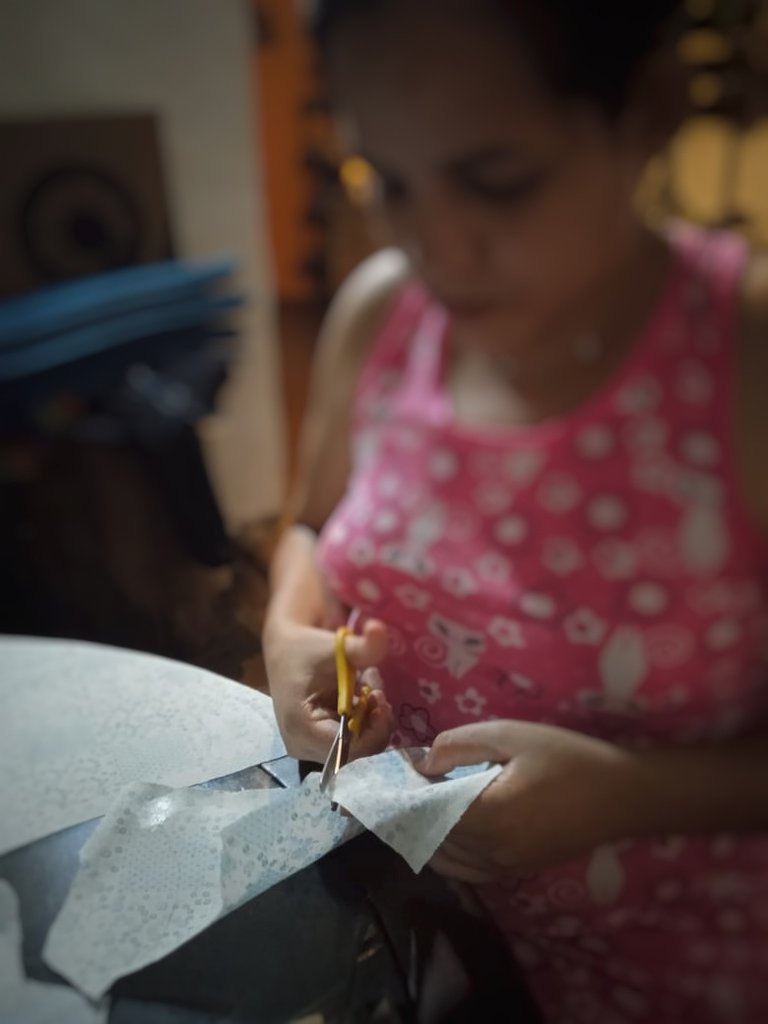
¡Saludos a todos en la comunidad de Hive Diy! El día de hoy me uno por aquí para compartir con ustedes un trabajo que estuve realizando hace unos días. Se trata de varios peluches de tela; oso, conejo y gato. Tome la iniciativa de realizar estos peluches cuando estaba en Valencia en casa de mi mamá y ella sacó algunas revistas de manualidades con los que antes ella trabajaba. La verdad siempre me ha gustado trabajar con mis manos y hacer este tipo de actividades, así que escogí con mi madre un modelo de peluches que me parecieron bastante bonitos. Dejo la imagen de referencia para que tenga una idea de cómo es y debe ser. El estilo es bastante campestre, con su tela en diseños florales y un aspecto bastante adorable para usarlo cómo decoración. Así que dicho esto, comencemos.
Necesitarás: Medio metro de tela (estampada o a tu gusto) Hilo y agujas (recta y curva) Relleno para peluches (yo usé el relleno de una almohada de poliéster) Botones: un par para los ojos y otro para la nariz
Instrucciones:
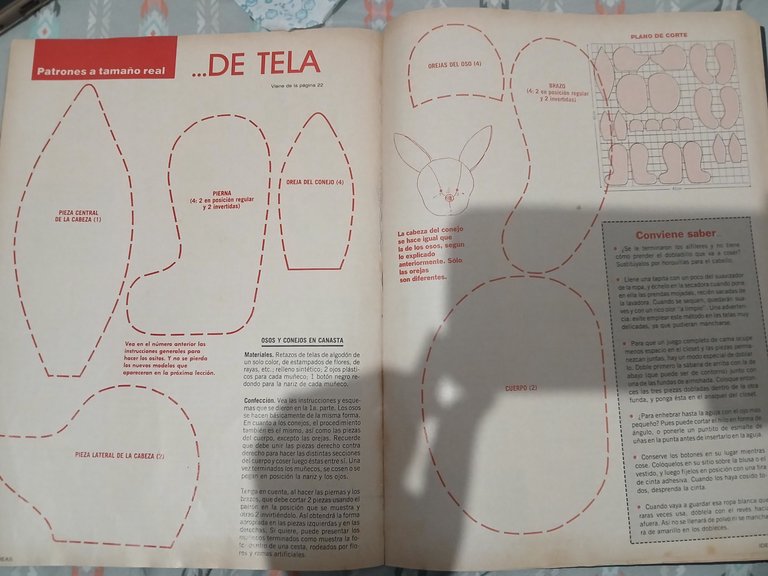
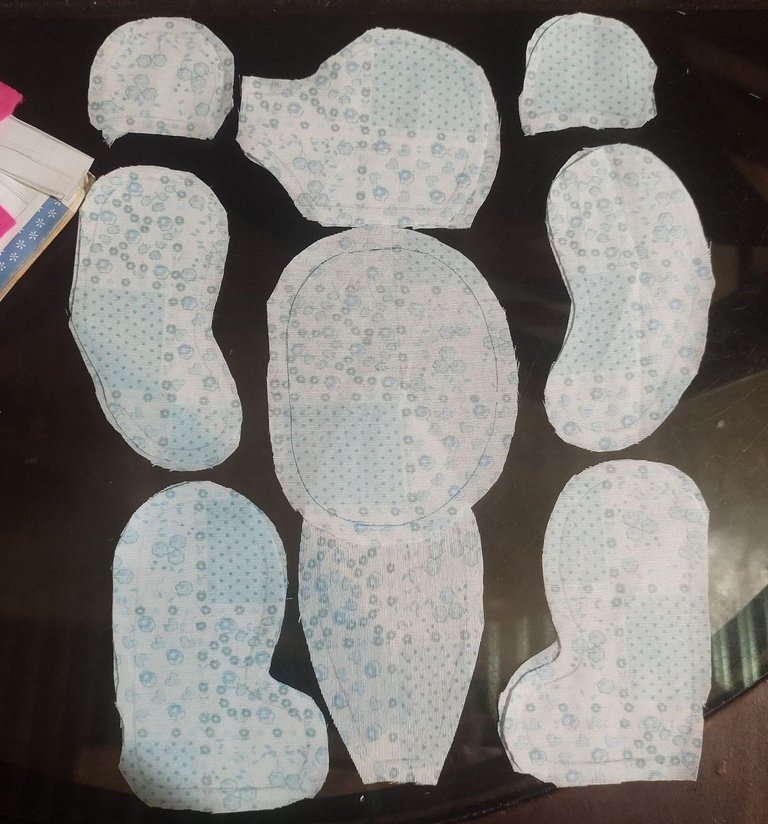
La revista no ofrece muchas indicaciones sobre el tamaño de cada patrón o información que sea más precisa para la construcción del peluche. Sin embargo, deja el patrón en una de las páginas y con la ayuda de la imágen de referencia, fui ayudándome. Lo primero que debemos hacer es dibujar sobre la tela los patrones. Háganlo por el reverso, dónde la tela suele ser más opaca. Deben haber 17 piezas por peluche; 8 piezas de las extremidades (2 por cada brazo y pierna), 4 para las orejas, 3 para la cabeza y 2 para el cuerpo. Debe tenerse cuidado de que se dibuje por cada parte del cuerpo, una pieza al derecho y otra al inverso, para que al momento de coser, encajen las piezas. Medio metro de tela me alcanzó y sobró para hacer un solo peluche.
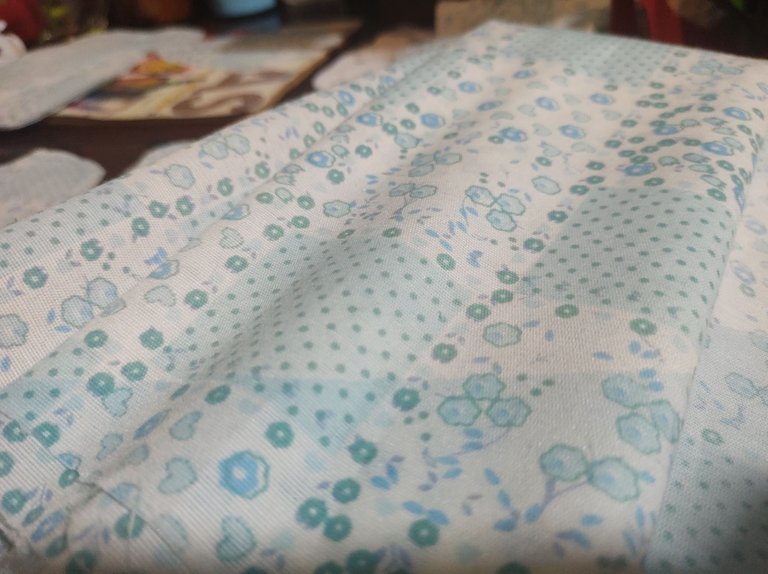
Luego de tener todas las 17 piezas dibujadas en la tela, vamos a cortar todas. Yo he dejado un centímetro de más al cortarlas porque mi madre me aconsejó que lo hiciera de esa forma, ya que tienes más margen para coser sin temer a que falte tela.
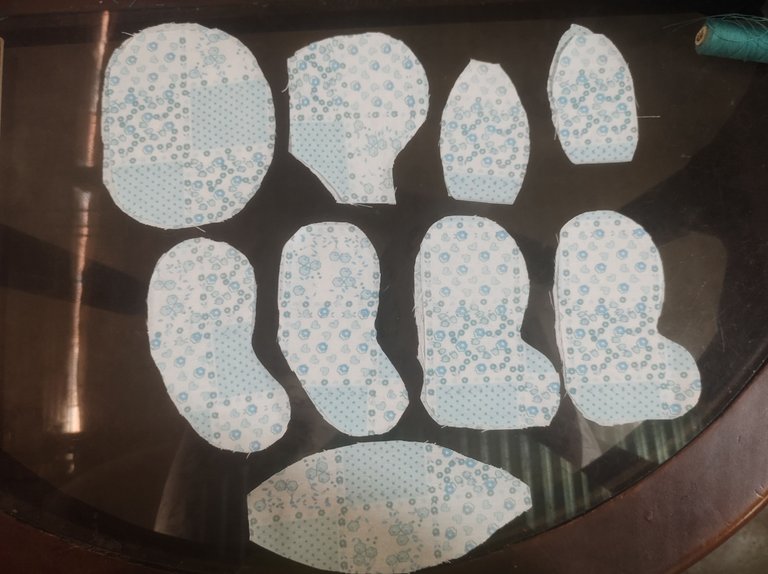
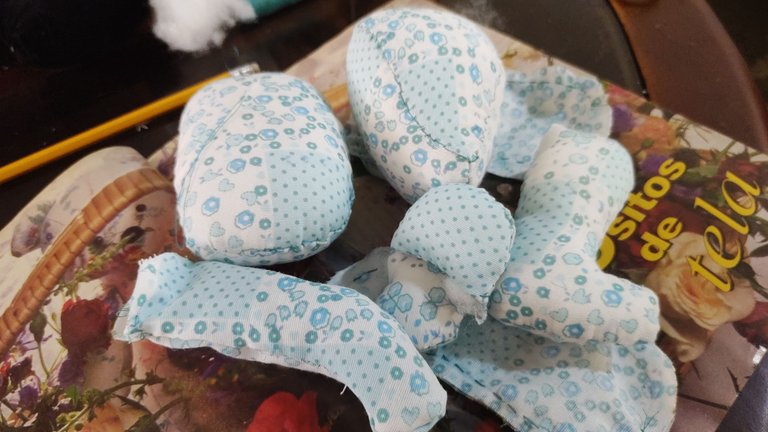
Lo siguiente es unir las piezas con sus pares. Cómo ven en la imagen, tengo todas las piezas; al derecho y al inverso. La única pieza que tiene 3 partes, es la cabeza. Cada pieza la vamos a coser por el lado más opaco y cuando este cosido, le daremos vuelta para rellenar. Con una aguja e hilo, unimos la piezas. Yo use la puntada invisible, claro que si tienen una forma mejor de coser o una máquina de coser, adelante. No soy muy diestra cosiendo, pero tome el tiempo para que cada puntada fuera uniforme. Importante comenzar por el lado dónde se va a unir con las otras partes, dejar un espacio sin coser y culminar respetando ese espacio.
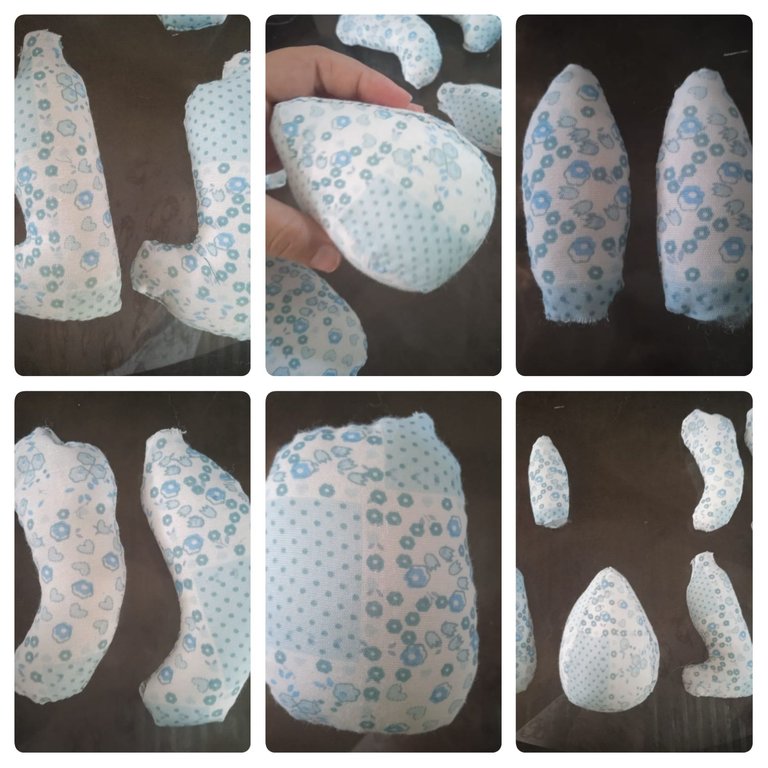
Una vez que tengamos todas las partes del cuerpo cosidas, vamos a darle vuelta a cada una para comenzar a rellenar. Este paso es bastante sencillo (y divertido), así que poco a poco vamos rellenando cada parte. Sabremos que está listo cuando notemos que coje cuerpo y no quedan espacios de "aire". Me he guiado con la imagen de la revista para saber cuándo parar. Más gordito o no. También tener cuidado de no exagerar pues mucho relleno puede hacer que las costuras aparezcan y el peluche se vea extraño. Mi tela no es elástica, con mayor razón y además, debemos parar para dejar un espacio en el punto de unión con las otras partes.
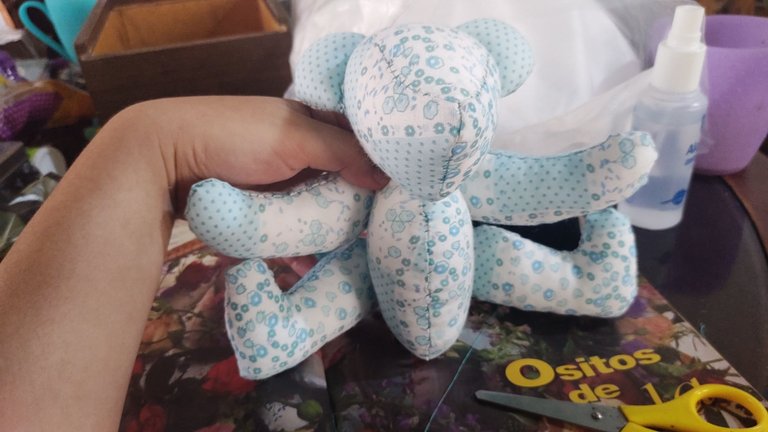
Cuando tengamos todas las partes del cuerpo rellenas, comenzaremos a unir. Yo he comenzado por la cabeza ya que es la parte mas difícil y siento que teniendo cosida esa parte del cuerpo, podremos tener una mejor referencia para coser los brazos y piernas y que estos queden simétricos. Para esto use la aguja curva, pues por el relleno y la postura del peluche, se hace difícil coser con una aguja recta. El angulo me ayuda a poder atravesar el peluche sin batallar tanto. Así haremos con todas las partes del cuerpo.
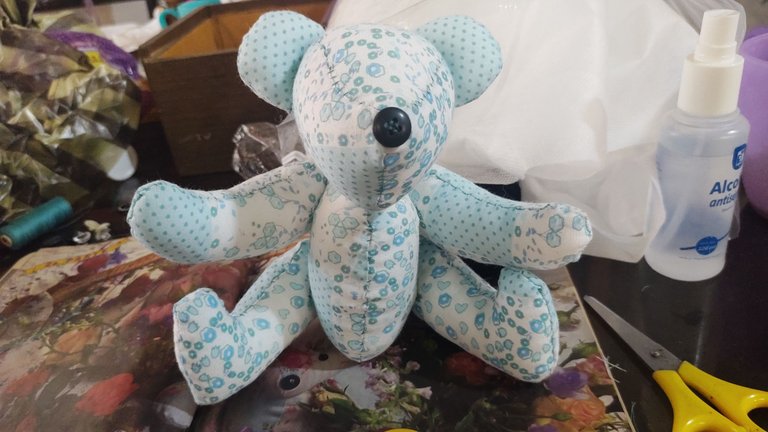
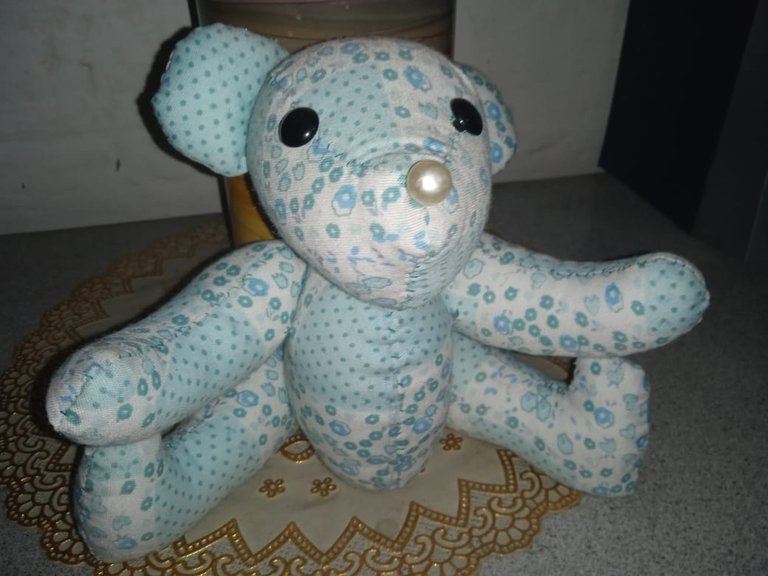
As a final step, once the stuffed animal has all the body parts attached, we'll add a few more stitches to make it look better. I've joined the limbs a little closer to the body so it looks less open and can stand upright. I also fixed the ears. Finally, we'll attach the buttons for the eyes and nose. I used black buttons (I don't remember the name) for the eyes and a pearl button for the nose. And this is how it turned out.
Cómo paso final, una vez que el peluche tenía todas las partes del cuerpo unidas, vamos a darle algunas puntadas más para que luzca mejor. Yo he unido un poco más al cuerpo las extremidades, para que este se vea menos abierto y pueda permanecer parado. También arregle las orejas. Finalmente, vamos a colocar los botones para los ojos y nariz. Yo use botones negros (no recuerdo el nombre) para los ojos y un botón perlado para la nariz. Y es así cómo ha quedado.
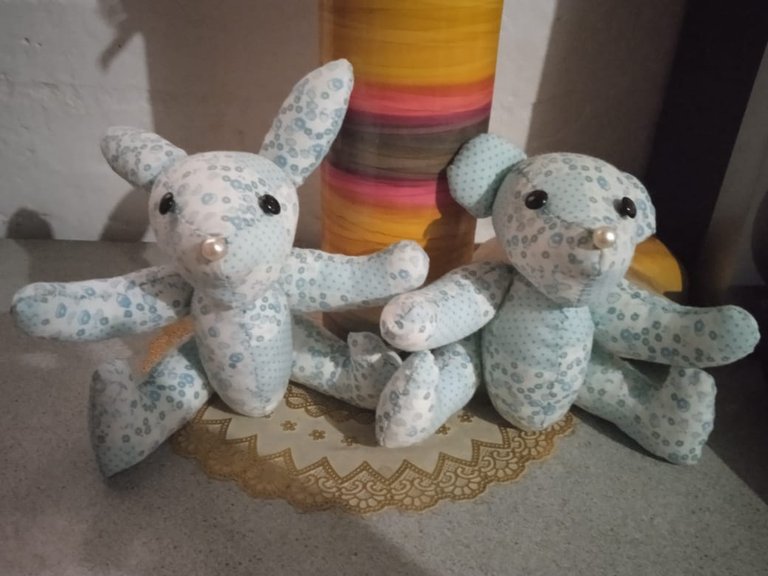
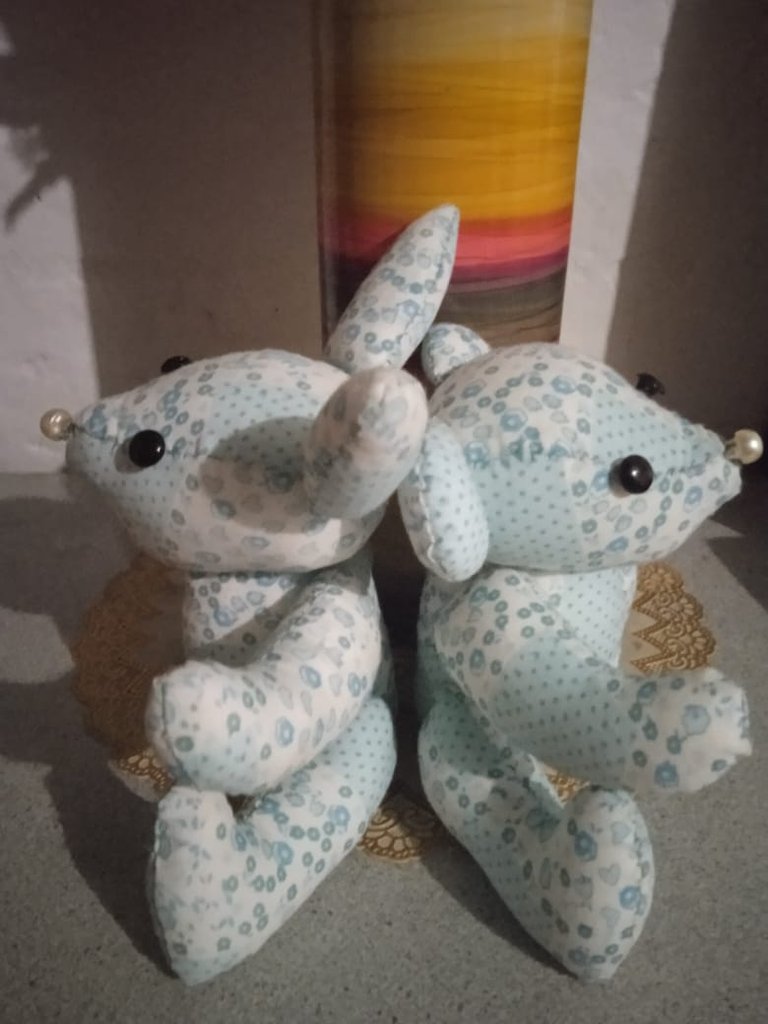
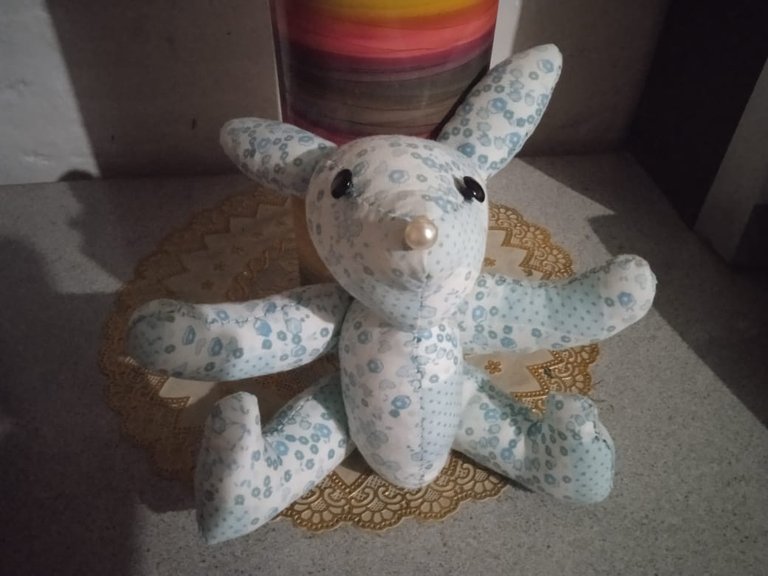
I really enjoyed making them. So much so that I made three of them: a bear, a rabbit, and a cat. I couldn't take a photo of the process with this last cat because I had already given it away, but what changes from one animal to another are simply the ears: rounder, longer, or curved. This is the first time I've made a stuffed animal, and I feel proud of it because I did it with so much love, learning little by little and letting myself be guided to do it as well as possible. Making one can take 1 or 2 days, but it took me longer because I hand-stitched it. Perhaps a sewing machine is faster. The stuffed animals should be about 25 cm long. Anyway, if you'd like me to provide the pattern with more specific measurements, let me know. Without further ado, thank you so much for stopping by and reading my post.
A mí me ha gustado mucho hacerlos. Es tanto así que hice 3 de ellos; un oso, un conejo y un gato. Este último del gato no le pude tomar foto al proceso porque ya lo había regalado, pero lo que cambia de un animal a otro, son simplemente las orejas; más redondas, largas o curvas. Es la primera vez que hago un peluche y me siento orgullosa de eso porque lo hice con mucho amor, aprendiendo poco a poco y dejándome guiar para hacerlo lo mejor posible. Hacer uno puede llegar 1 o 2 días, pero yo me tarde más porque lo cosi a mano. Quizás en máquina es más rápido. Los peluches deben medir unos 25 de largo. De todas formas, si desean que les facilite el patrón con medidas más específicas, me lo hacen saber. Sin más que decir, muchísimas gracias por pasar por aquí y leer mí publicación.

Que lindos los pelcuhes, son muy tiernos y estan muy bien hechos 😍 me gustaria aprender a hacerlos, asi haria hermanitospara Buhito jaja
Saludos Buhito, me alegra mucho que te hayan gustado. Así es, podrías tener más hermanitos, hacer crecer el hogar con otro par de animalitos jejeje 🤍🤗 muchas gracias por pasar por aquí, un abrazo.
De verdad esas revistas de antes son una bendición, mi mamá también tiene muchas de ellas. Te quedaron geniales la verdad un trabajo excelente y muy tierno. 🥰🫂
Sí 🤗 totalmente. A mí me encantan esas revistas, realmente provoca hacer todo lo que hay allí dentro jejeje muchas gracias por tus palabras, me alegra que te haya gustado mi trabajo. Un abrazo.
Pero que lindos y tiernos !! 😘
Muchas gracias ☺️ me alegra que te hayan gustado. Abrazos.
Te quedaron bastante profesionales tus ositos. Hace un tiempo yo quise hacer unos y en realidad hice un desastre, la costura no es para todos y por eso te felicito.
Saludos 🤗 que lindo, muchas gracias por eso. Bueno, diría que es cuestión de practica, el primero que hice no me salió tan prolijo pero ya luego pude remediar. Un abrazo.
Congratulations @carminasalazarte! You received a personal badge!
Wait until the end of Power Up Day to find out the size of your Power-Bee.
May the Hive Power be with you!
You can view your badges on your board and compare yourself to others in the Ranking
Check out our last posts: