Dental Assisting Practicum: Taking Dental Impressions [ENG/ESP]
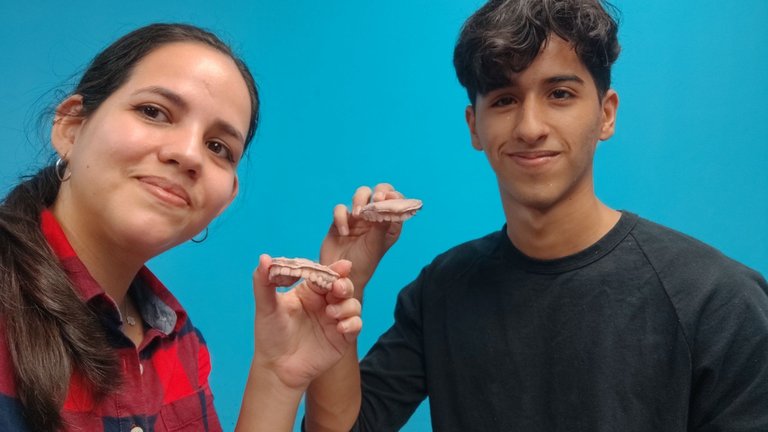
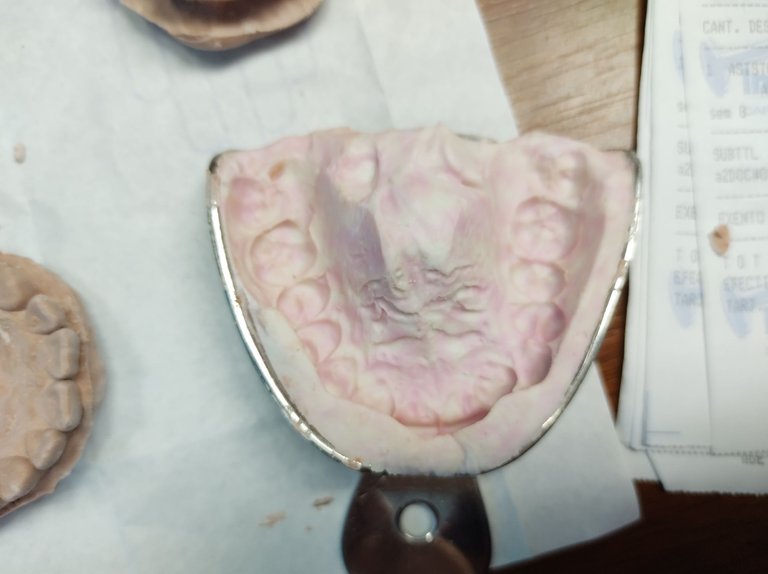
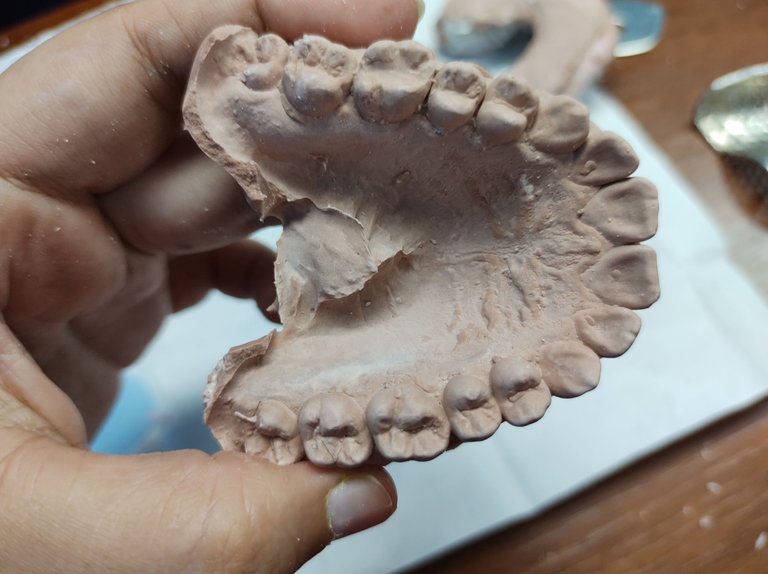
Greetings to everyone in the Lifestyle community! Today I am here to share with you what was my class today to become a Dental Assistant. This time we had the Practical II, where we had to make the dental impression of one of our classmates and then get the plaster model of that negative. This is for dental prosthesis. The work was in pairs, so I took my partner, Nelson, who was with me in the previous practice. This time we had to test the Biomaterials, Instruments, Biosafety, Anatomy and Morphology classes. In conclusion, practically all the topics previously seen.
¡Saludos a todos en la comunidad de Lifestyle! El día de hoy me uno por aquí para compartir con ustedes lo que fue mi clase del día de hoy para ser Asistente Odontológico. Esta vez nos tocó la Práctica II, dónde debíamos realizar la impresión dental de uno de nuestros compañeros y obtener posteriormente el modelo en yeso de ese negativo. Esto es para prótesis dentales. El trabajo fue en pareja, por lo que tomé a mi compañero, Nelson, quién estuvo conmigo en la práctica anterior. En esta oportunidad debíamos poner a prueba las clases de Biomateriales, Instrumental, Bioseguridad, Anatomía y Morfología. En conclusión, prácticamente todos los temas vistos anteriormente.
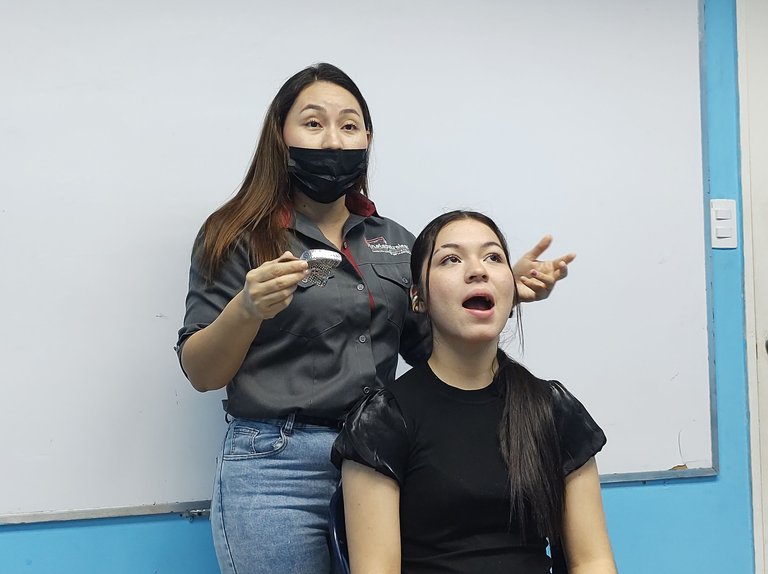
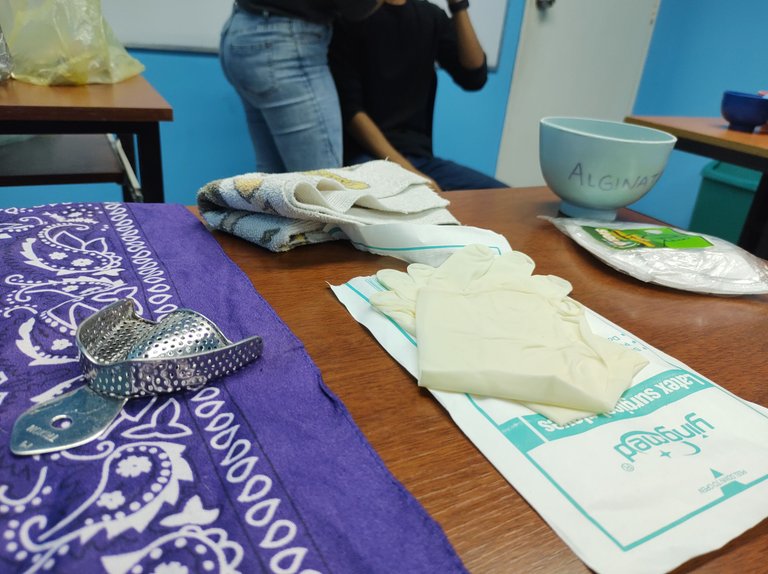
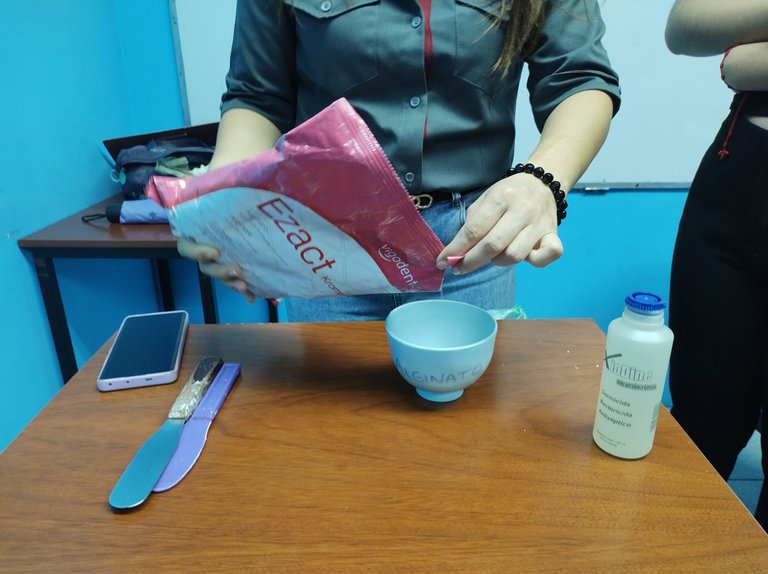
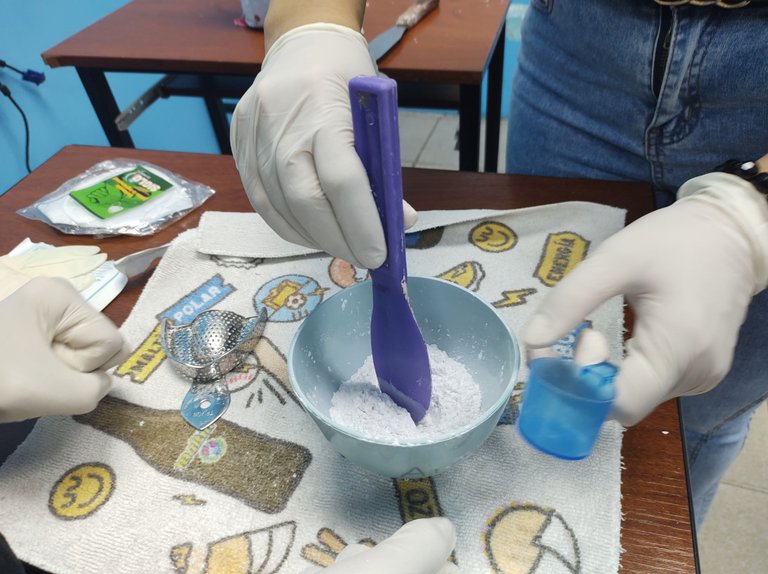
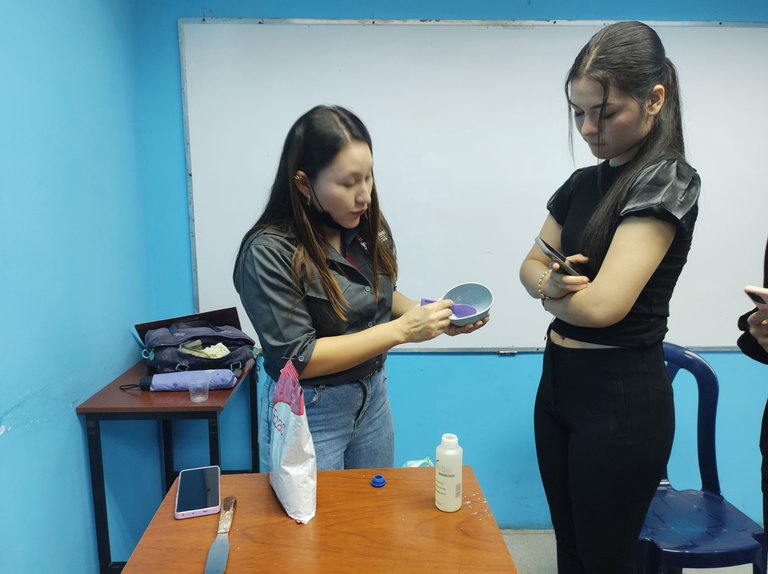
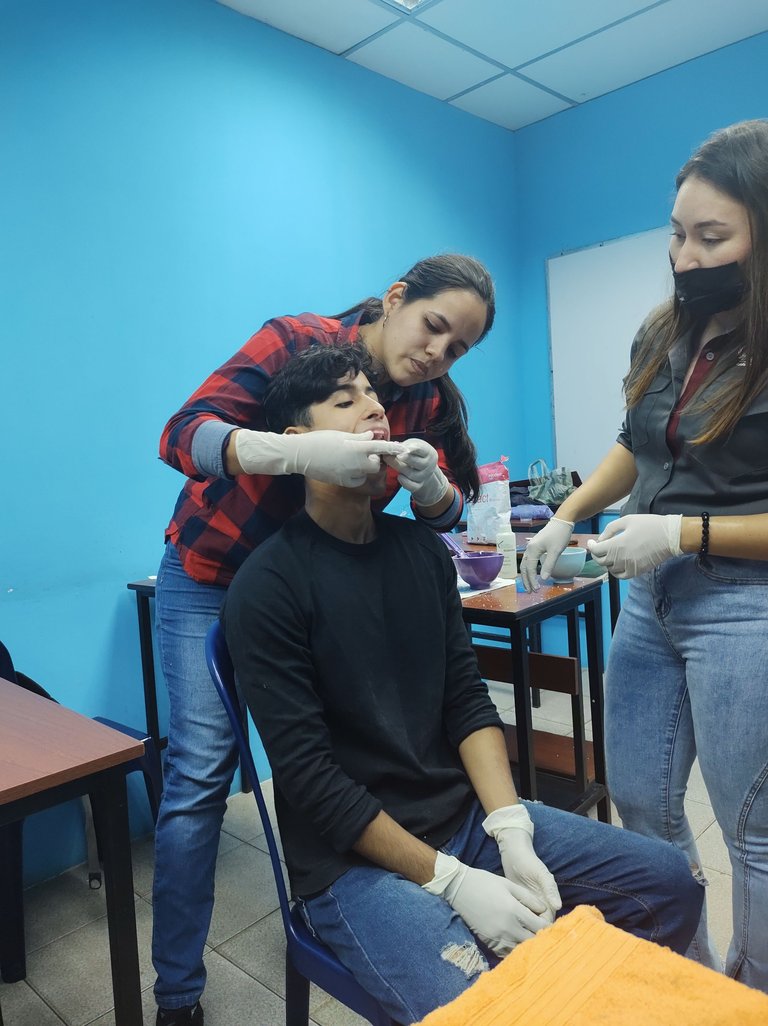
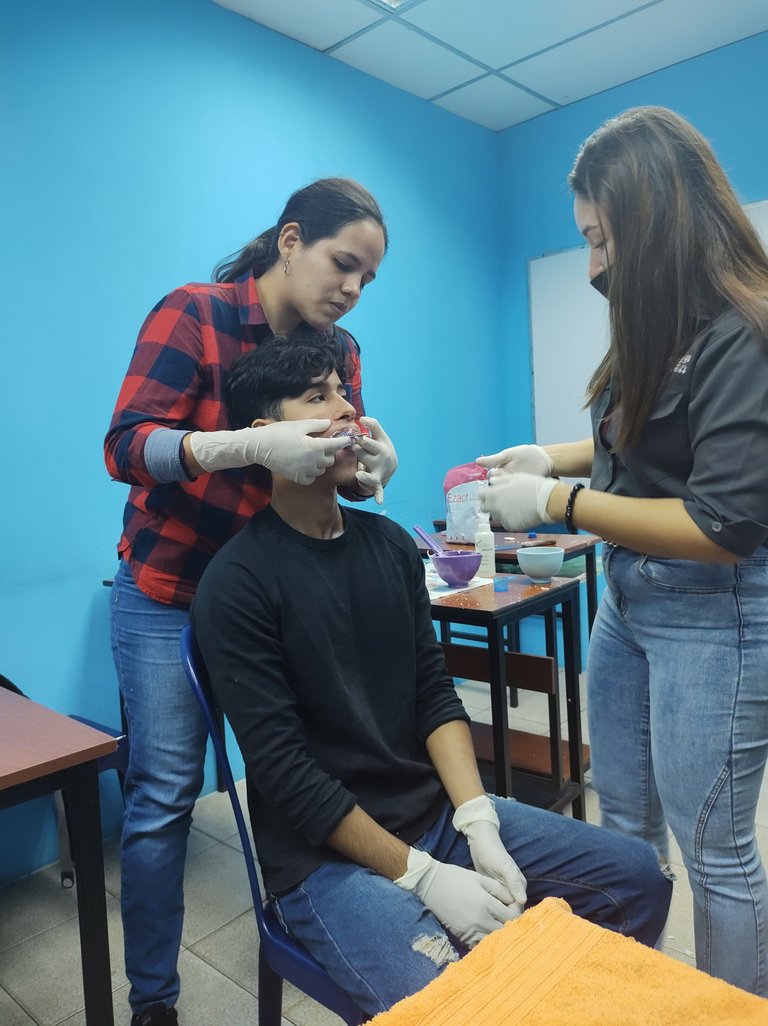
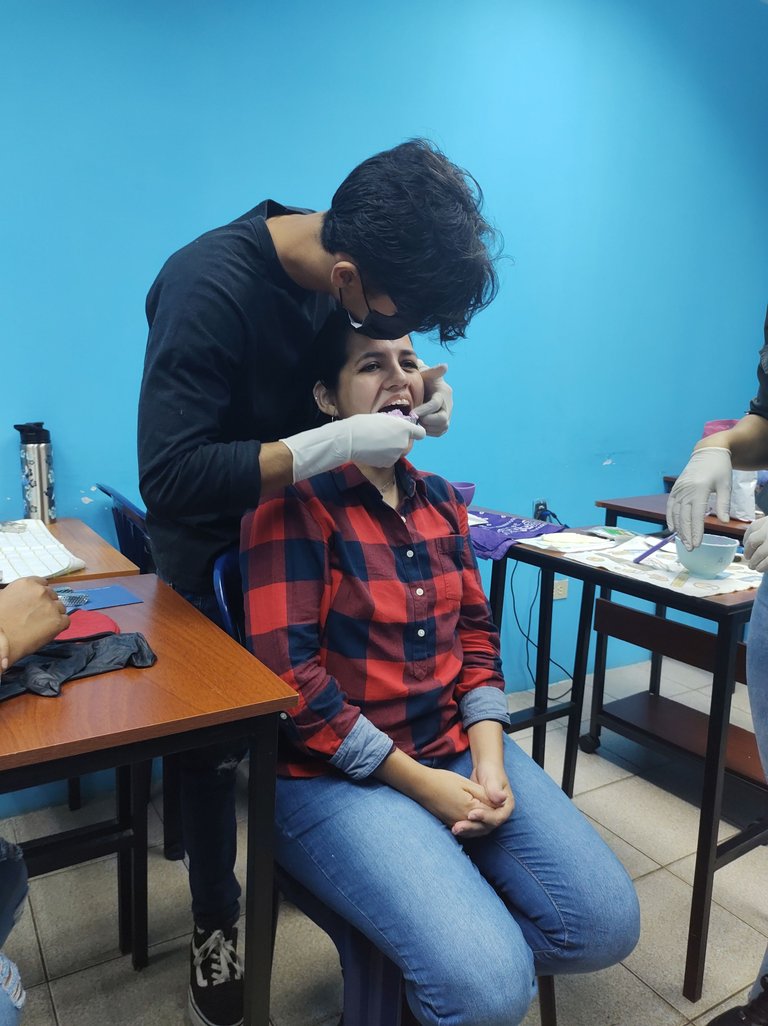
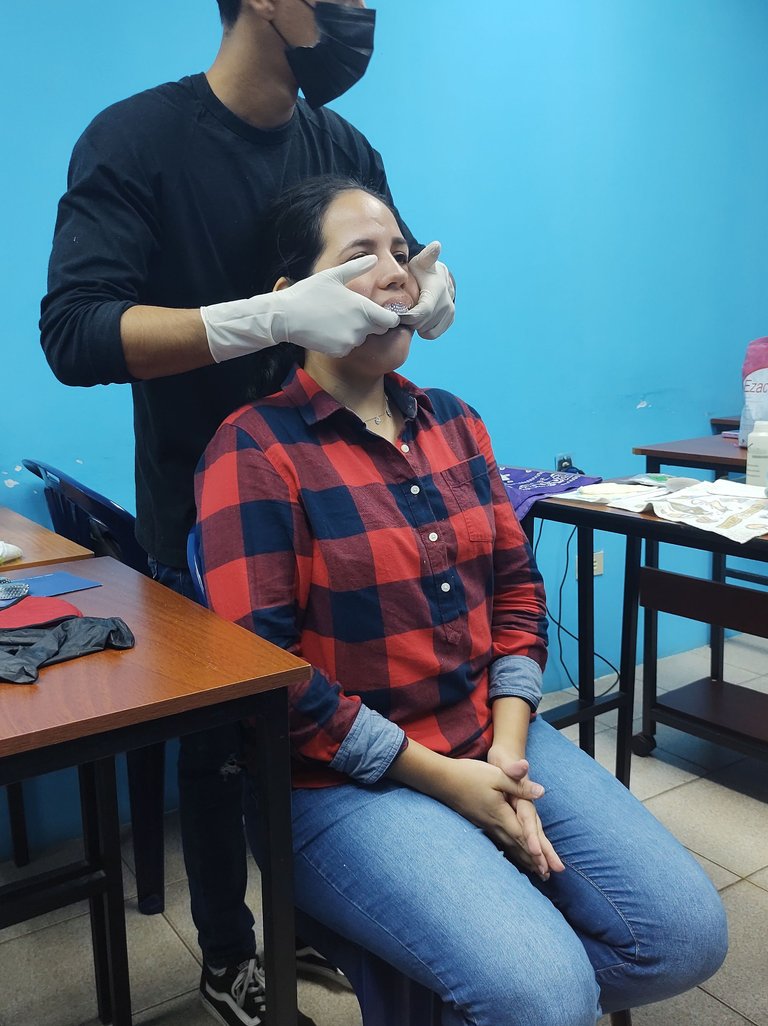
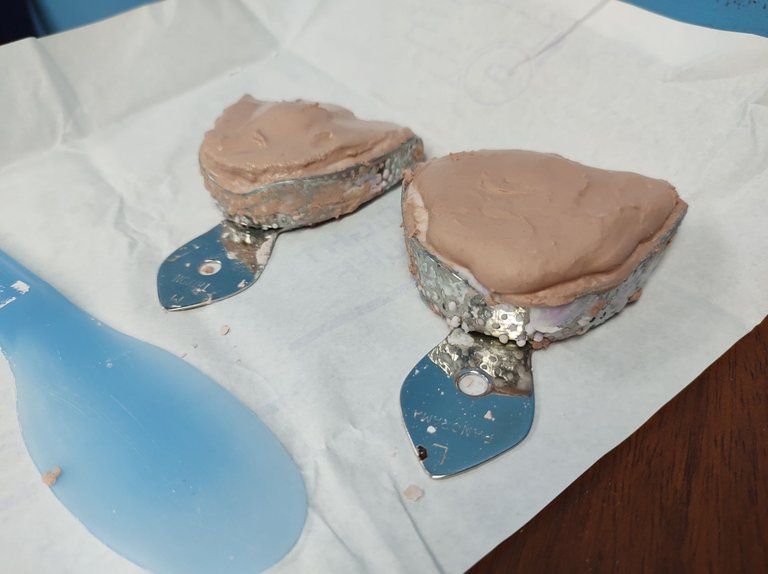
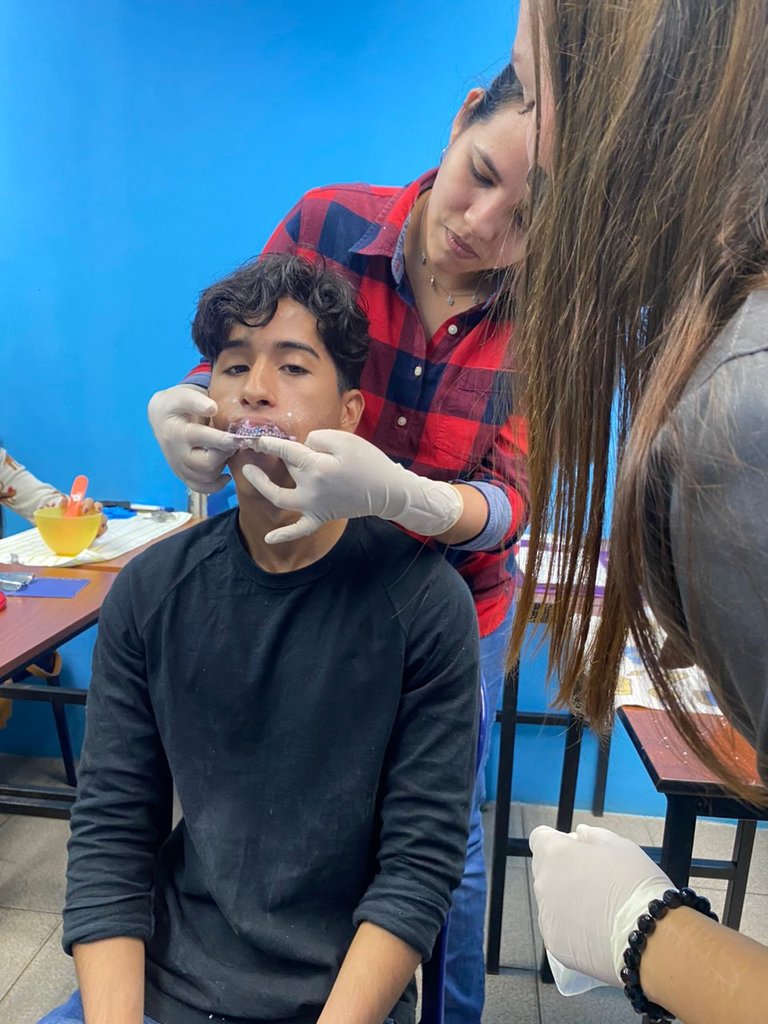
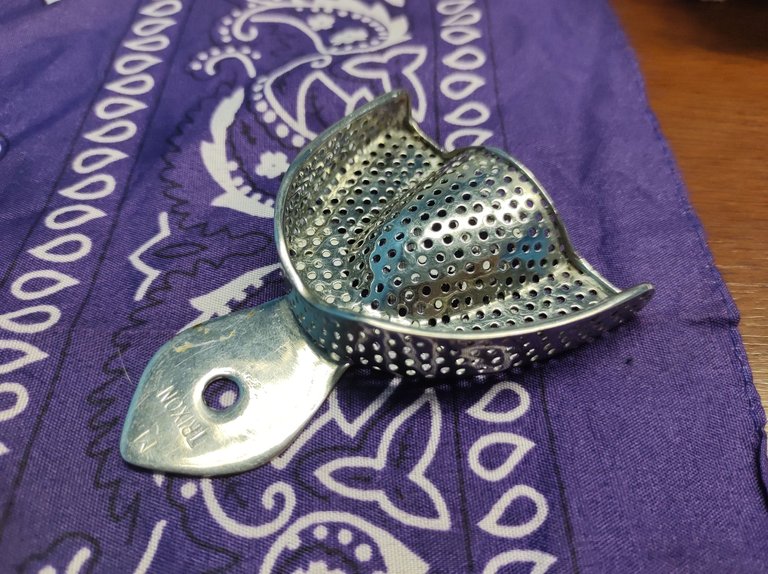
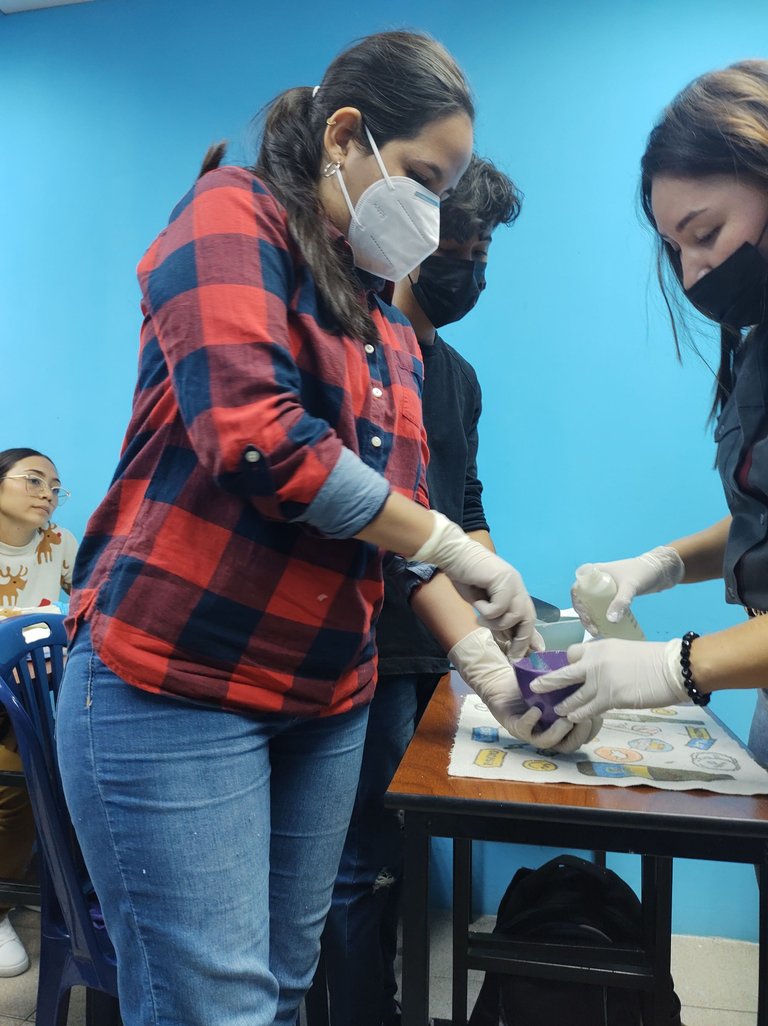
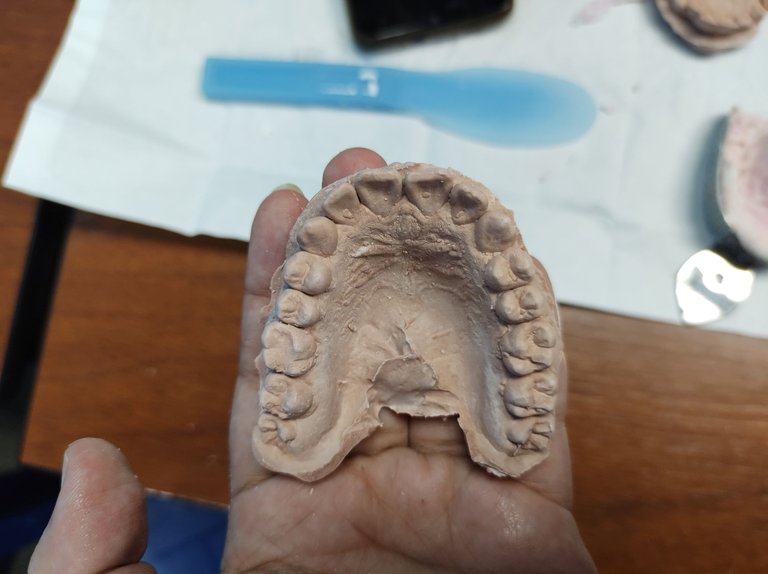
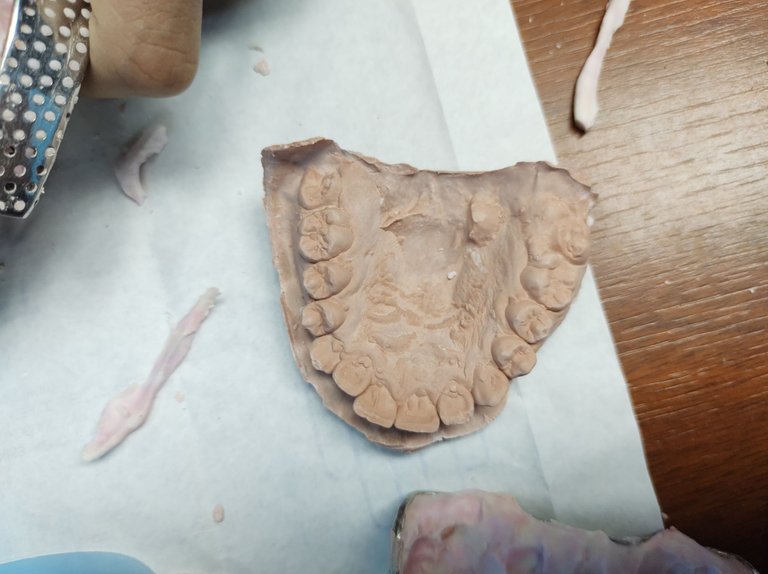
The first thing that was done was a demonstration on how we should act when we were with a real patient during an impression taking. How to explain to the patient the process that was going to be performed so that he/she would be more comfortable, safe and conscious (besides being able to collaborate -stay calm, open his/her mouth wide, etc-). The material used was alginate. The steps are: sit the patient down, explain what we will do, then measure the patient's mouth to find the corresponding tray (size S, M, L upper or lower), add alginate in a plastic cup (special for this work because it is malleable) and add distilled water while mixing all the material with a plastic spatula (in the shape of 8 or "squashing"), After it is homogeneous, pour the material into the tray with the help of the spatula, introduce it quickly in the mouth (we must be behind the patient) penetrating enough to fit well (if it does not fit, we lose the work) and hold it with the index and middle fingers while we wait for it to harden and then remove it carefully.
Lo primero que se hizo fue una demostración sobre cómo debíamos actuar a la hora de estar con un paciente real durante una toma de impresión. Cómo explicarle al paciente el proceso que se iba a realizar para que este, esté más cómodo, seguro y consciente (además de poder colaborar -mantener la calma, abrir bien la boca, etc-). El material usado fue el alginato. Los pasos son: sentar al paciente, explicarle lo que haremos, luego medir la boca del paciente para encontrar la cubeta correspondiente (talla S, M, L superior o inferior), añadir alginato en una taza de plástico (especial para este trabajo por ser maleable) e ir añadiendo agua destilada mientras con una espátula plástica se va mezclando todo el material (en forma de 8 o "aplastando"), luego de que este homogéneo, se vierte el material en la cubeta con la ayuda de la espátula, se introduce rápidamente en boca (debemos estar atrás del paciente) penetrando lo suficiente para que calce bien (sino calza, perdemos el trabajo) y se sostiene con los dedos índices y medios mientras esperamos a que endurezca y luego retiramos con cuidado.
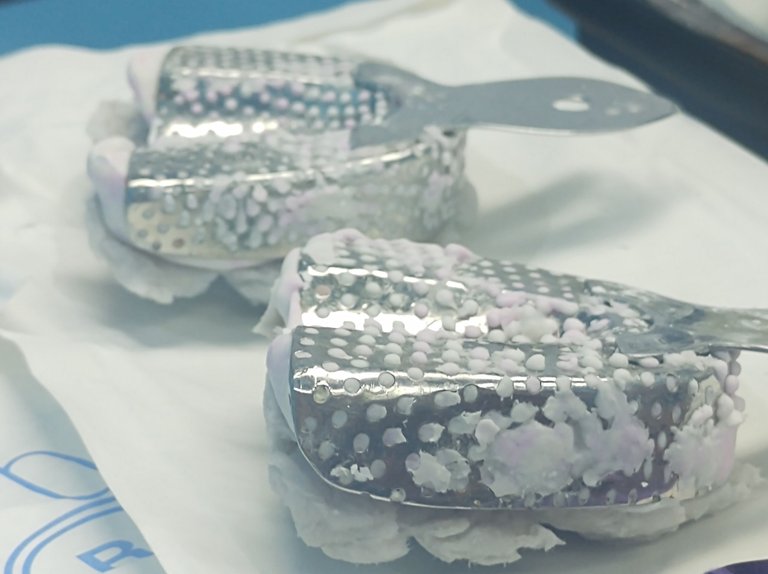
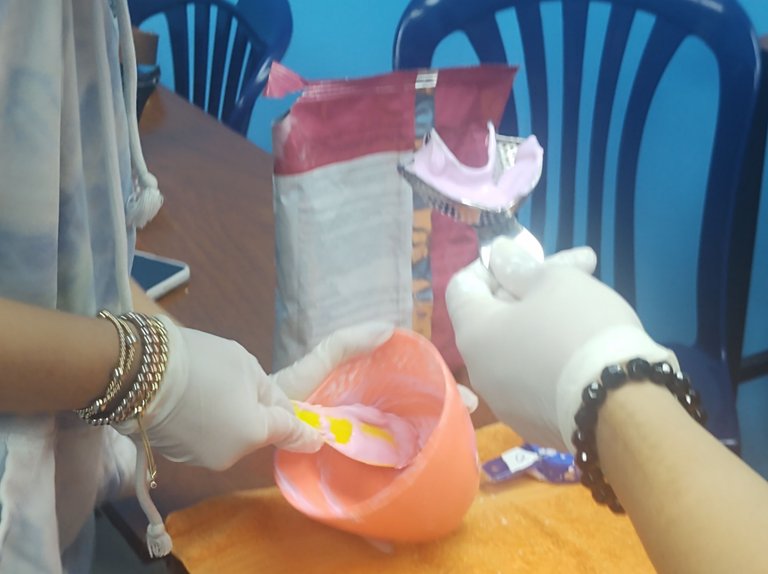
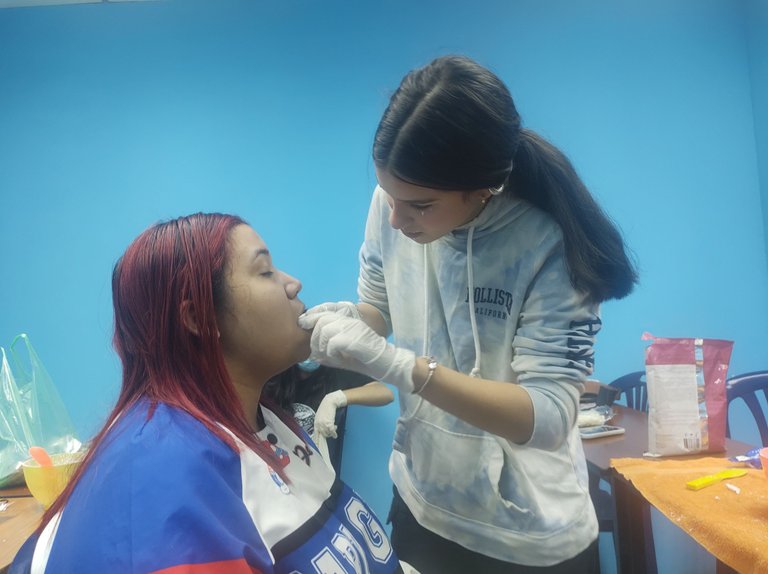
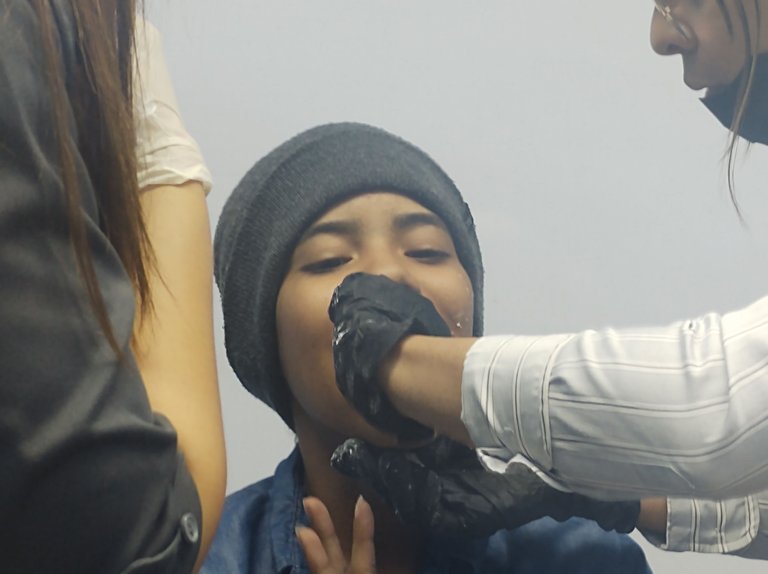
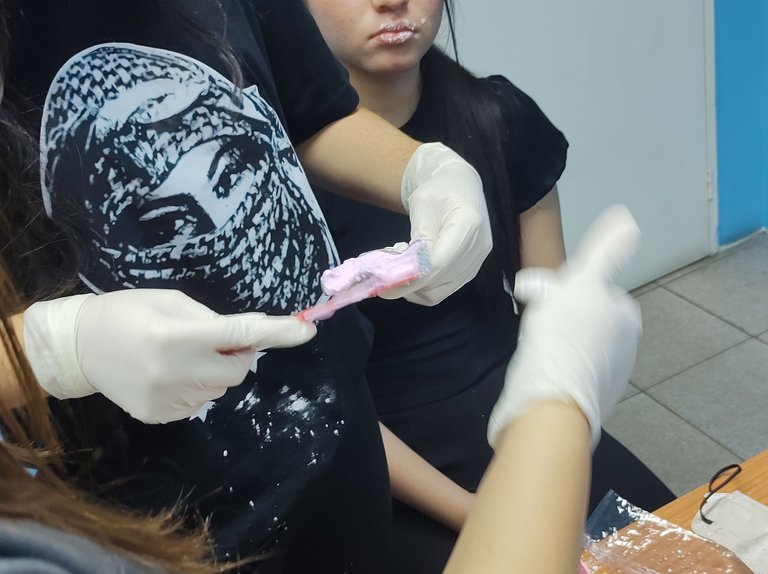
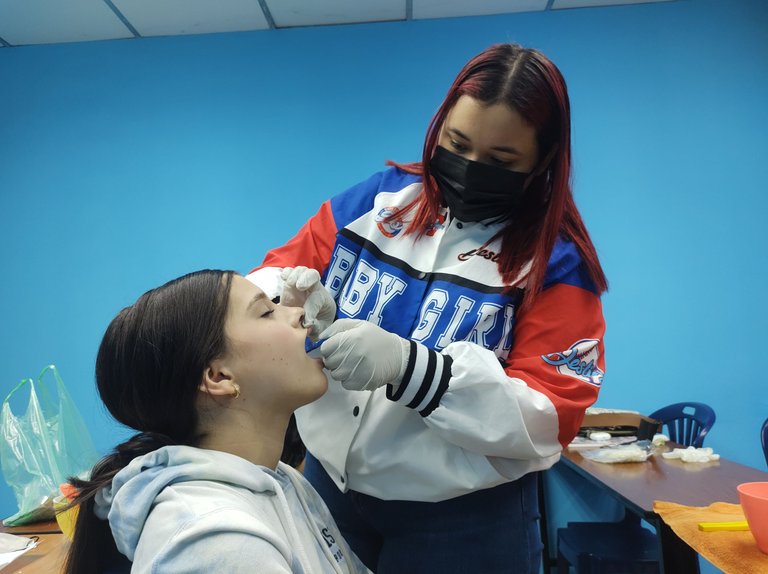
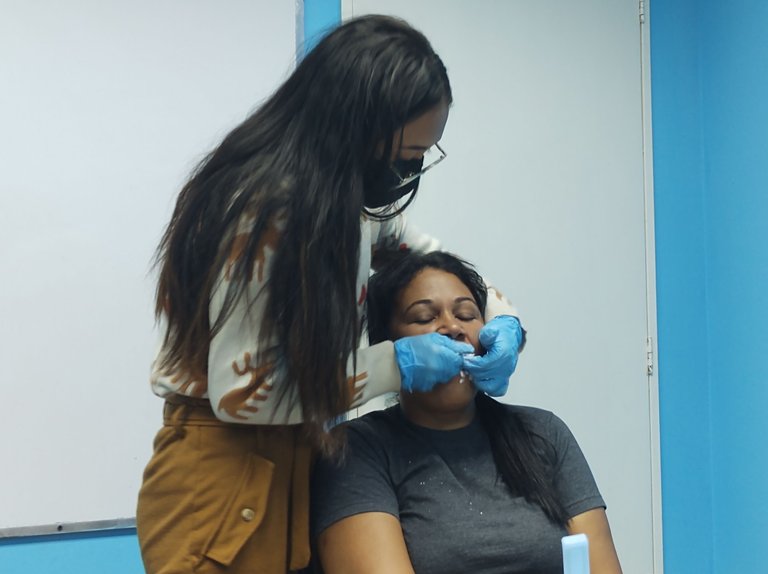
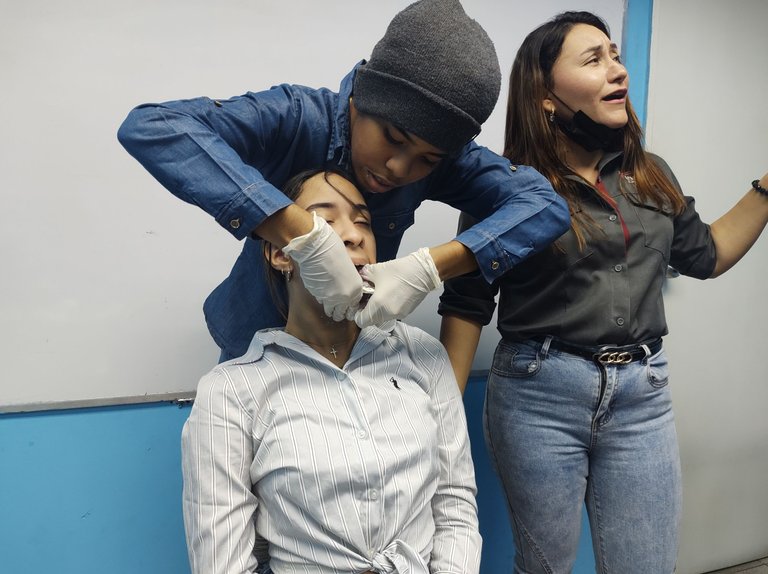
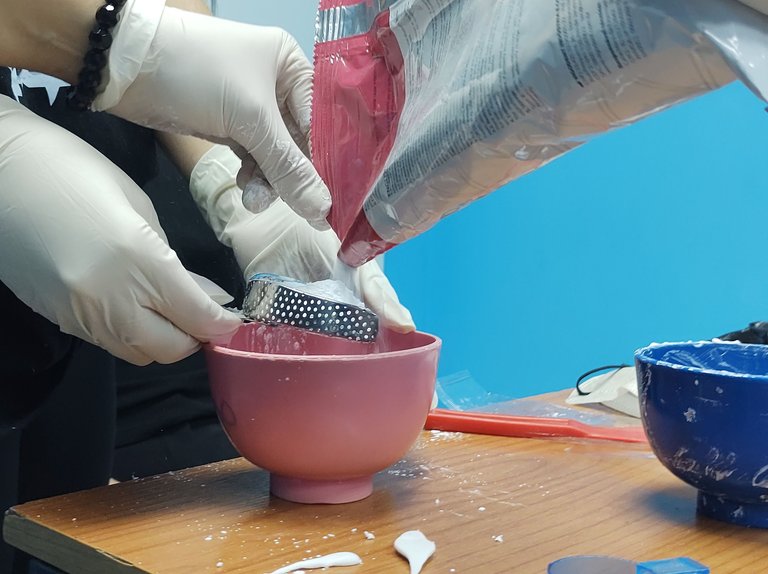
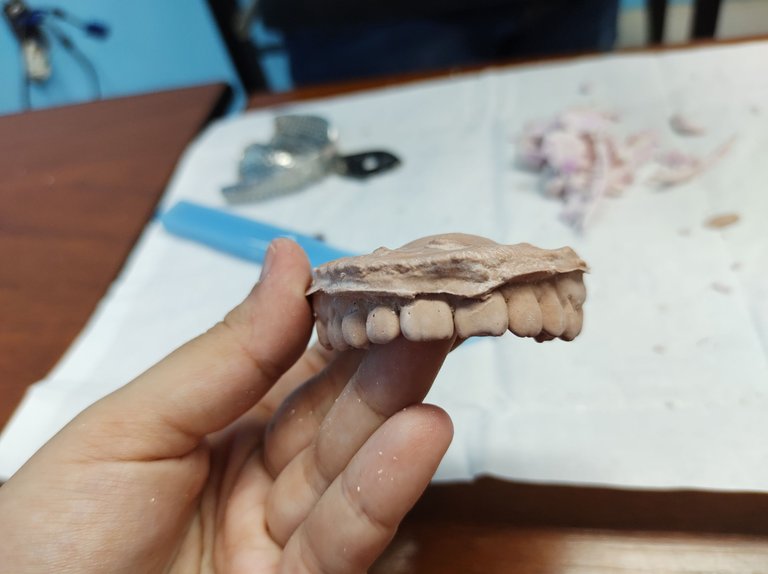
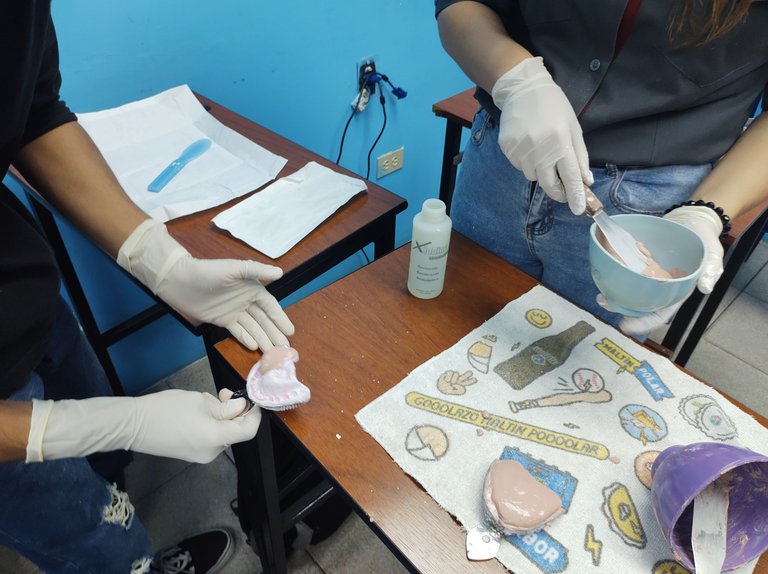
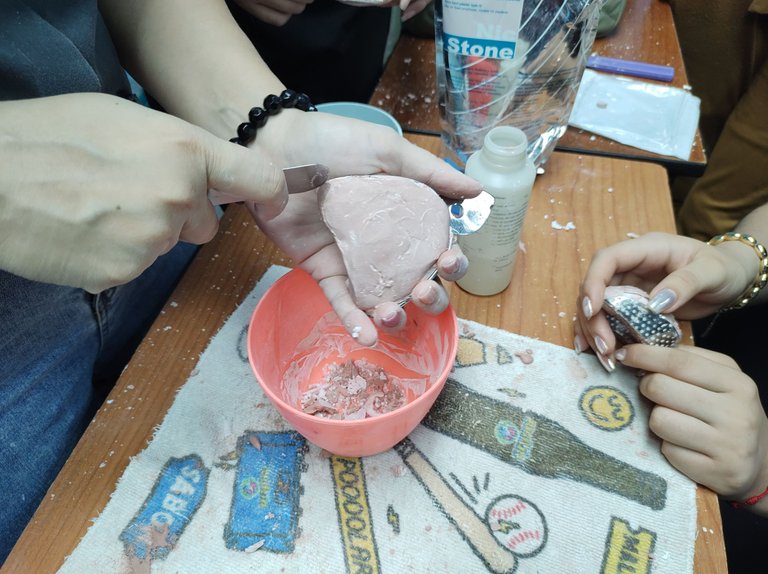
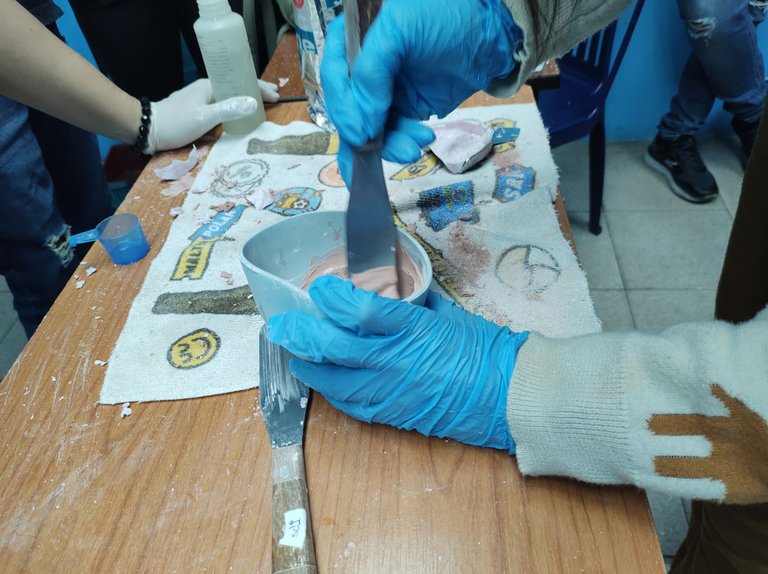
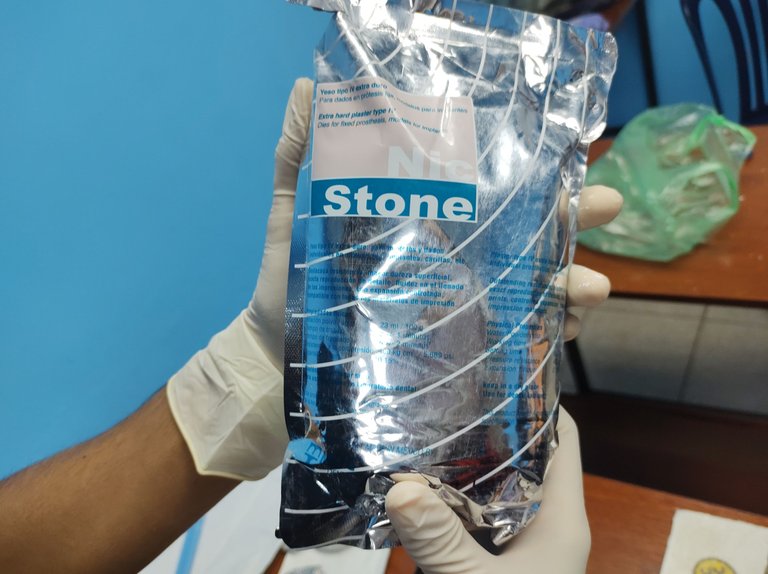
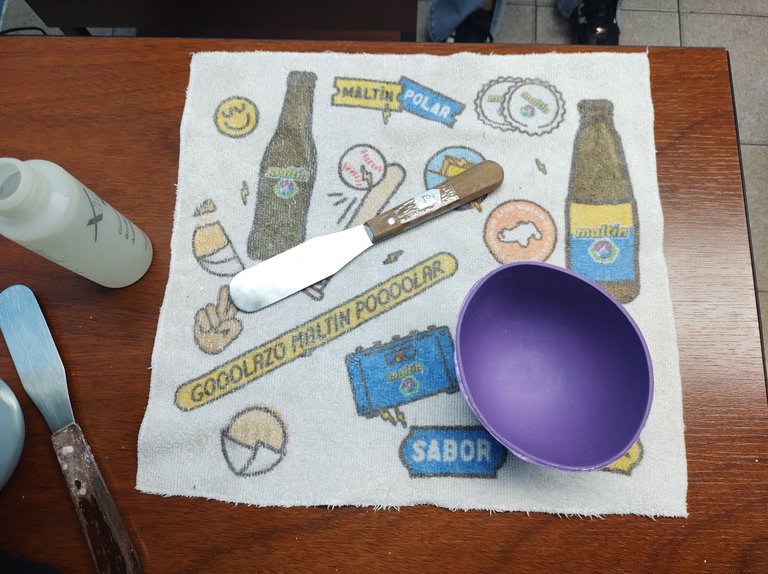
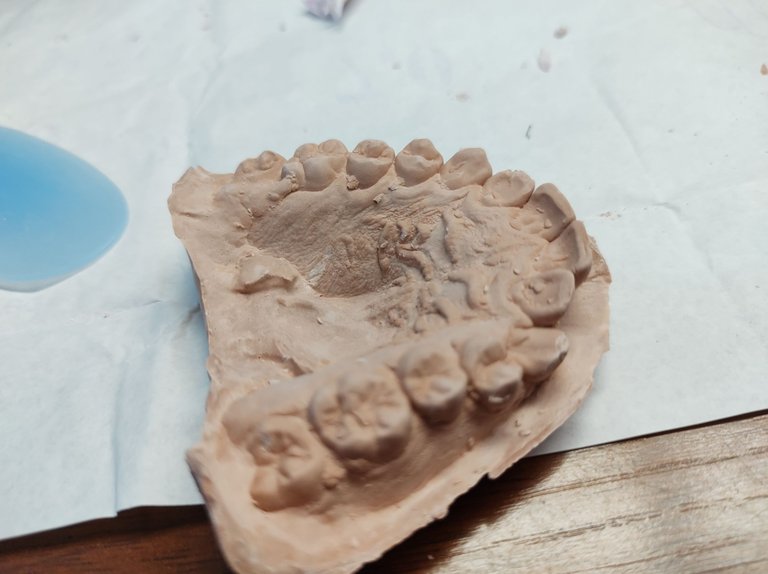
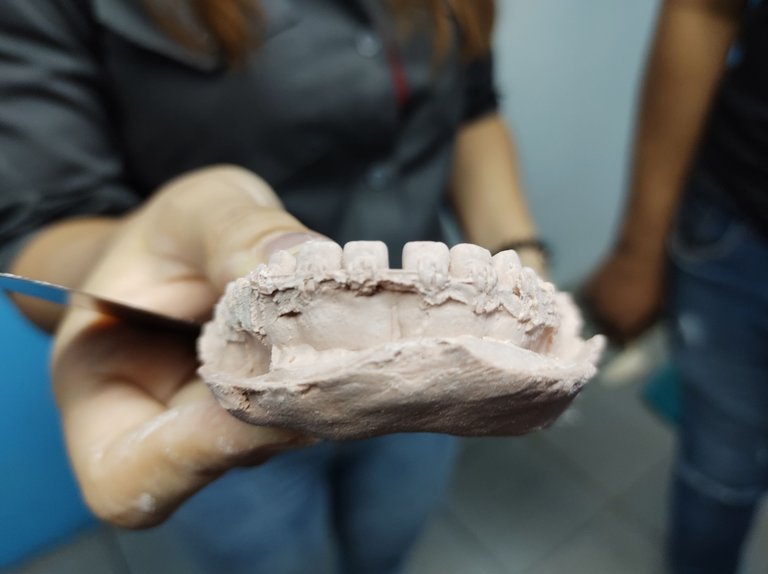
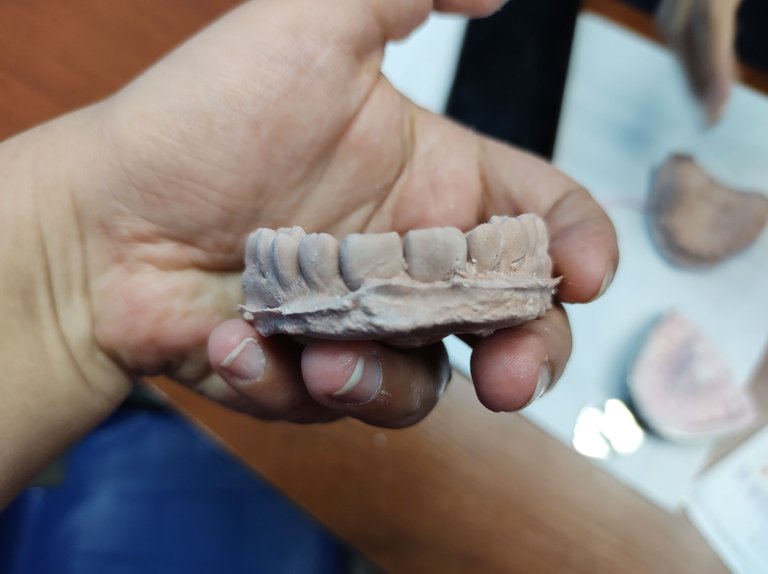
The setting (drying) time will depend on the material used. The alginate usually sets in about 2 minutes maximum from the moment we activate it with water, so we count from the preparation (the moment of mixing), until we introduce it in the mouth. We must do it as fast as possible to avoid hardening, but also be assertive so as not to lose our cool and waste material all over the place. It's mostly technique and practice, that's what we are there for. I took my impression and so did my partner. Then, we did the plaster work which is basically adding plaster in a cup (preferably hard, not so malleable), pouring water and mixing with a metal spatula. Gypsum has a slower setting time, so it is more practical to work with, but you still have to speed things up. Once the mixture is ready, pour it into the alginate impression, making sure that it reaches each tooth and that there are no bubbles. Wait 30 minutes until it is hard and we can carefully remove our mold.
El tiempo de fraguado (secado), dependerá del material usado. El alginato suele fraguar en unos 2 minutos cómo máximo desde el momento en que lo activamos con el agua, así que contamos desde la preparación (el momento de mezclar), hasta que introducimos en boca. Debemos hacerlo lo más rápido posible para evitar que endurezca, pero también ser asertivos para no perder la calma y desperdiciar material por todos lados. Es más que todo técnica y práctica, para eso estamos allí. Yo tomé mi impresión y mi compañero también. Luego, hicimos el trabajo con el yeso que es básicamente añadir yeso en una taza (preferiblemente dura, no tan maleable), vertir agua y mezclar con una espátula de metal. El yeso tiene un tiempo de fraguado más lento, así que es más práctico para trabajar, pero igual hay que agilizar las cosas. Una vez lista la mezcla se vierte en la impresión se alginato, tomando en cuenta que llegue a cada diente y no queden burbujas. Se espera 30 minutos a que este duro y podemos retirar con cuidado nuestro molde.
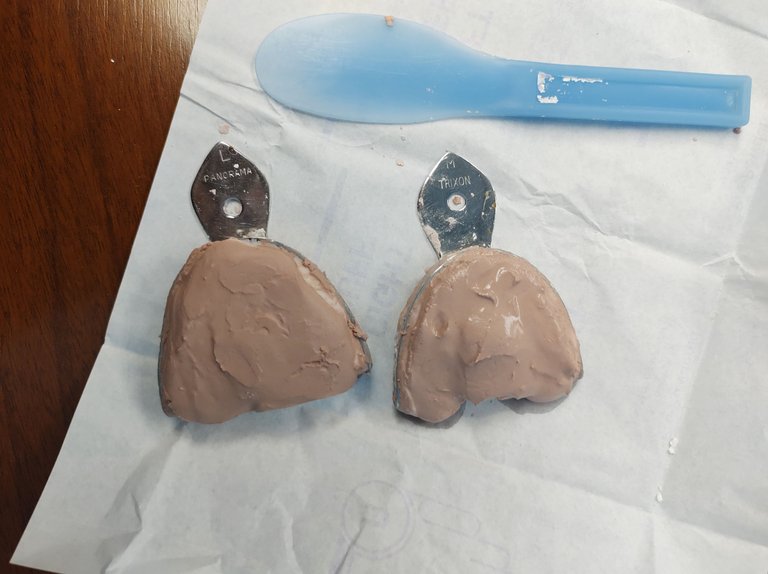
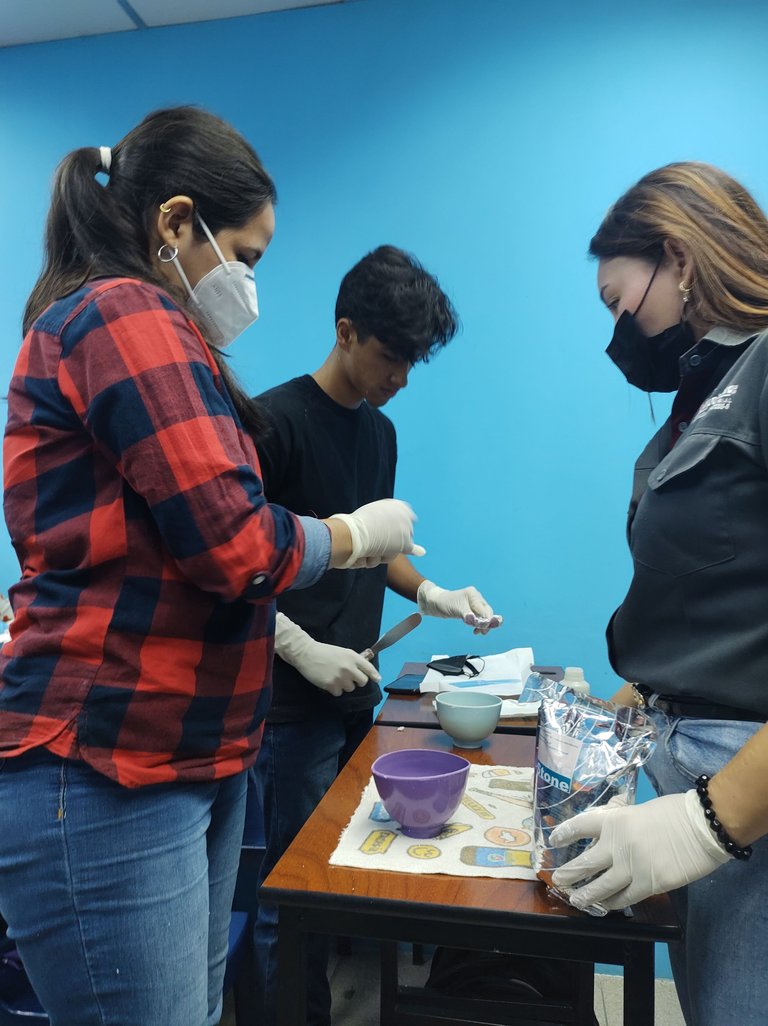
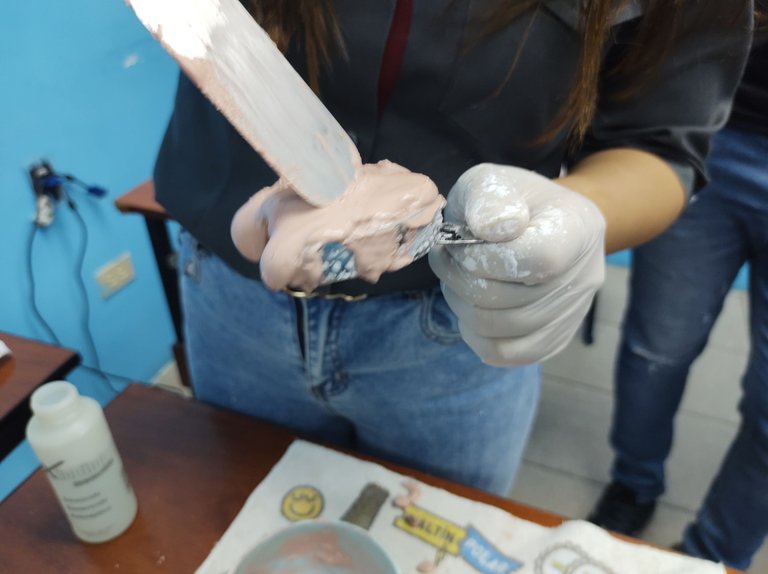
It was a very satisfying practice because it is really exciting to make these prints. I like this more and more. At the end of the activity we were all very happy with our models because although we are beginners, the work obtained was quite good. It is surprising because we started working at 8:30 and finished at about 12:30. Clearly the impressions in an office are much faster because it is a single patient, but as we were many in the room (13 people) and we had to be supervised by our teacher, the time was extended. It flew by though. Finally my friends, this has been my day, a little piece of dentistry with which I hope has been of interest to you. It is still a health issue that concerns us all. So if one day you need to make a prosthesis, you know how the whole process is. A big hug.
Fue una práctica muy satisfactoria pues es realmente apasionante realizar estas impresiones. Cada vez me va gustando más esto. Al finalizar la actividad todos estábamos muy felices con nuestros modelos pues aunque somos principiantes, el trabajo obtenido resultó bastante bueno. Es sorprendente pues comenzamos a trabajar desde las 8:30 y terminamos a eso de las 12:30. Claramente las impresiones en un consultorio son mucho más rápidas porque es un solo paciente, pero cómo eramos muchos en el salón (13 personas) y debíamos ser supervisados por nuestra profesora, se extendió el tiempo. Aunque paso volando. Finalmente amigos míos, este ha sido mi día, un pedacito de la odontología con la cual espero haya sido de su interés. Igual es un tema de salud que a todos nos concierne. Así que si un día necesitan realizar alguna prótesis, ya saben cómo es todo el proceso. Un fuerte abrazo.
0
0
0.000
ohhhh... my son had the same procedure 2 weeks ago:)
we made teeth print for creating tooth correction tool. don't know how to call it in English;)
you're a dentist, you know what it is;))