Reusing Condemned Oil for Door Maintenance/Reutilización de aceite desechado para el mantenimiento de puertas
English/Español::
What I love the most about my lifestyle is that I don't ever tolerate waste. I prefer to reuse or recycle most of the items in the house for my own good and management of resources. It's a way of reflecting the minimalism in me.
For this post I'll be making in this amazing community, the #homesolutions community today, I'm going to be sharing the step-by-step procedures on how I was able use an old condemned engine oil to clean up our dusty, rusty door.
This is the door that leads to the staircase where we take to get upstairs.
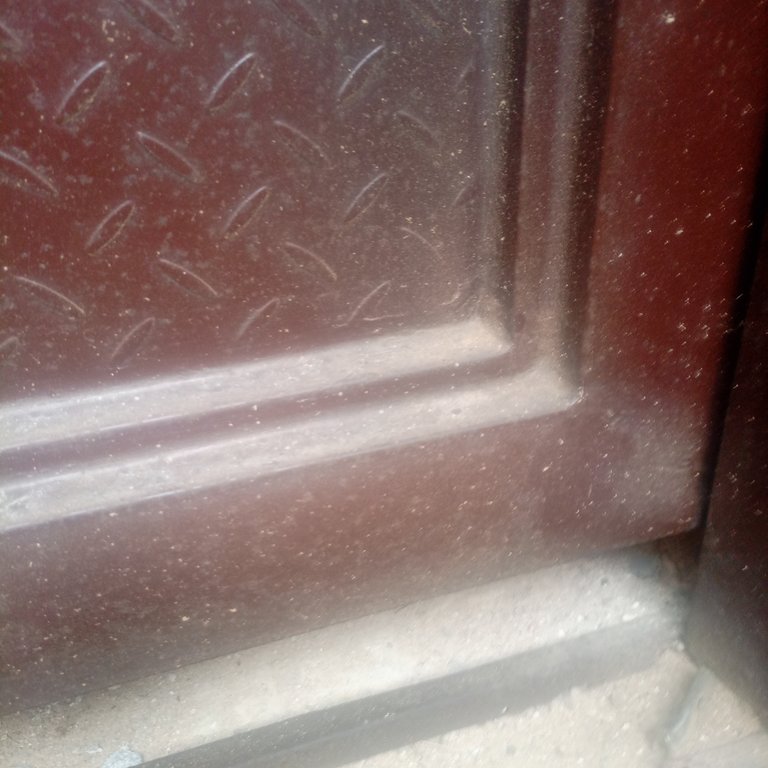
Because it's the rainy season, rain splashes on the floor, moves sand and stains to the lower portion of the door.
But before that, whenever rain doesn't fall, wind moves sand and dust to mess up the door.
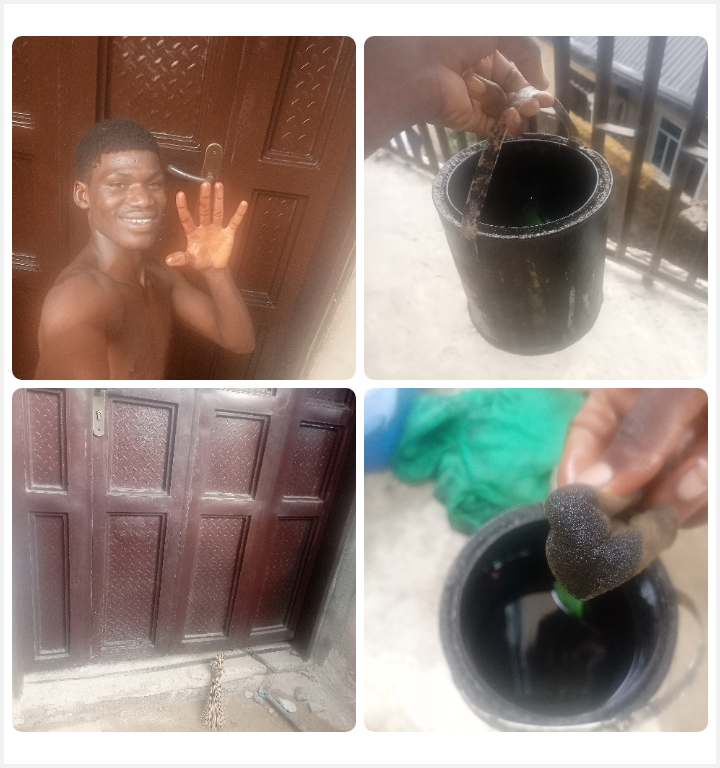
So, today I decided to clean up this door because it's one of the major entrances
to get into the up floor of the duplex.
Since this is the major door, it means that anyone getting upstairs has to pass through this door and we sometimes have visitors who get into the house via this door.
I cleaned up the door to at least maintain its look and restore its shiny appearance.
So, talking about how I was able to achieve my objective; first, I gathered the
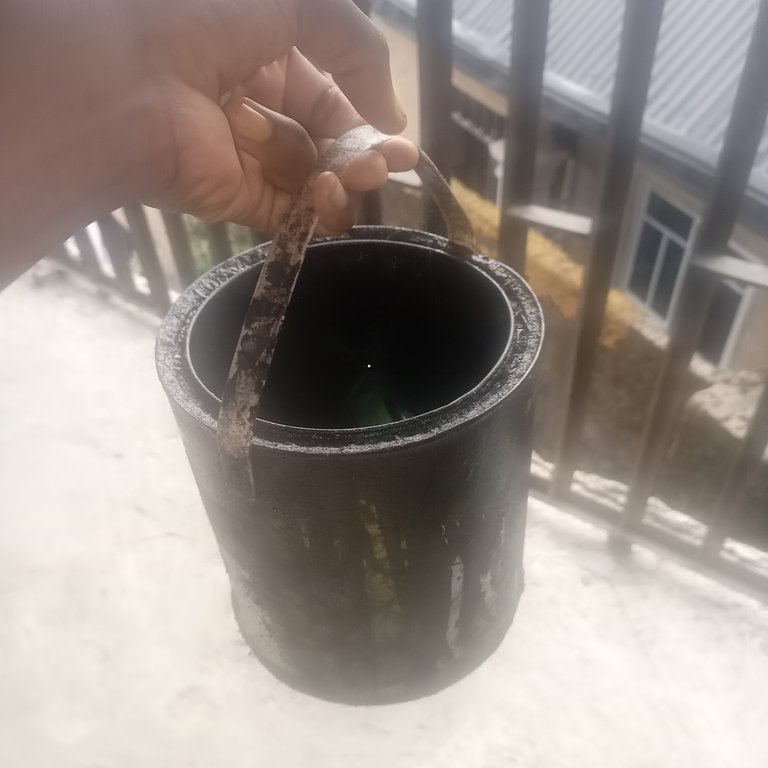
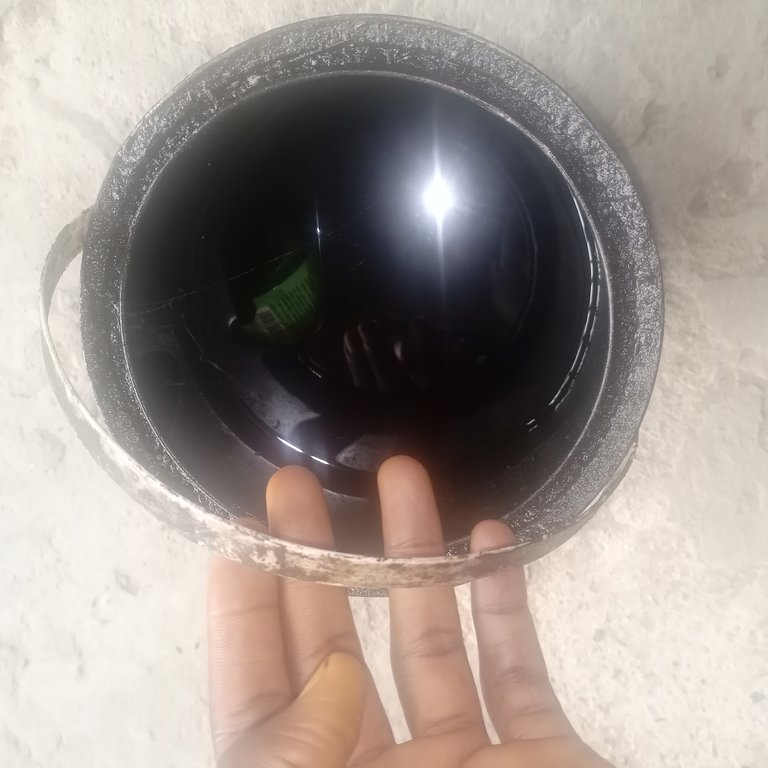
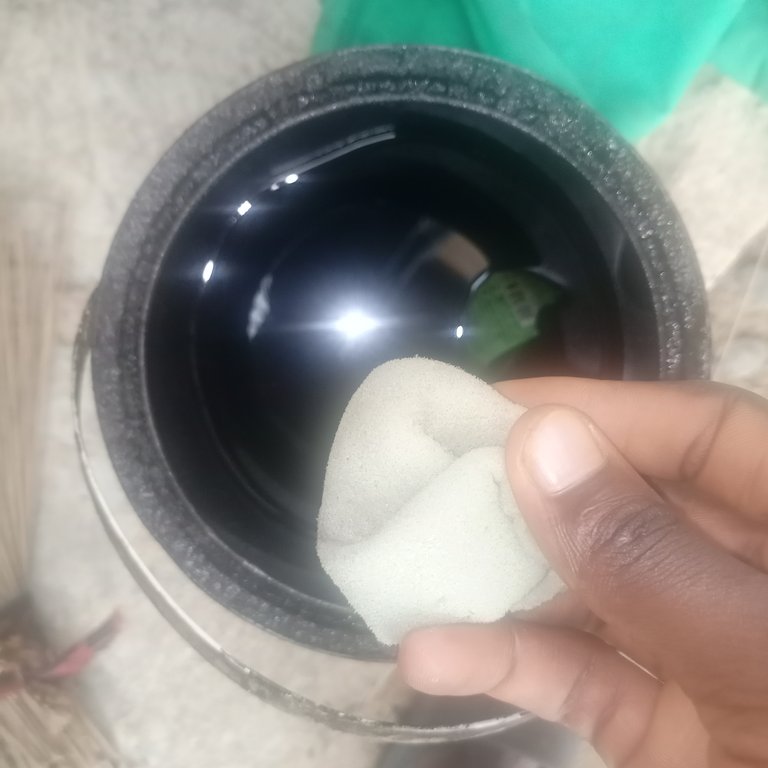
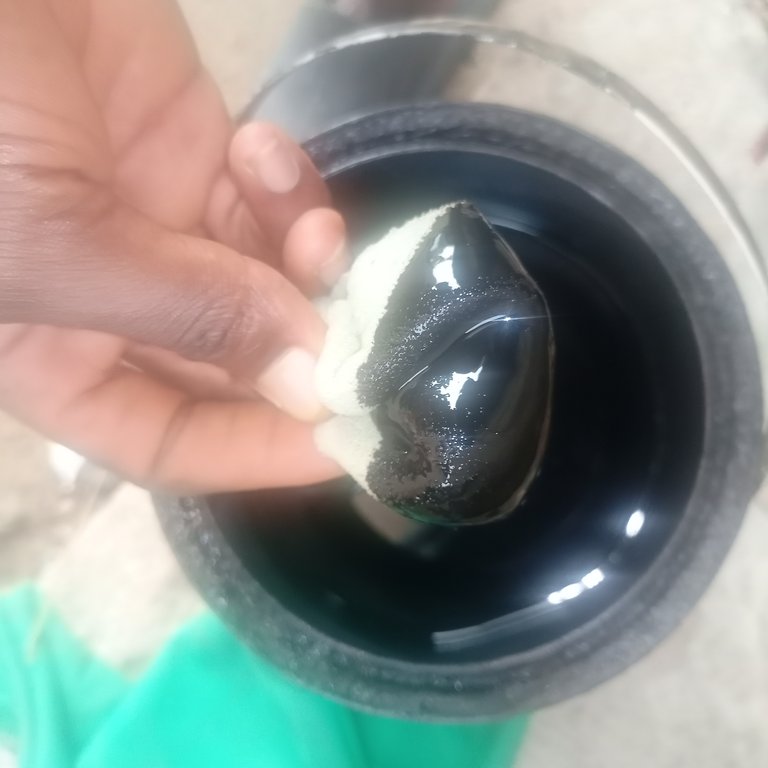
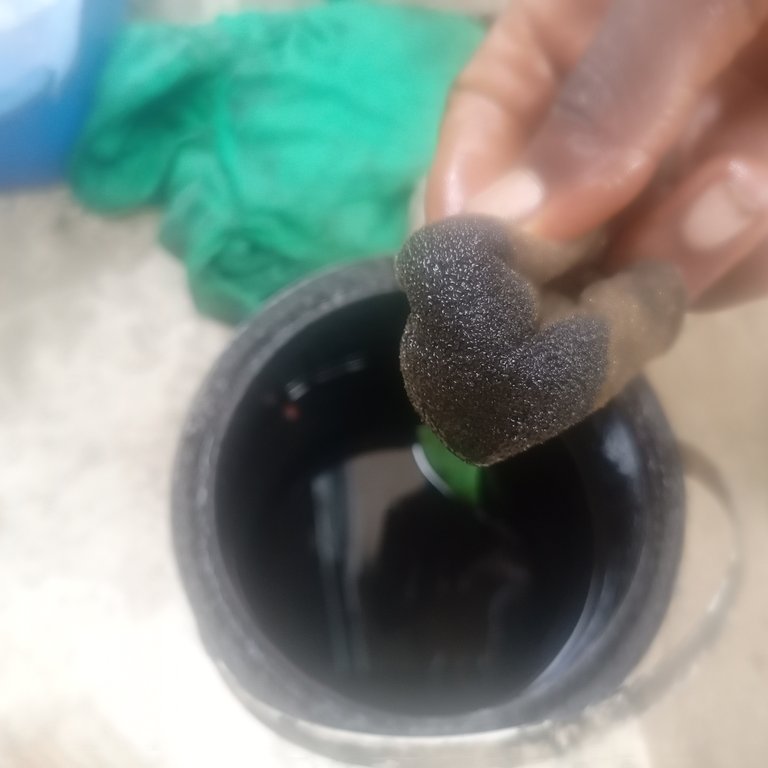
items/materials together which include condemned engine oil in the container. It looks black because it was gotten from our generator after it wasn't working anymore.
One of the maintenance procedures to ensure the durability of most electrical equipment or machines is regular changing of the engine oil, so for our generator, we often change the oil whenever it goes bad but instead of
disposing of this oil, we often gather it in this container and that is the oil I'll be using to clean up the door today.
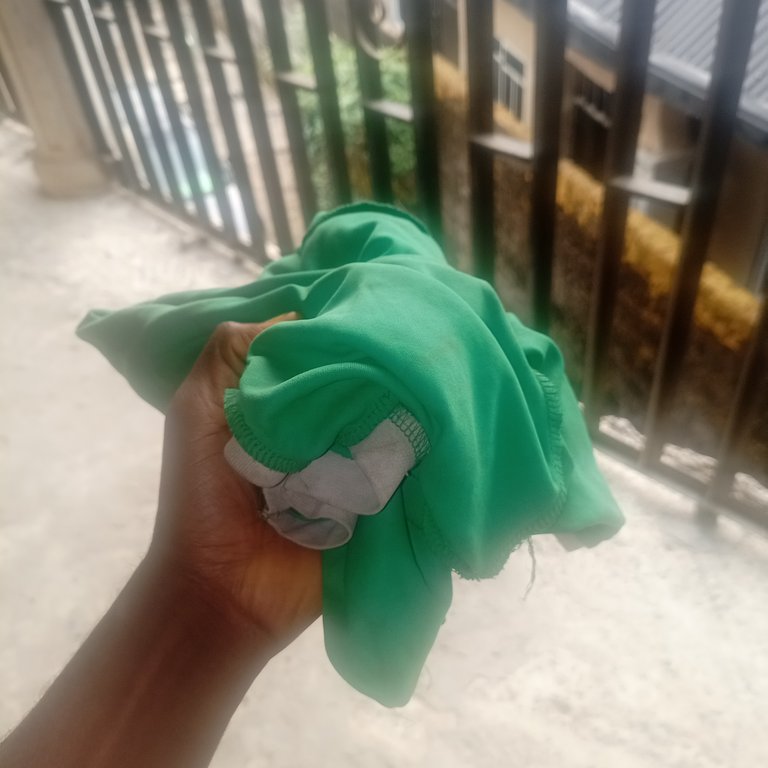
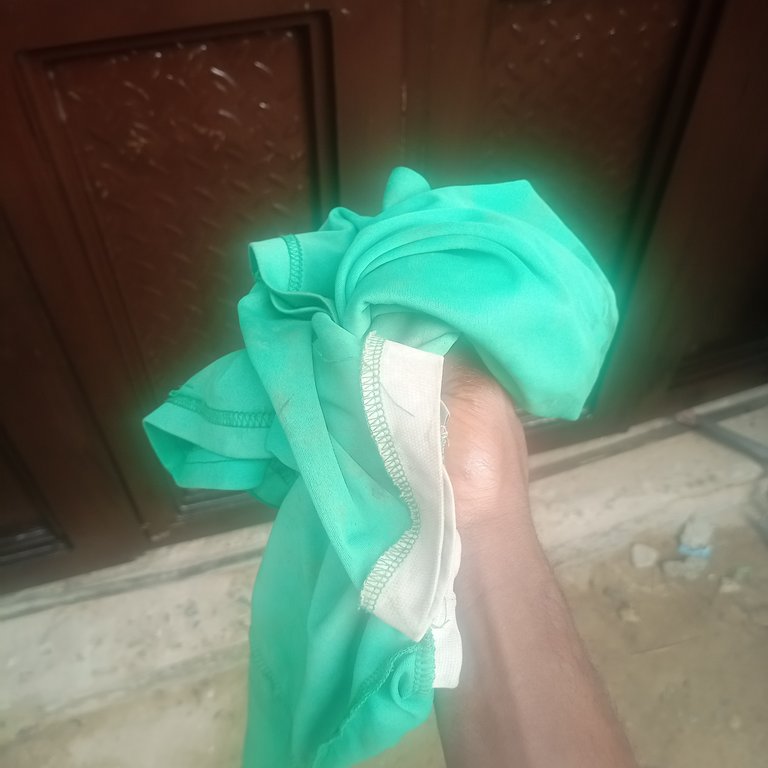
Next up is the rag. This is the cloth we don't use anymore, I often use it to clean of excess engine oil left on the door after every cleaning with the foam. Using the foam to clean the door sometimes would leave excess oil on the door so I'll do the needful by using the rag to clean up the excess oil off the door and make the door look dry and shiny
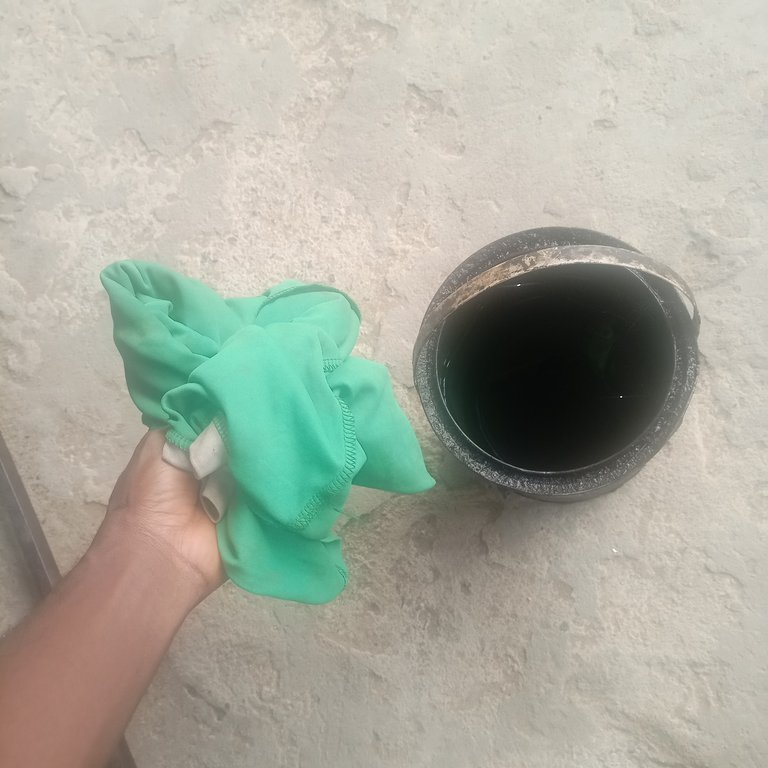
The next material is the foam. I often clean this door at least twice a month and after each cleaning, I dispose of the foam because it often has a bad texture and since I have spare foams I could use next time. I used the foam to do the cleaning proper after dipping it into the oil.

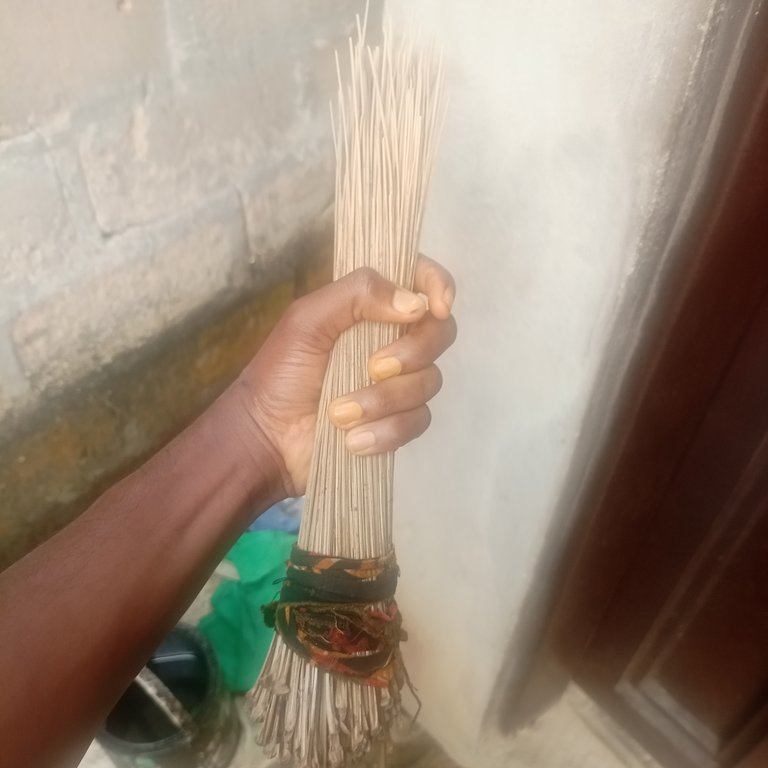
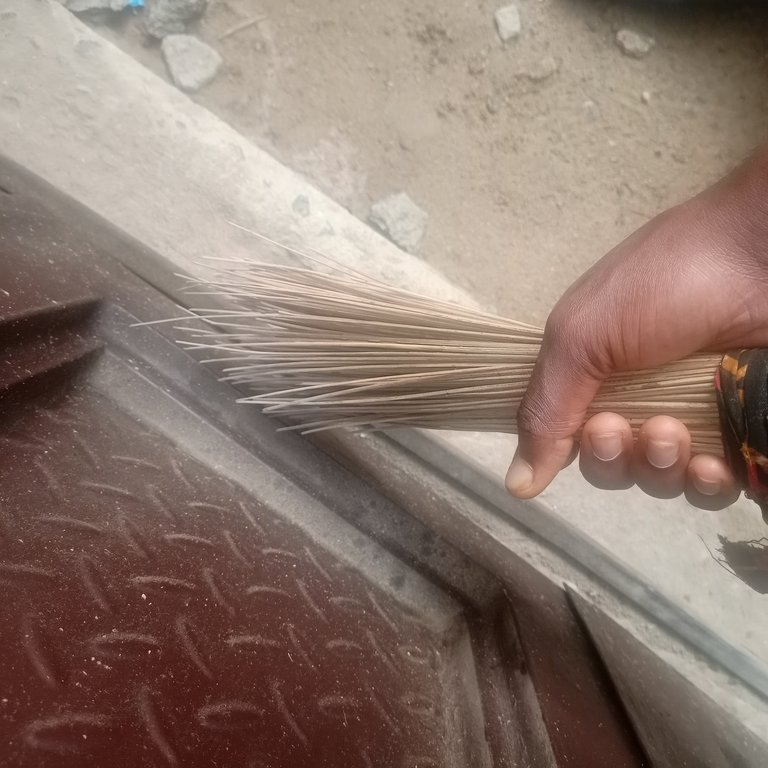
The broom, a special equipment for cleaning doors. I often use the broom to take off dust particles on the door. Normally before cleaning, the door is always dusty so I wouldn't just use the foam to clean off the dust directly, I would first use my broom to take off dust from the door as well as shake off some sand before now using the foam dipped into the oil to clean the door and the rag to dry it up.
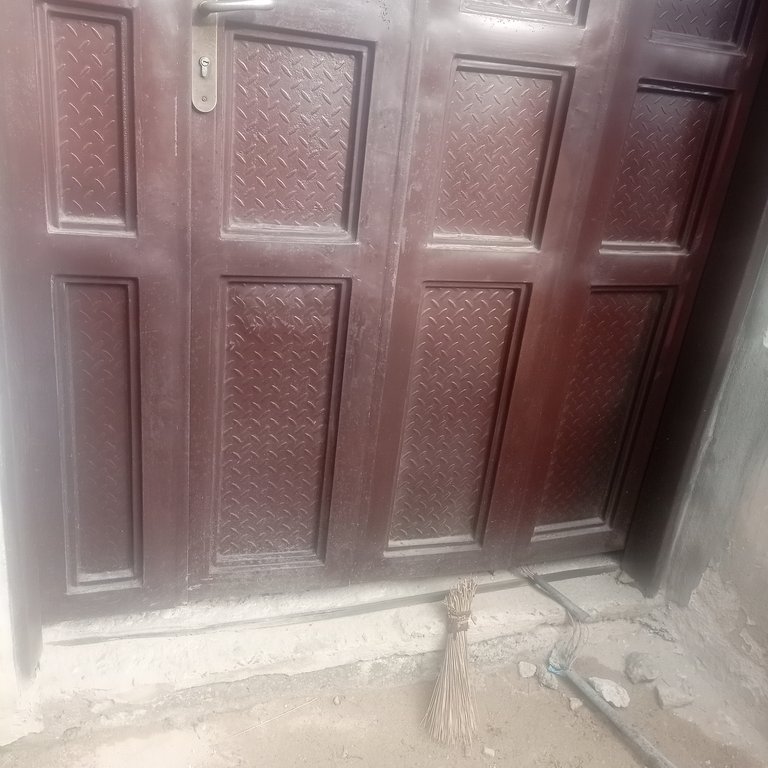
Now here are the step-by-step procedures
I took to make sure the door takes took a good:
I first used my broom to dust off the door as well as remove the sand from rain splashes on the door. This will ease the cleaning and reduce much stress for me.
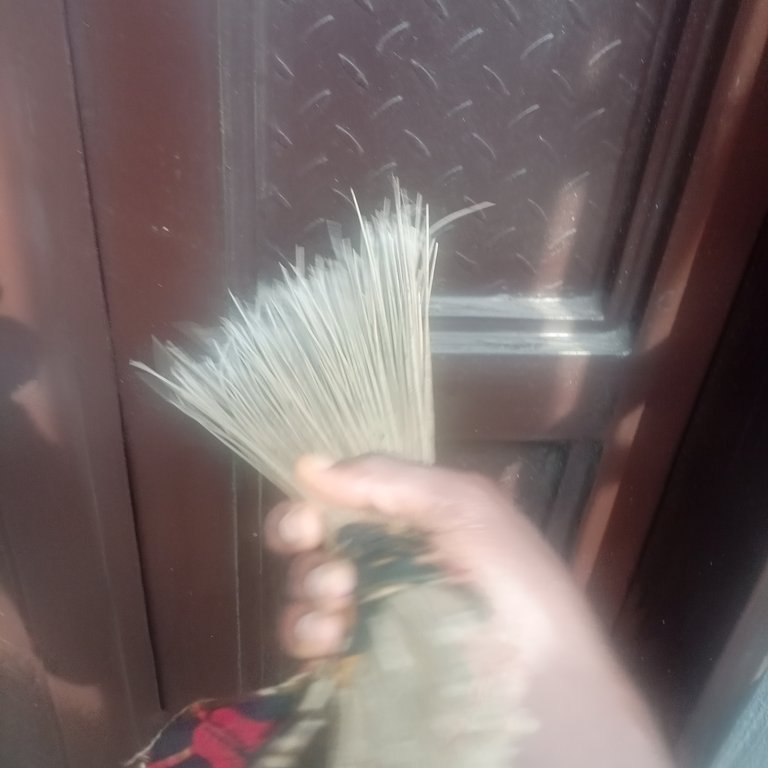
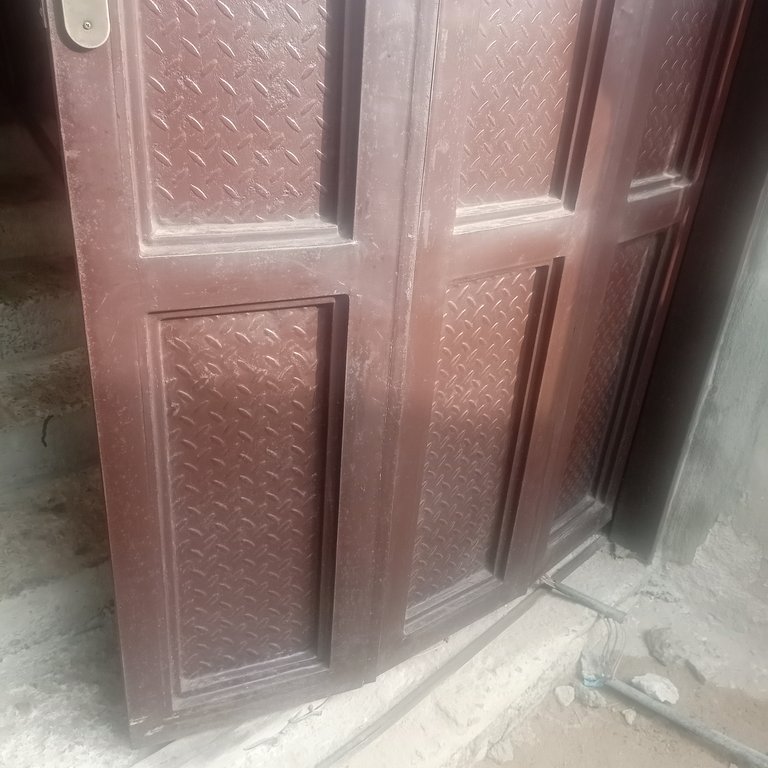
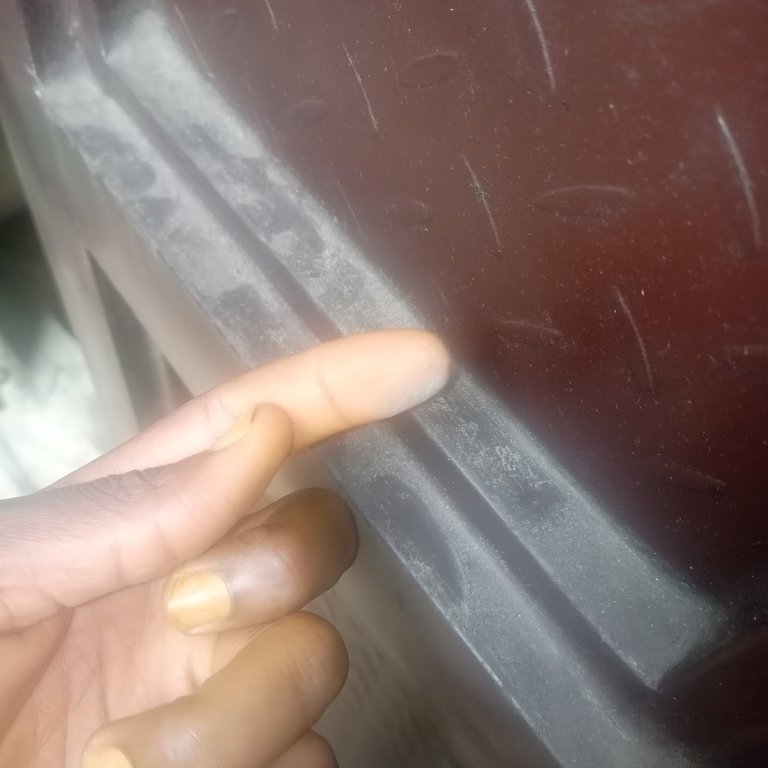
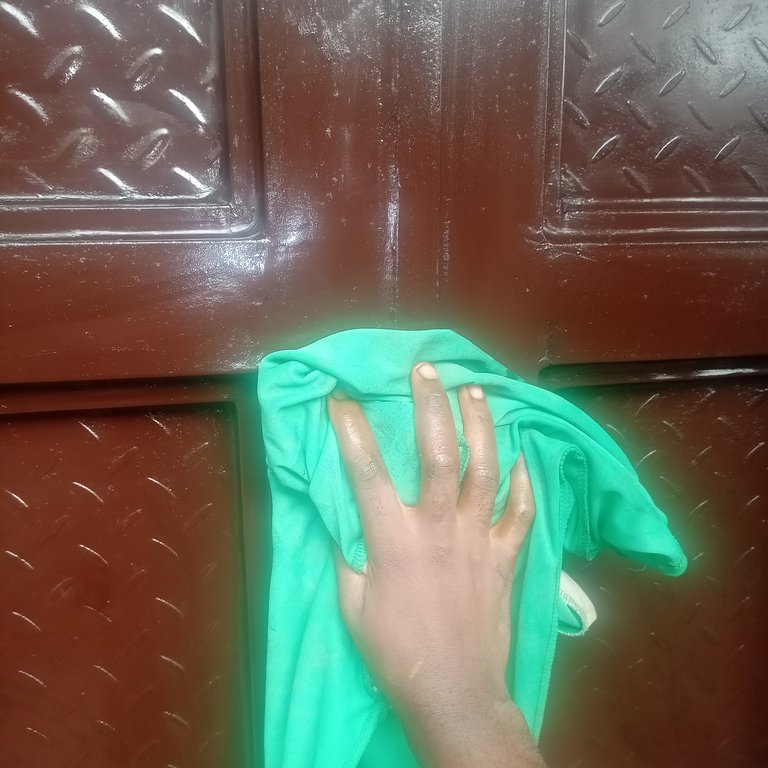
Then I brought out my container of oil, with my foam dipped into the oil, I began to wipe the door making it take a shiny/cleaner look.
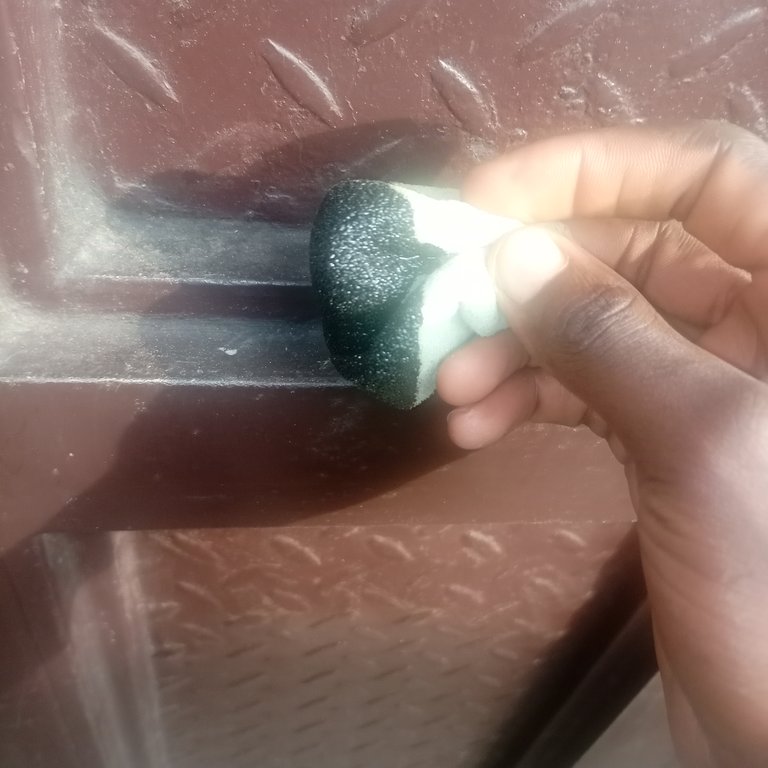
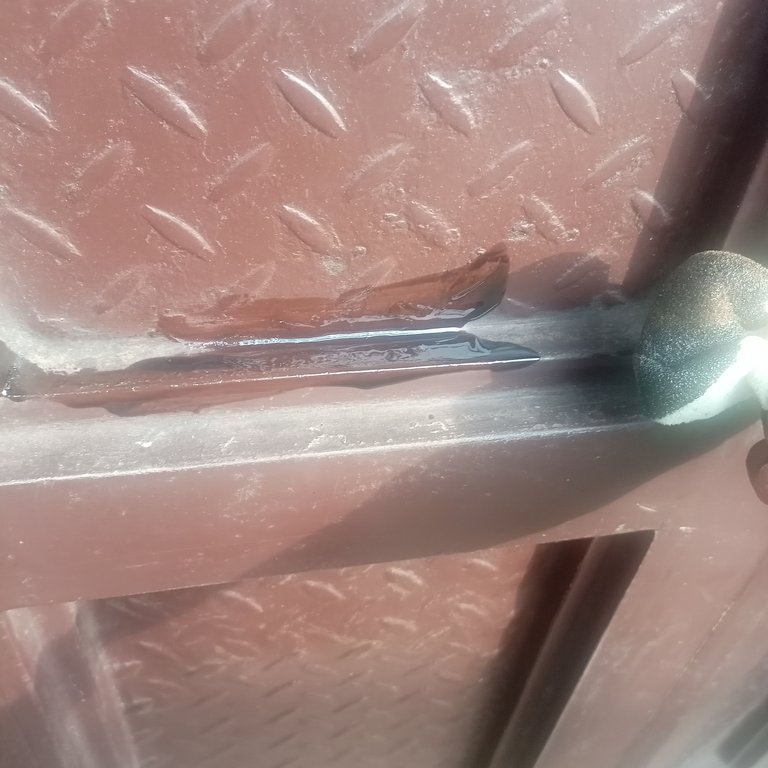
You can see the difference between the area I had cleaned and the part I had not.
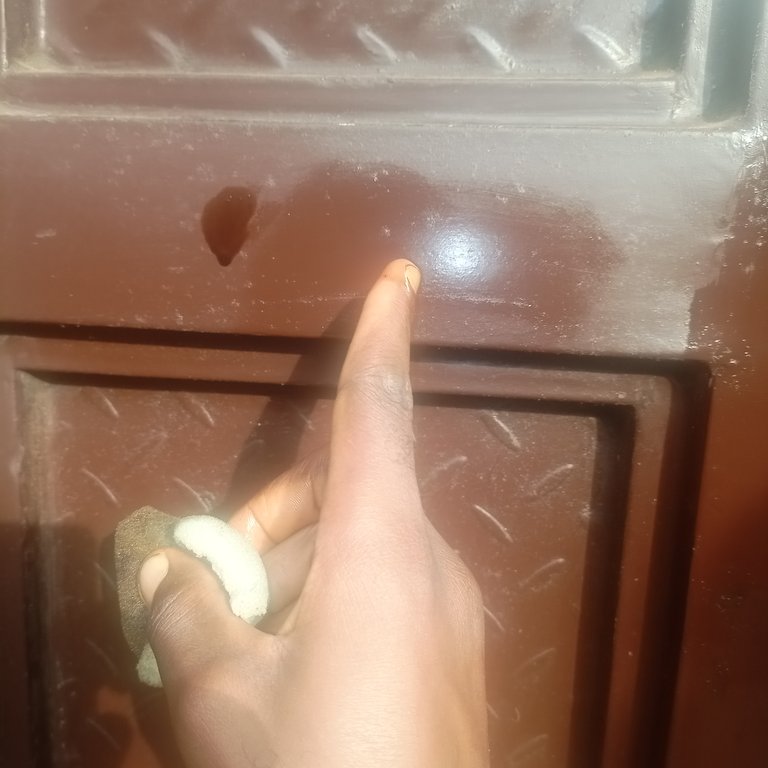

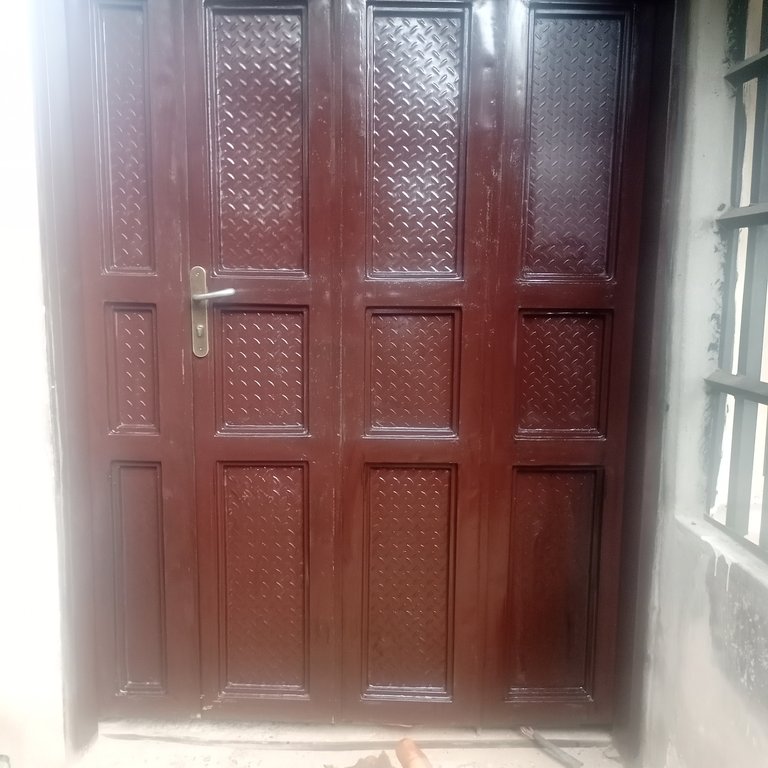
After I had cleaned up the door with the foam dipped into the oil, I observed that it seems the oil on the door was excessive and had to be dried a bit so I used the rag to dry up some of the oil.
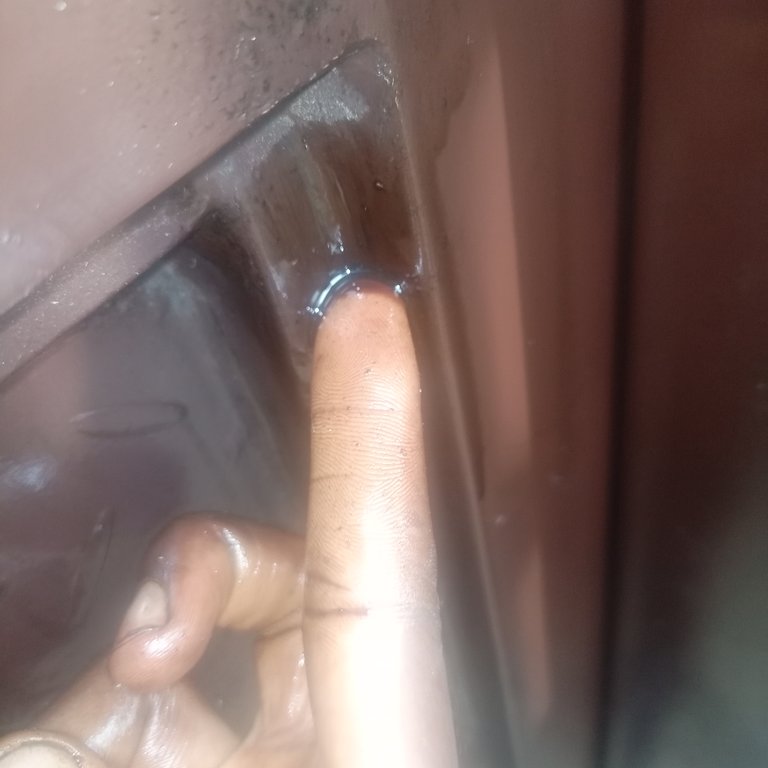
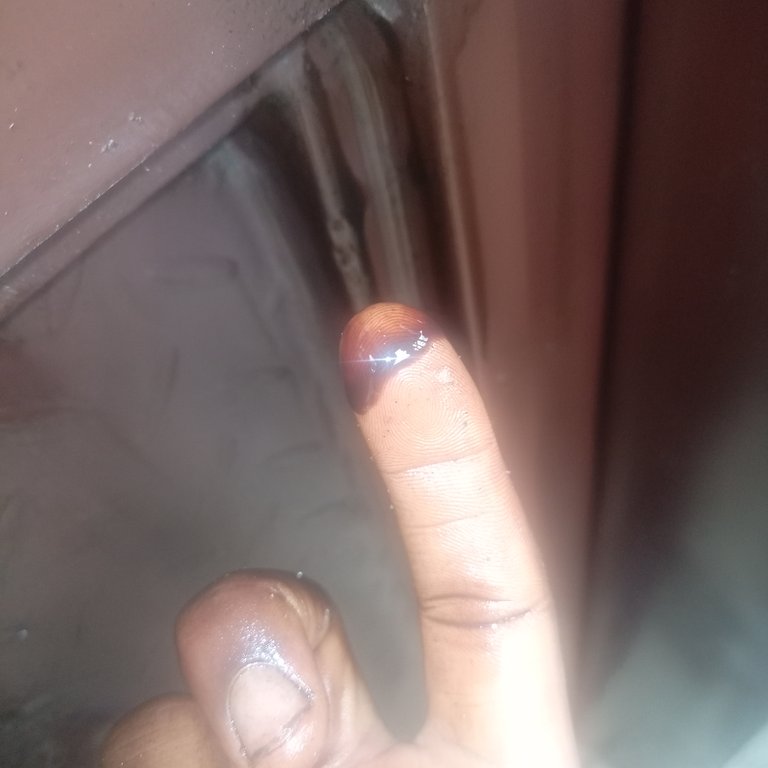
I had to dry that door of excess oil because if the door is so oily, it will easily adhere to dust and any dust that mixes the with oil will form a scum and become a noticeable stain. I also dried the door in case of anyone who might touch the door by mistake, so that such person won't get stained by the leftover oil on the door.
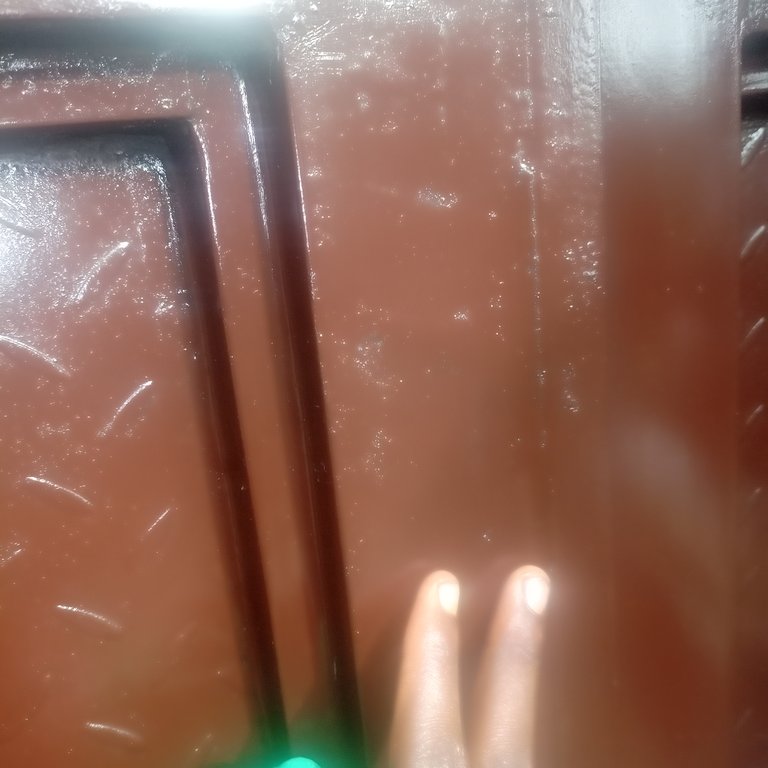
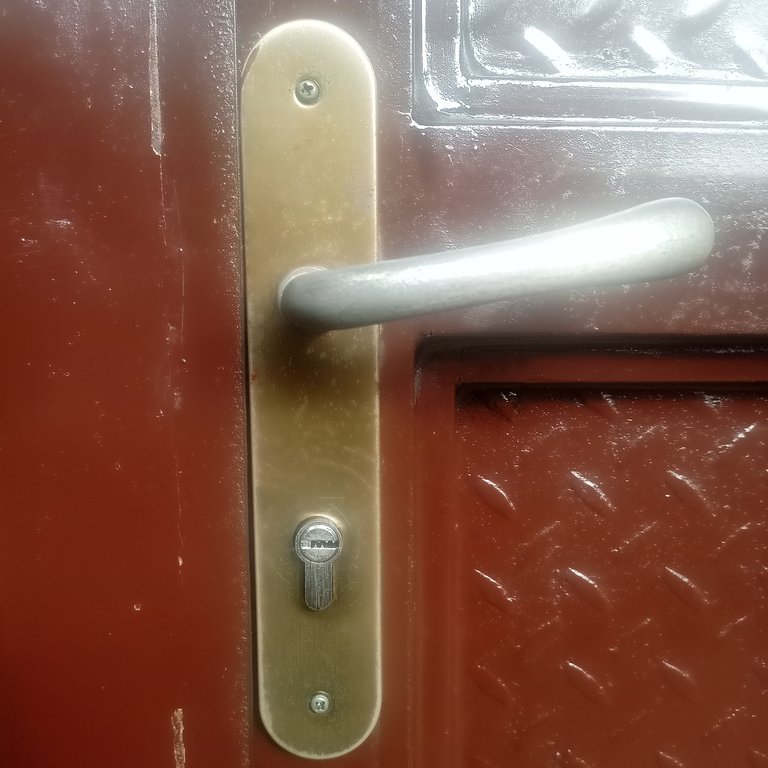
This is the door I had cleaned up today. It really looks beautiful compared to how it was before. This cleaning of the door isn't only to take off the dust particles but also to grease up rusting surfaces of the door and enhance its durability.
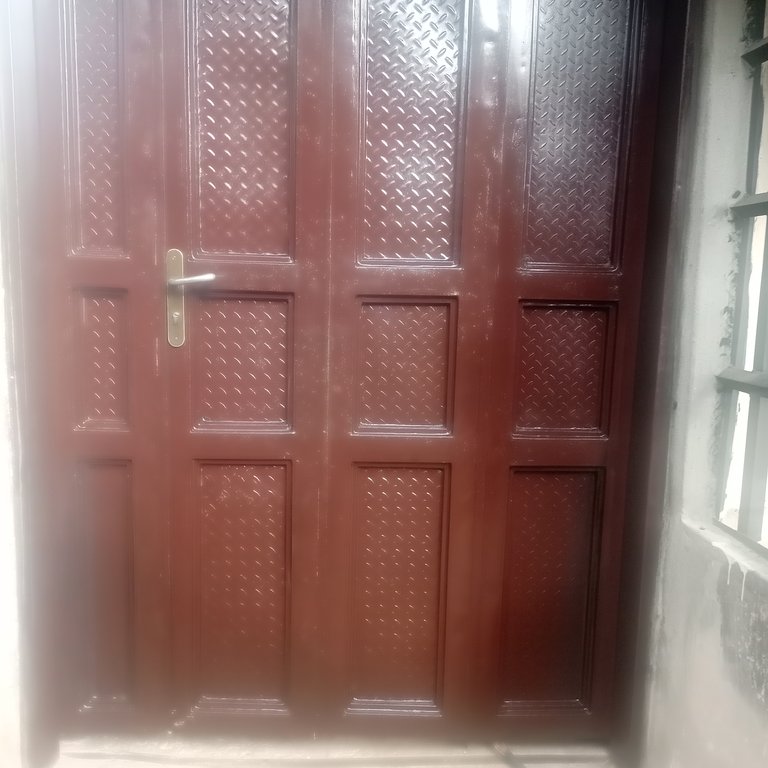
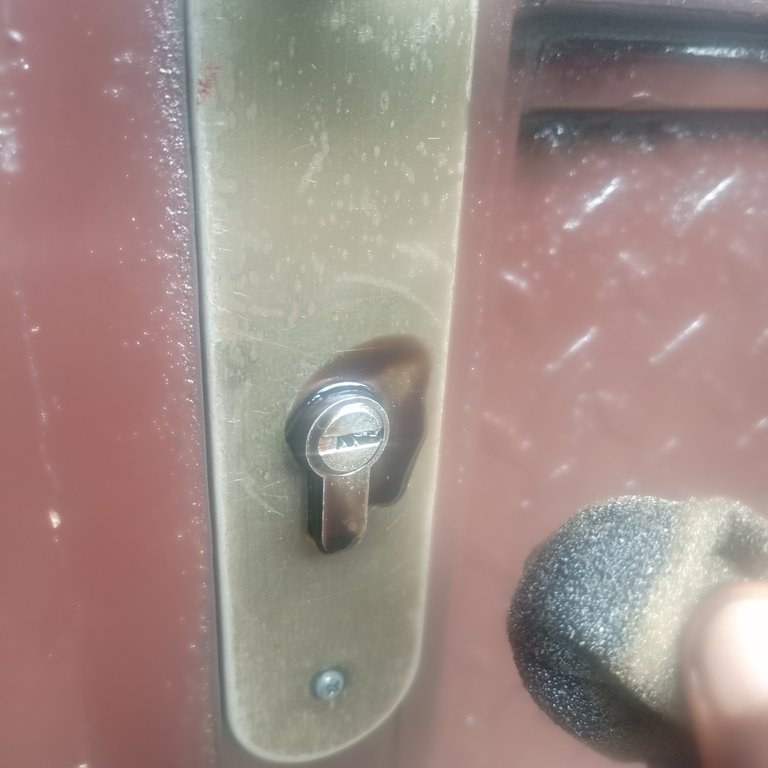
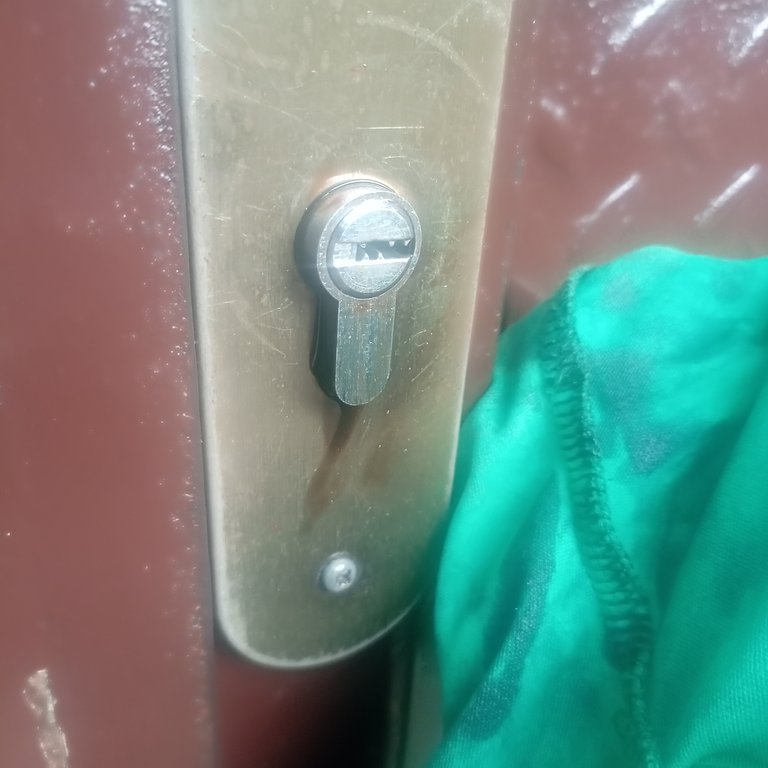
After that cleaning, I almost forgot a very important segment of door maintenance I often carry out on our doors which is oiling/greasing of the keyhole. This helps prevent the key from stucking in the keyhole someday as well as prevent difficulty in opening and closing of the door using the key.
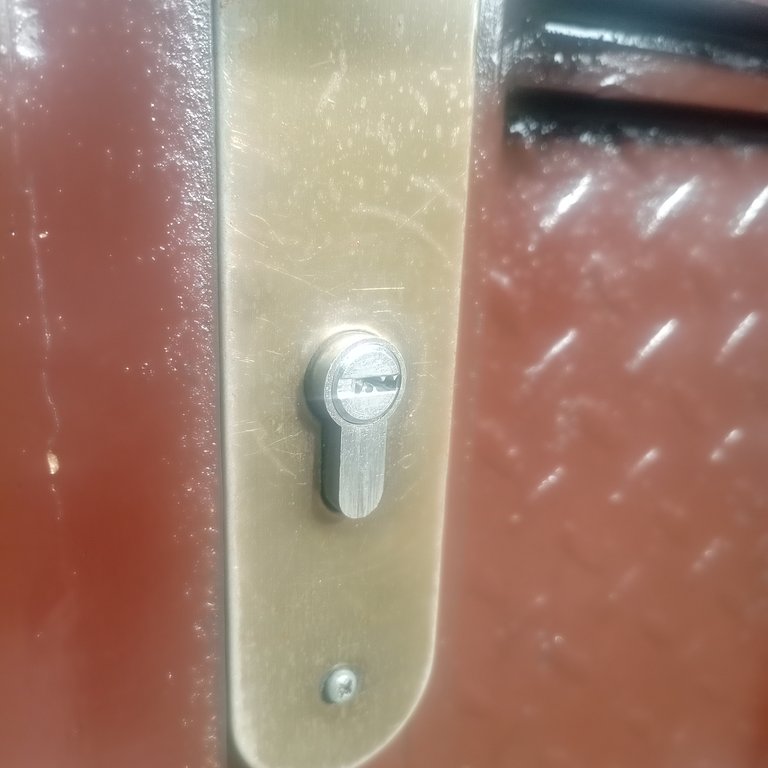
So I achieved this by still using my foam to gather some quantity of oil via dipping method, then I gently dabbed the keyhole with the foam soaked with oil. This allowed some quantity of the oil to get into the keyhole and oil/grease up the hole.
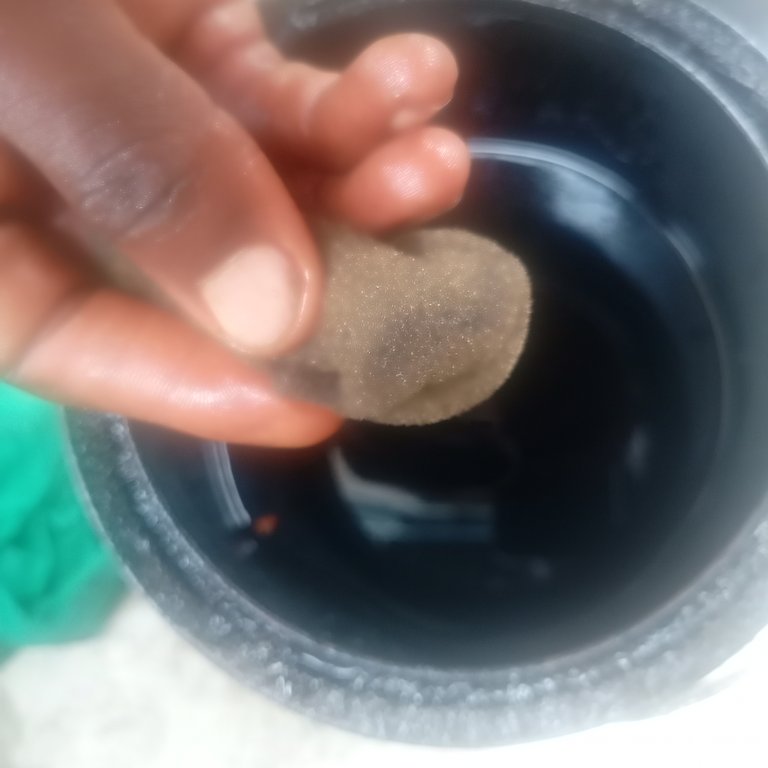
before
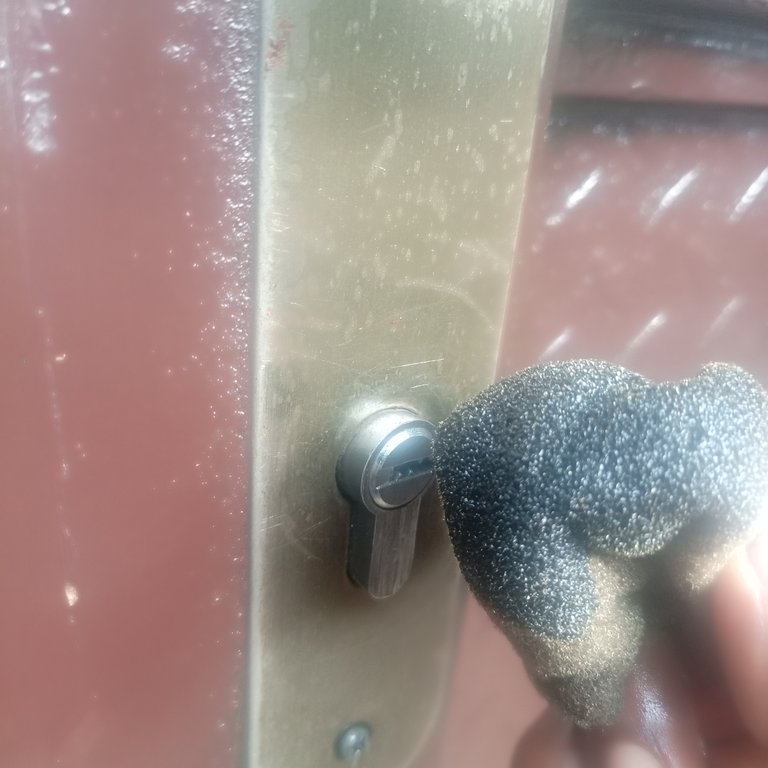
after
BEFORE

AFTER
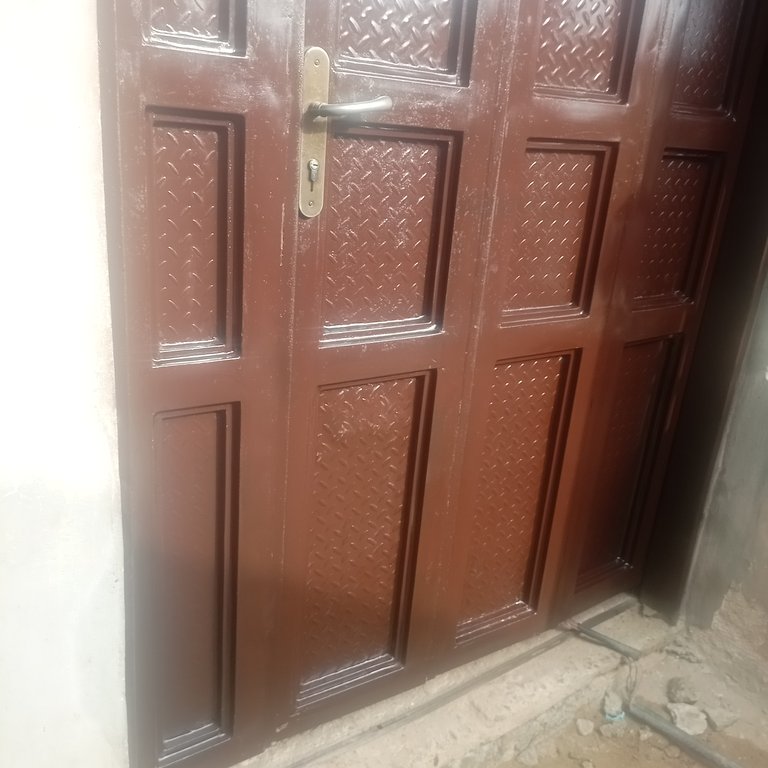
This is really a great job I had done. If anyone wouldn't commend me, I would do so myself because the evidence of hard work could be seen on my hands. My hands look oily and black, a sign of hard work, lol.
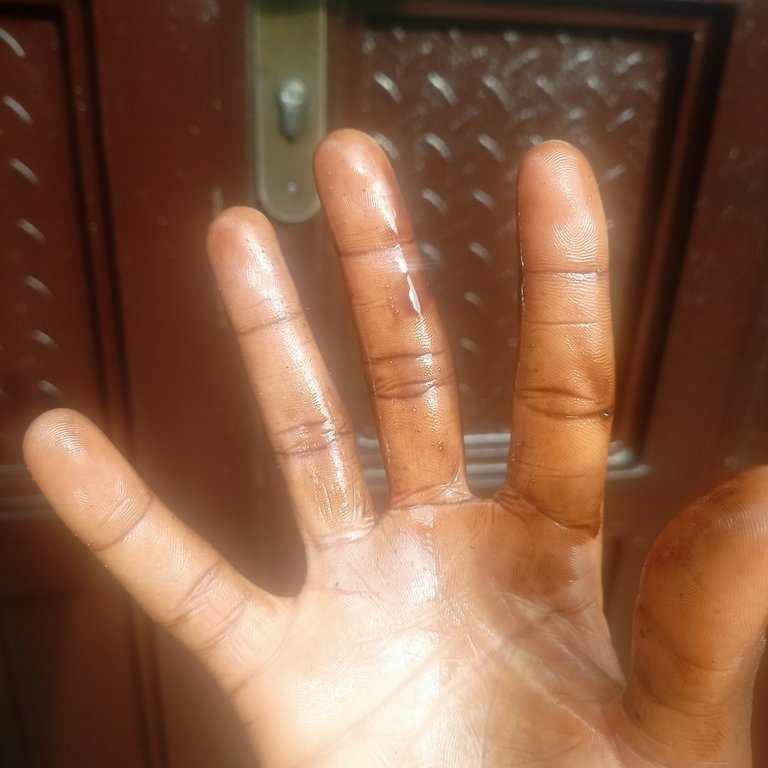


So I concluded the cleaning process by returning the materials and equipment to their proper locations. Then I went ahead to wash off my oily hands with our homemade liquid soap.
Thanks friends for checking up on my post. Enjoy your weekend.
Images are all mine
Translation: Google translator
Español
Lo que más me gusta de mi estilo de vida es que no tolero el desperdicio. Prefiero reutilizar o reciclar la mayoría de las cosas de la casa para mi propio bien y para la gestión de recursos. Es una forma de reflejar el minimalismo que hay en mí.
En esta publicación que haré hoy en esta increíble comunidad, la comunidad #homesolutions, compartiré el procedimiento paso a paso de cómo pude usar un aceite de motor viejo y en mal estado para limpiar nuestra puerta polvorienta y oxidada.
Esta es la puerta que da a la escalera que subimos.
Como es temporada de lluvias, la lluvia salpica el suelo, arrastrando arena y manchas a la parte inferior de la puerta.
Pero antes de eso, cuando no llueve, el viento arrastra arena y polvo, ensuciando la puerta.

Así que hoy decidí limpiar esta puerta porque es una de las entradas principales para acceder a la planta alta del dúplex.
Como es la puerta principal, cualquiera que suba las escaleras tiene que pasar por ella, y a veces tenemos visitas que entran a la casa por ella.
Limpié la puerta para, al menos, mantener su aspecto y devolverle su brillo.
Hablando de cómo logré mi objetivo, primero reuní los artículos/materiales, incluyendo aceite de motor desechado en el contenedor. Se ve negro porque lo obtuve de nuestro generador después de que dejó de funcionar. Uno de los procedimientos de mantenimiento para garantizar la durabilidad de la mayoría de los equipos o máquinas eléctricas es el cambio regular del aceite del motor. Por eso, en el caso de nuestro generador, lo cambiamos a menudo cuando se estropea, pero en lugar de desecharlo, lo guardamos en este contenedor, y ese es el aceite que usaré para limpiar la puerta hoy.


A continuación, el trapo. Este es el paño que ya no usamos. Suelo usarlo para limpiar el exceso de aceite de motor que queda en la puerta después de cada limpieza con espuma. Usar espuma para limpiar la puerta a veces dejaba exceso de aceite, así que haré lo necesario usando el trapo para limpiar el exceso de aceite y dejarla seca y brillante.


El siguiente material es la espuma. Suelo limpiar esta puerta al menos dos veces al mes y, después de cada limpieza, la descarto porque suele tener mala textura y, como tengo espumas de repuesto, podría usarlas la próxima vez. Usé la espuma para limpiarla correctamente después de sumergirla en el aceite.

La escoba, un equipo especial para limpiar puertas. Suelo usarla para quitar el polvo de la puerta. Normalmente, antes de limpiarla, la puerta siempre está llena de polvo, así que no usaría solo la espuma para limpiarlo directamente, sino que primero usaría la escoba para quitar el polvo y sacudir un poco de arena. Después, usaría la espuma mojada en aceite para limpiar la puerta y el trapo para secarla.


Aquí están los procedimientos paso a paso que seguí para asegurarme de que la puerta quedara bien:
Primero usé mi escoba para quitar el polvo y la arena de la lluvia. Esto facilitará la limpieza y me ahorrará mucho estrés.


Luego saqué mi recipiente de aceite, con mi espuma sumergida en el aceite, comencé a limpiar la puerta haciéndola lucir más brillante/limpia.


Se puede ver la diferencia entre el área que limpié y la parte que no.


Después de haber limpiado la puerta con la espuma mojada en el aceite, observé que parecía que el aceite en la puerta era excesivo y había que secarlo un poco así que usé el trapo para secar un poco del aceite.


Tuve que secar el exceso de aceite de la puerta, ya que si está tan aceitosa, el polvo se adhiere fácilmente y cualquier polvo que se mezcle con el aceite formará una capa que se convertirá en una mancha visible. También sequé la puerta por si alguien la tocaba por accidente, para que no se manchara con el aceite sobrante.


Esta es la puerta que limpié hoy. Se ve realmente hermosa comparada con cómo estaba antes. Esta limpieza no solo sirve para quitar el polvo, sino también para engrasar las superficies oxidadas y aumentar su durabilidad.

Después de esa limpieza, casi olvidé un aspecto muy importante del mantenimiento que suelo realizar: engrasar la cerradura. Esto ayuda a evitar que la llave se quede atascada y dificulta la apertura y el cierre.
Lo conseguí usando la espuma para recoger un poco de aceite mediante inmersión. Luego, froté suavemente la cerradura con la espuma empapada en aceite. Esto permitió que el aceite penetrara en la cerradura y la lubricara.


BEFORE

AFTER

Este fue un gran trabajo el que hice. Si alguien no me felicitara, lo haría yo mismo, porque la evidencia de mi esfuerzo se podía ver en mis manos. Mis manos se ven grasosas y negras, señal de mi esfuerzo, jaja.


Así que concluí el proceso de limpieza devolviendo los materiales y el equipo a sus lugares correspondientes. Después, me lavé las manos grasosas con nuestro jabón líquido casero.
Gracias, amigos, por leer mi publicación. ¡Que disfruten el fin de semana!
Las imágenes son todas mías.
Traducción: Traductor de Google
Excelente trabajo, felicidades. Así es debemos aprovechar al máximo el material.
Por supuesto, nada debe desperdiciarse.
Realmente quedó bastante genial la puerta luego de la aplicación de l aceite. Una idea bastante ingeniosa!
Gracias por apreciar mi buen trabajo amiga.
¡Felicitaciones!
1. Invierte en el PROYECTO ENTROPÍA y recibe ganancias semanalmente. Entra aquí para más información.
3. Suscríbete a nuestra COMUNIDAD, apoya al trail de @Entropia y así podrás ganar recompensas de curación de forma automática. Entra aquí para más información sobre nuestro trail.
4. Creación de cuentas nuevas de Hive aquí.
5. Visita nuestro canal de Youtube.
Atentamente
El equipo de curación del PROYECTO ENTROPÍA