So Nice We'll Do It Twice - Battling with Equalizer!
In the spirit of the new weekly Battle Mage Secrets challenges, I would like to take a look at a Splinterlands battle with a particular focus on a ruleset. Our ruleset today is one that may seem a little familiar if you have been paying close attention. In fact, you might be getting a bit of deja vu because this is the very same ruleset that was featured in last week's Battle Mage Secrets. But this is an interesting enough ruleset that I thought it was worth visiting again for a second battle. Today, we will be taking a look at a battle with the Equalizer ruleset!
As you may recall, Equalizer gives every monster on the battlefield a max health equal to whichever number the monster with the highest base amount has. Since health is the stat being affected here, the winners and losers tend to be inversely related to their amount of health. Lower health? Nice, because their mana cost tends to reflect their lower health, and in these fights they will be getting quite a bit of additional health. Higher health? Well, monsters with higher health are a bit worse because you will be paying more of a "fair" cost for the stats you will get in the battle. As you can see, the emphasis is shifted more away from a monster's bulk and towards its attack stat and abilities.
If you wanted to jump right to the action, the Battle Link is right here. Want to hear some more about the lineup? Read on further!

First up: the ruleset. This is a relatively simple one - we only have a single ruleset to focus on. As detailed above, Equalizer evens out the amount of health that every monster will start the battle off with. To go along with it we have a medium-highish mana cap of 38, and 4 splinters to choose from.
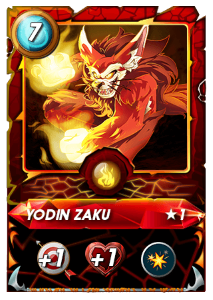
Whenever you see plenty of mana to work with and the Fire splinter eligible, Yodin Zaku is worth some consideration. In this particular battle he turns out to be an excellent choice. One of the difficulties of using Yodin is that ranged monsters tend to be a little more on the fragile side, so going heavy on ranged attackers to take advantage of the summoner buffs means you risk bringing a glass cannon team into the fight. Equalizer solves this particular issue - all monsters, including ranged ones, will have just as much health! So in this battle we'll be able to bring plenty of ranged attackers that work well with Yodin's abilities without having to worry about some of the weaker ones getting knocked out of the battle right off the bat.


We'll start off out lineup with a pair of monsters that are excellent in Equalizer battles. Antoid Platoon is a fairly cost effective monster under normal conditions, and in Equalizer it gets twice as much health to work with - especially welcome when it is also packing the Shield ability. Clockwork Aide is tanky in another way - its base stats have high armor and low health. Thanks to Equalizer it keeps all of that armor, and also gets a whole lot of bonus health to boot!
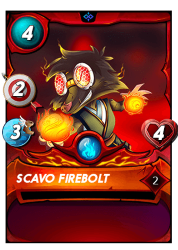
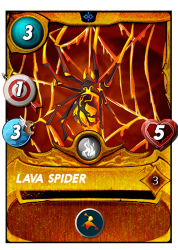
With the pair of budget tanks at the front of my team, it was time to turn the focus towards boosting my damage output. Scavo Firebolt and Lava Spider are both solid ranged attackers who will take full advantage of Yodin's summoner buffs. Lava Spider's Snipe ability is also nice here, as it gives us the possibility of being able to get twice as much Blast damage in if my opponent has positioned some non-melee monsters in the middle of their lineup.
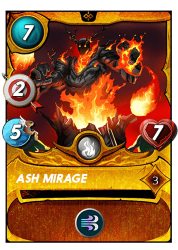
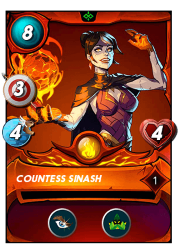
I splurged a bit on the back end of this team - Ash Mirage and Countess Sinash are both super solid ranged attackers, though they do come at a price. Luckily, the cost savings I was able to accumulate over the rest of my team meant that I would be able to fit them both in! Ash Mirage is a high speed ranged attacker whose Headwinds ability is great to have just in case the enemy team has some heavy ranged damage. Countess Shinash packs the highest attack on my squad. Her Opportunity ability doesn't usually come into play in Equalizer battles, but she is a solid attacker regardless.

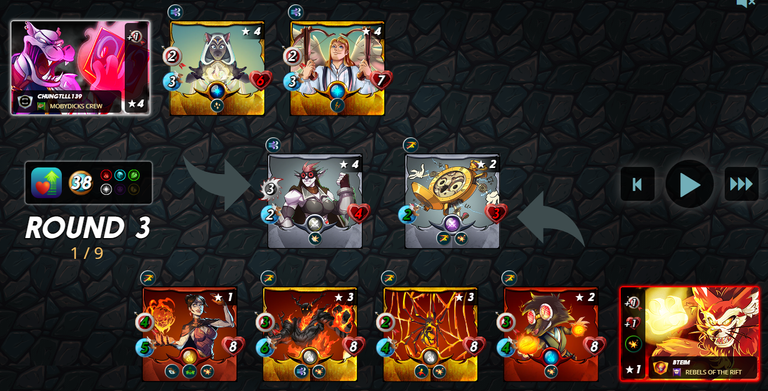
With the lineup set, it's off into battle! When I see the selected teams I feel pretty good about my chances. My opponent has selected a team with plenty of ranged damage, which means that Ash Mirage's Headwinds will be very helpful. And their positioning of a Shield monster at the front means that my Snipe and Opportunity attackers will both be able to take full advantage of their abilities and maximize Blast damage to the opposing monsters.
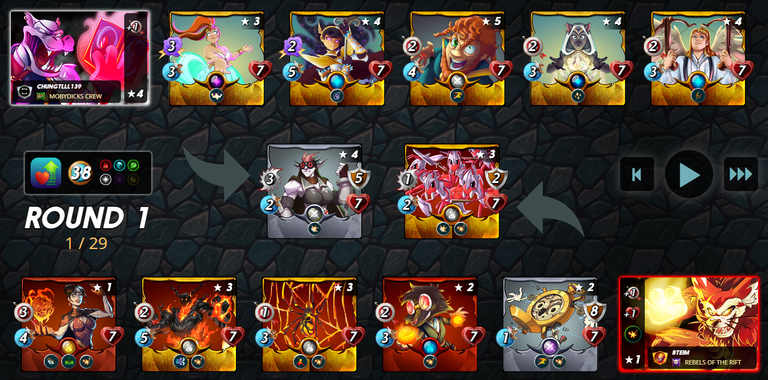
In the first round things go just about the way I expect - once some Blast damage gets dealt to my opponent's second monster, Countess Sinash and Lava Spider are both able to start to deal some serious Blast damage to the enemy lineup. The enemy main tank doesn't take much damage, but if I can knock out all of the opposing team's damage then it shouldn't matter.
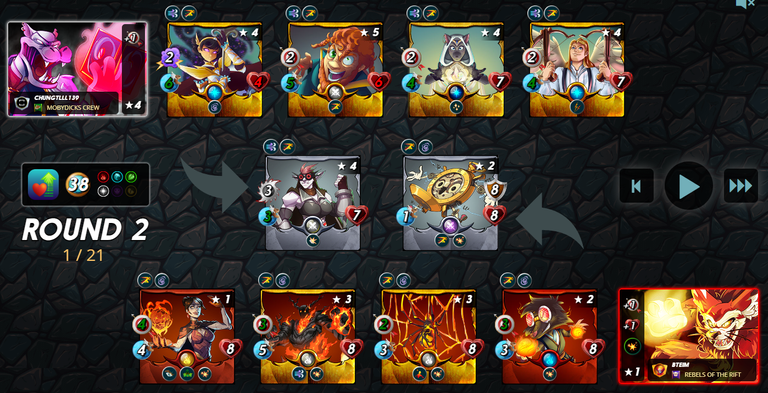
One more round and my monsters continue to make good progress through the enemy team. Half of the enemy monsters are already gone, and the my team is poised to knock out their healer and ranged damge.
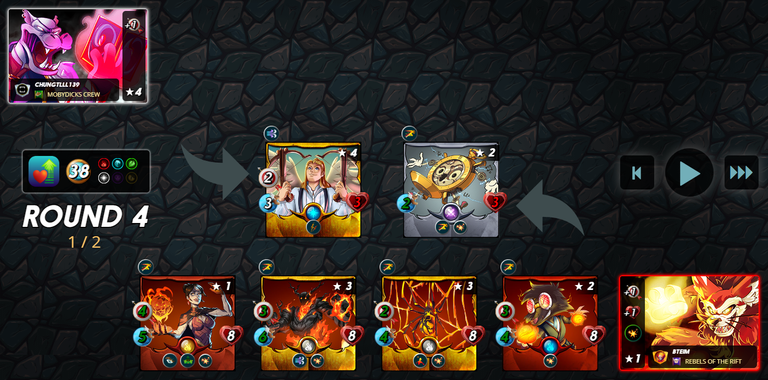
By the start of round 4 the fight is just about over. My team's heavy damage output thanks to Yodin and a horde of ranged attackers has taken down every opposing monster, other than a Pelacor Arbalest stick at the front and unable to attack. Game over! And again, if you wanted to see the whole battle for yourself, you can see it right here.
This battle showcased a great way to use the ruleset to cover up potential weaknesses in a lineup - Equalizer is a powerfull tool to offset the downside of using fragile monsters. Add in the additional damage output provided by a potent Yodin Zaku lineup and my team was in a great position to pull off the victory.

Thank you so much for reading all the way to the end. Interested in seeing some more of my writing in the future? Be sure to give me a follow! In the meantime, if you'd like to see some of my recent posts:
Fair and Square - Battling with Equalizer! - A Splinterlands battle analysis, featuring Equalizer!
Splinterlands Economics: Causation - A look at causation, and how we can apply it to Splinterlands!
Splinterlands Economics: Ceteris Paribus - An introduction to the concept of Ceteris Paribus, and how we can apply it to Splinterlands!
Thinking about giving Splinterlands a try but haven't signed up yet? Feel free to use my referral link: https://splinterlands.com?ref=bteim, and be sure to reach out to me if you have any questions!
All images used in this article are open source and obtained from Pixabay or Unsplash. Thumbnails borrowed with permission from the Splinterlands team or made in Canva.
Do you know you can win a Chaos Legion pack and many other things just by following some simple steps ?? Check out our Latest Daily Showcase and Participate our latest Giveaway. Thanks
Thanks for sharing! - @yonilkar
