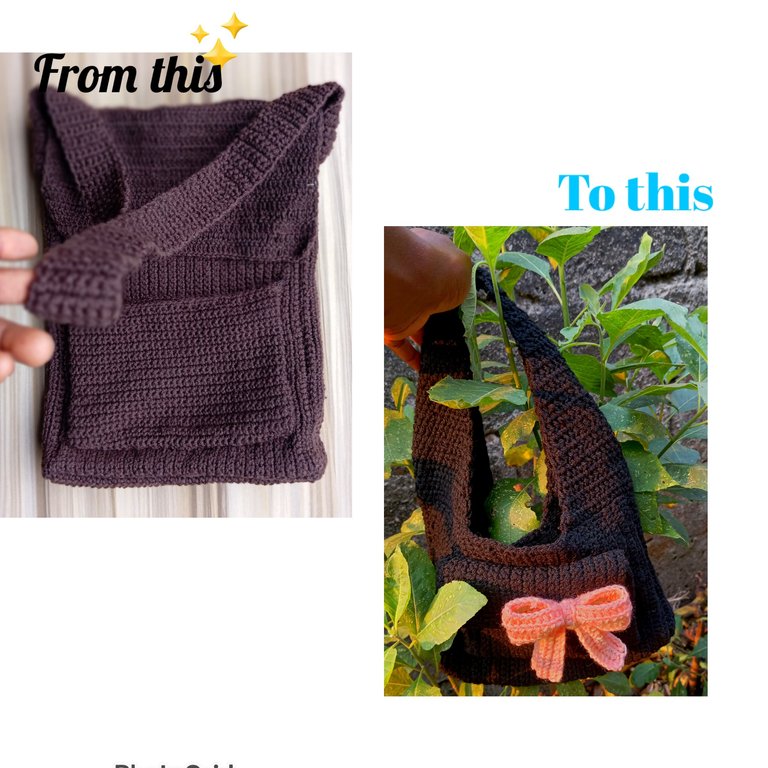
Turning a failed business project into a gift.
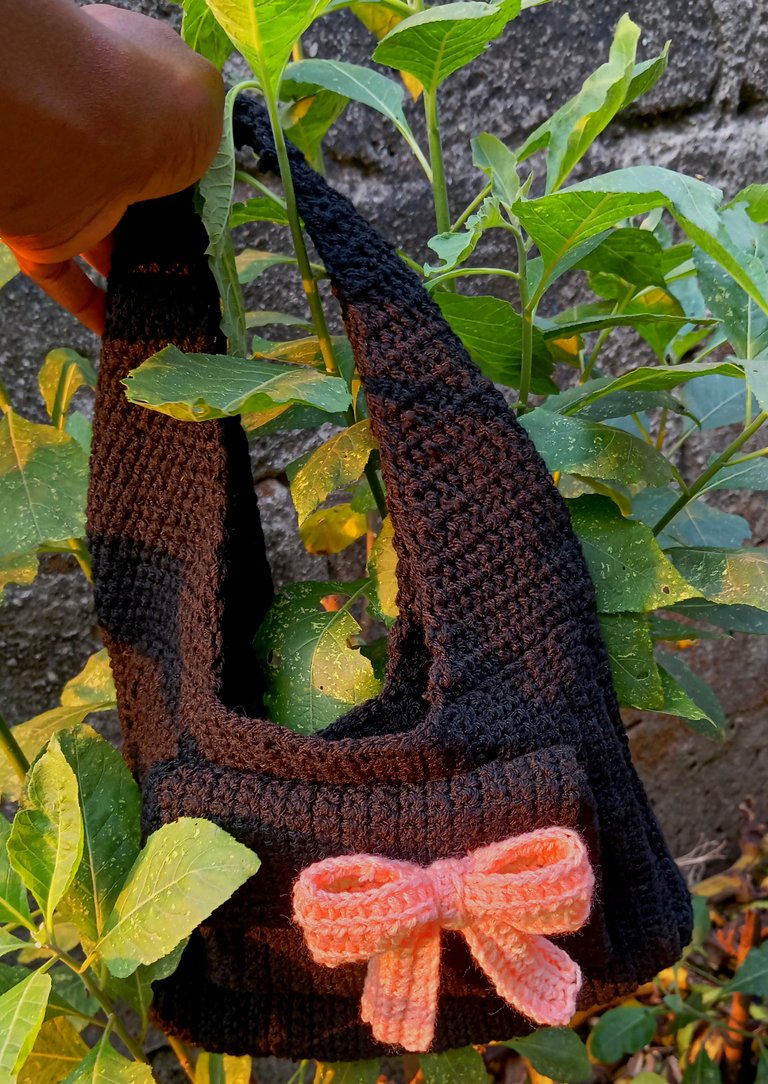
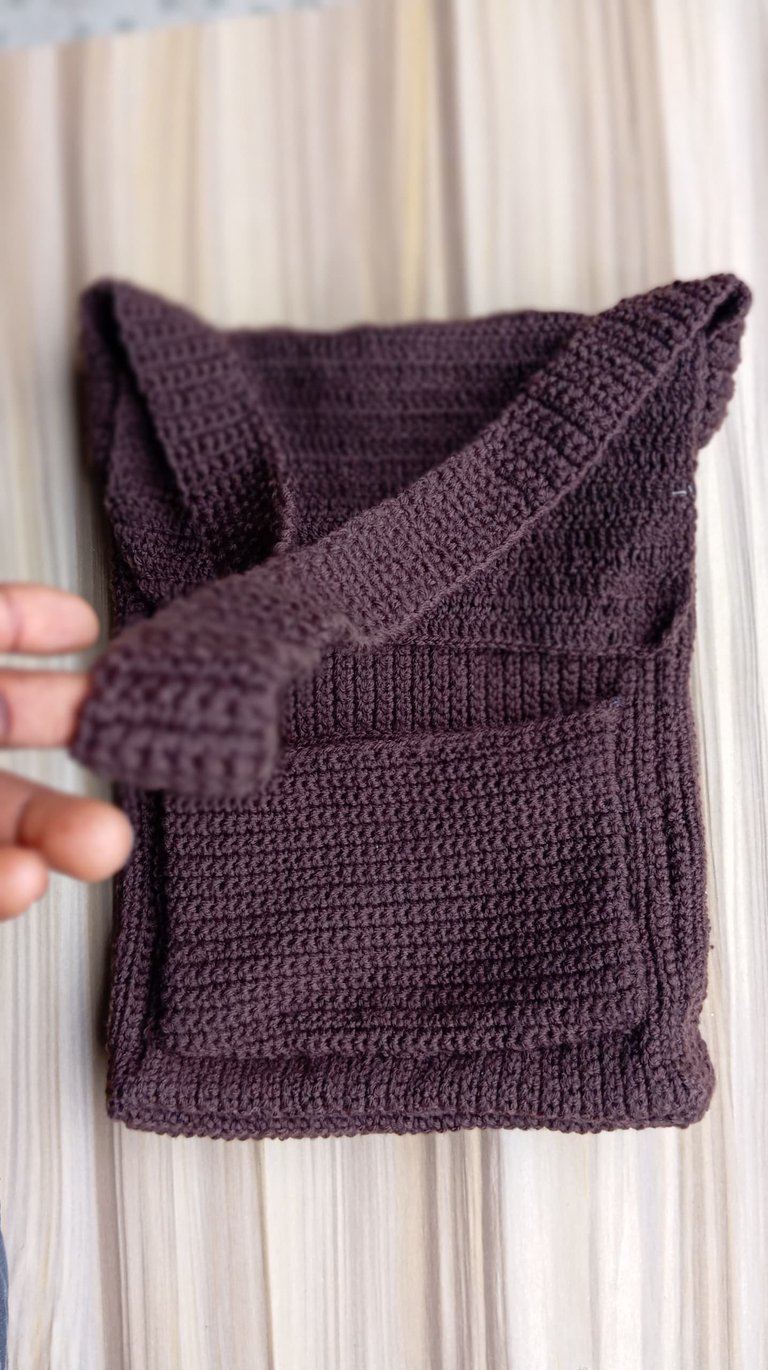
Hello everyone one greetings, so this bag came with a funny story. First of all, this is not the original design of the bag, it's supposed to be a man's bag but somewhere along the line, I couldn't meet up with the order. I had already started the bag but fell really ill and from there henceforth, it's been from one choking activity to the other. Seeing that I can't meet up with the order, I called the guy and did a refund with lots of explanations and apologies. Good thing is, the business relationship still stands and I hope to do better next time.
After the refund, I had kept the crocheted parts that I had made and thought that I'd use it to crochet a mini handbag for me to replace one of my leather bags that is already worn out. While I had that project in mind, my aunt came around and we went over for a visit.
While we were there, her daughter who couldn't make it for the trip called and asked to speak with me. We used to be really close but somewhere along the line, we just got too busy to keep up with each other so we fell apart. Seeing how we reconnected over the holidays, I felt I should offer a little peace offering. I had wanted to include a written note to make it sweet but I had really limited time to make the bag and send it down before my aunt travel back.
In Fact I made two bags, the other one was for her aunt and it was quite an overwhelming project which I completed within 48 hours. I managed to squeeze out some time to take few pictures before heading to the park for waybill.
MATERIAL
Yarn
3.5mm crochet hook
Needle
PROCEDURE
STEP ONE
The body
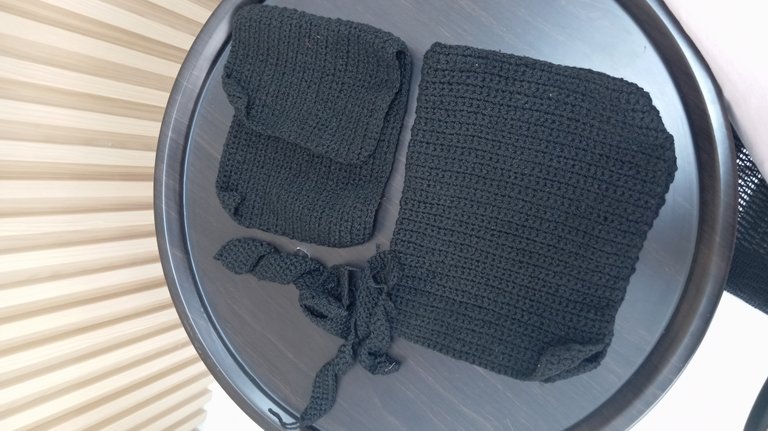
Making about 90 tight chains, I built on it with a single crochet for about 30 rows. I made the body of the bag and folded it vertically into two equal parts. For the sides, I proceeded to making 45 chains and built on it with a single crochet for 8 rows. Using a crochet needle and a yarn, I attached both sides to the bag to close it.
The pocket
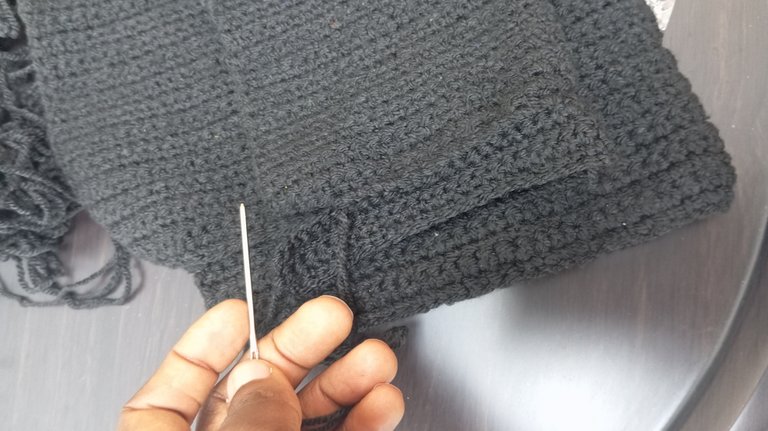
For the pocket, I made 60 tight chains and built it on with a single crochet for 15 rows. I folded it into three, two equal parts and the third part a little smaller to form the flap or cover. Using smaller sizes of sewing needles, I attached it to the bag and sew with the crochet needle and yarn.
The sides of the pocket
To cover both sides of the pocket area, I made 25 chains, then built on it with a single crochet for 2 rows. I attached to both sides of the pocket using a crochet needle and yarn.
STEP TWO
The handle
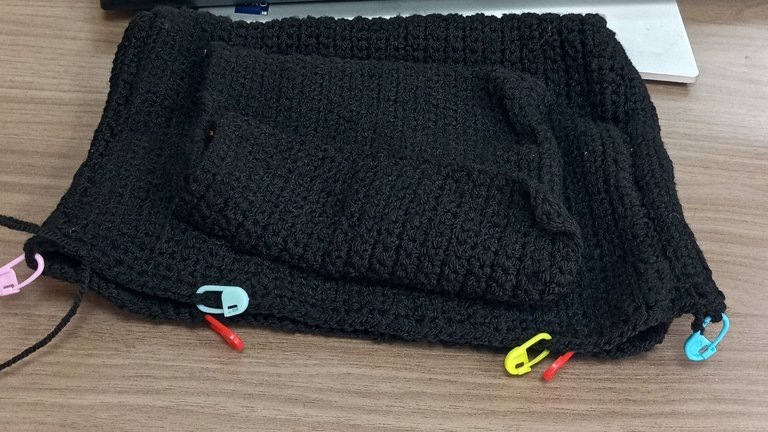
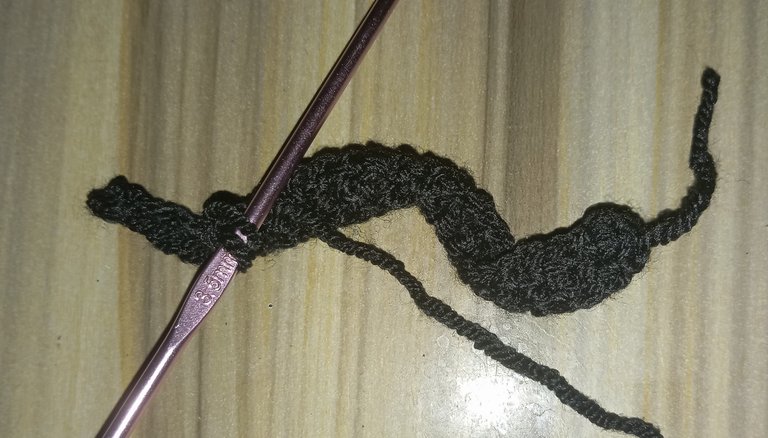
On one side of the bag from the edge, I counted 17 stitches on both the front and back side. Then I marked each 17 stitches using a stitch marker.
With a single crochet, I built from one stitch marker to the other, round the edges and decreasing with each end till I got to the tiny parts and the handle was formed.
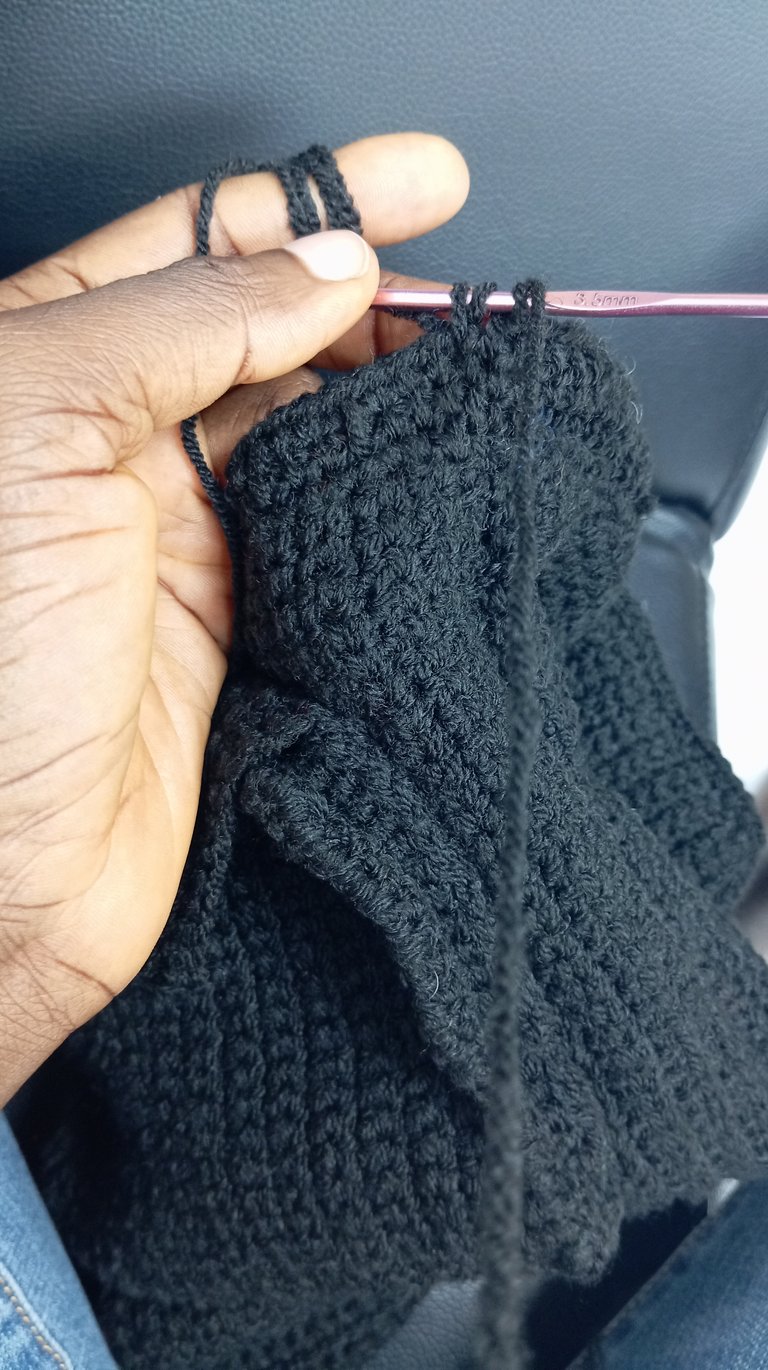
The same procedure was repeated at the other side of the bag and both handles were attached neatly with a crochet needle and yarn.
I got done with the bag and it appeared too plain, so I made a bow tie and a tail to attach to the pocket cover.
STEP THREE
Bow tie

I made 42 chains, skipped two, then built on it with 40 HDC for row one.
For row 2, I chained two, using the back loop only, I made another 40 HDC. I Repeated the same procedure for row 3 and 4.
After row 4, I closed with a slip stitch then sewed both ends together and tied the middle with a yarn to give it the bow shape.
The tail of the bow tie
The same procedure of the bow was used here but with 30 chains and three rows.
I folded the tail into two and attached it to the bow with the remaining yarn. After which, I used a needle and yarn to sew together both the bow and the tail.
To cover up the thread in the middle of the bow tie, I crocheted a tiny middle part by making 10 chains. I skipped 1 and built on it with a single crochet. At the edge, I closed with a slip stitch leaving extra yarn of which I used in attaching both edges to the middle of the bow tie, through the back.*
GALLERY
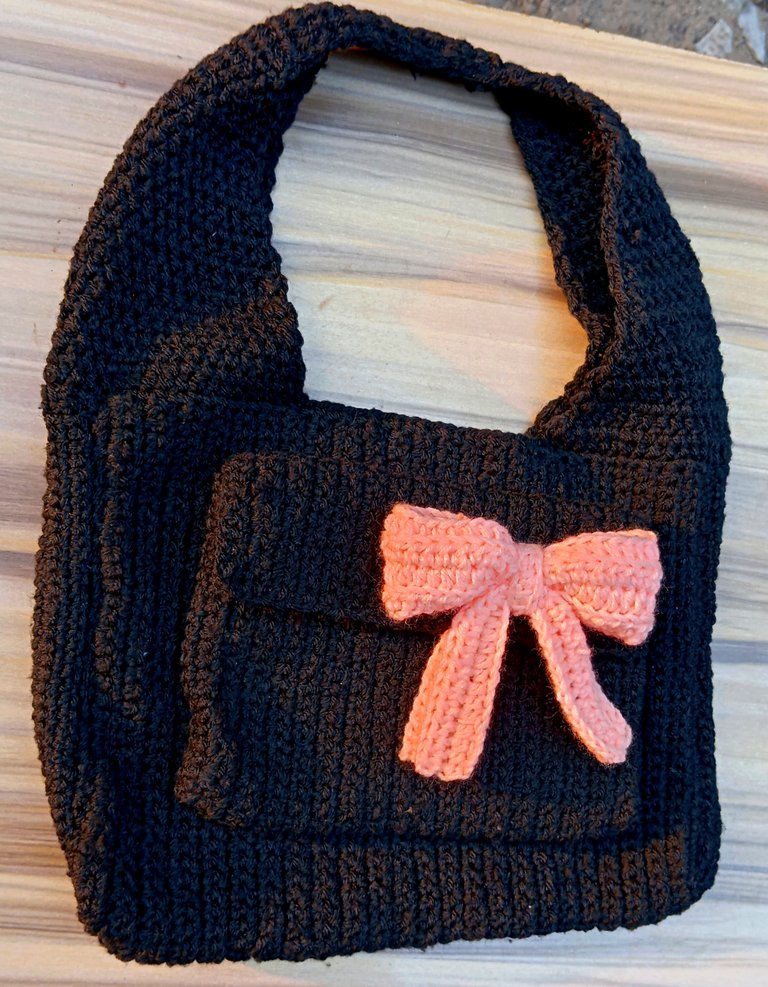
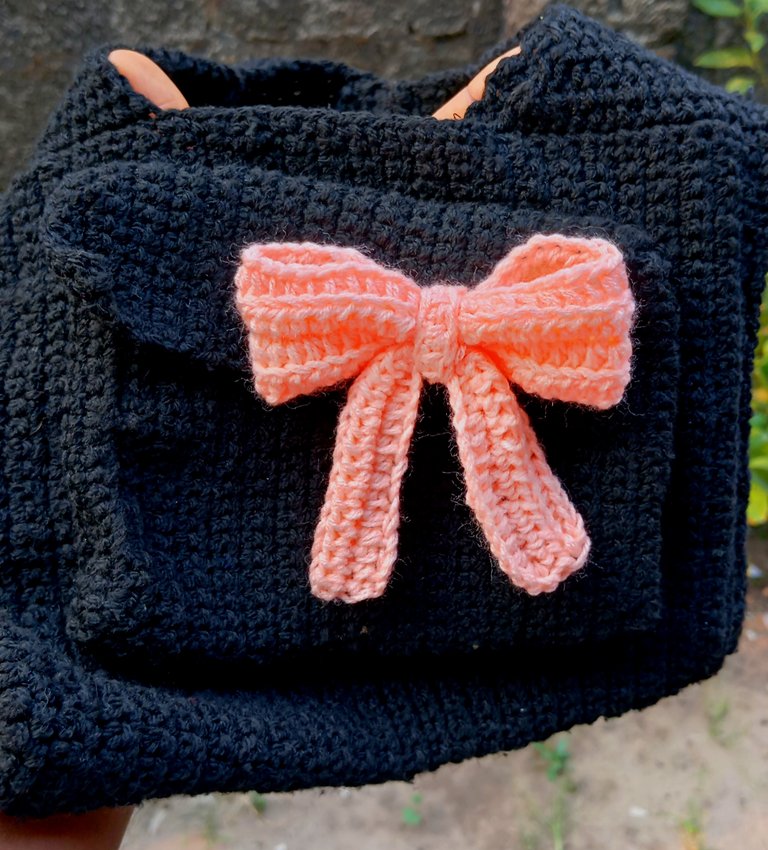
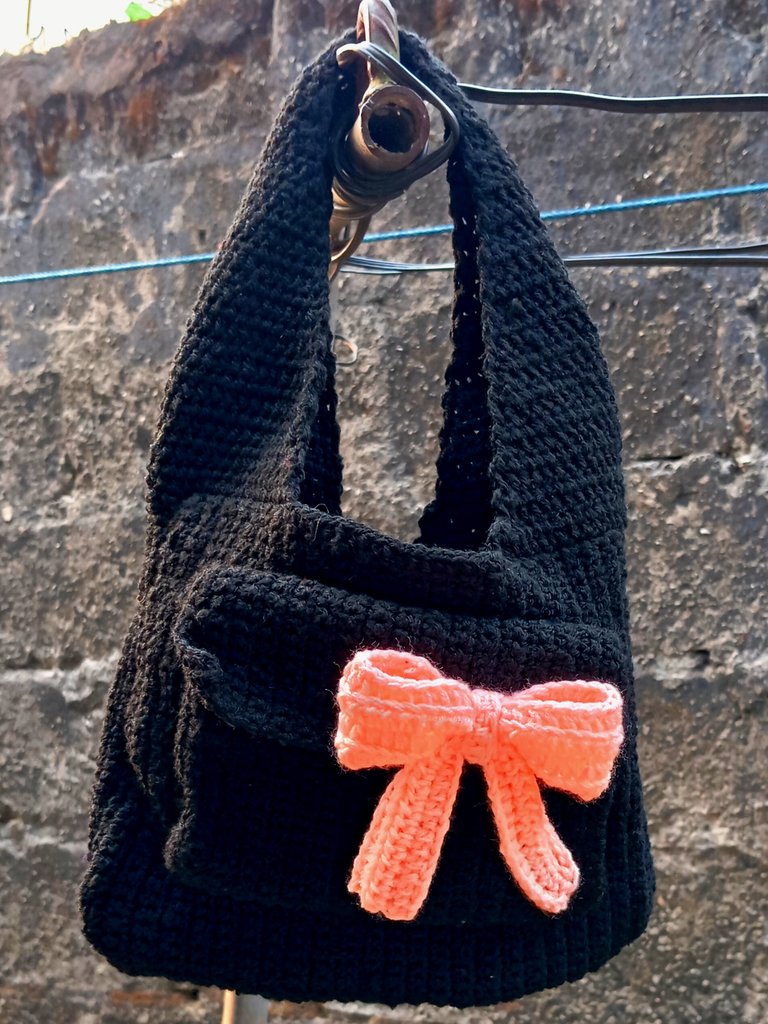
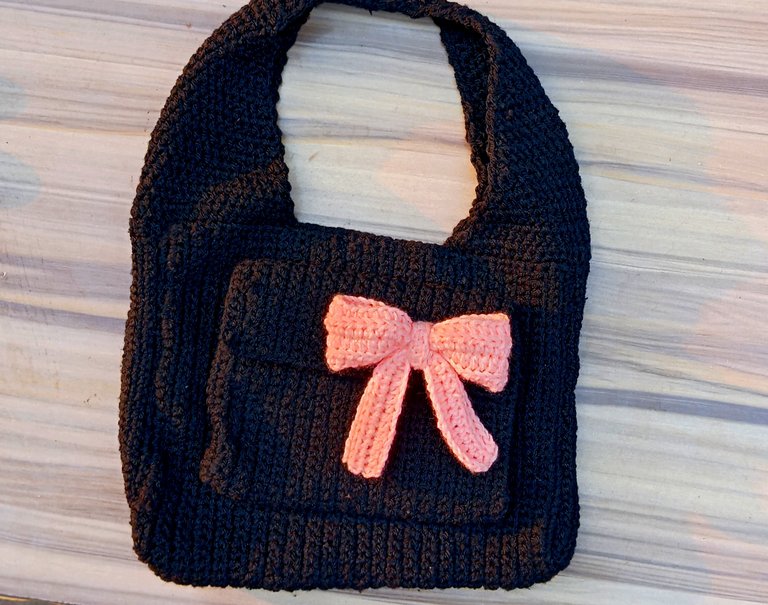
The original design
PS
ALL IMAGES ARE MINE
Congratulations @bipolar95! You have completed the following achievement on the Hive blockchain And have been rewarded with New badge(s)
Your next target is to reach 13000 upvotes.
You can view your badges on your board and compare yourself to others in the Ranking
If you no longer want to receive notifications, reply to this comment with the word
STOPThe bag is so cute and it’s almost hard to believe that was the original thing. You did a really great transformation and I love it. My favorite thing about the bag is the cute bow on it. So lovely.
Thank you Sensei ❤️🌹💖💋💝
Sending Love and Ecency Curation Vote!
 Follow Eceny's curation trail to earn better APR on your own HP. : )
Thank you 😊
Well done for this is amazing how you create it 👏
Thank you friend 😊🤗
Ok, let's take some seconds to appreciate the bow 😍 so beautiful.
The first one you made is still ok but this looks better ngl, one of the nicest peace offerings I have ever seen 😍 👏🏾
Awwww thank you 🥰🤗
It's good that you were able to use the parts to make something useful anyway. Now you have a beautiful little bag and surely you can make one for your client later.
Cheers, have a nice day ❤️.
Definitely, it turned out to be a win win situation... Thank you for stopping by 🤗