Friendship and Fibre - First time Crocheting a bikini.
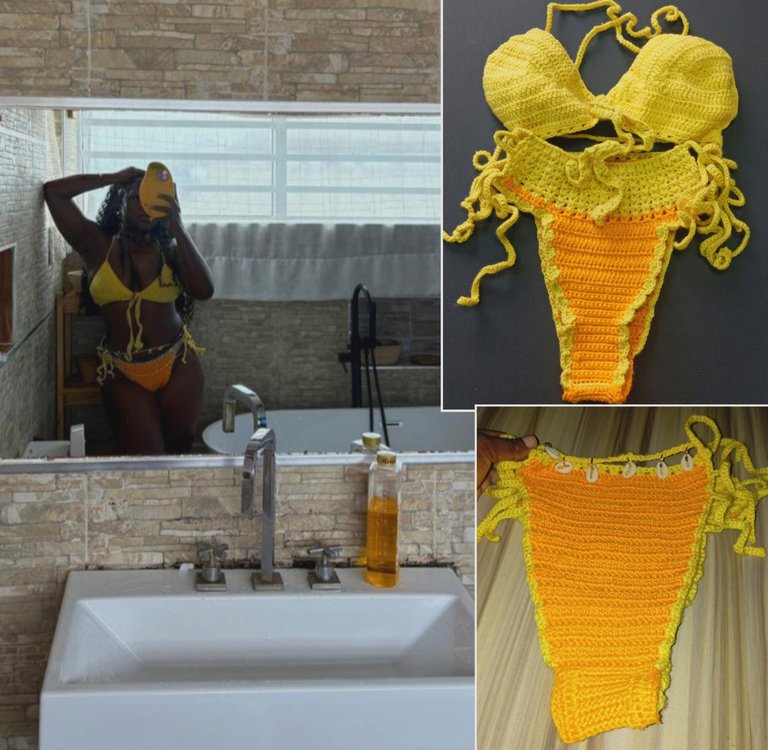
Hiya, needleworkers, It's been a while, but this project is not new. I have done it for months now, but I wanted the model to try it on for fitting. This is my first crochet bikini set, and I didn't think I'd pull it off because so many things went wrong with this project.
The first thing that went wrong was that the model went on a weight loss journey to get a bikini-sized body for her vacation.
The initial measurements she sent, which I had already started with, became too big. At a point I got confused about the actual size to go with, so I just went with large as opposed to the XL I was working with. I had wanted to do a size medium, but I am a medium, and I had eyeballed the success pictures of her weight loss journey she kept sending me for review. I knew there was no way she could cut it down to my size before the vacation, so I was confident enough to continue with large.
However, we were both scared because what if it didn't fit? I knew I'd be devastated since it was something I wanted to do for her for her birthday, which was the purpose of her vacation. We both kept praying for a better outcome, and my fingers were crossed.
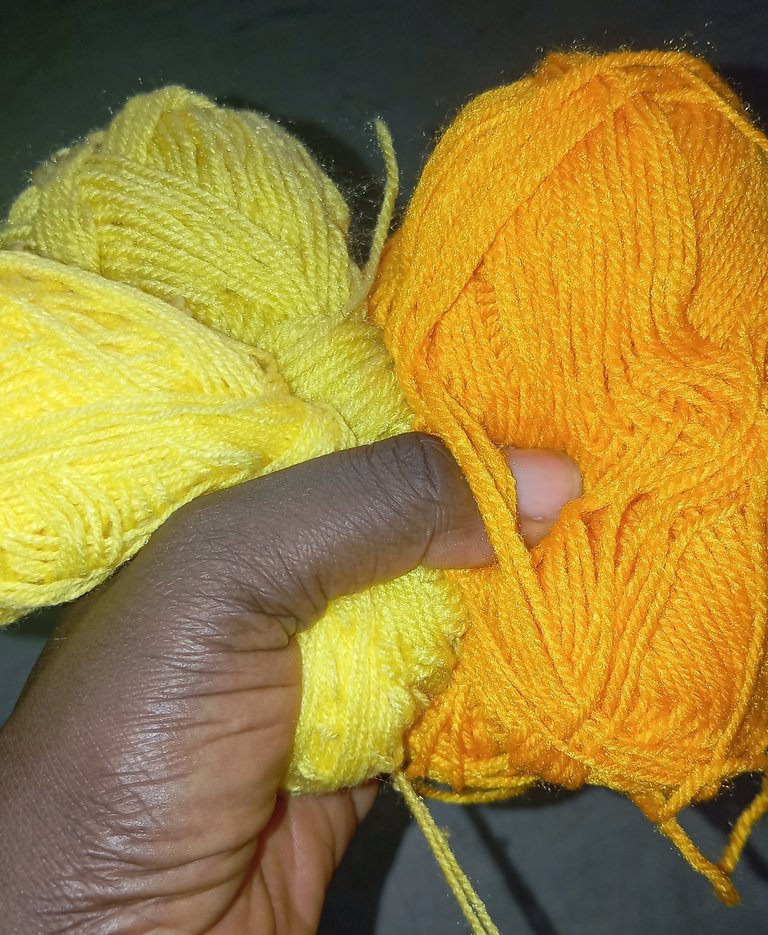
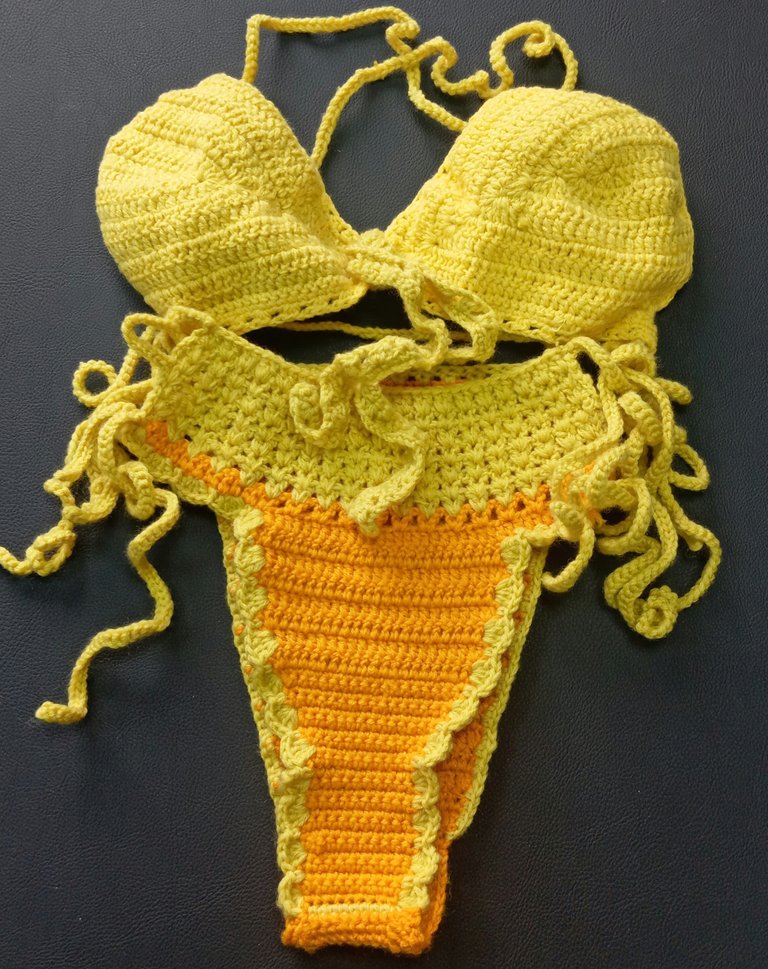
As I was battling with the size, I discovered the yarn I had gotten was not sufficient. I miscalculated because I thought I was using a single strand of yarn, but when I started, I went with a double, which was two strands from two yarns. I made use of a double crochet stitch since I wanted it to be solid sp two strands it was. When the yarn got exhausted, I didn't panic until I got to the market and I couldn't find the exact shade of yellow. I got confused again because I had completed the bralette with the bright set of yellow yarn and had little left. I had gone too far to start up again from scratch with the darker shade of yellow yarn I saw at the market.
Despite not being sure of the outcome, I got the darker shade for the bottom with the mindset of combining it with the bright shade of yellow I had left. This was an idea I had gotten from one of the @abenad crochet projects when she made a gown from the different shades of yellow yarn in her possession. I got back home and put on my thinking cap. I didn't know what to expect; I didn't know what the outcome would be, but I had high hopes, bearing in mind that it's art, of which, whichever way, as long as I give it my best, it will come out beautifully.
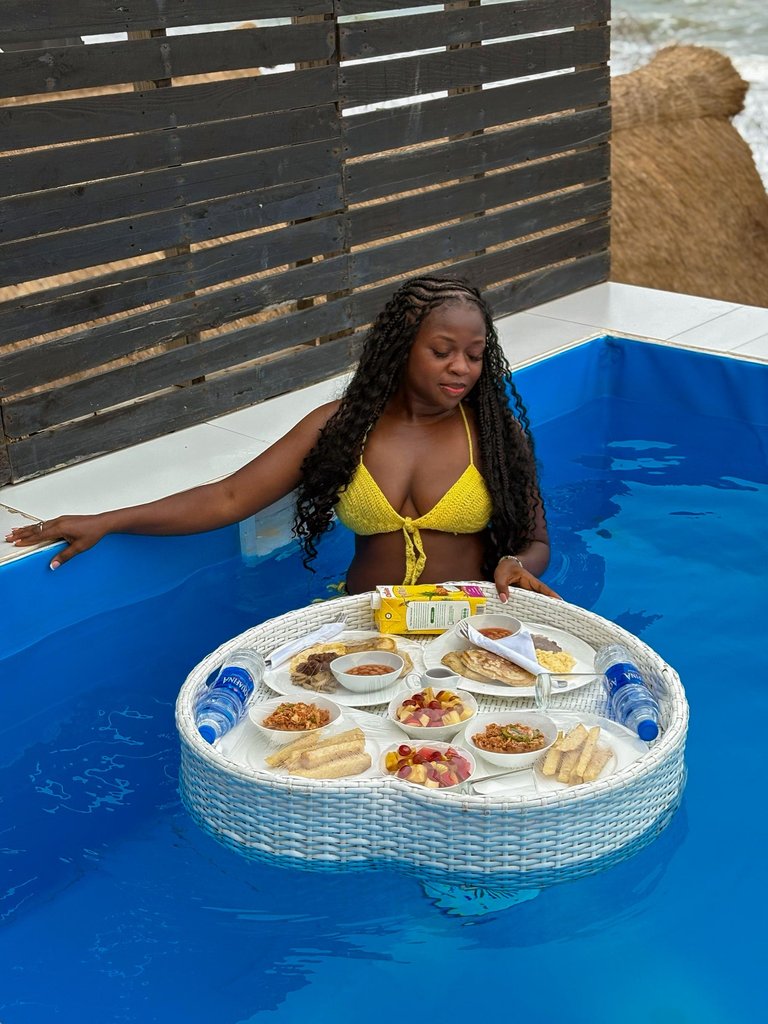
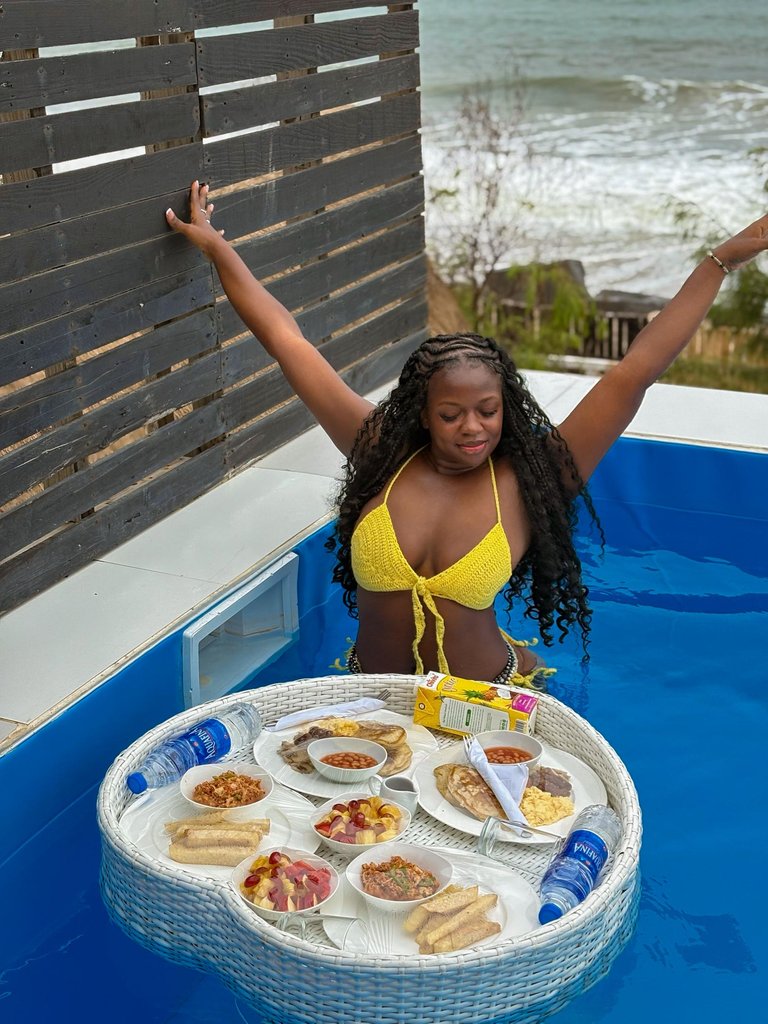
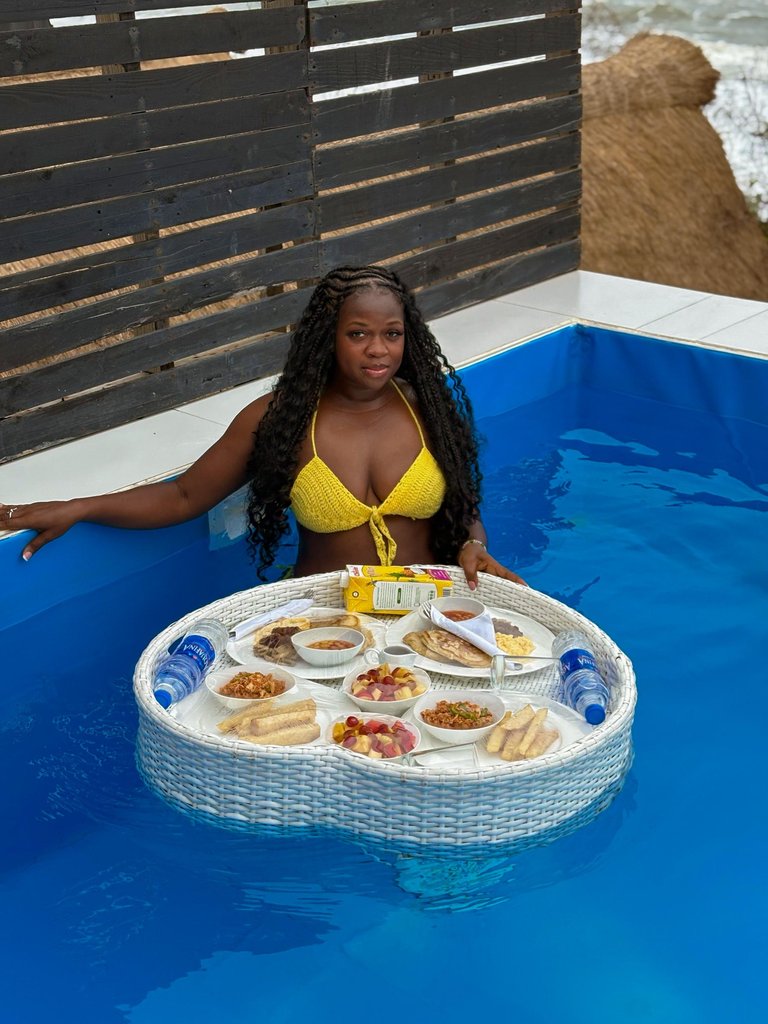
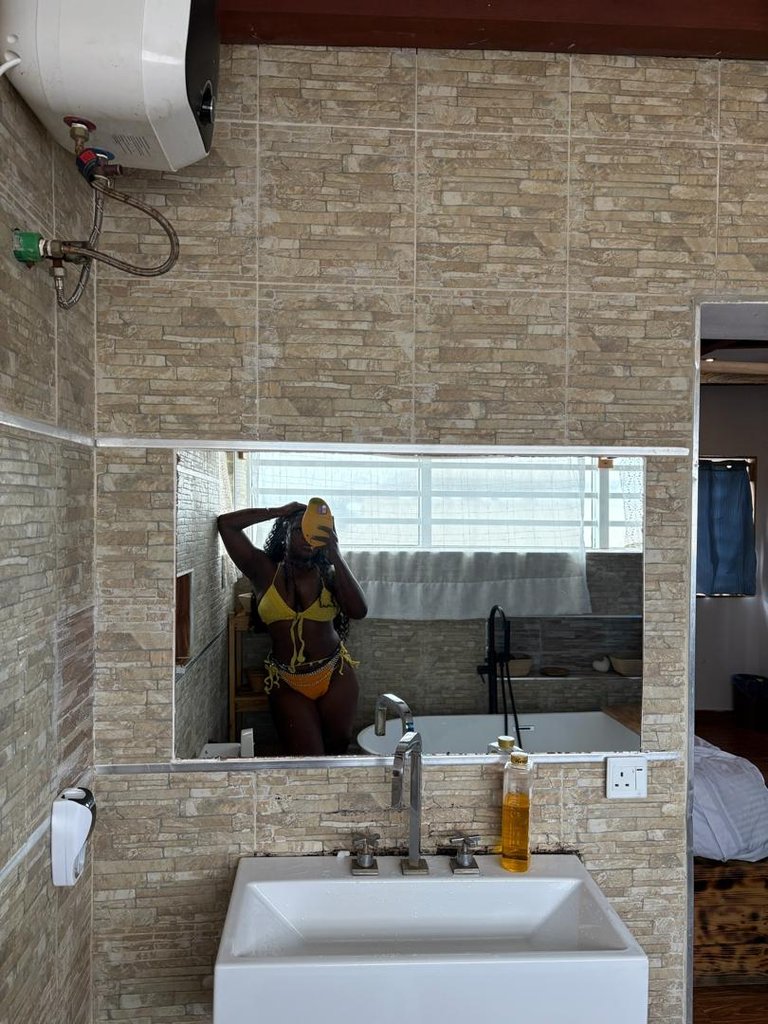
Well, I was not wrong, as the model slayed it even though she wore the back side of the bottom lol.
Let's start with the procedure.
Material
Yarn
4mm crochet hook
Procedure
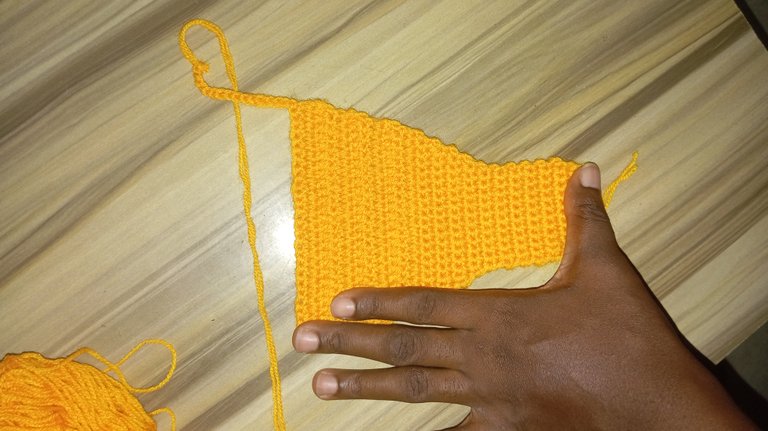
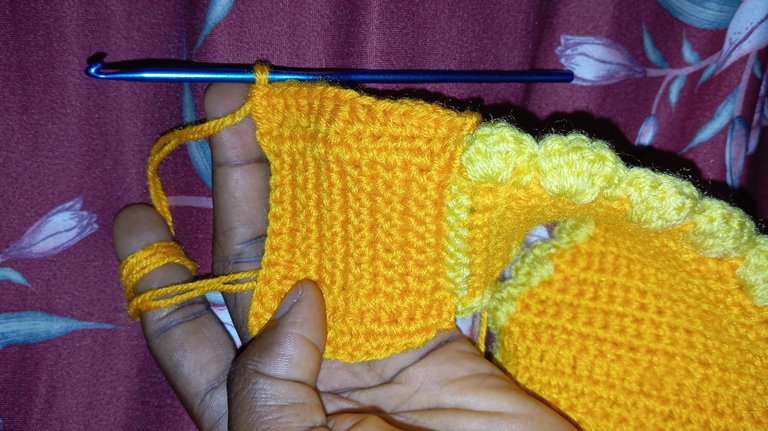
Step one (the cups)
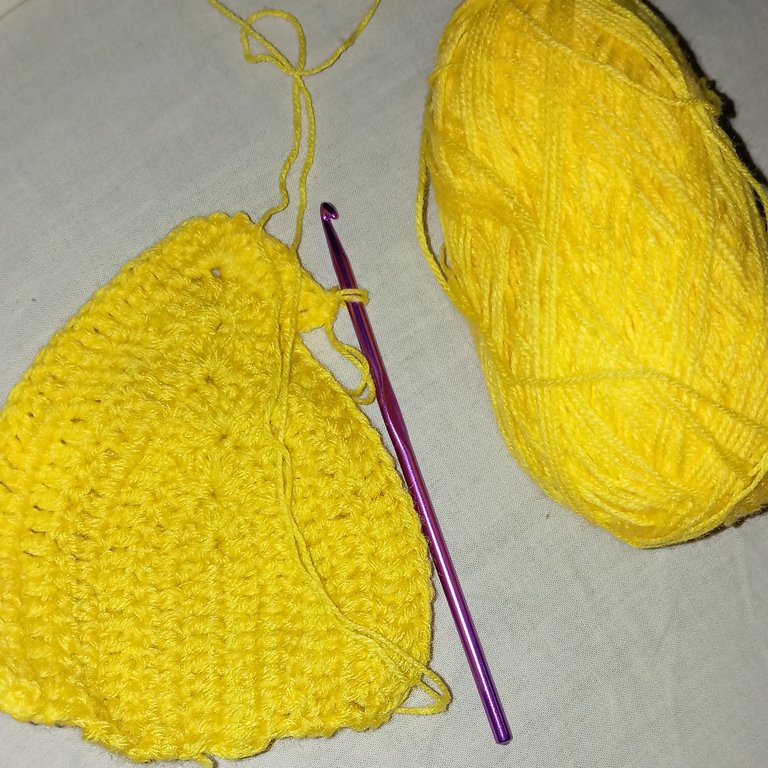
I started with the bralette cup by making eleven chains. I skipped the eleventh chain and built on the rest of the chains with double crochet till I got to the tenth chain, where I crocheted four double crochets and continued on the rest of the chain on the other side with a double crochet.
When I got to the end, I turned my work and chained two, then continued on the rest of the stitches with a double crochet till I got to the part with four double crochets I had placed on the tenth chain earlier. I repeated the four double crochet in a single stitch and then continued.
(You could use a stitch marker to identify the accurate stitch to input the second and rest steps of four double crochet as the project progresses.)

The trick to completing the bralette to the preferred cup size is to always turn your work at each end, chain two, and continue with a double crochet. You only go round once you get to the peak; that's the point of the four double crochets in one Stitch.
Continue on this, and you'll achieve both cups accurately.
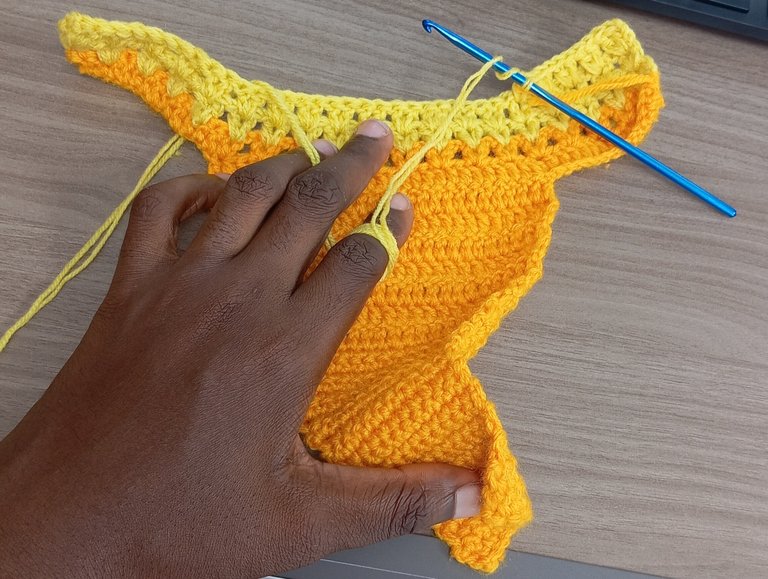
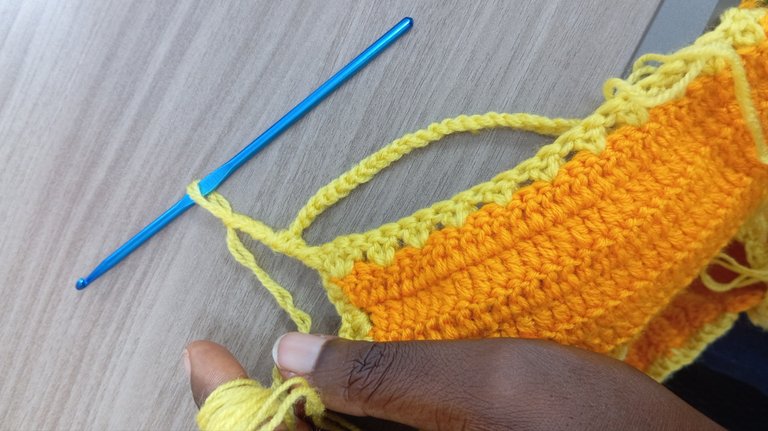
Step two (the joining)
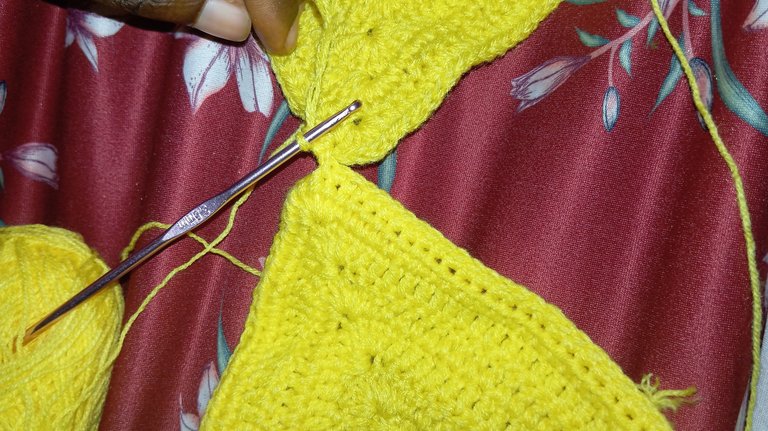
Place the peak of each bralette cup facing each other and join from the tip by inserting your hook and pulling up a yarn. Continue crocheting underneath with a single crochet to create a grip and bring both together.
Once at the end of the second cup, turn your work and continue with a single crochet to the other end. At the end of the third single crochet row, turn your work and start-up with two half-double crochets in one stitch. Build on the bottom of the bralette by placing two half-double crochet in one stitch after skipping two stitches.
I ended this step at the second row of half double crochet. I also repeated a row of the half-double crochet design at the top of each bralette cup.
Step three (the hand)
At the tip of one of the bralette cups, I inserted my hook, pulled up yarn, and just chained till I got my desired length. I repeated this same procedure for the other tip, and I got a long chain that could cross through the back from both ends.
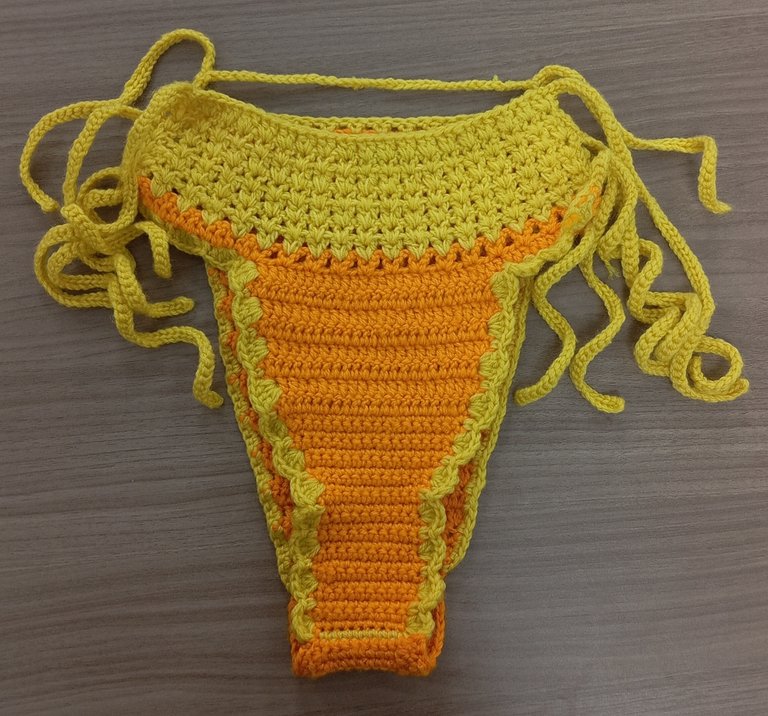
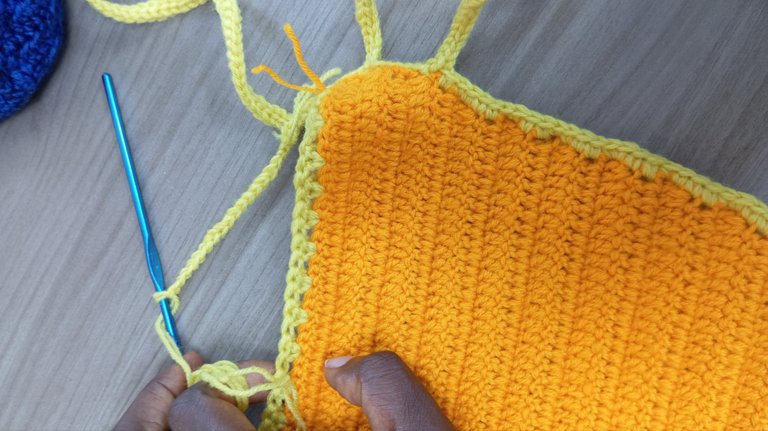
THE PANT
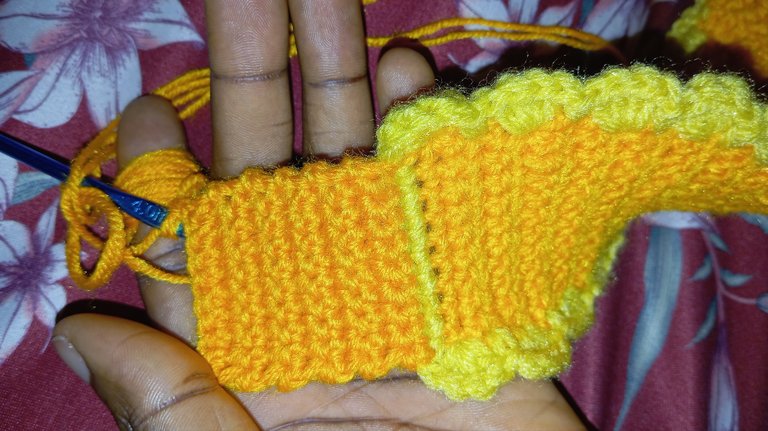
Front
I chained ten (every size got the start-up), then built on each row with a single crochet, turning my work at each end to continue. At the tenth row, I started increasing; at each beginning, I continued with this procedure of increasing for about 15 rows and then switched to a double crochet for another five rows.
At the end of the twentieth row, I chained twelve and then built on it to the other end with a double crochet.
At the other end, I chained another twelve, built on it with a double crochet, and then introduced the design, which I continued for another ten rows, giving us a total of about 30 rows.
For the design, I made use of two double crochets after every two stitches.
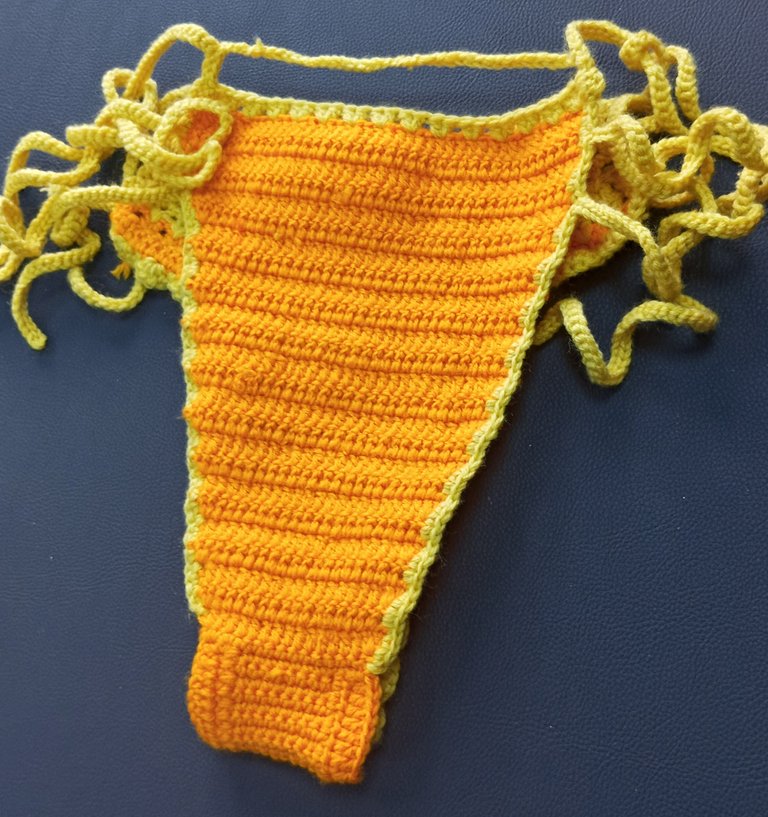
The fastening side rope on the front side of the pant
After getting my desired size for the front part of the pant, at the top end of the waistband, by the side, I made a chain to my preference. I built on it with a slip stitch to take me back to the side of the pant. Continuing with the slip stitch, I worked my way down three steps and repeated the procedure till I had three fastening ropes on one side. I then crocheted round to the other side by inputting six double crochets on one stitch and a single crochet on the next. This gave us the lace-looking design. On the other side, I repeated the procedure for the fastening rope and got another three sets.
Back
I continued from the bottom of the front part of the pants and built on it, but when I got to the tenth row, I noticed the bottom part of the back was too tiny, so I got creative and crocheted on the edges to widen it. I continued building on the back with a double crochet, increasing at each beginning till I got 44 rows and ended it.
The fastening side rope for the back of the pants

For the waistband at the back, I made two double crochet in one stitch skipping two stitches at intervals. I got to the other end and did the fastening rope by repeating the same procedure in the front. For the edges at the side, I did something different. I crocheted around with double crochet till I got to the other end again and made the other fastening ropes.
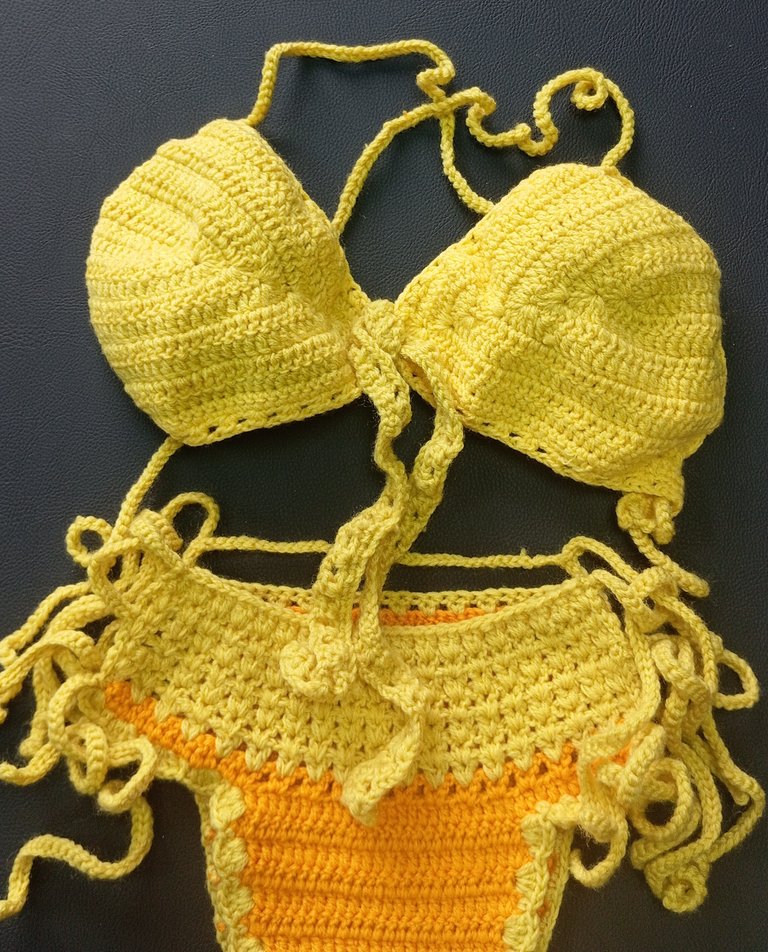
Unfortunately, I had miscalculated the position of the ropes and could only fit in two. So I got creative and made an extra step to create this masterpiece with a little touch of cowrie at the back. I'm super excited about the outcome and I hope you like it too.

GALLERY

Oh dear,am so sorry for all the stress you went through.
I can imagine the disappointment right from the change in measurements due to you friend's weight loss journey then to insufficient yarn and the disappointment of not seeing the same colour at the market.
But the good thing is that,you have been able to create the best of this bikini.
The difference in the colour combination makes it more unique and outstanding.
What a lovely job and from your pictures
I can see that it fitted perfectly well on your friend.
What a great job 👍
Thank you so much... I'm honoured 🥰
Wow!!! Such a masterpiece. Color and design all beautiful. weldone
Thank you so much Amie ☺️
The cowries you added at the back?! That’s some serious creativity there. I’m so proud of you. This is perfect. What’s the name for the set?
The Sharon set 🥹... Thank you my love 💞😘
Ughhh! Such a lovely name.
You’re welcome ☺️
🥹🤭
To many confusion but you eventually managed to make a perfect set. These are really beautiful and she looks 😍😍😍 in them, thanks for sharing.
I swear.... Too much confusion I didn't think I'd be able to pull it but I'm glad I did .. thank you for the compliment 😊💞😘
beautiful, the design details are also very neat.
Thank you 😊
Yes you're welcome. keep up the enthusiasm for your work.
This is really good
Congratulations @bipolar95! You have completed the following achievement on the Hive blockchain And have been rewarded with New badge(s)
Your next target is to reach 31000 upvotes.
You can view your badges on your board and compare yourself to others in the Ranking
If you no longer want to receive notifications, reply to this comment with the word
STOP