How I made a nice handbag for my client.
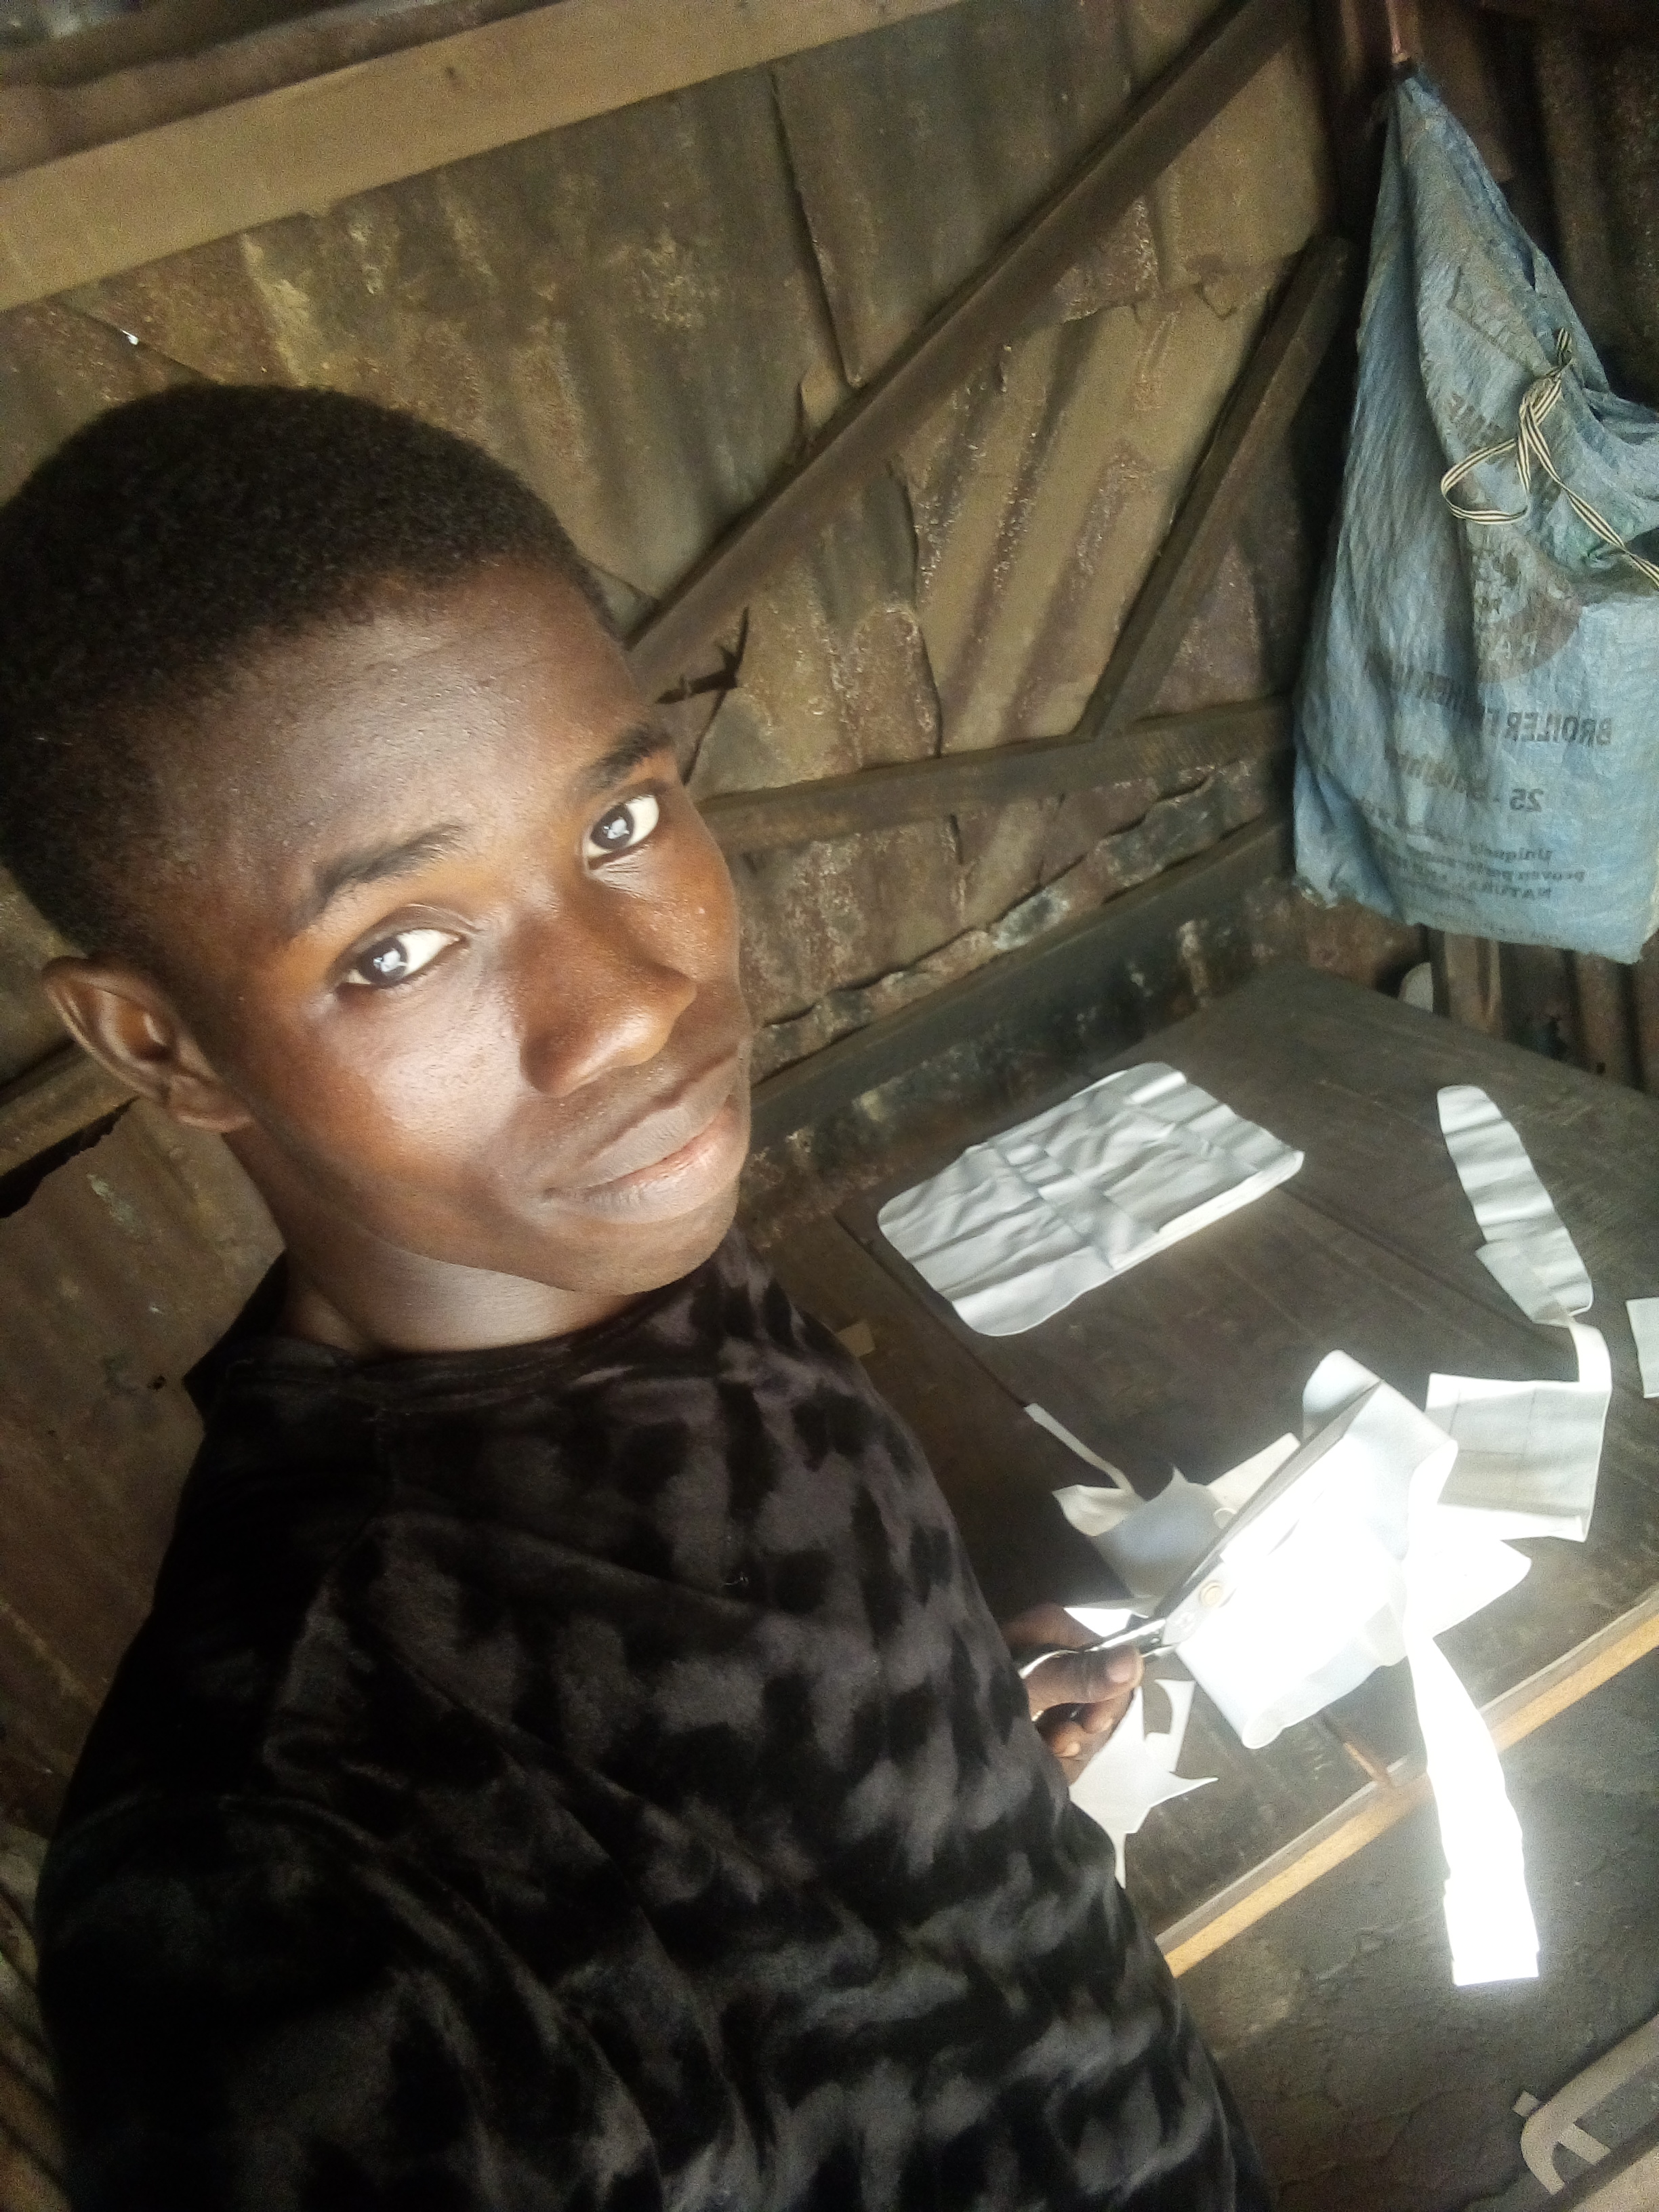
Hello friends!👋 How are you all doing? I hope you all are having a great day. Actually, I am a newbie here, and I am excited to be in your midst,i will be excited to tell you all how i made a cute handbag for my client recently.
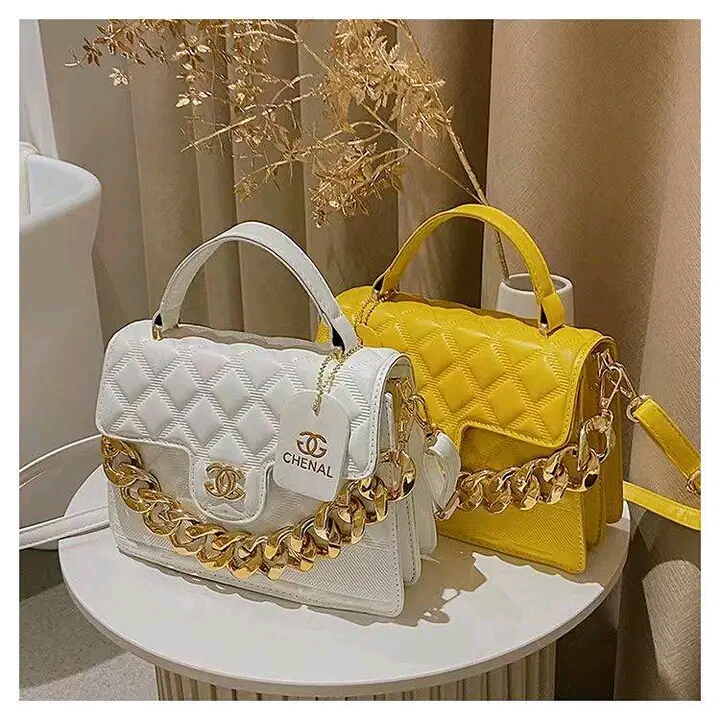
lt was a lot of work, but I proceeded with the making of the bag. This is the kind of bag my client asked me to produce for her.
So I told her the price of the bag, and she paid for it,the sum of 6000naira I went to the market and bought the necessary materials that I needed for making it.
Materials needed:
- White mirror face leather light
- Thick paper
- Marking sole
- Gum
- Pattern
- Landing
- Channel key
- Plastic chain
- Naked foam
- D ring.
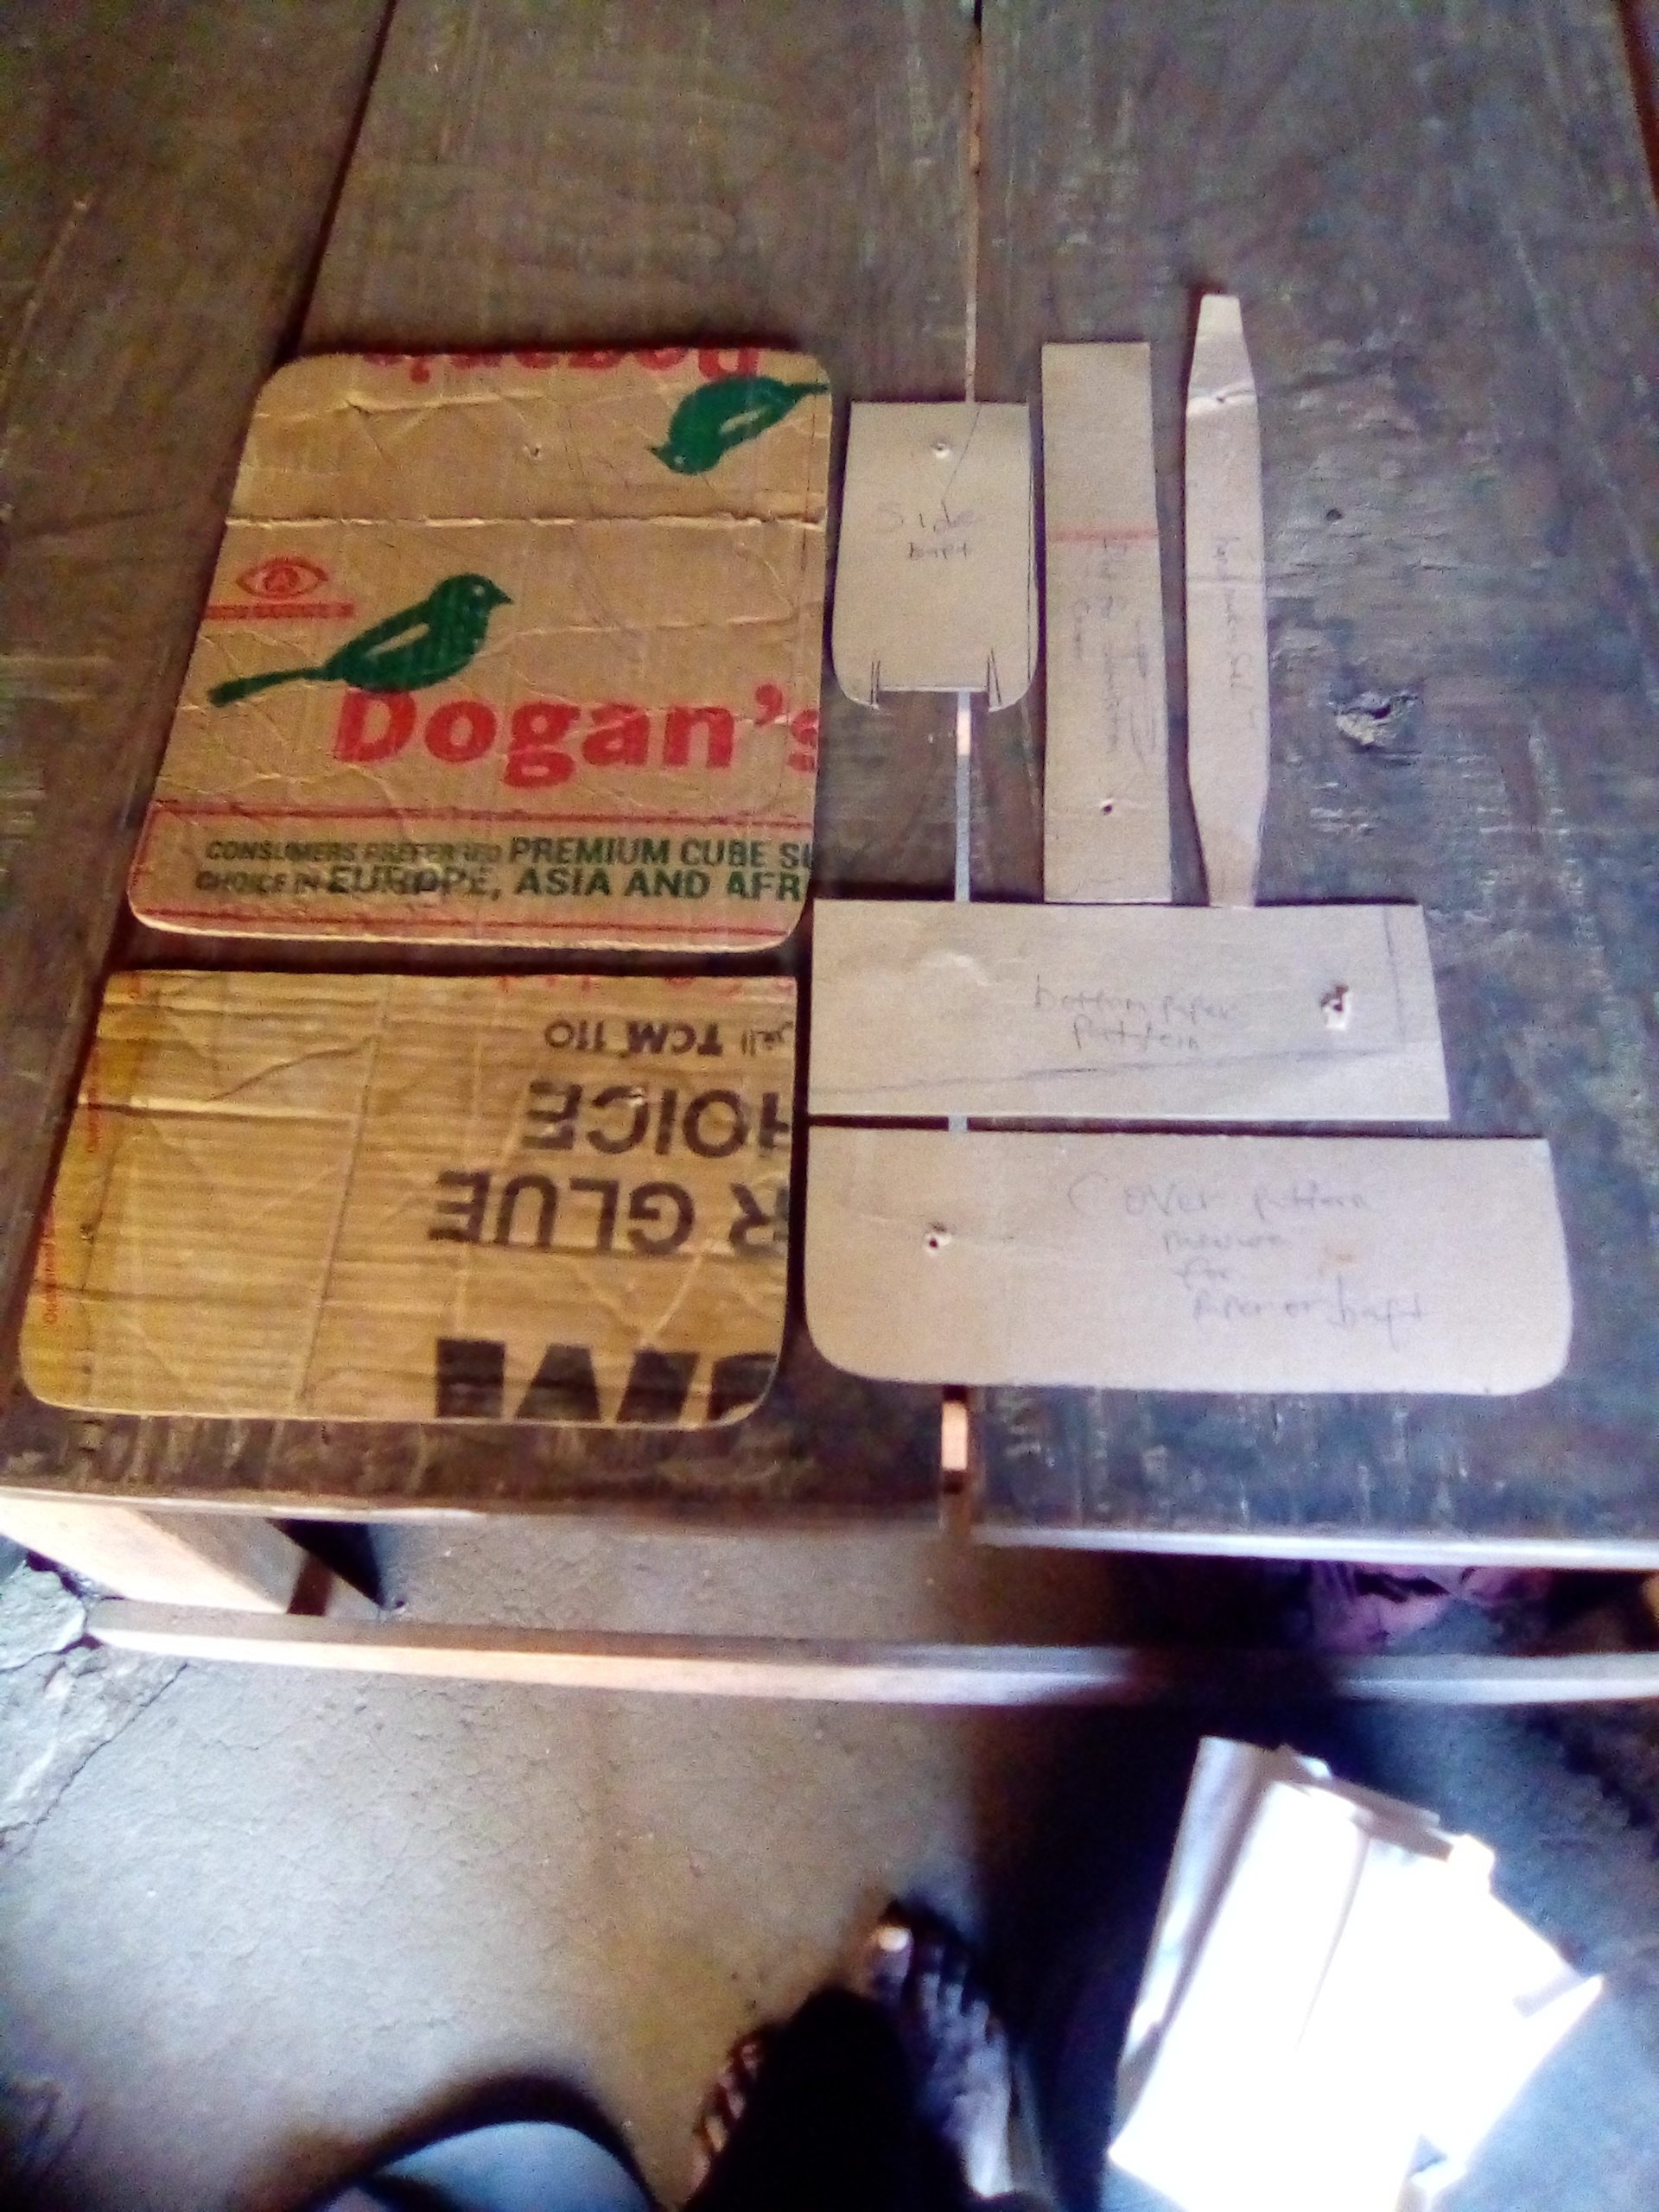
First step:
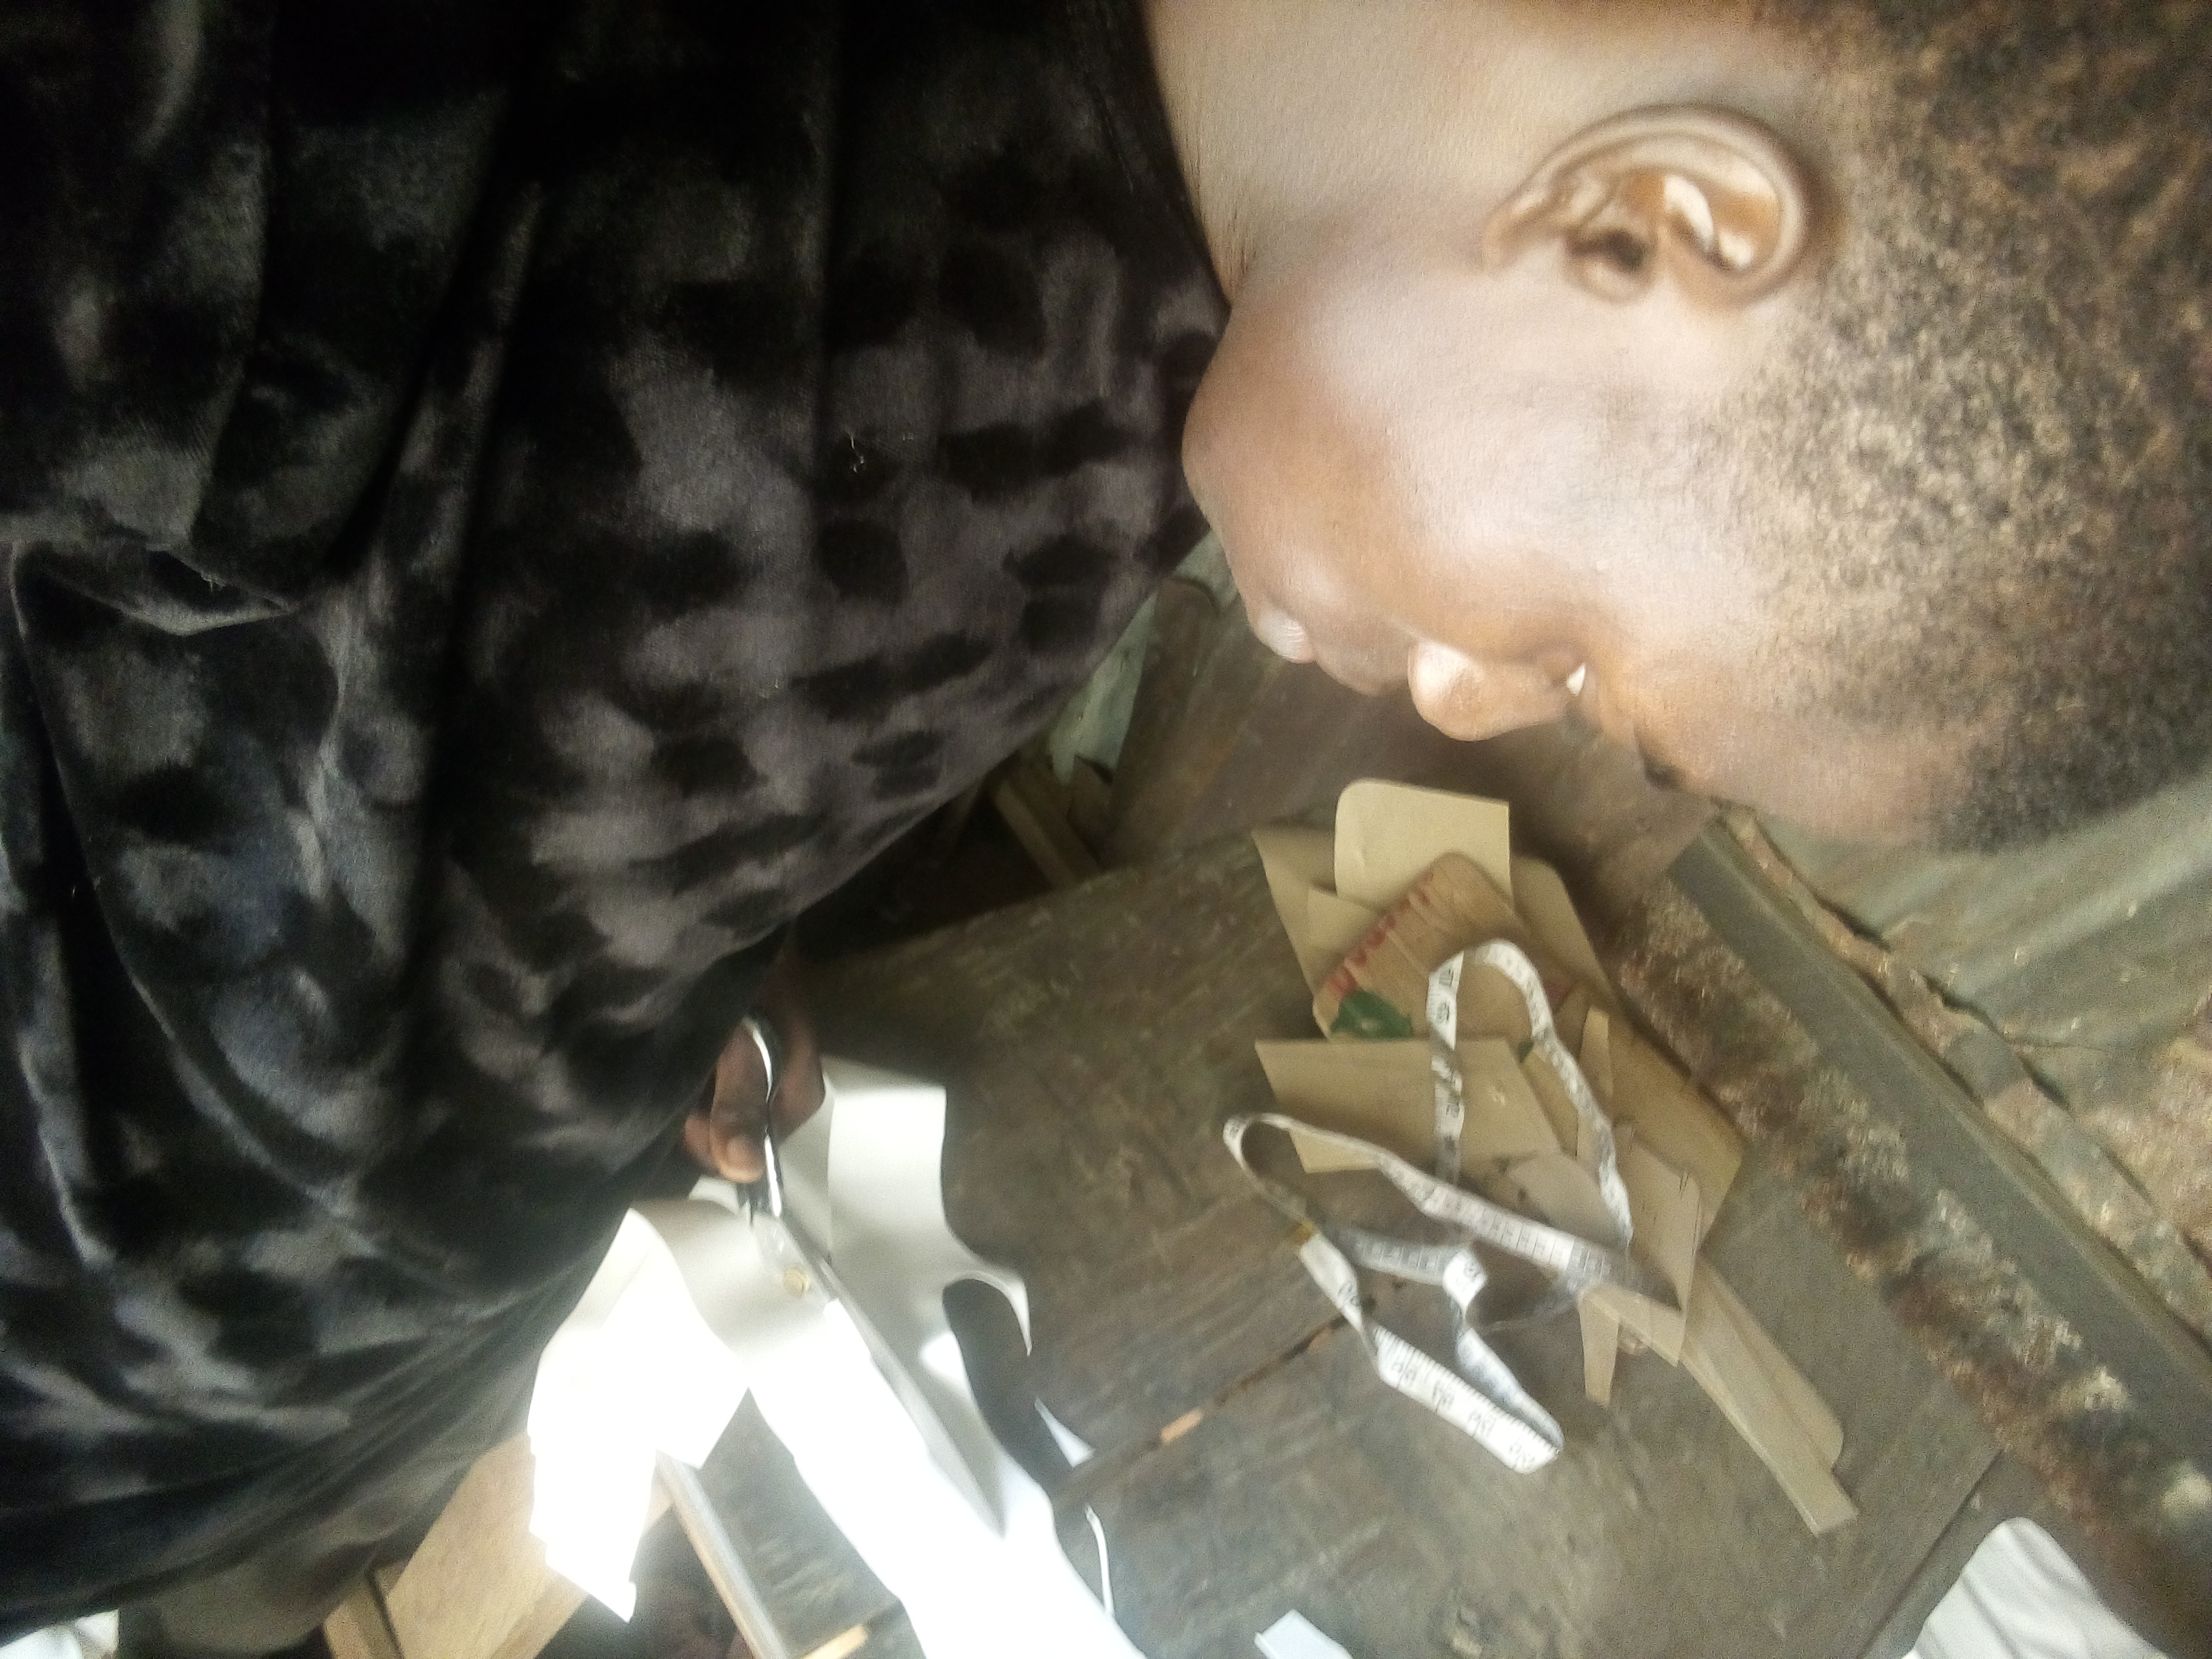
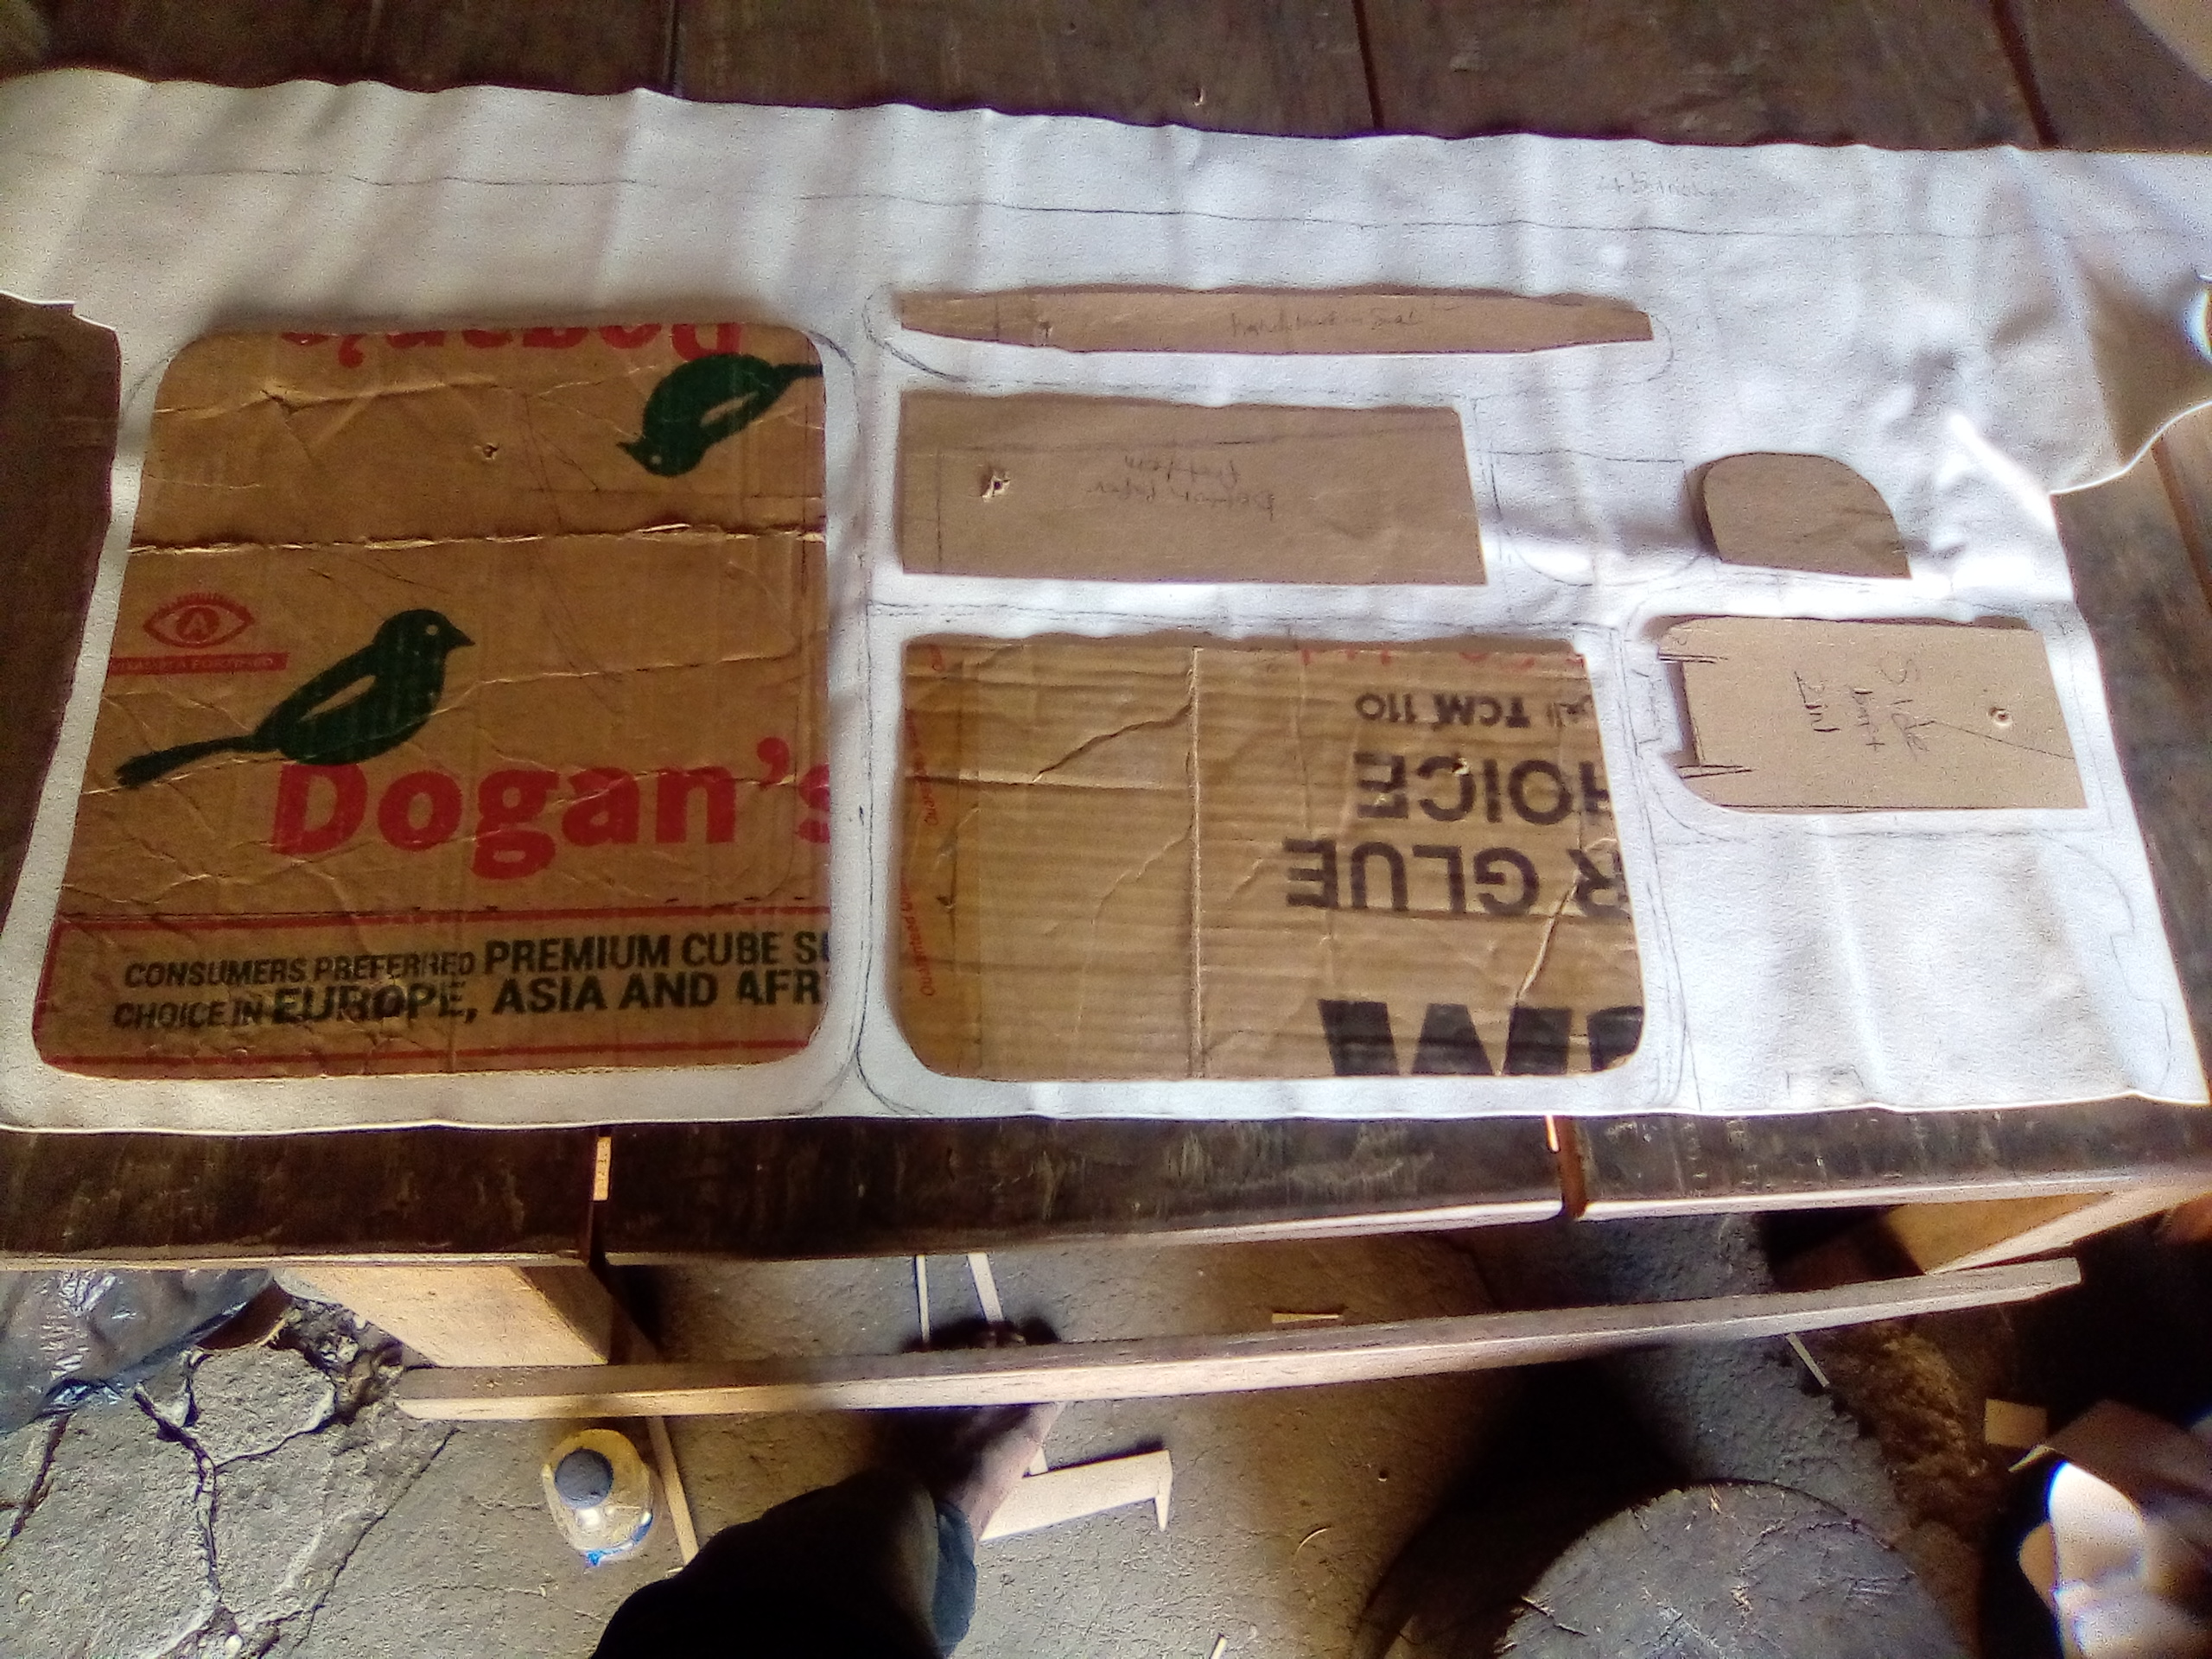
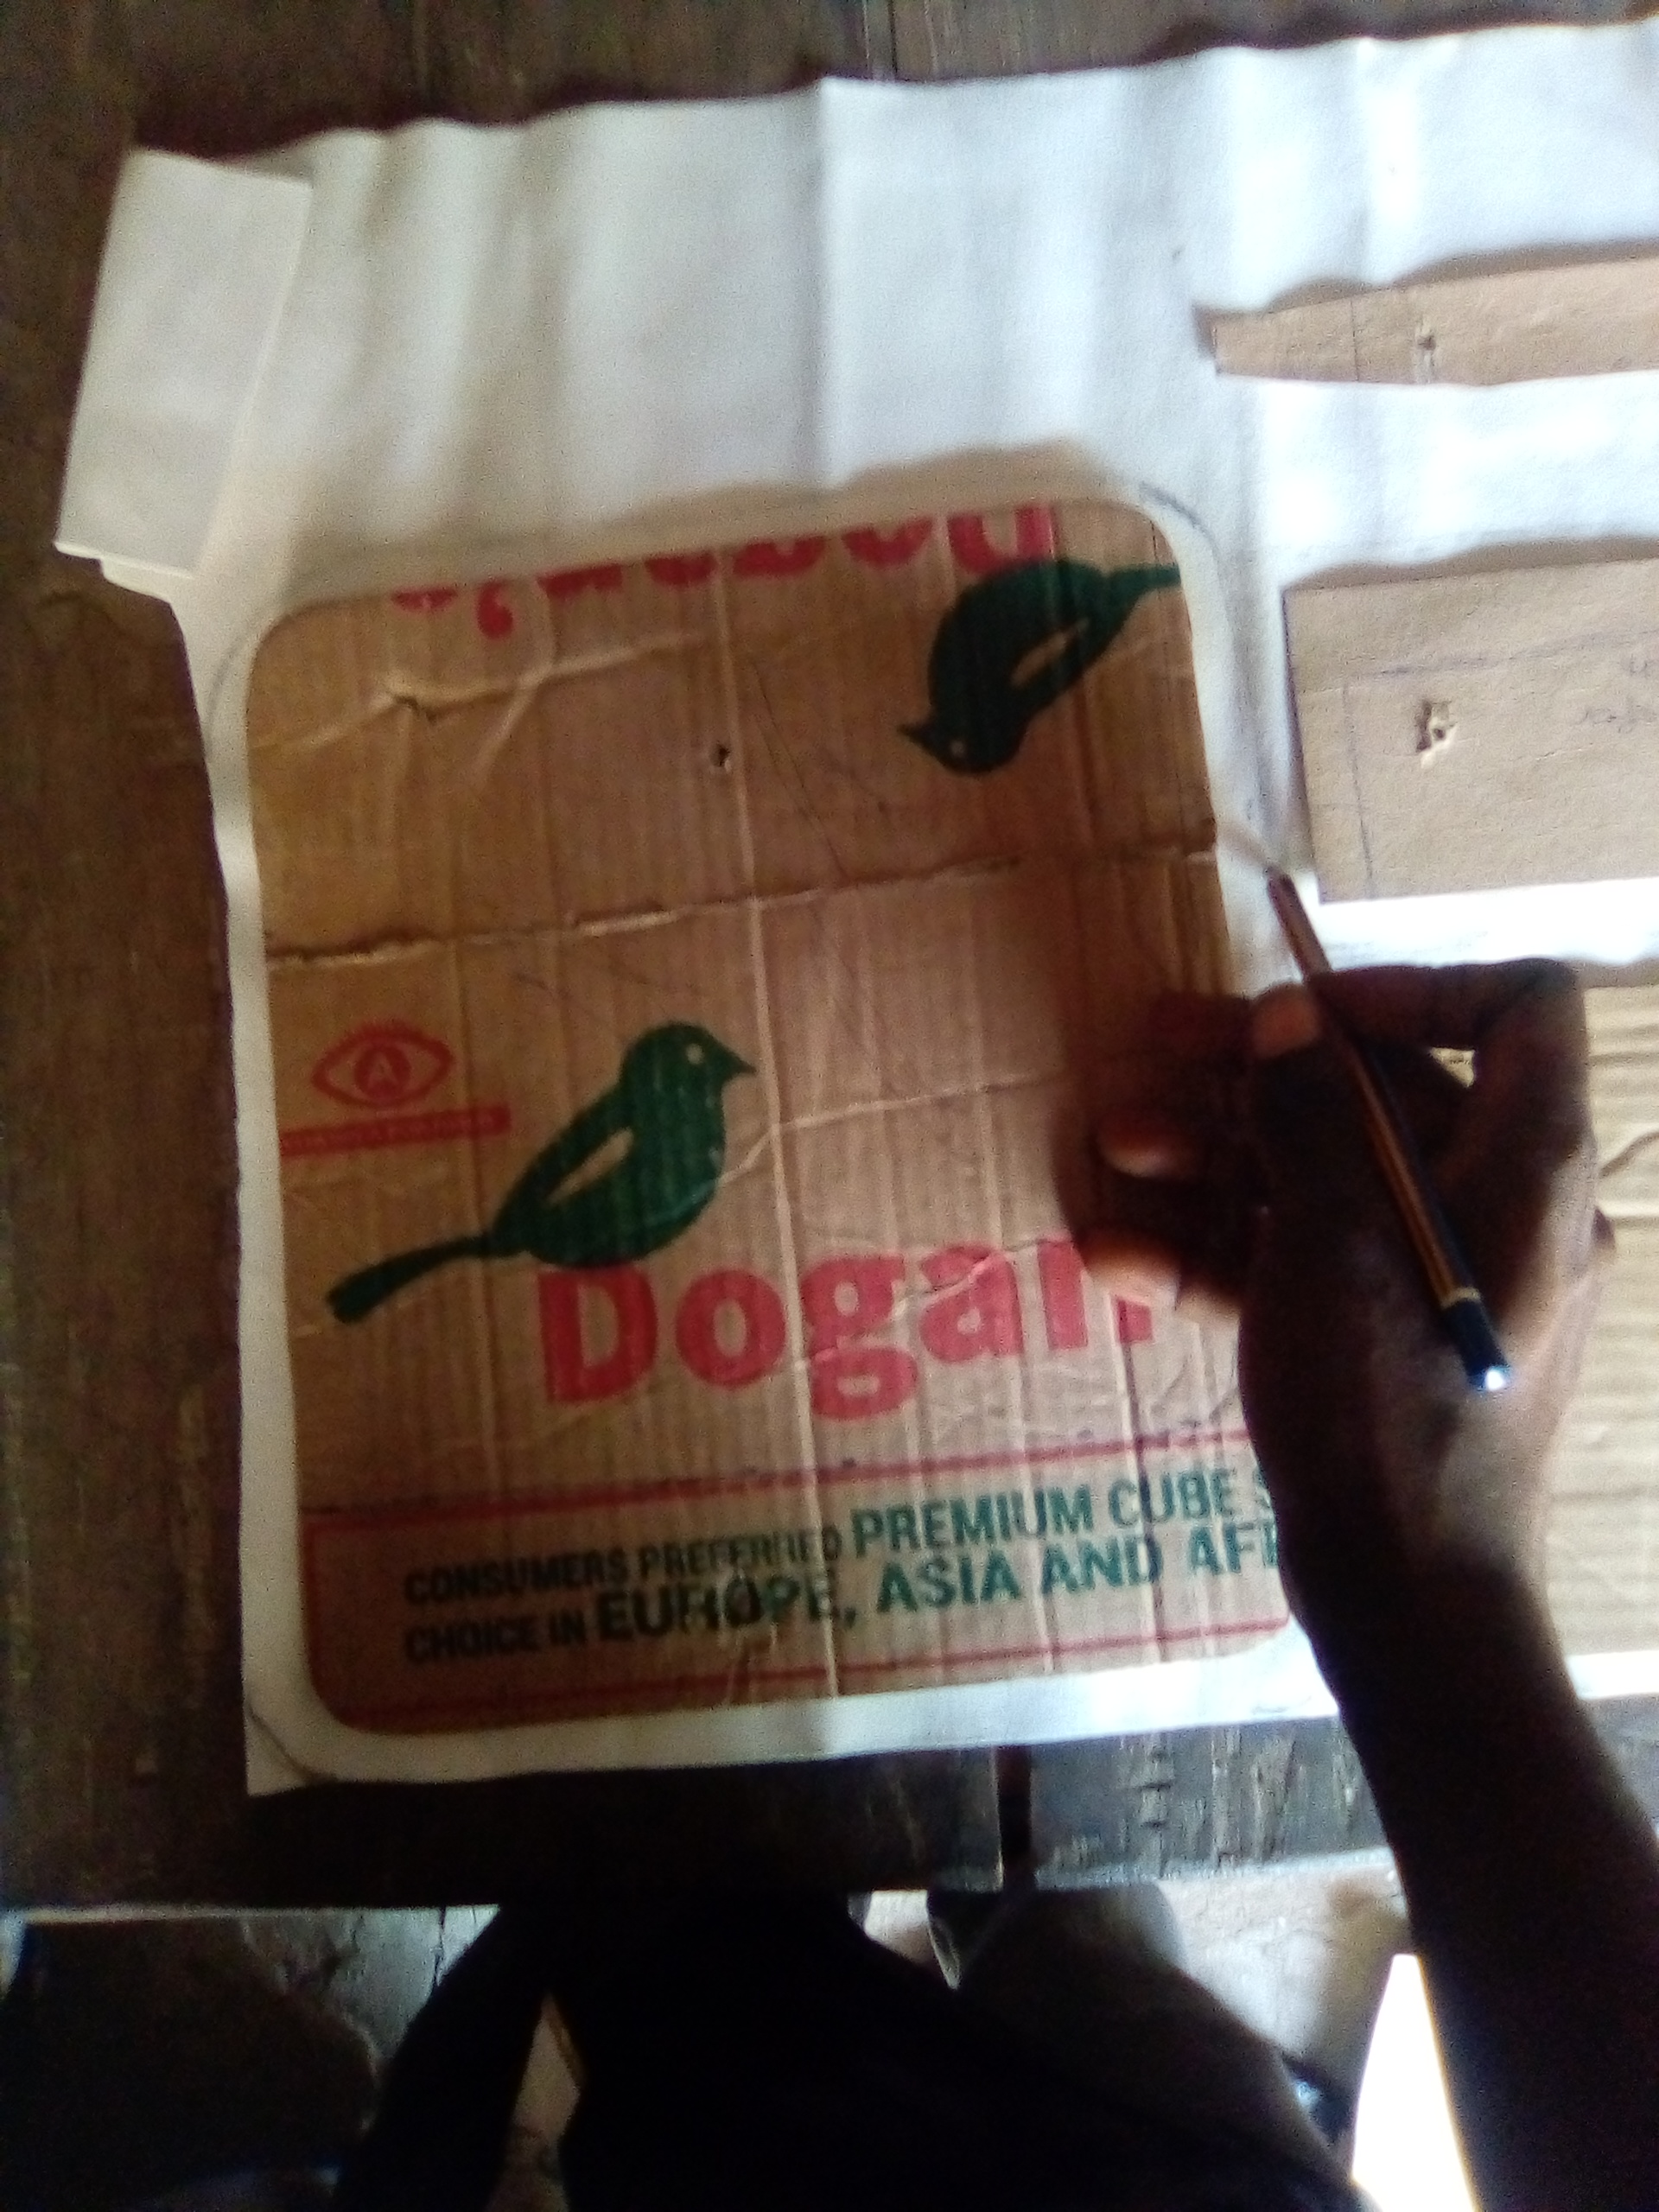
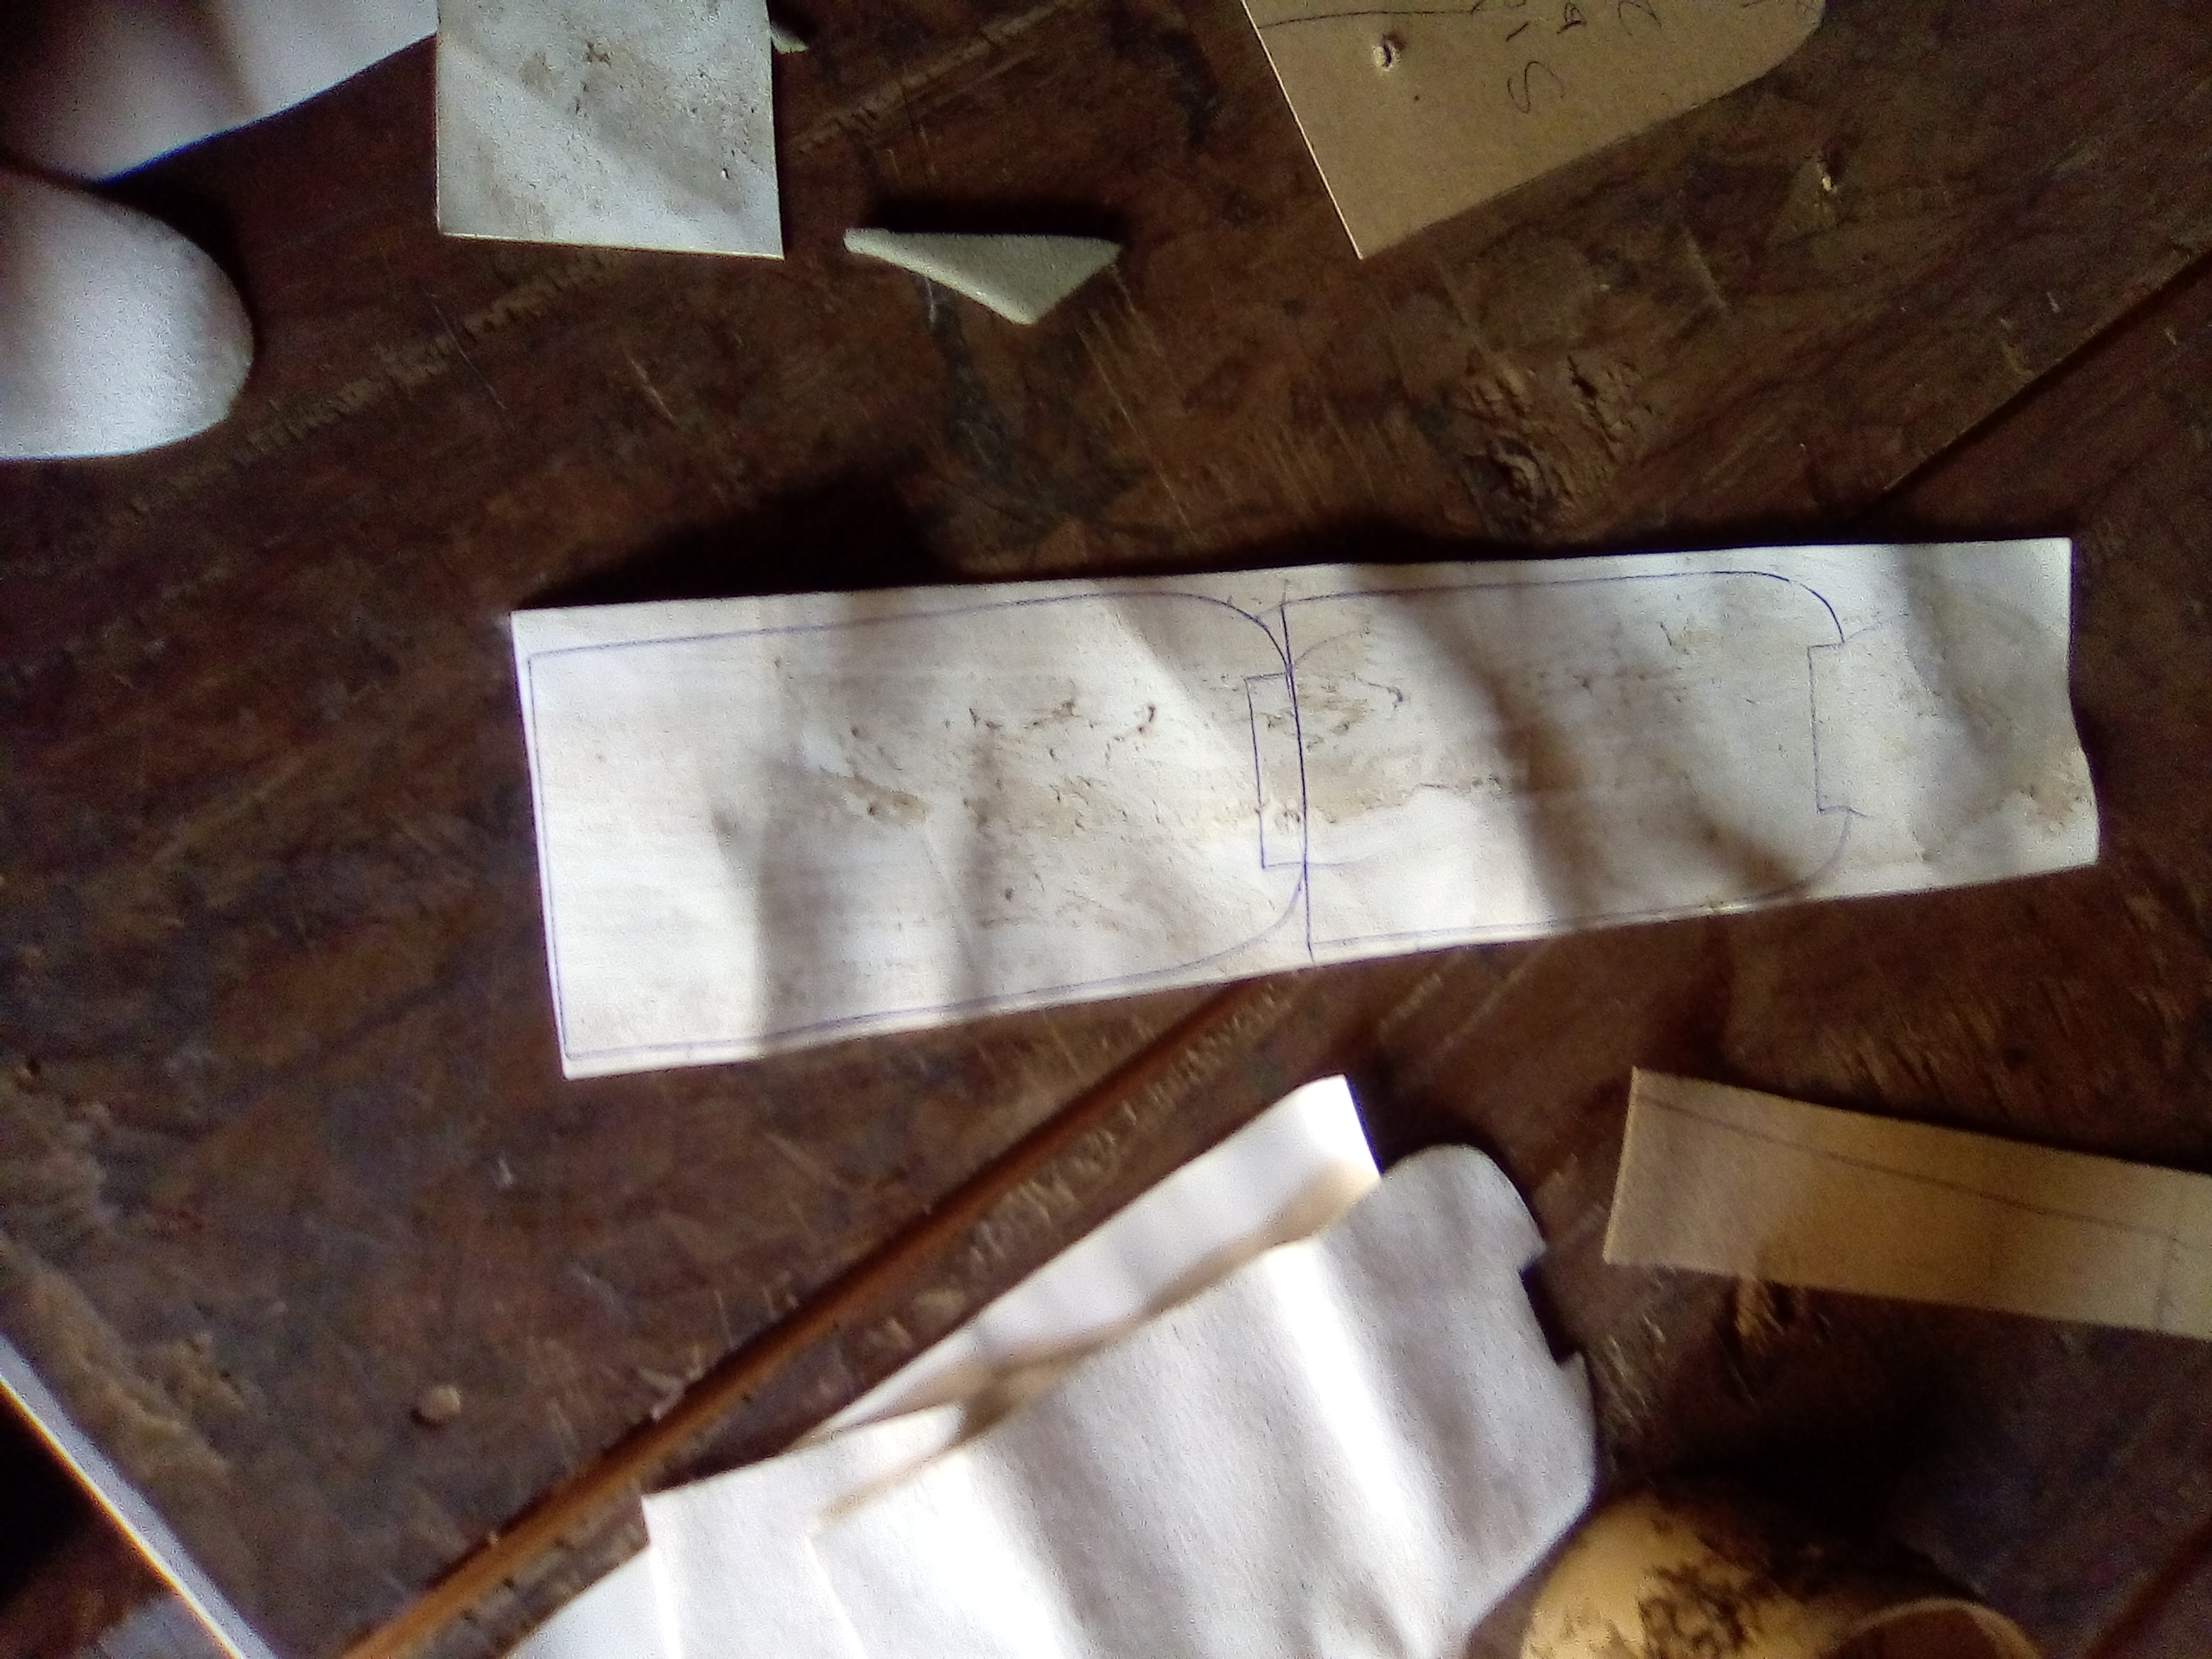
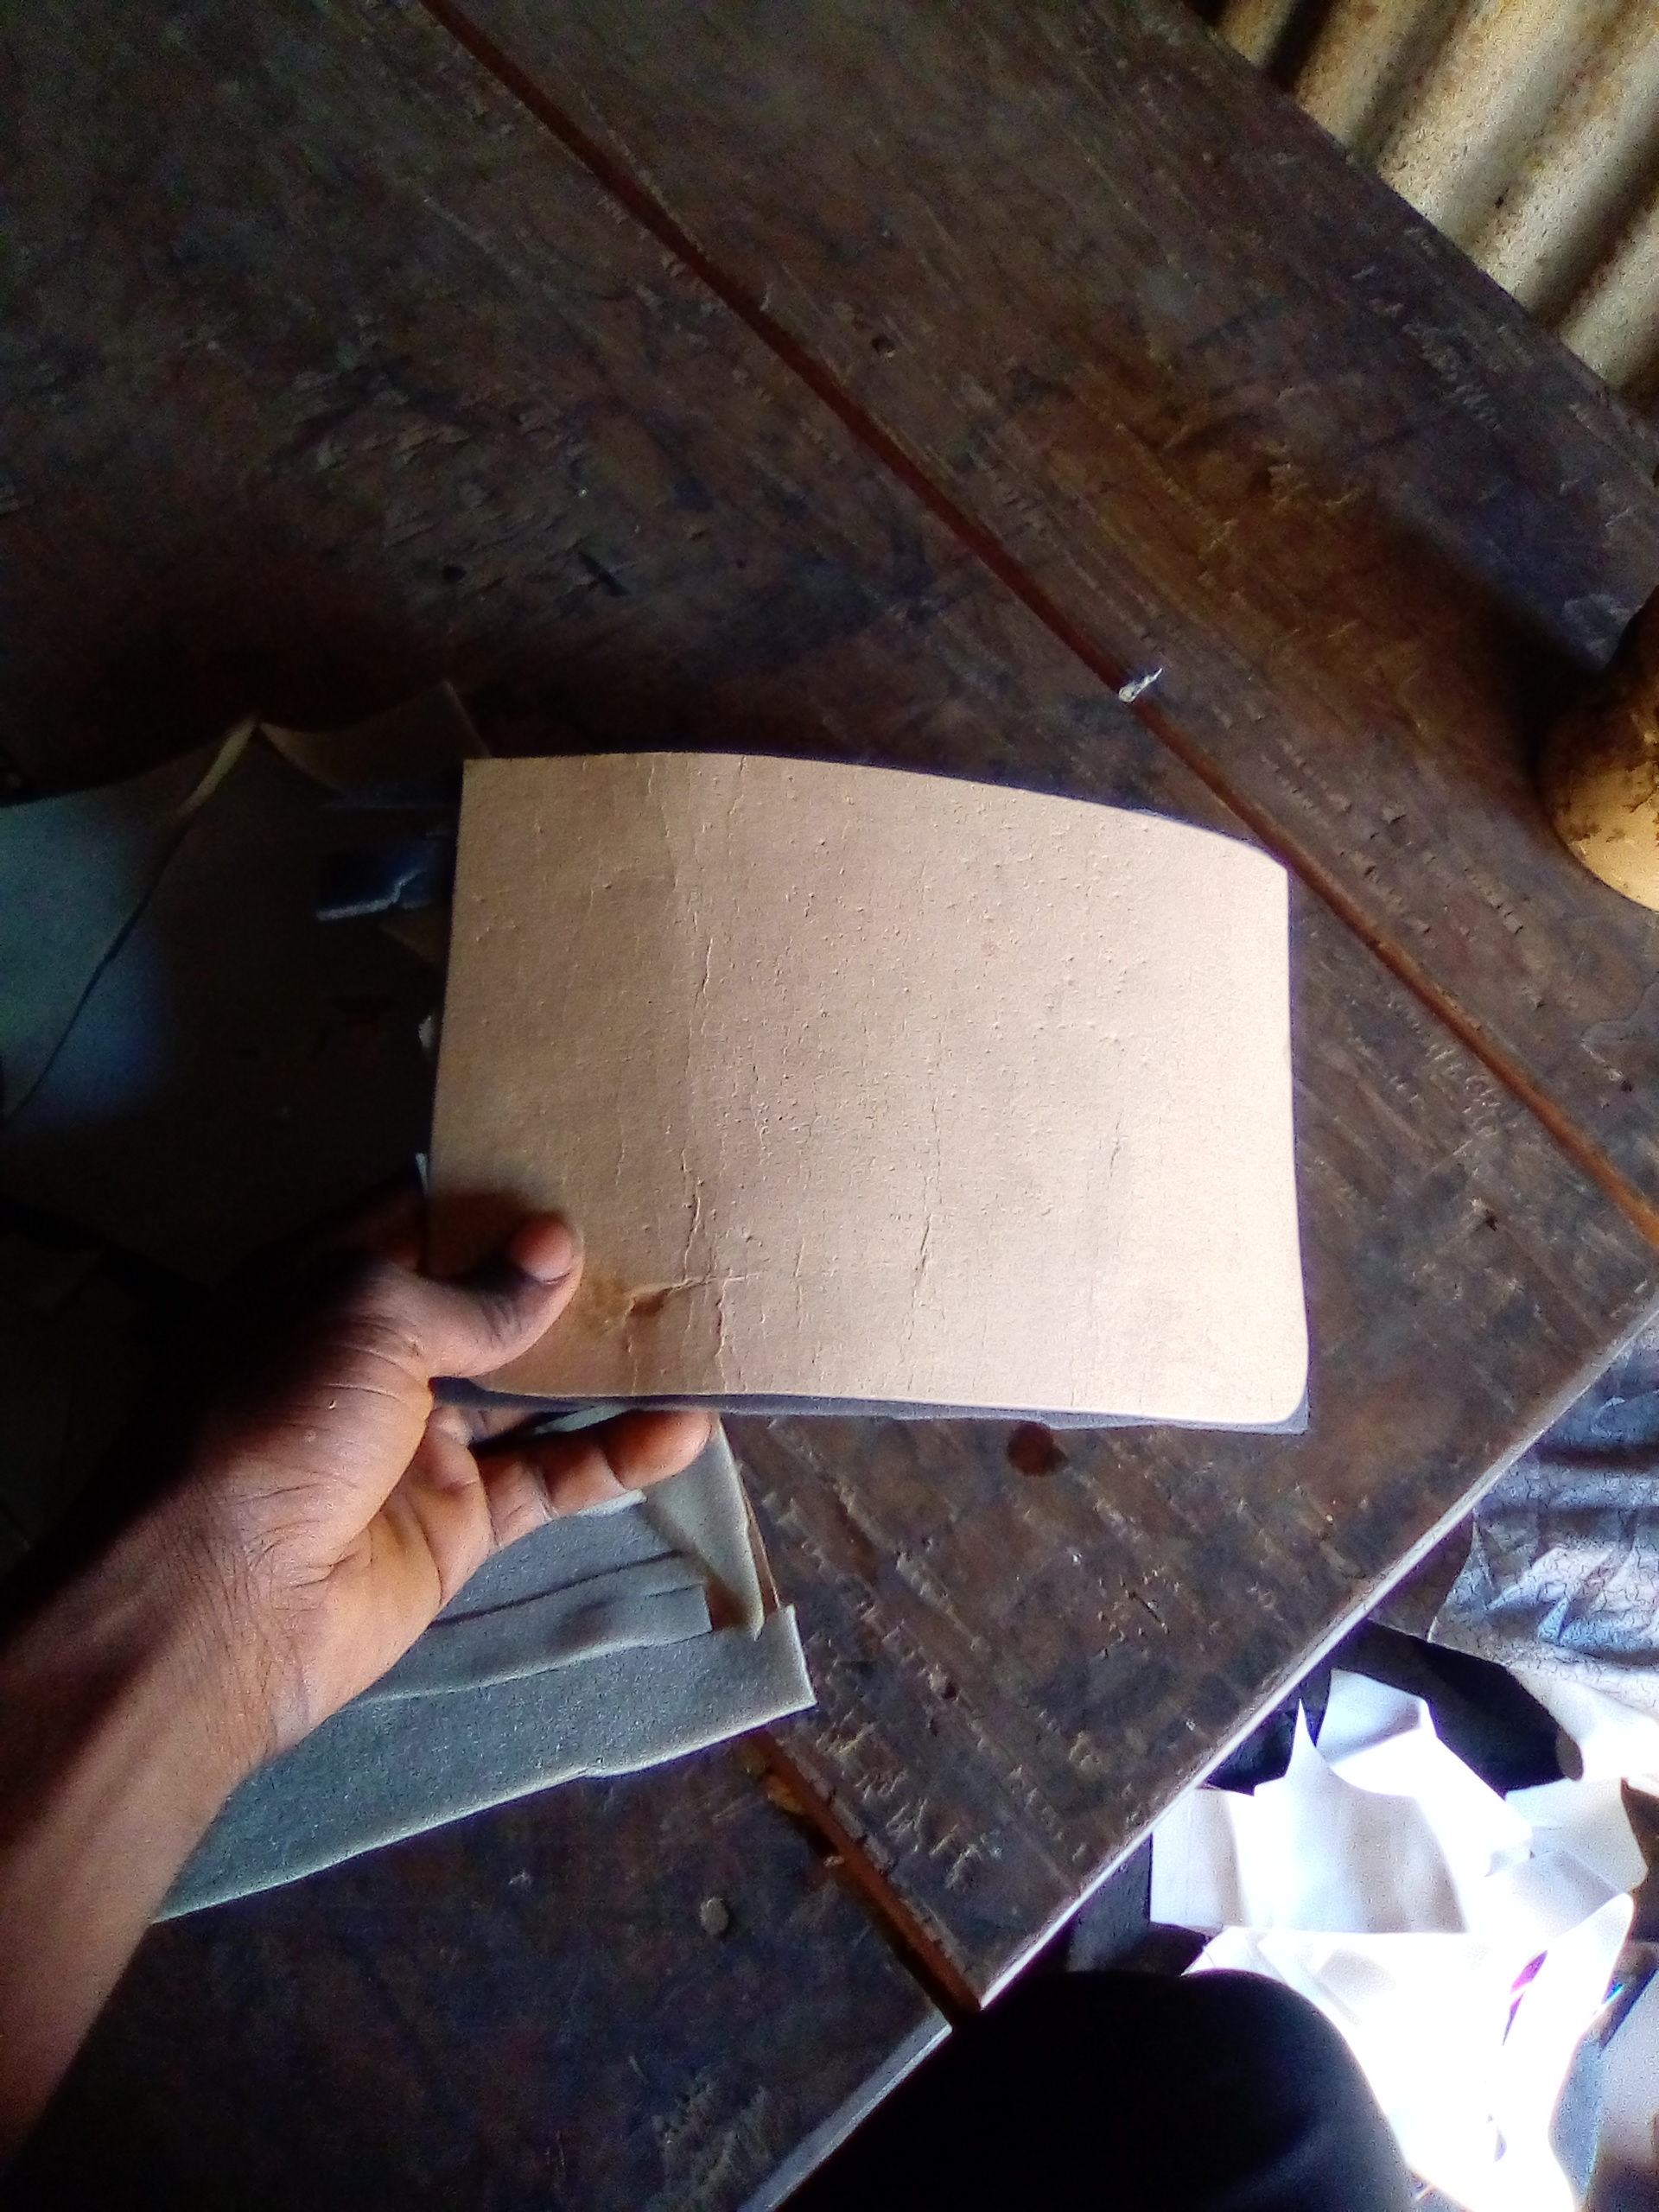
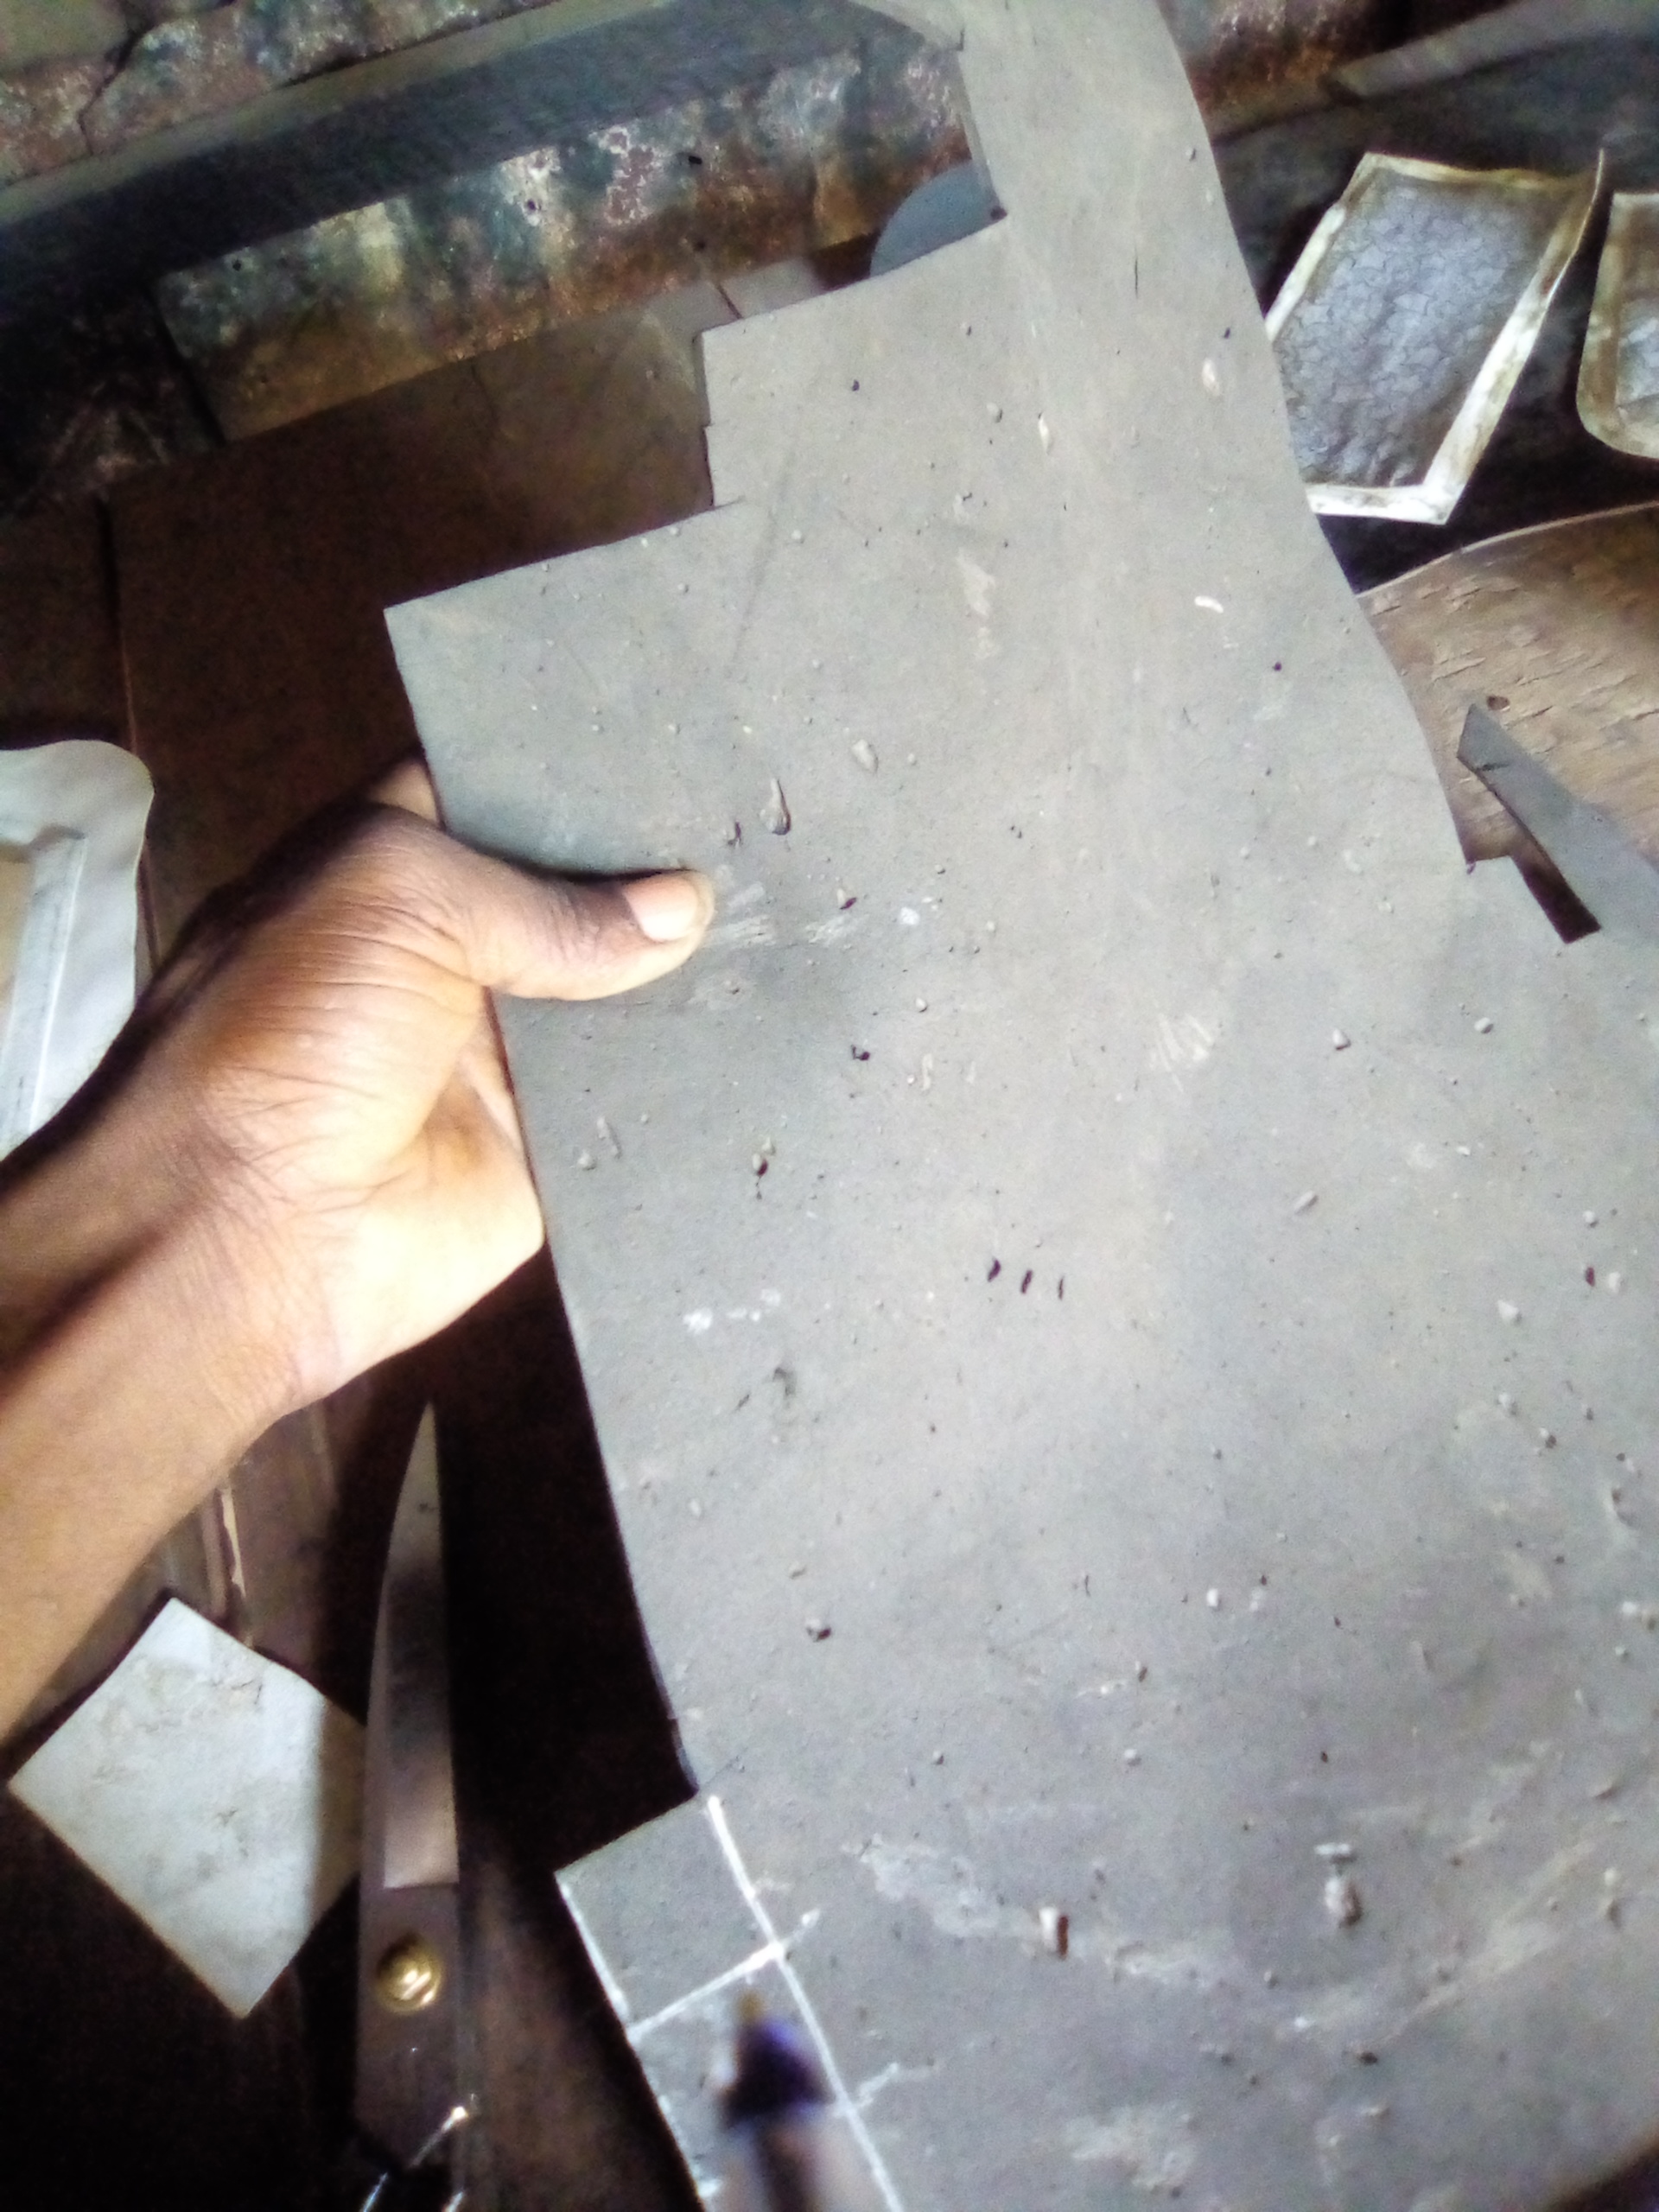
I placed the thick paper on my table and used the bag pattern to mark the main body of the bag and the base. After that, I cut it out from the thick paper.
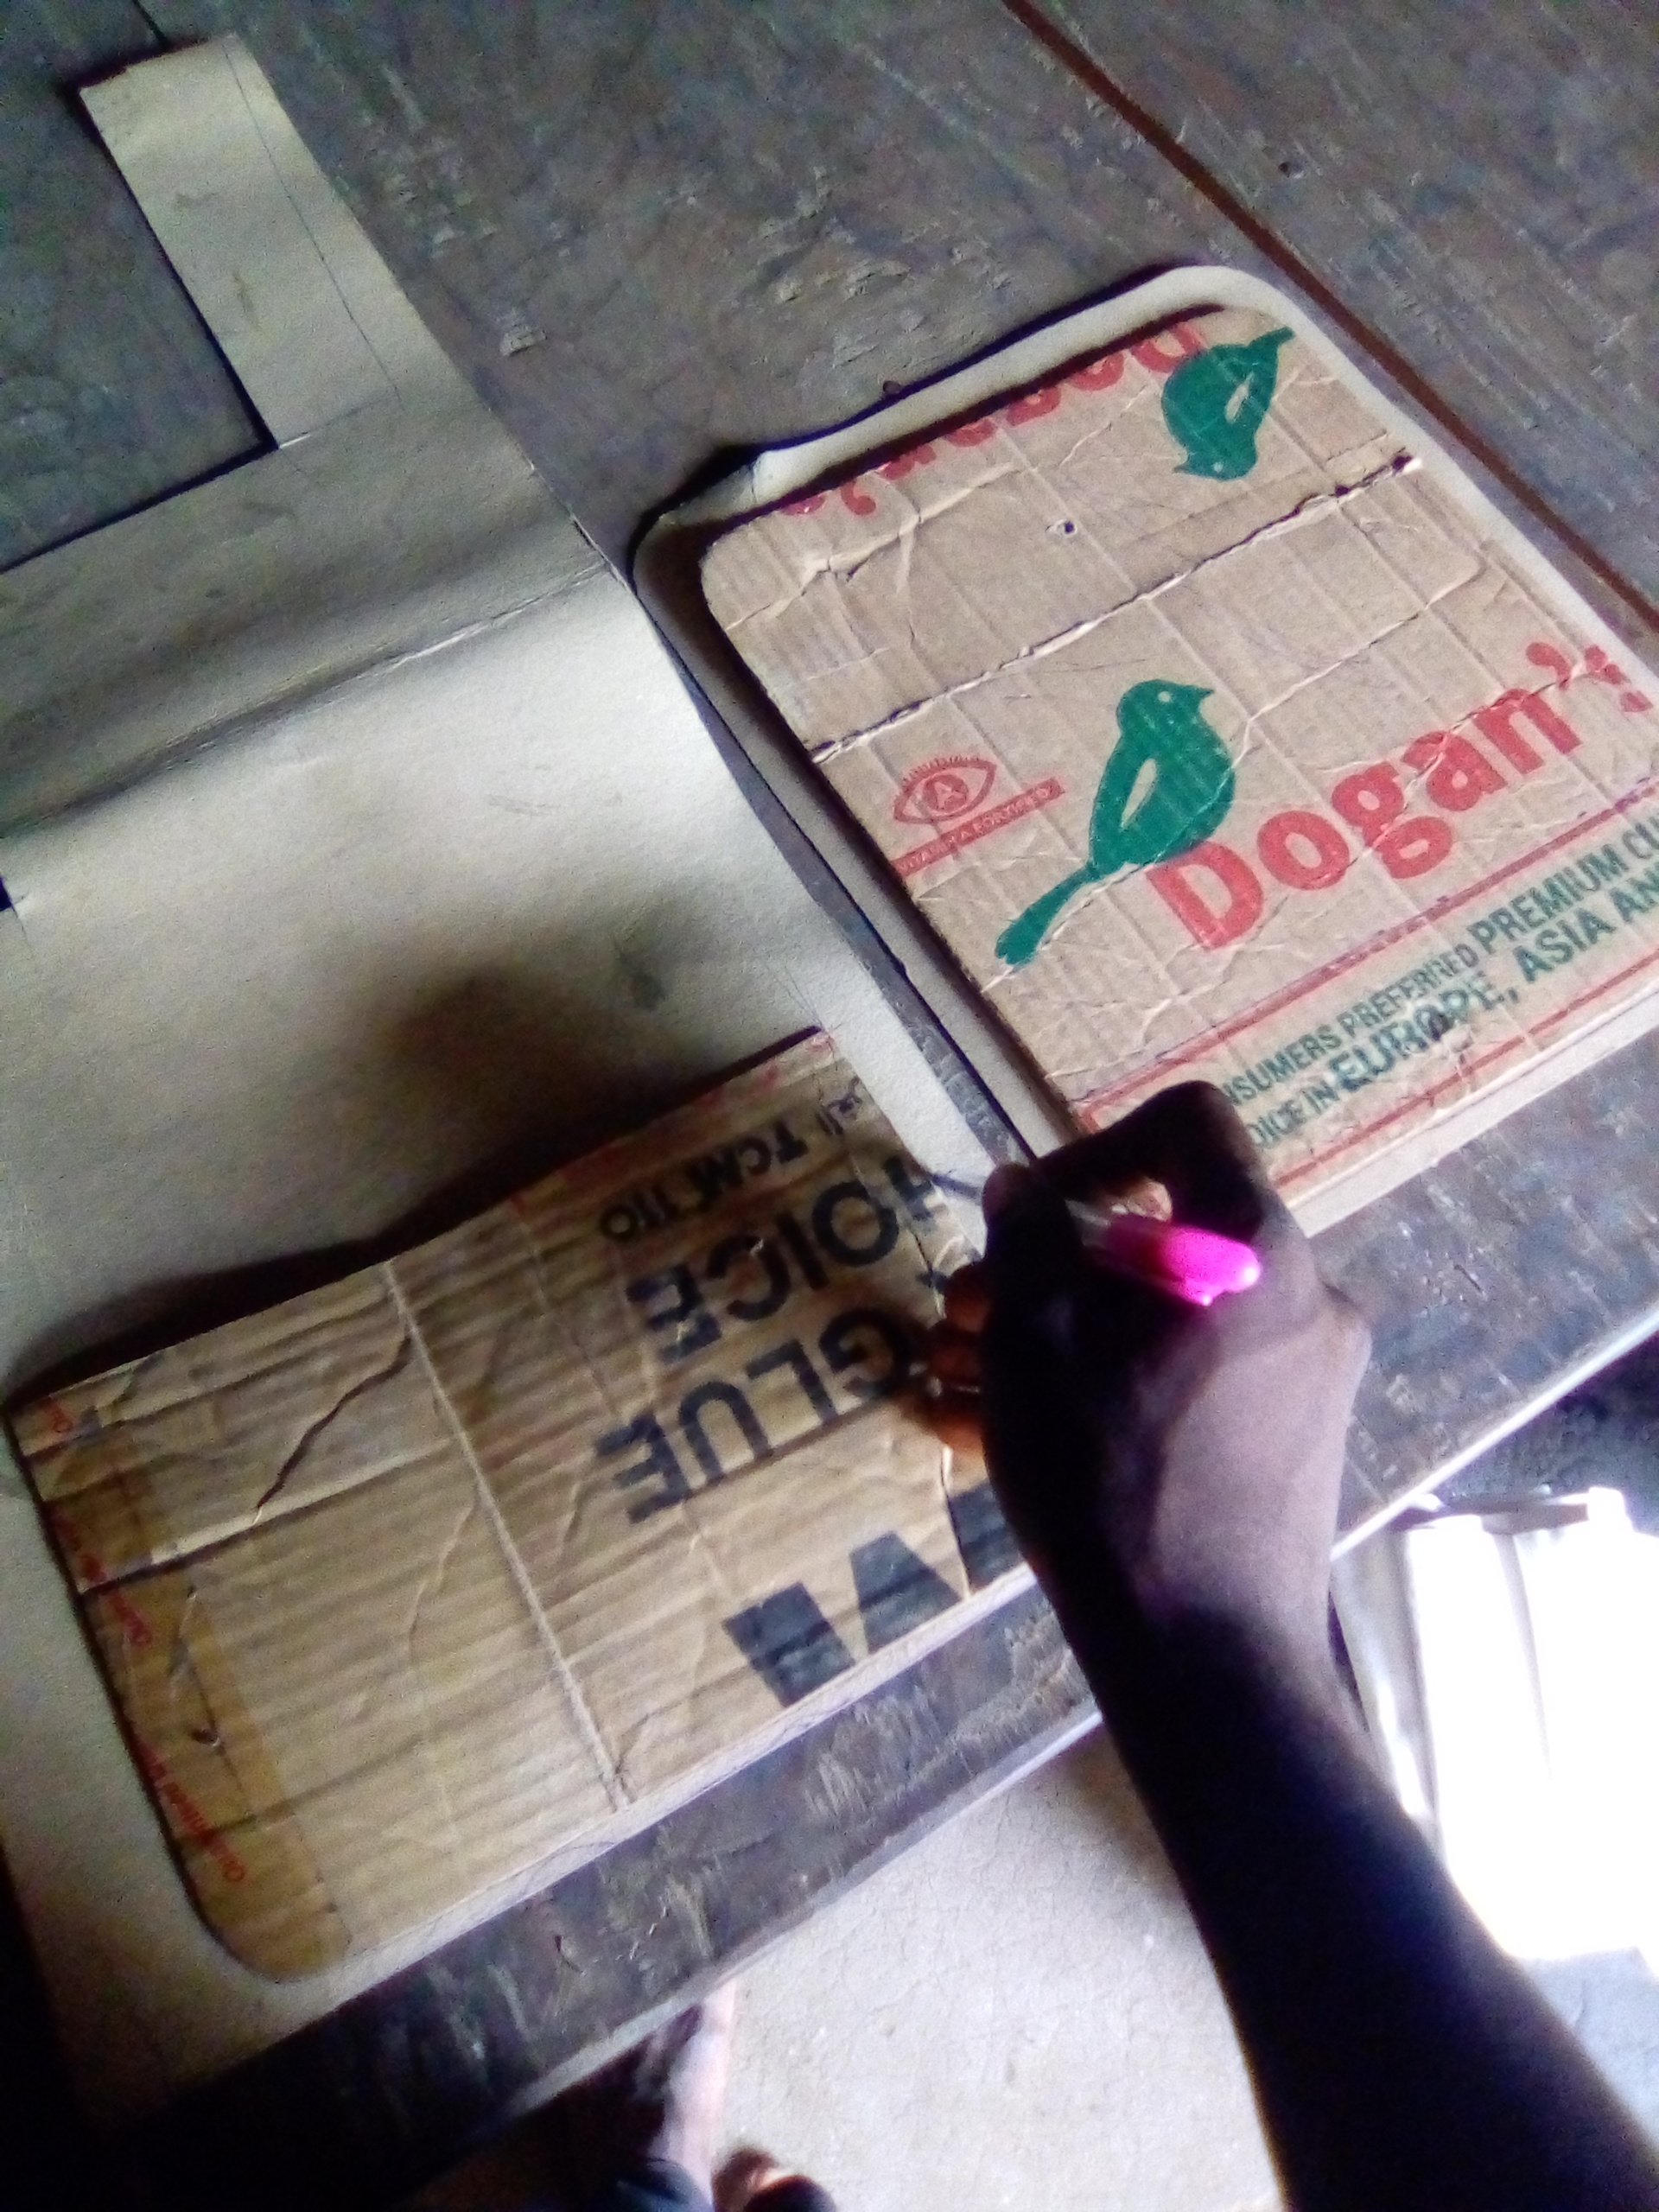
Second step:
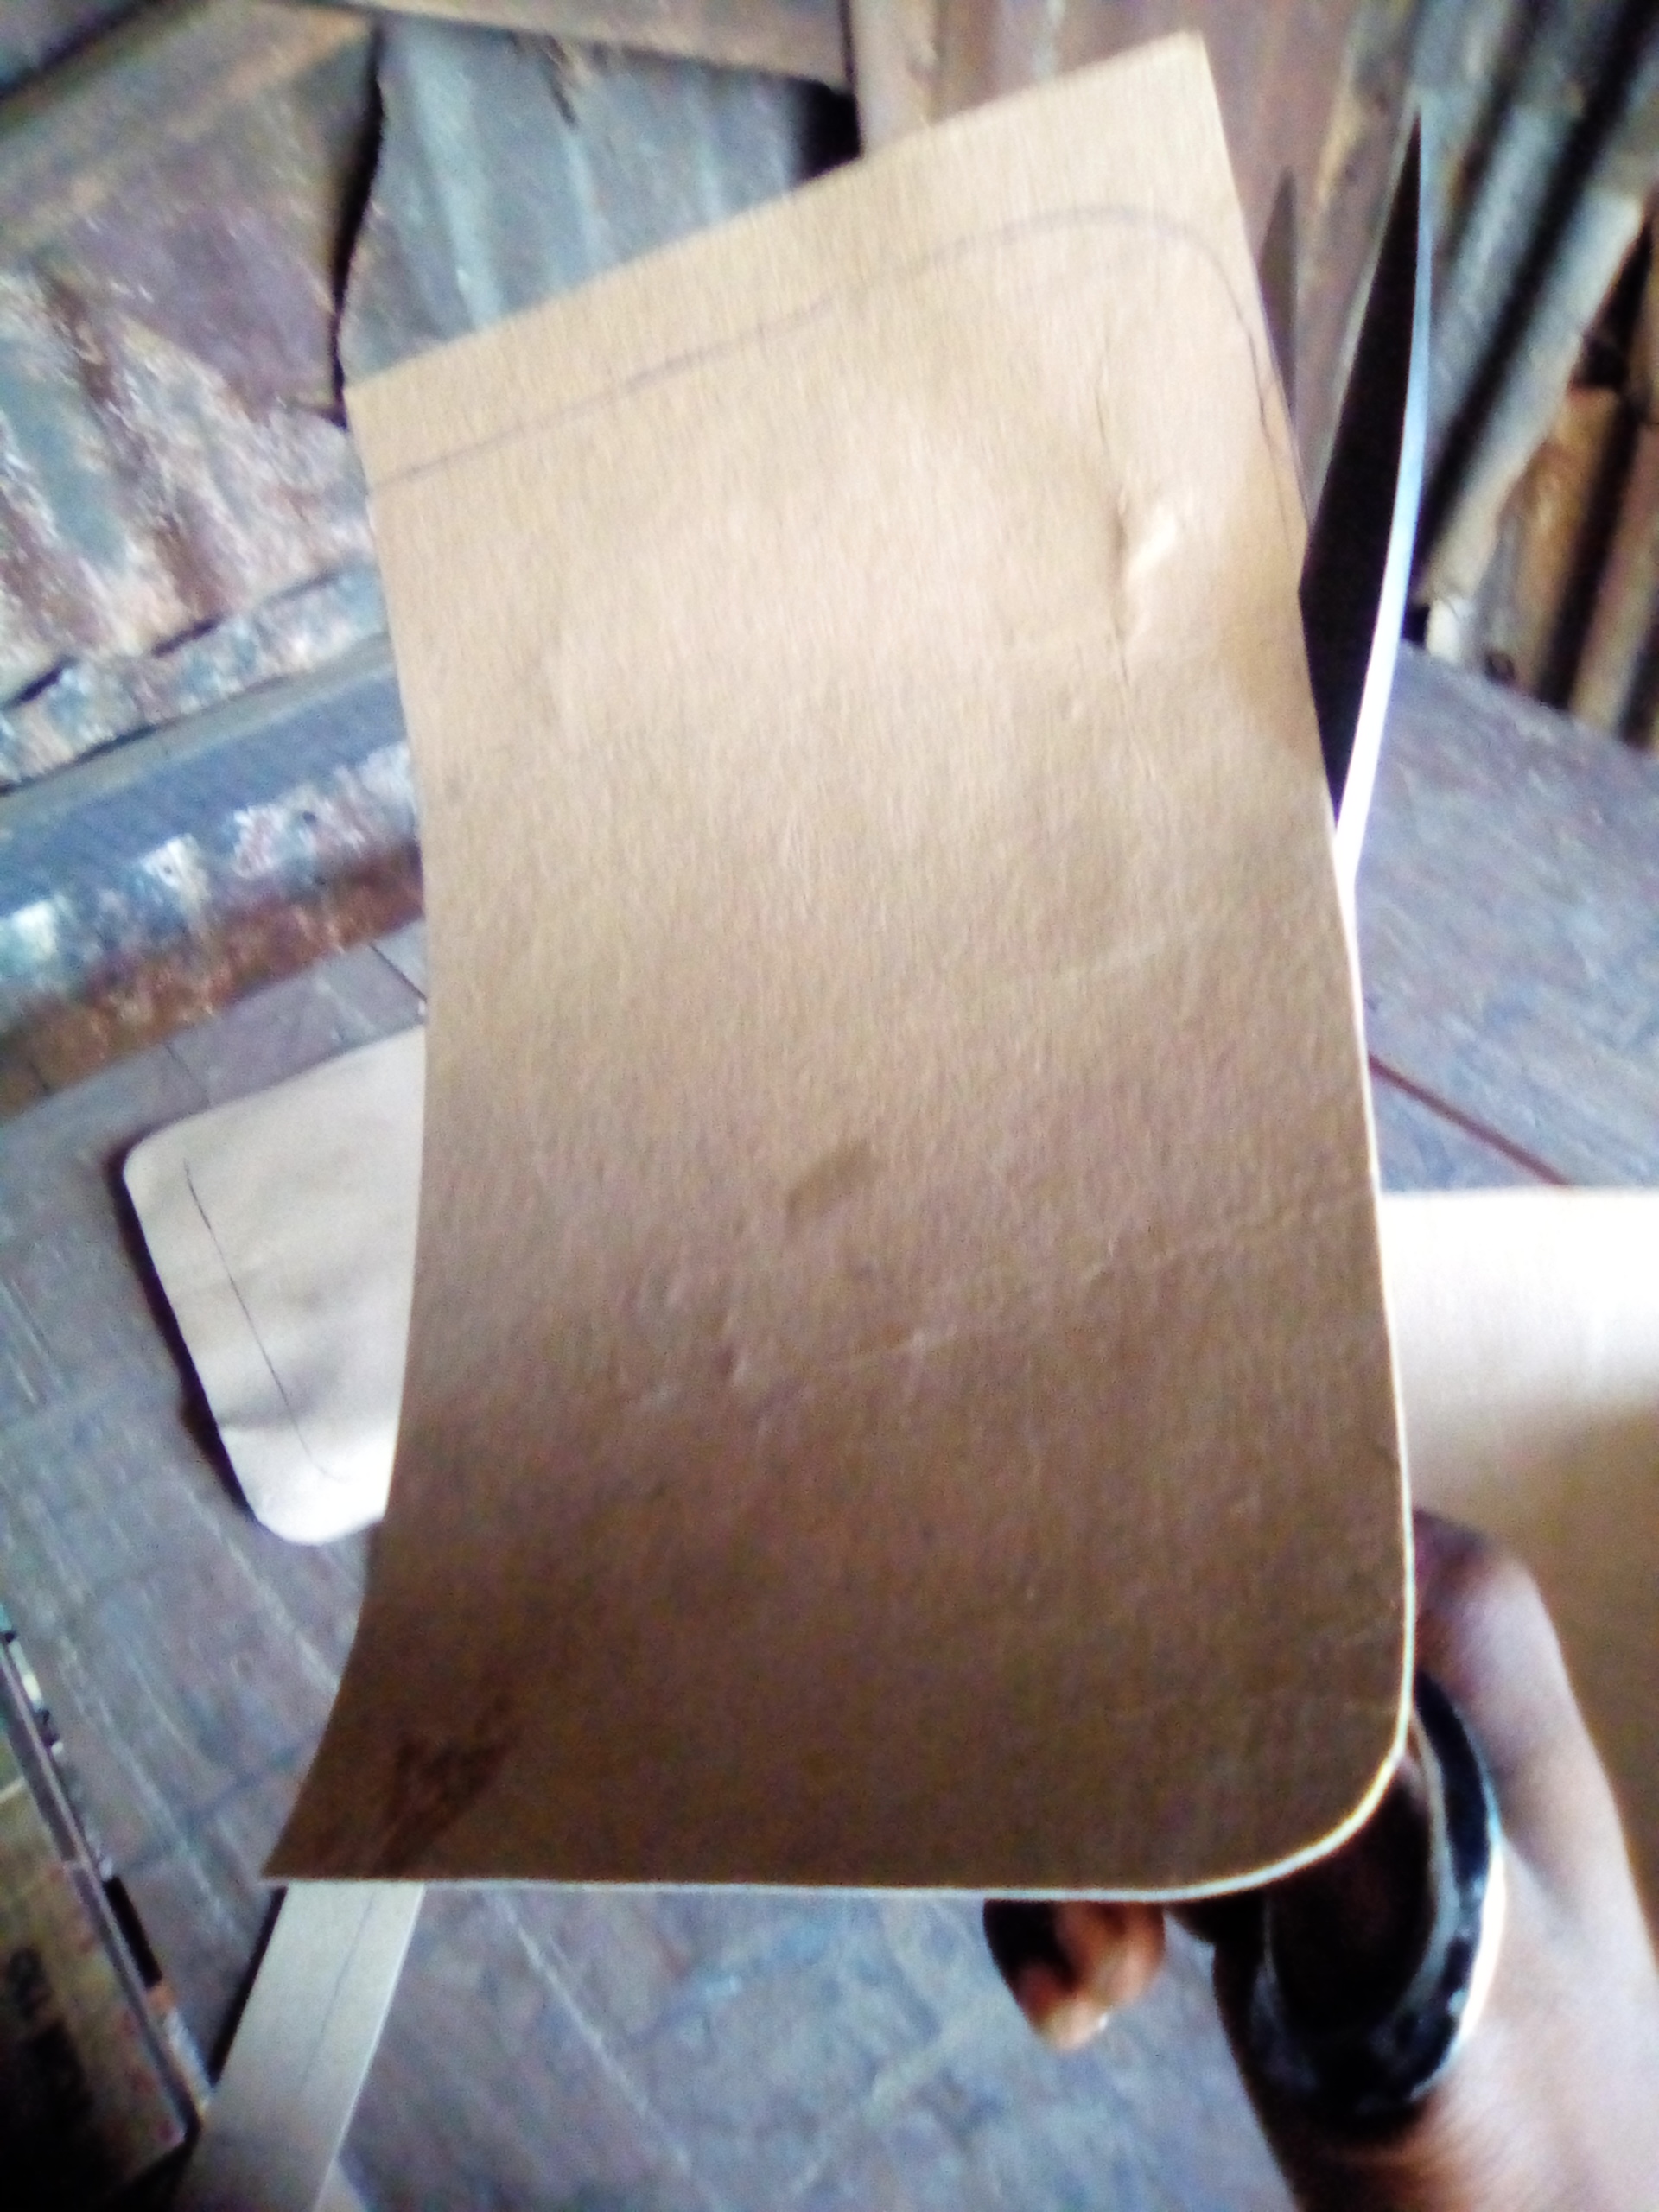
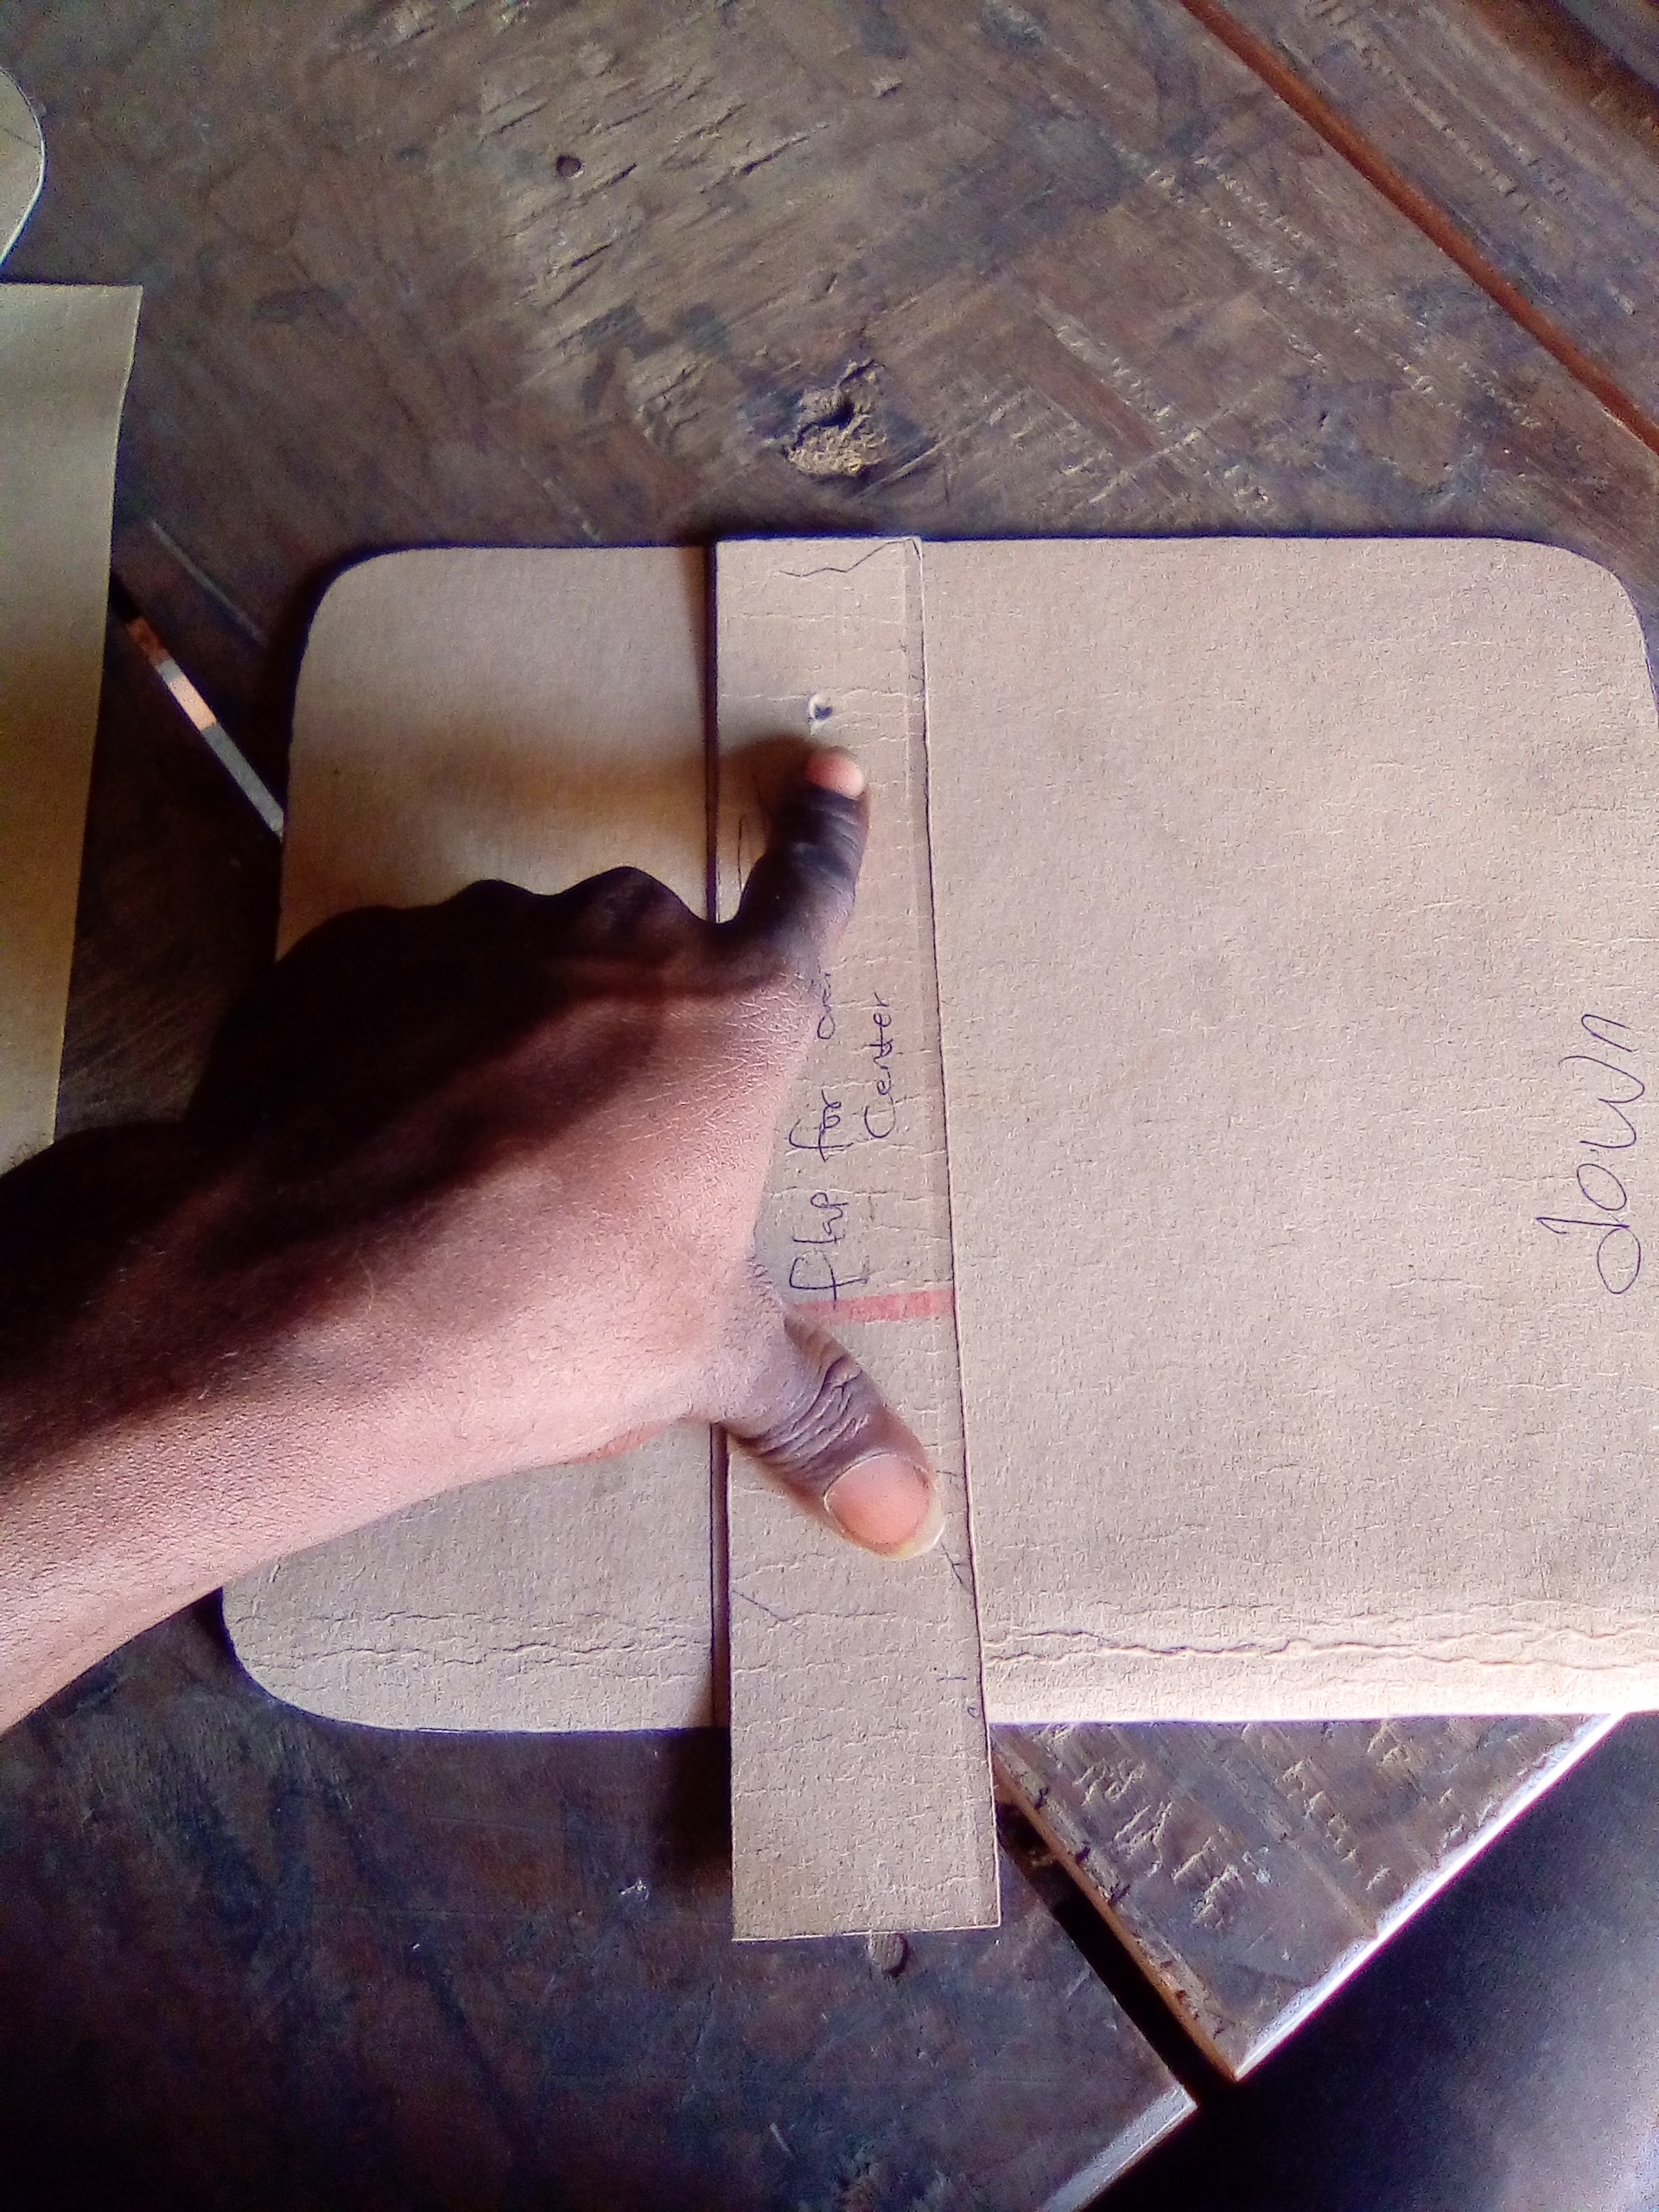
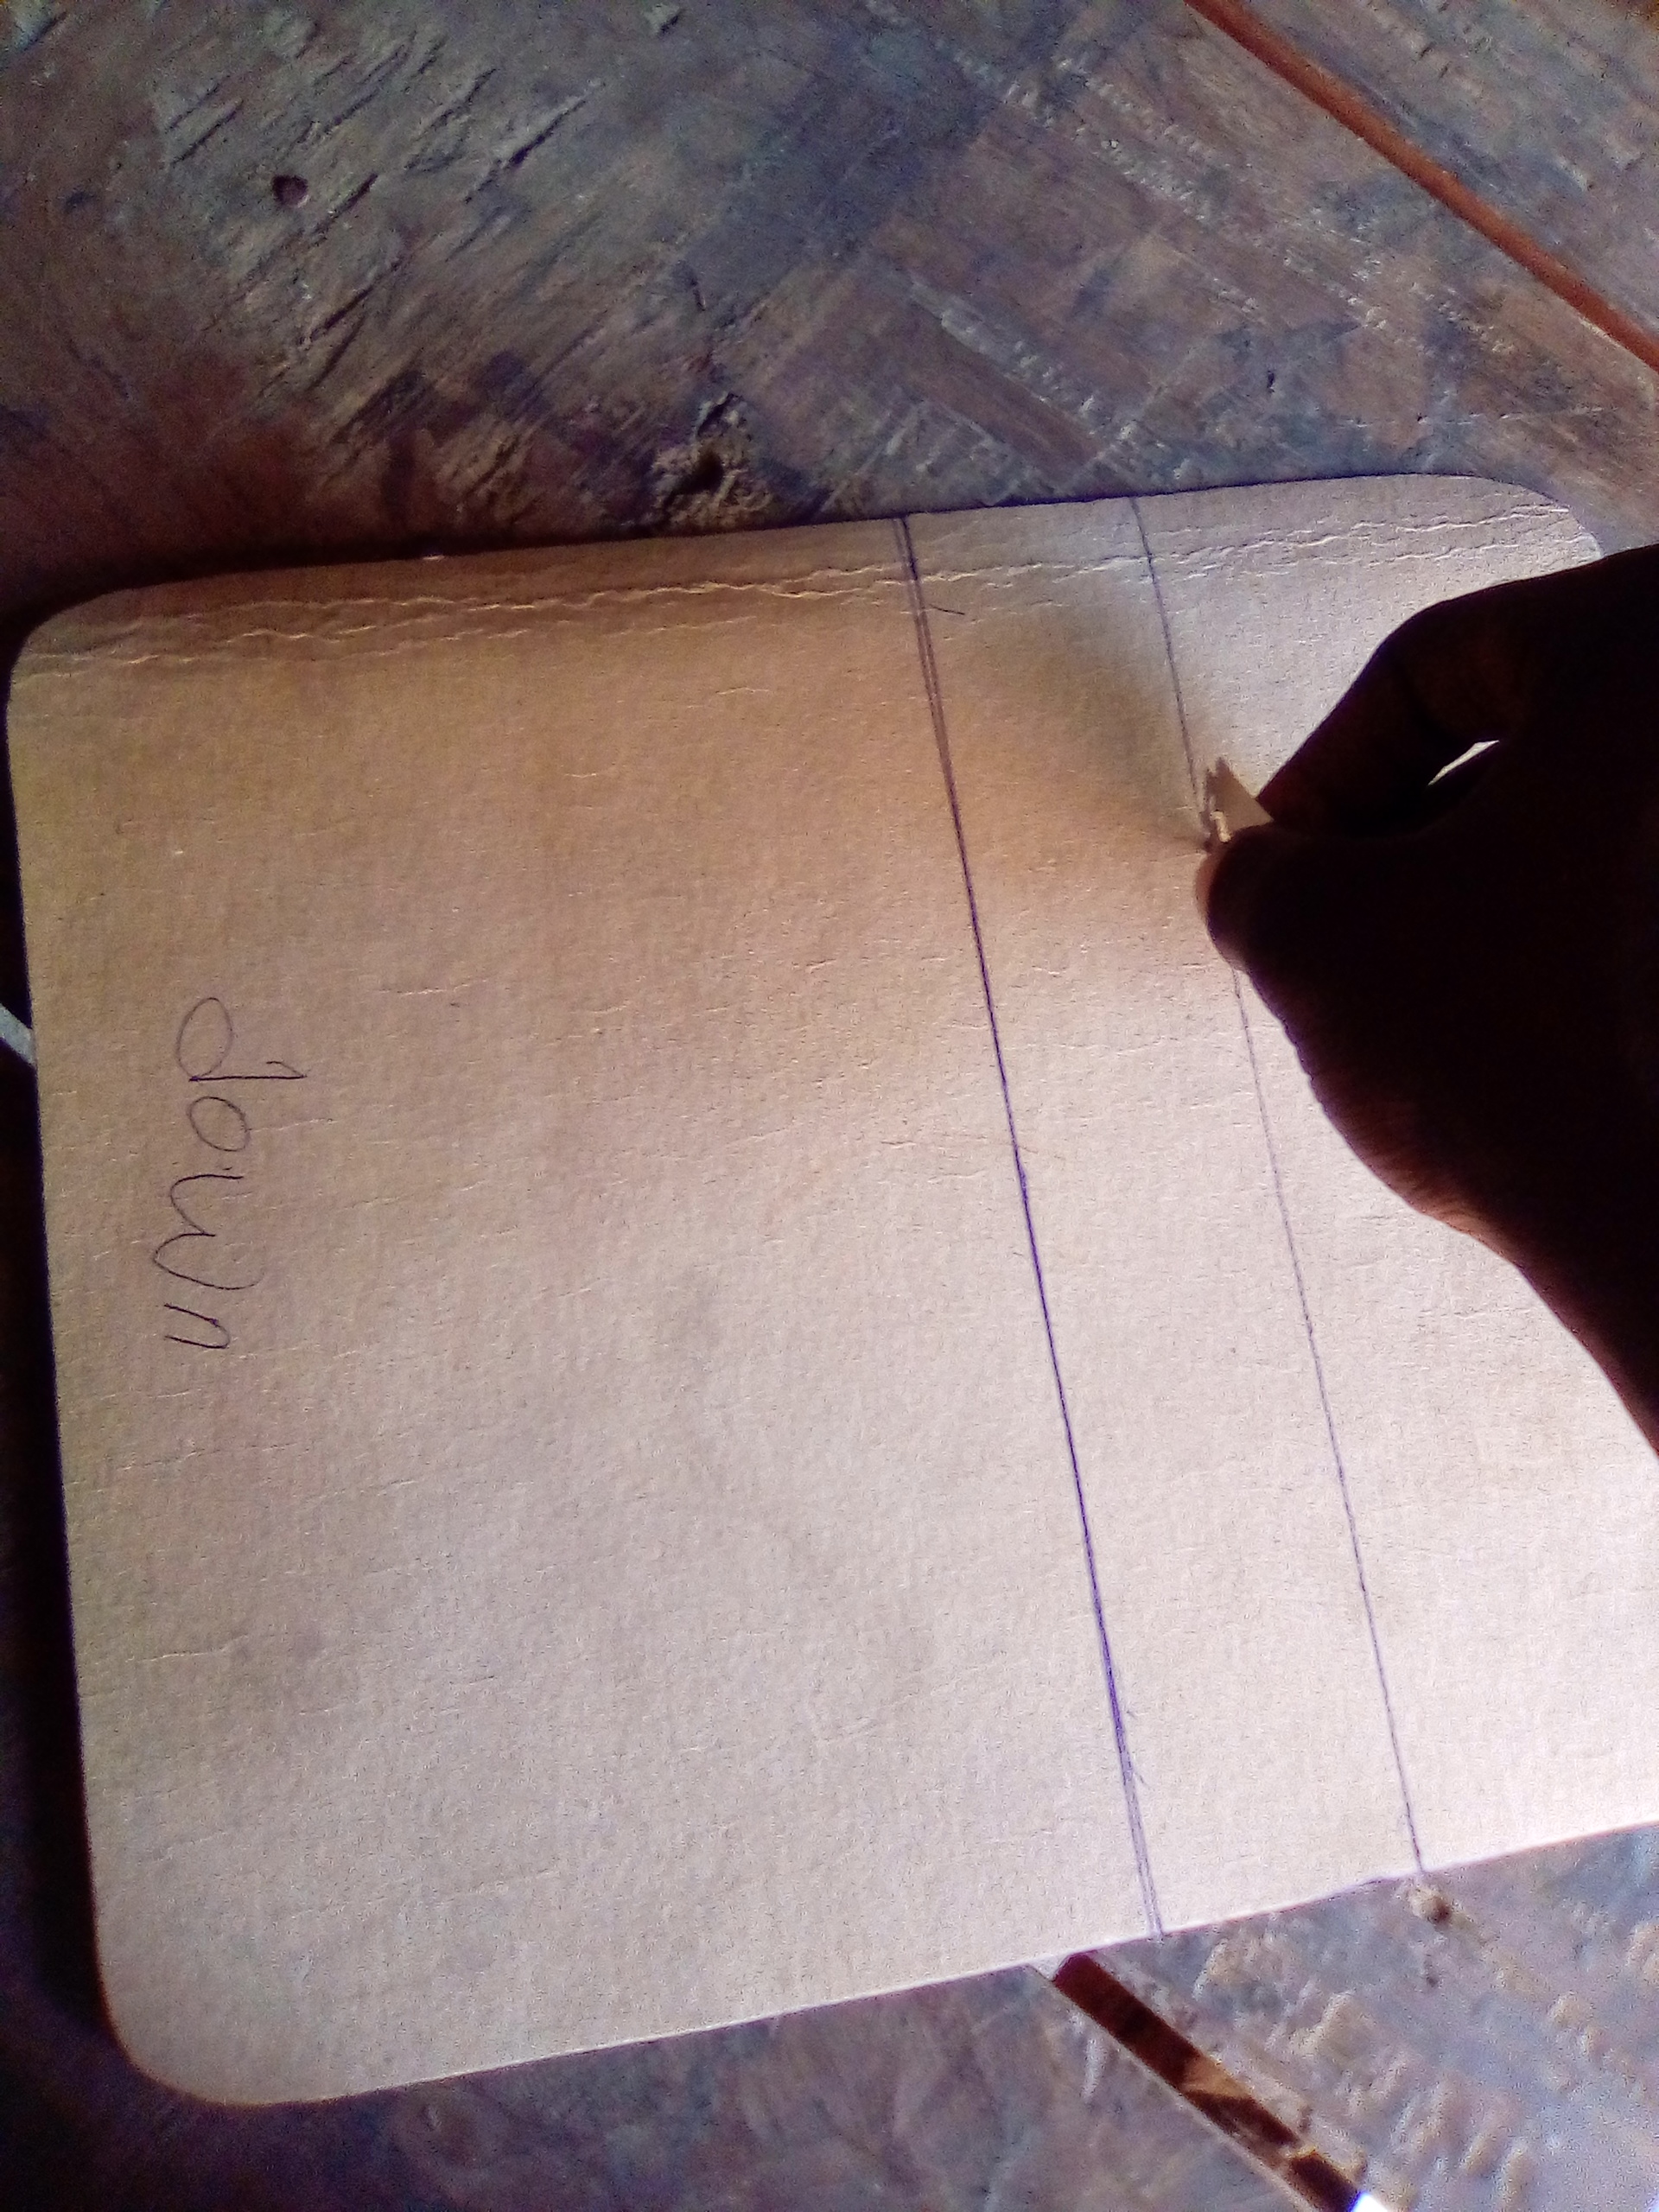
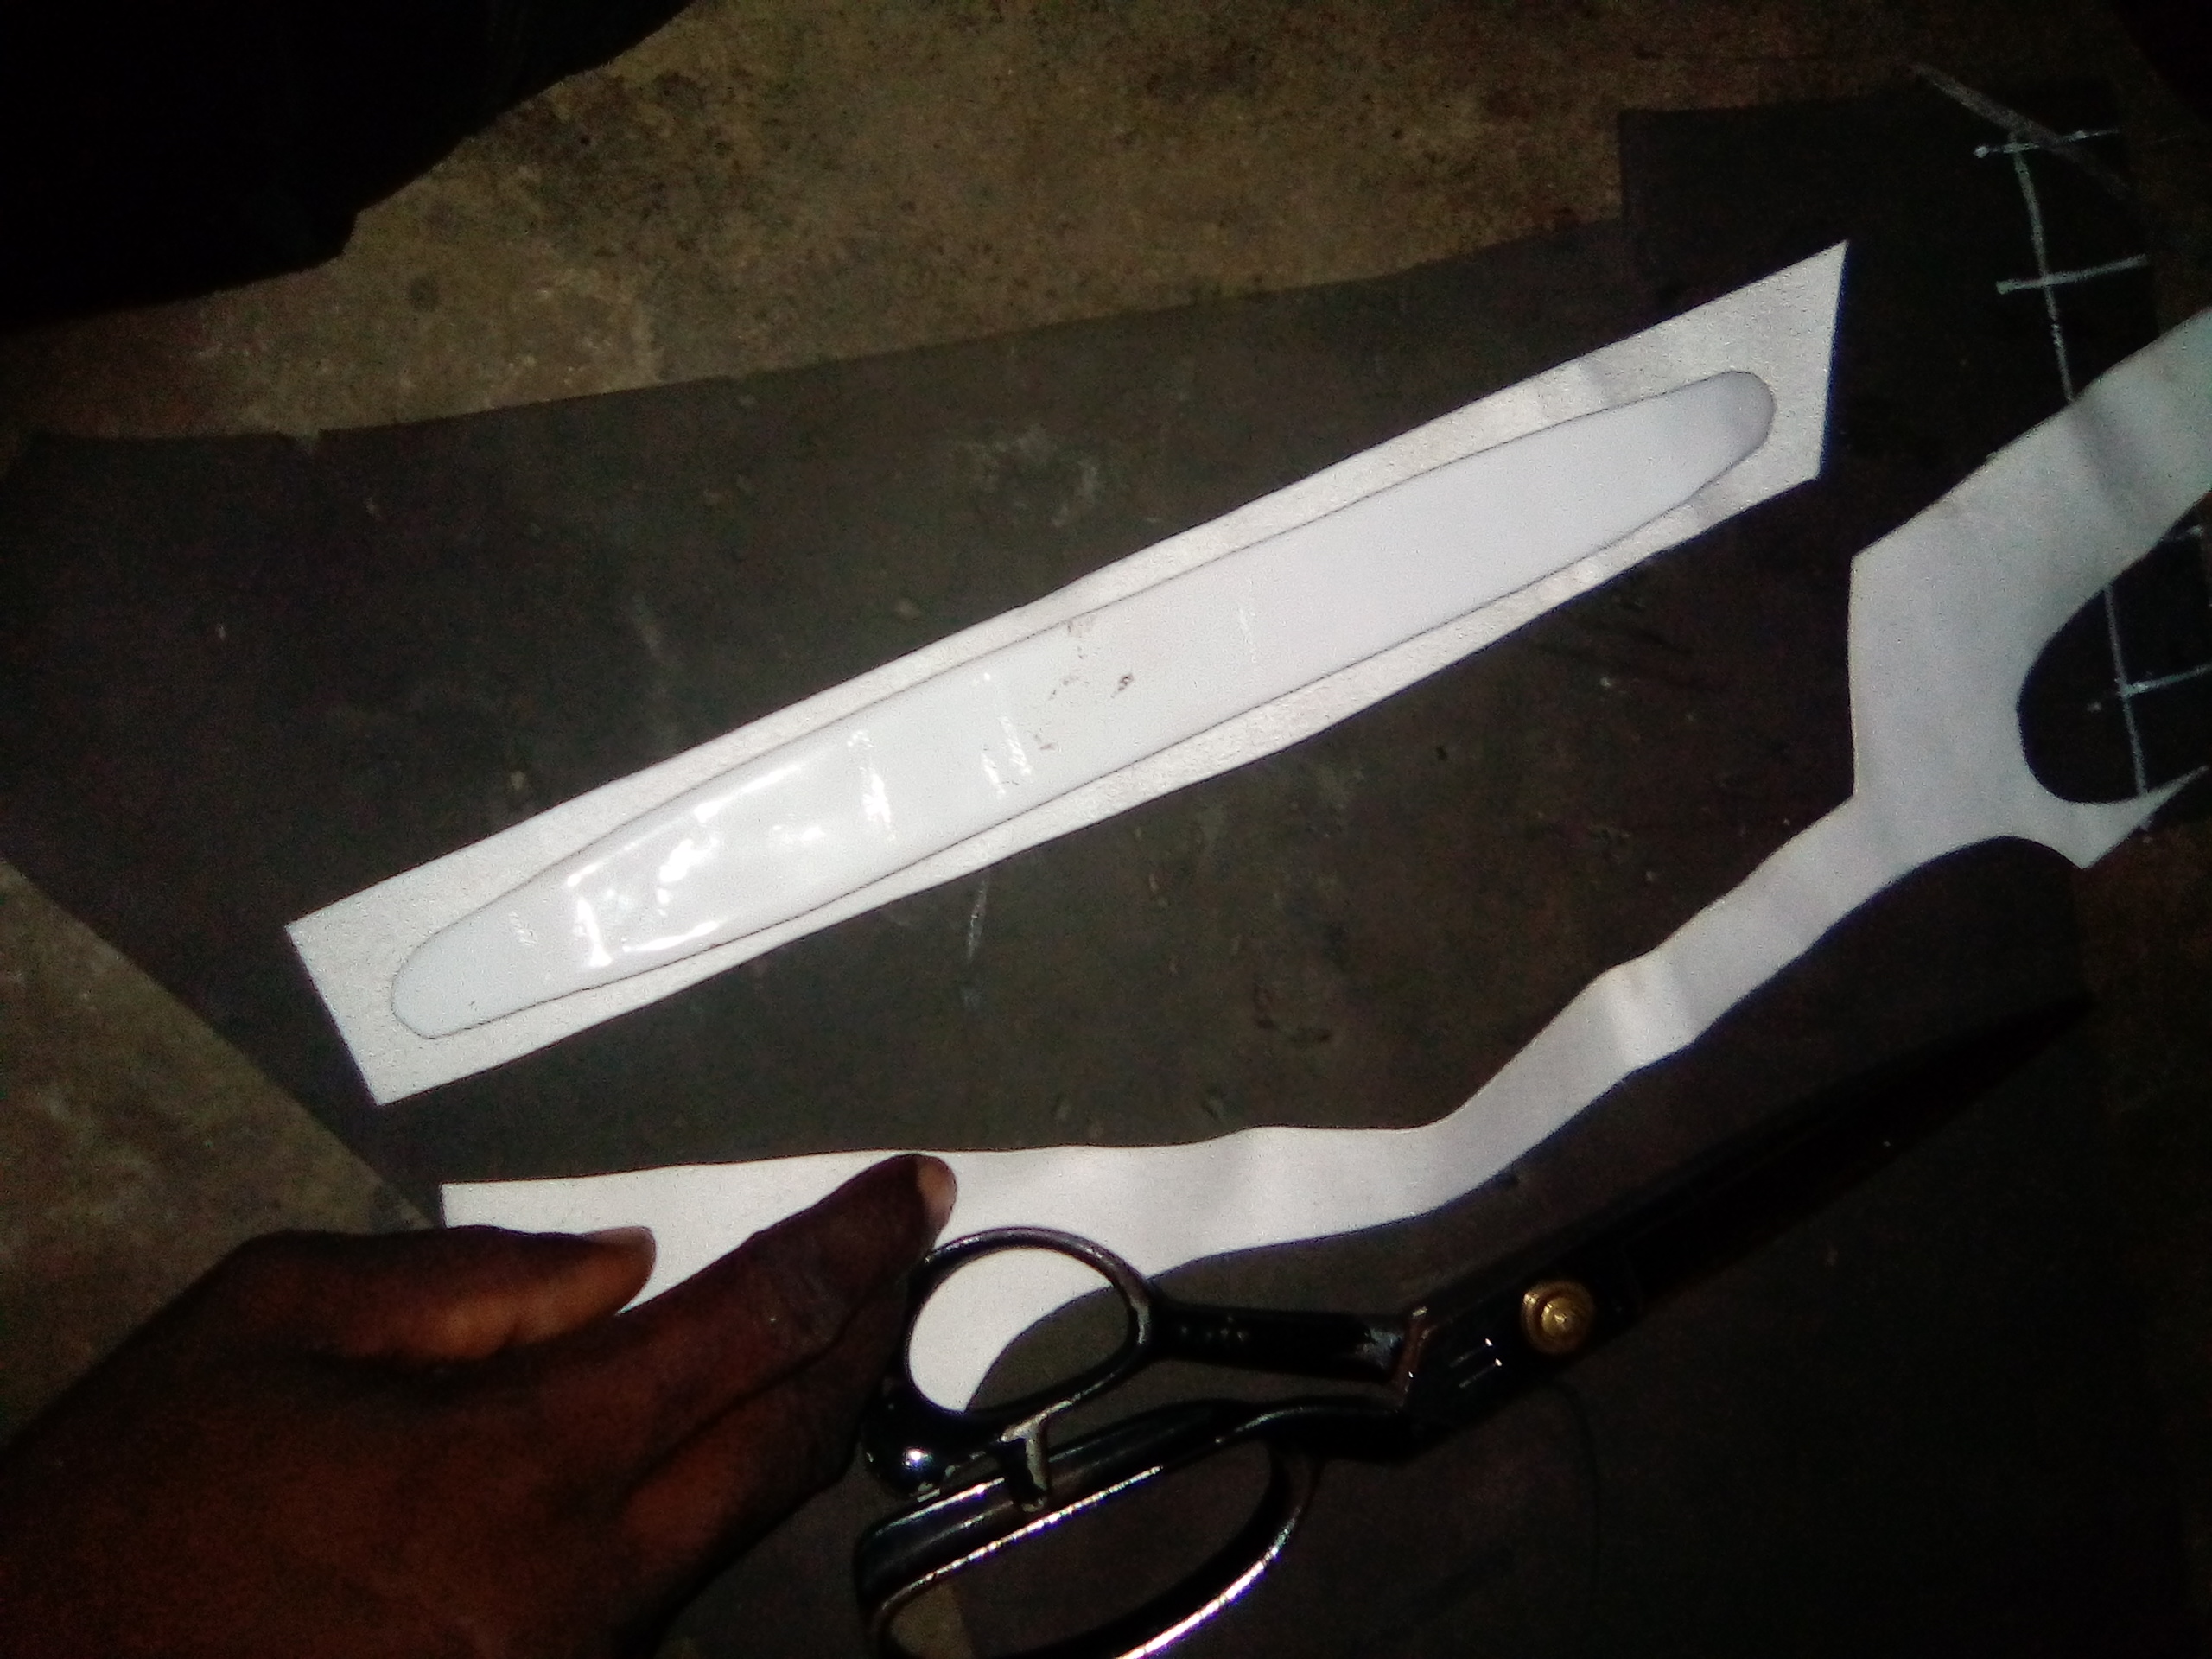
I used my flap pattern to mark the upper part of the main paper body of the bag. This is for closing the bag. After that, I used a razor blade to cut and give a line on it.
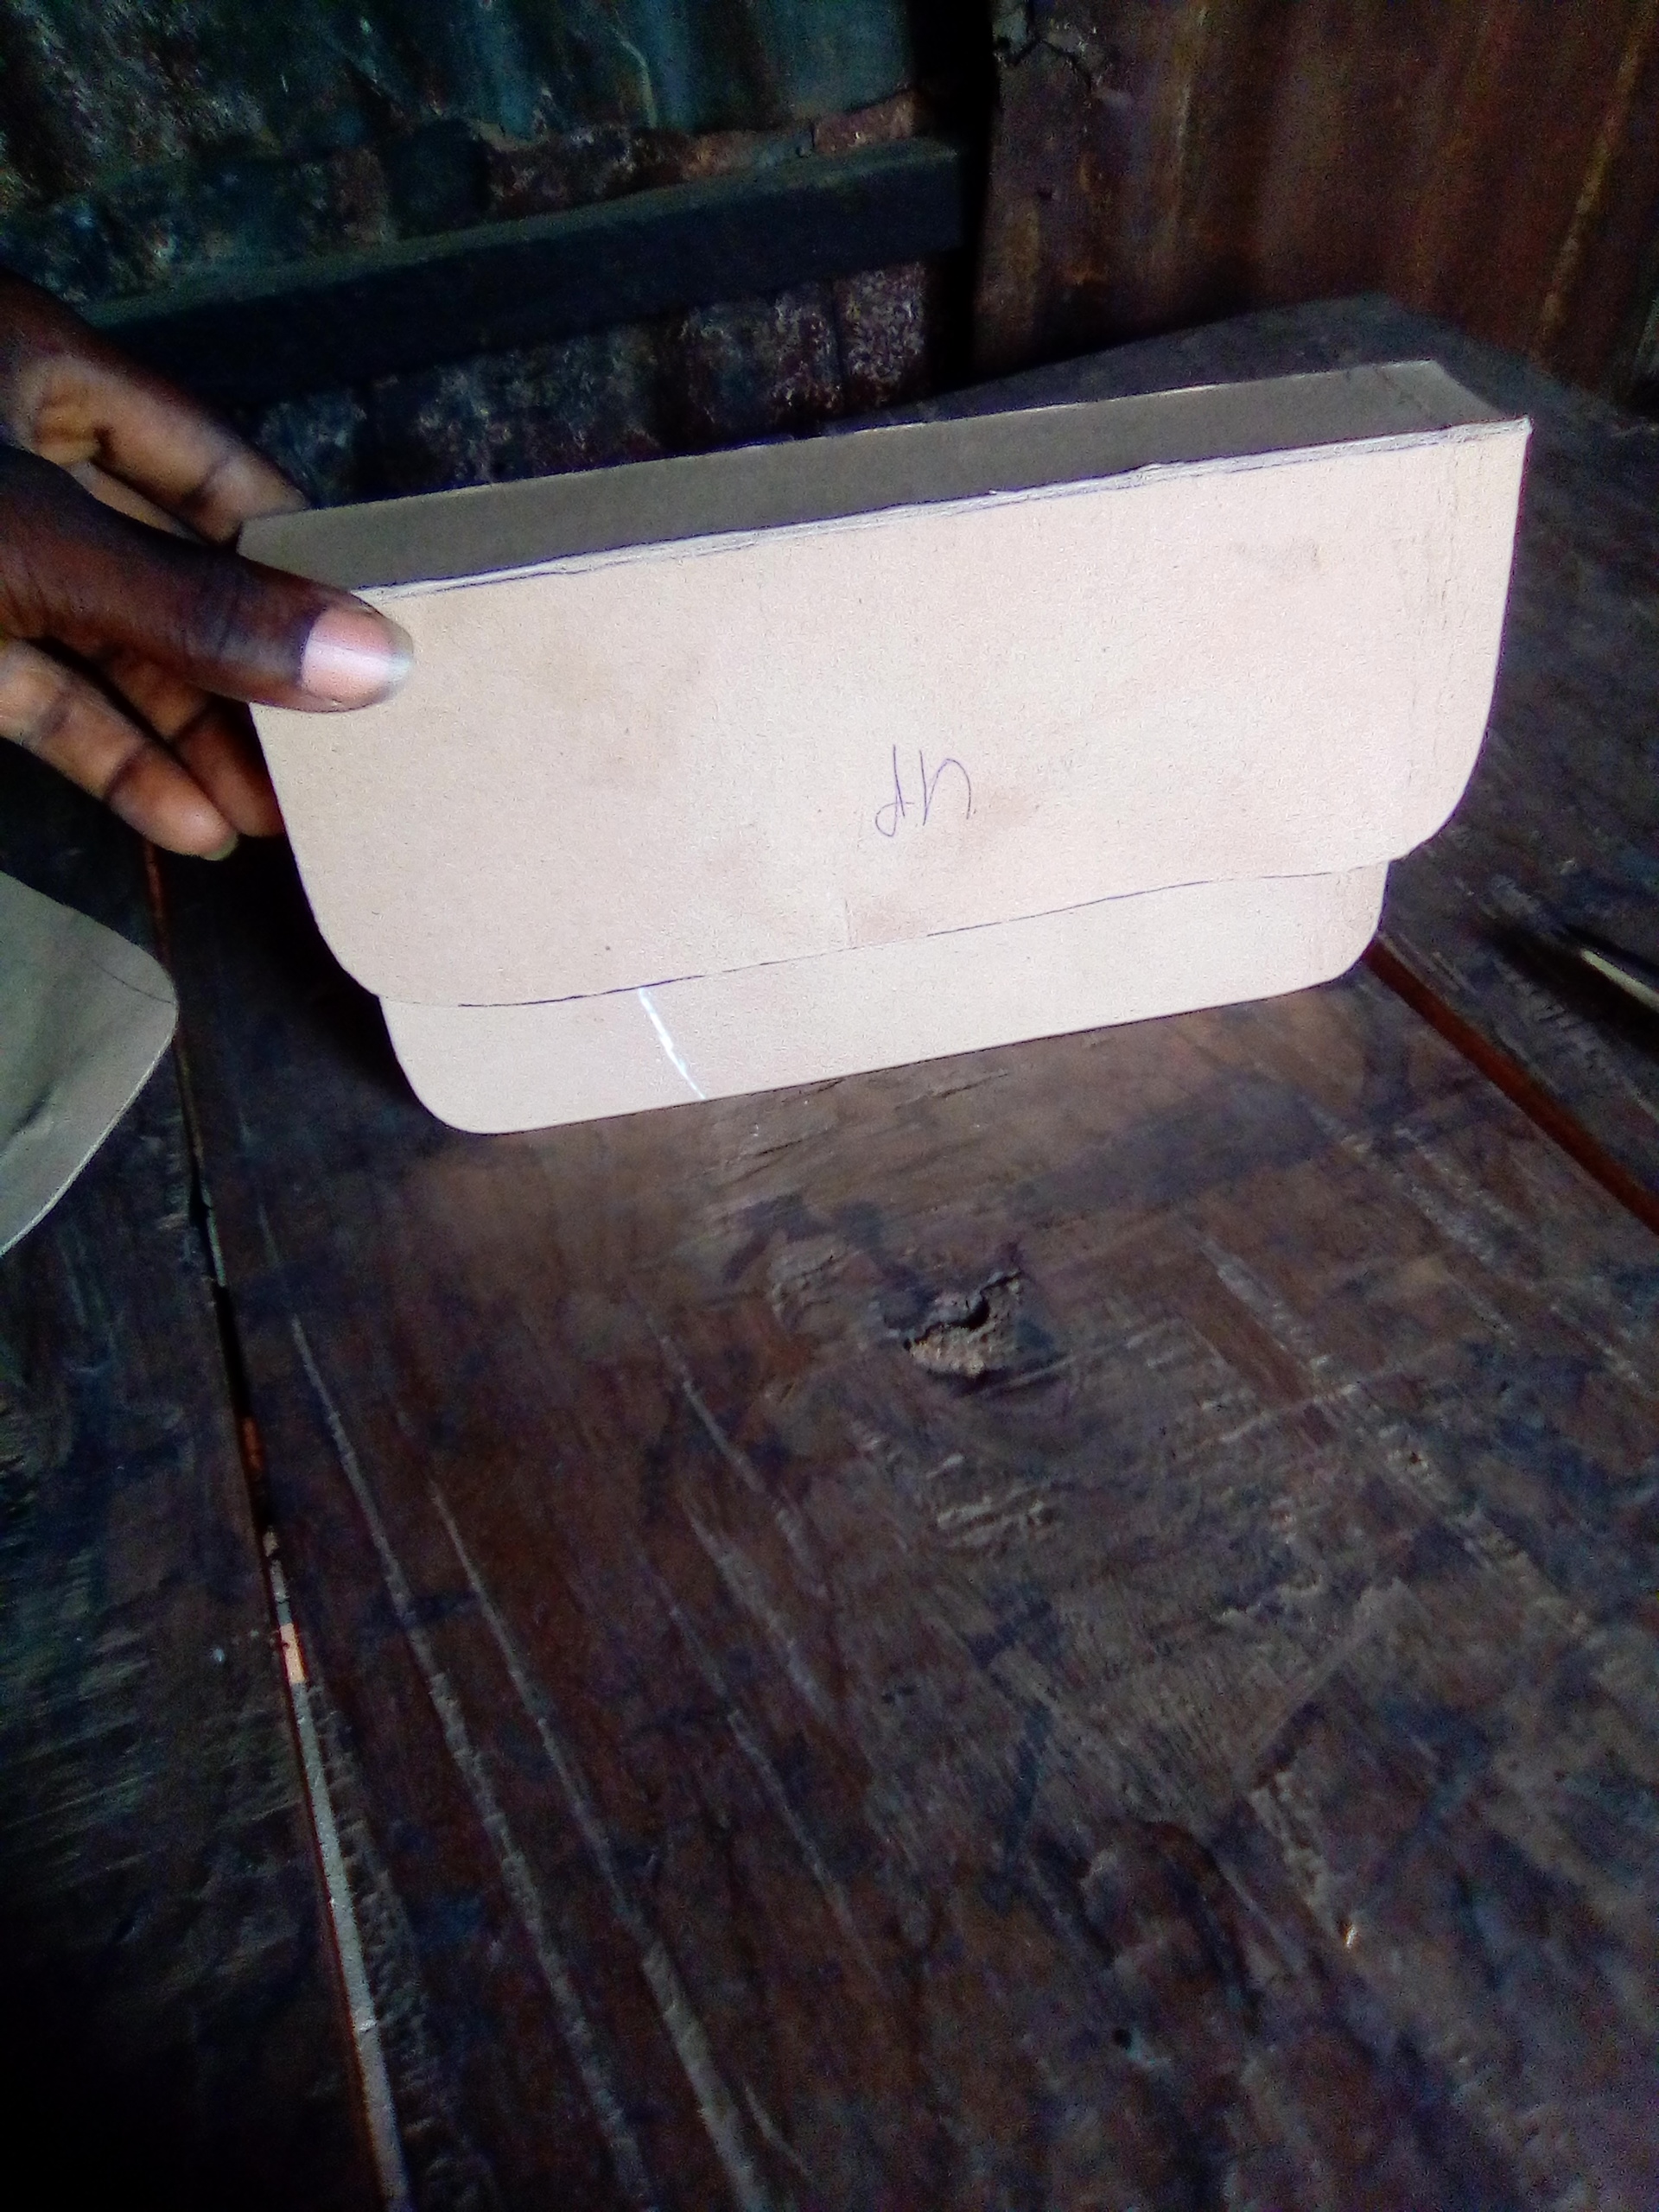
After that, I bent it in order to get the shape of the bag.
Third step:
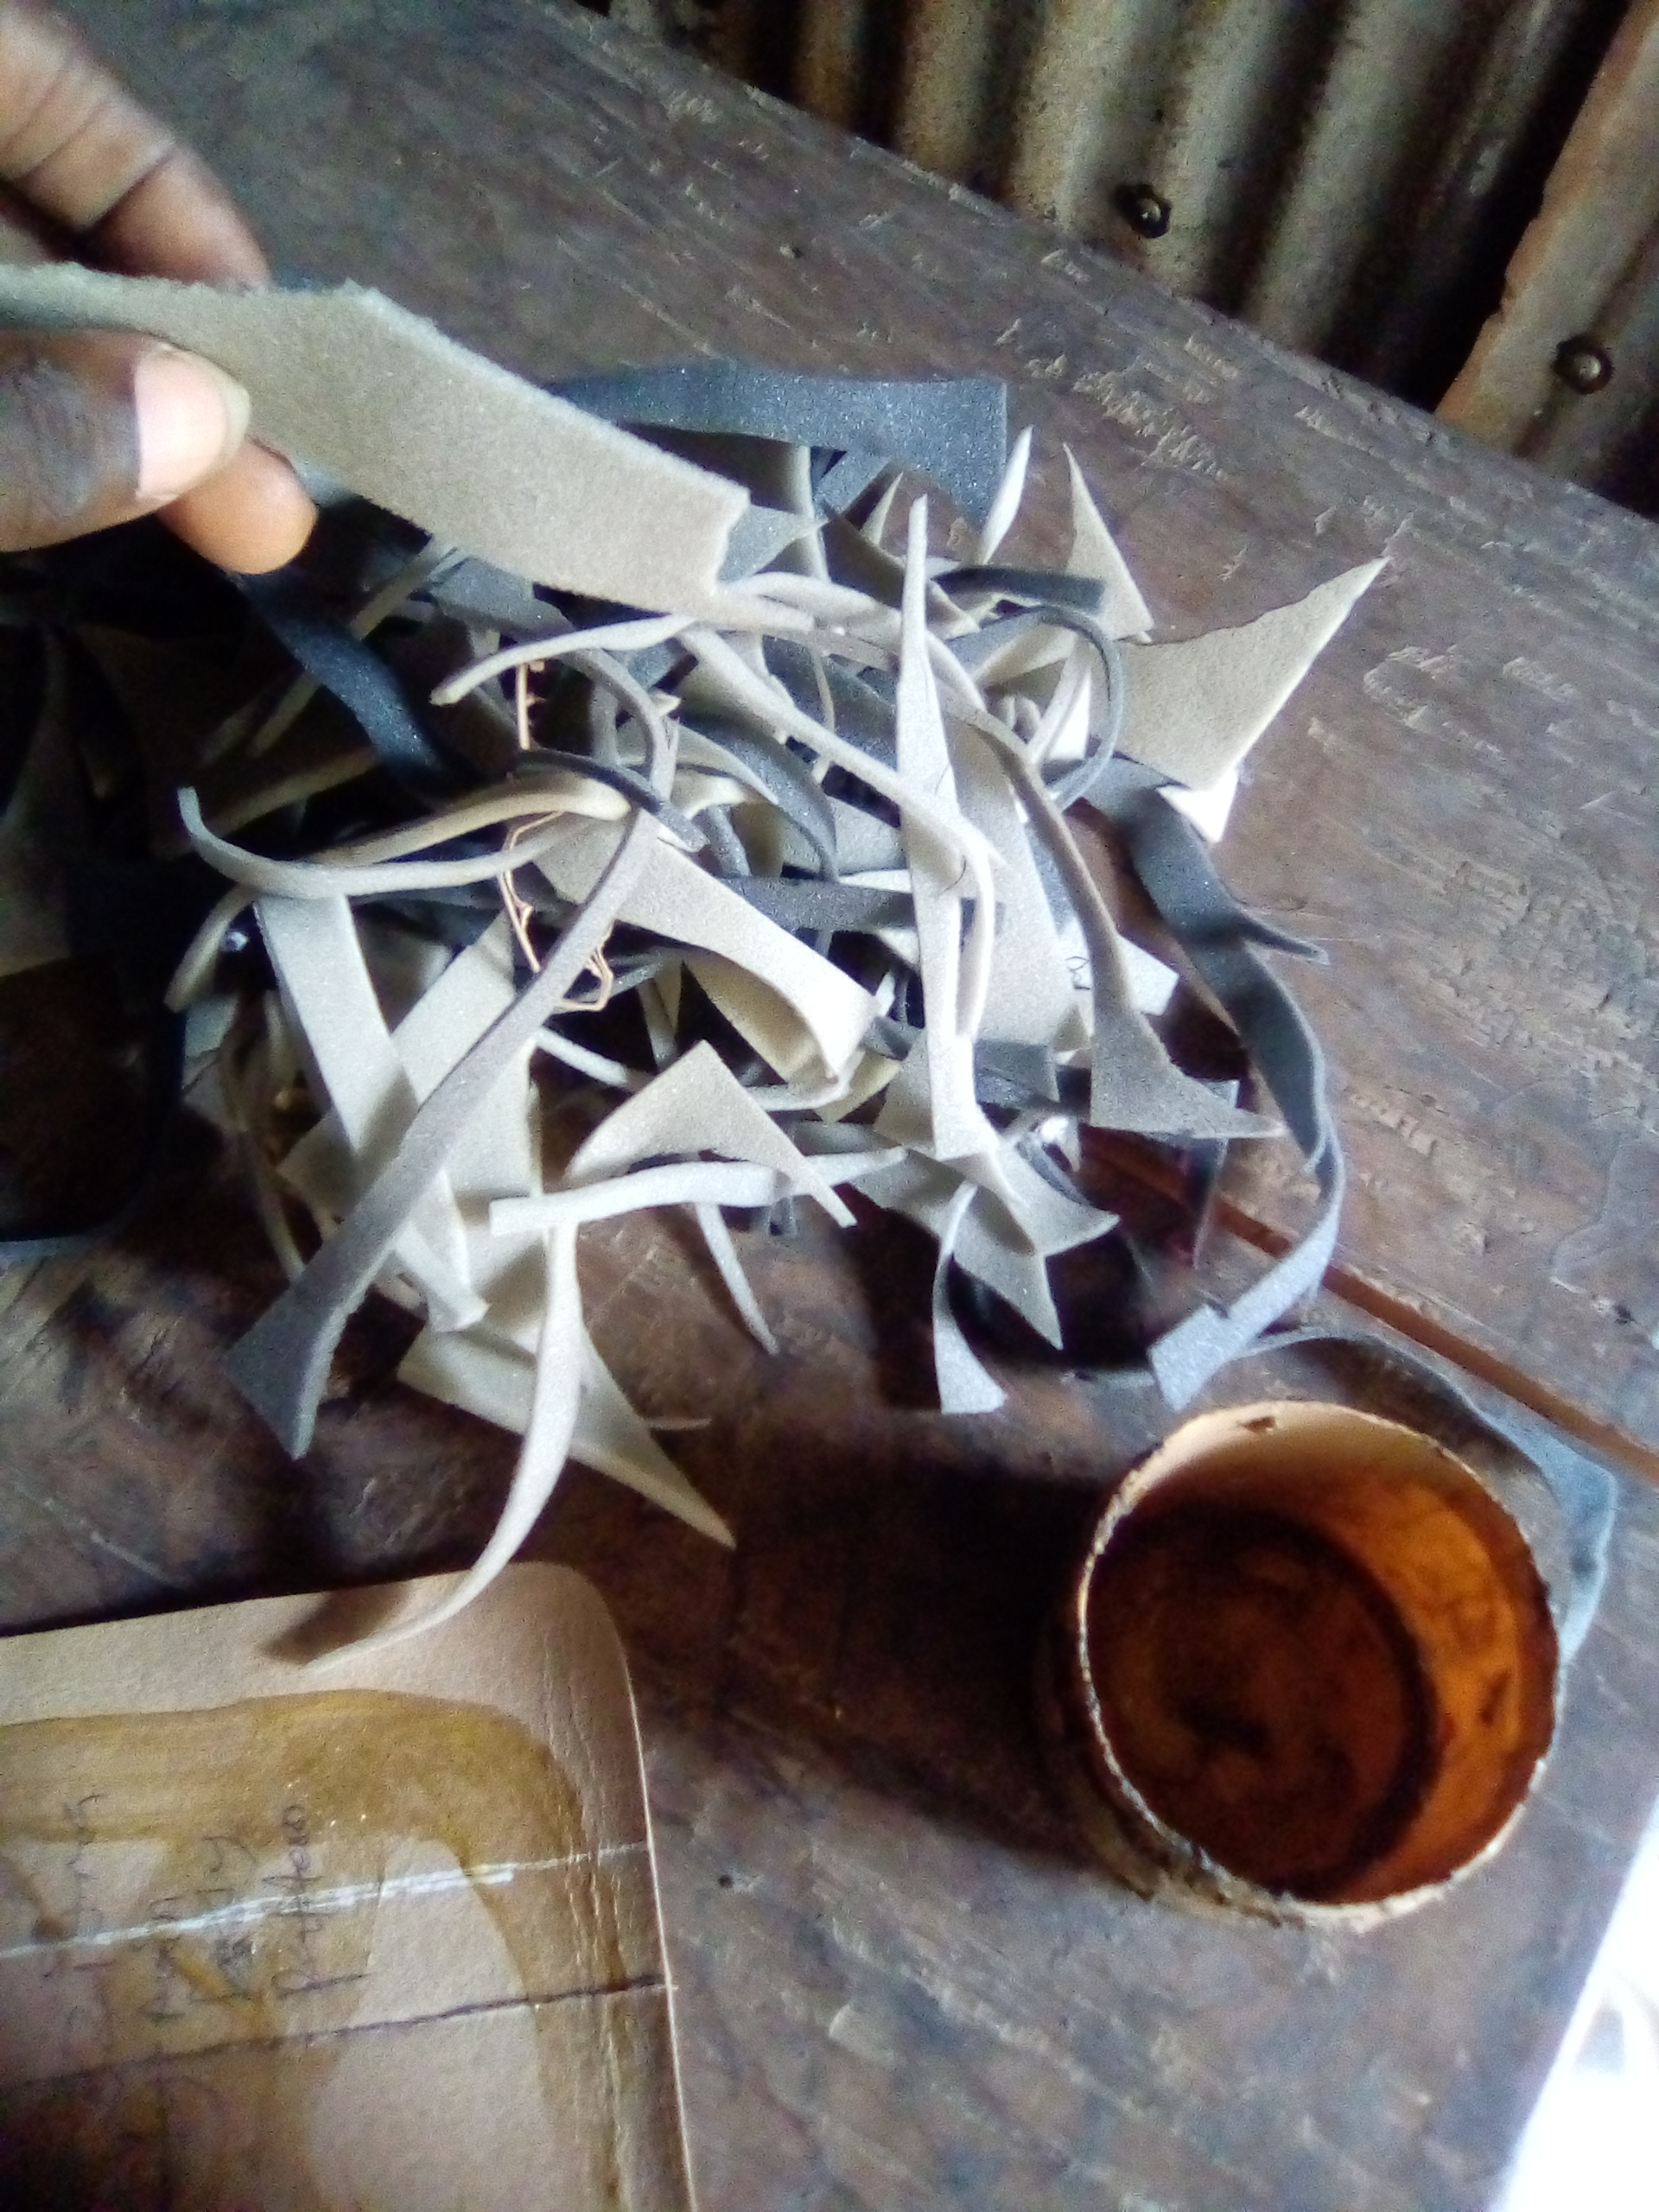
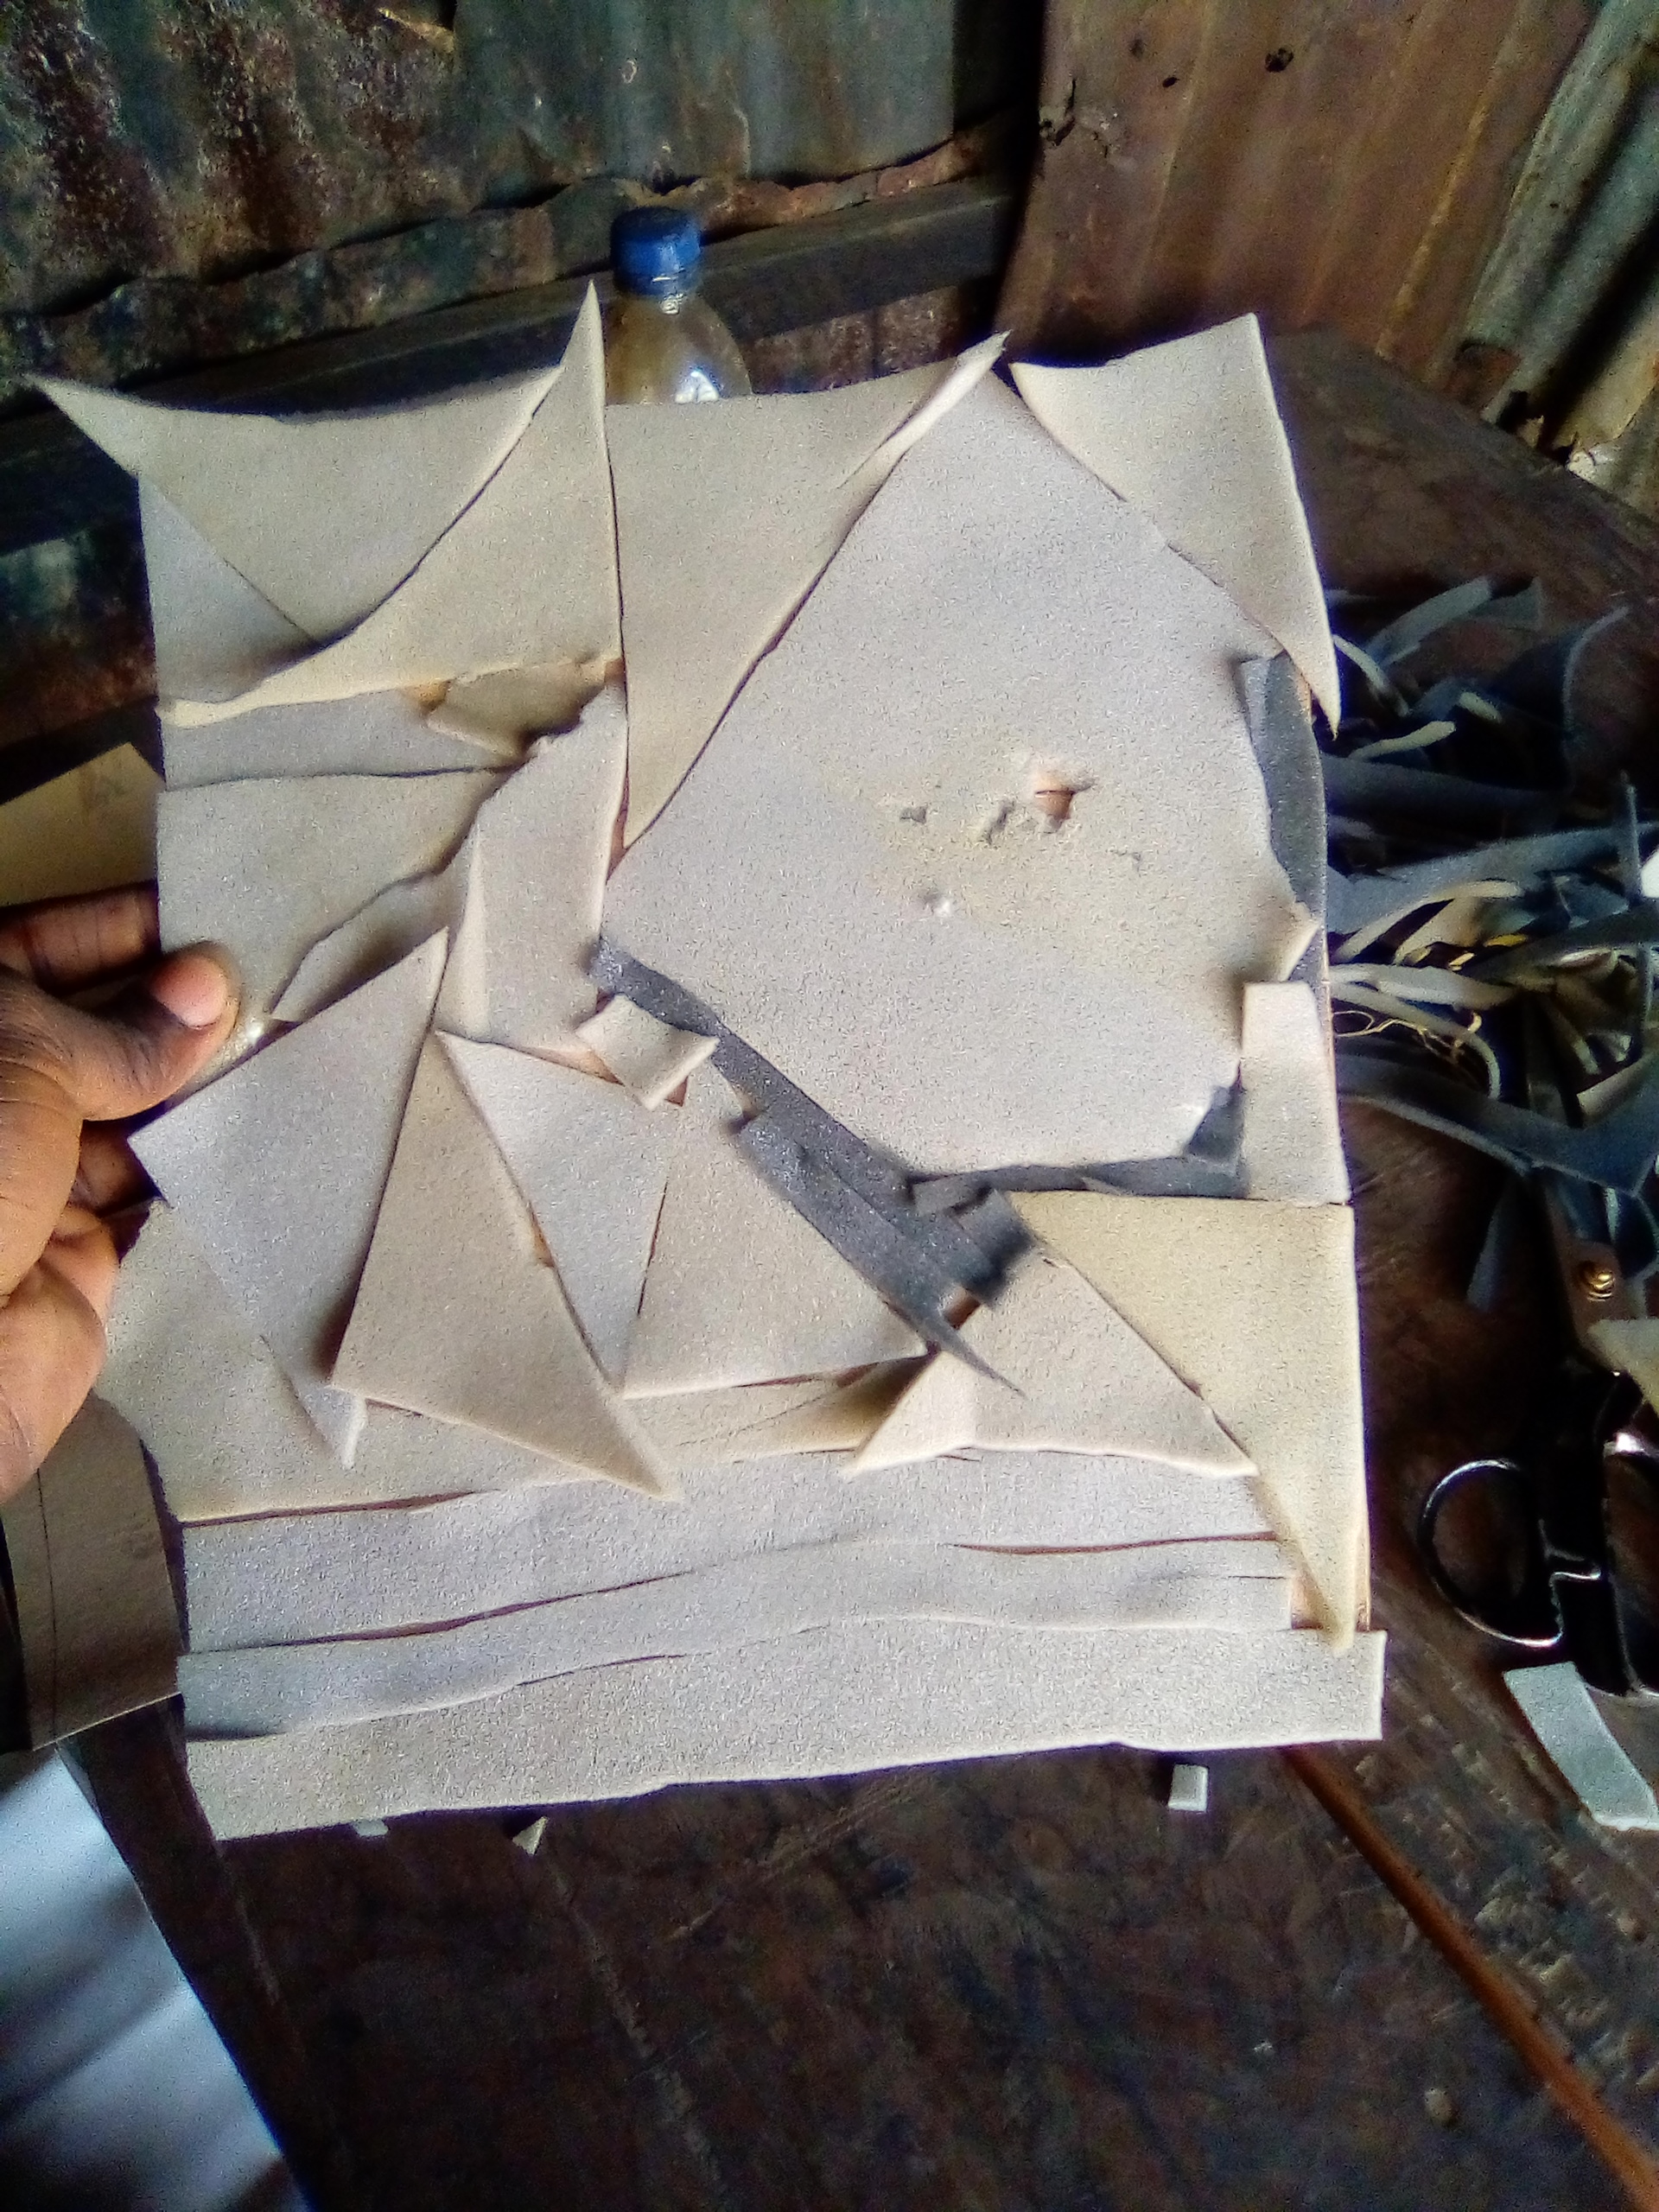
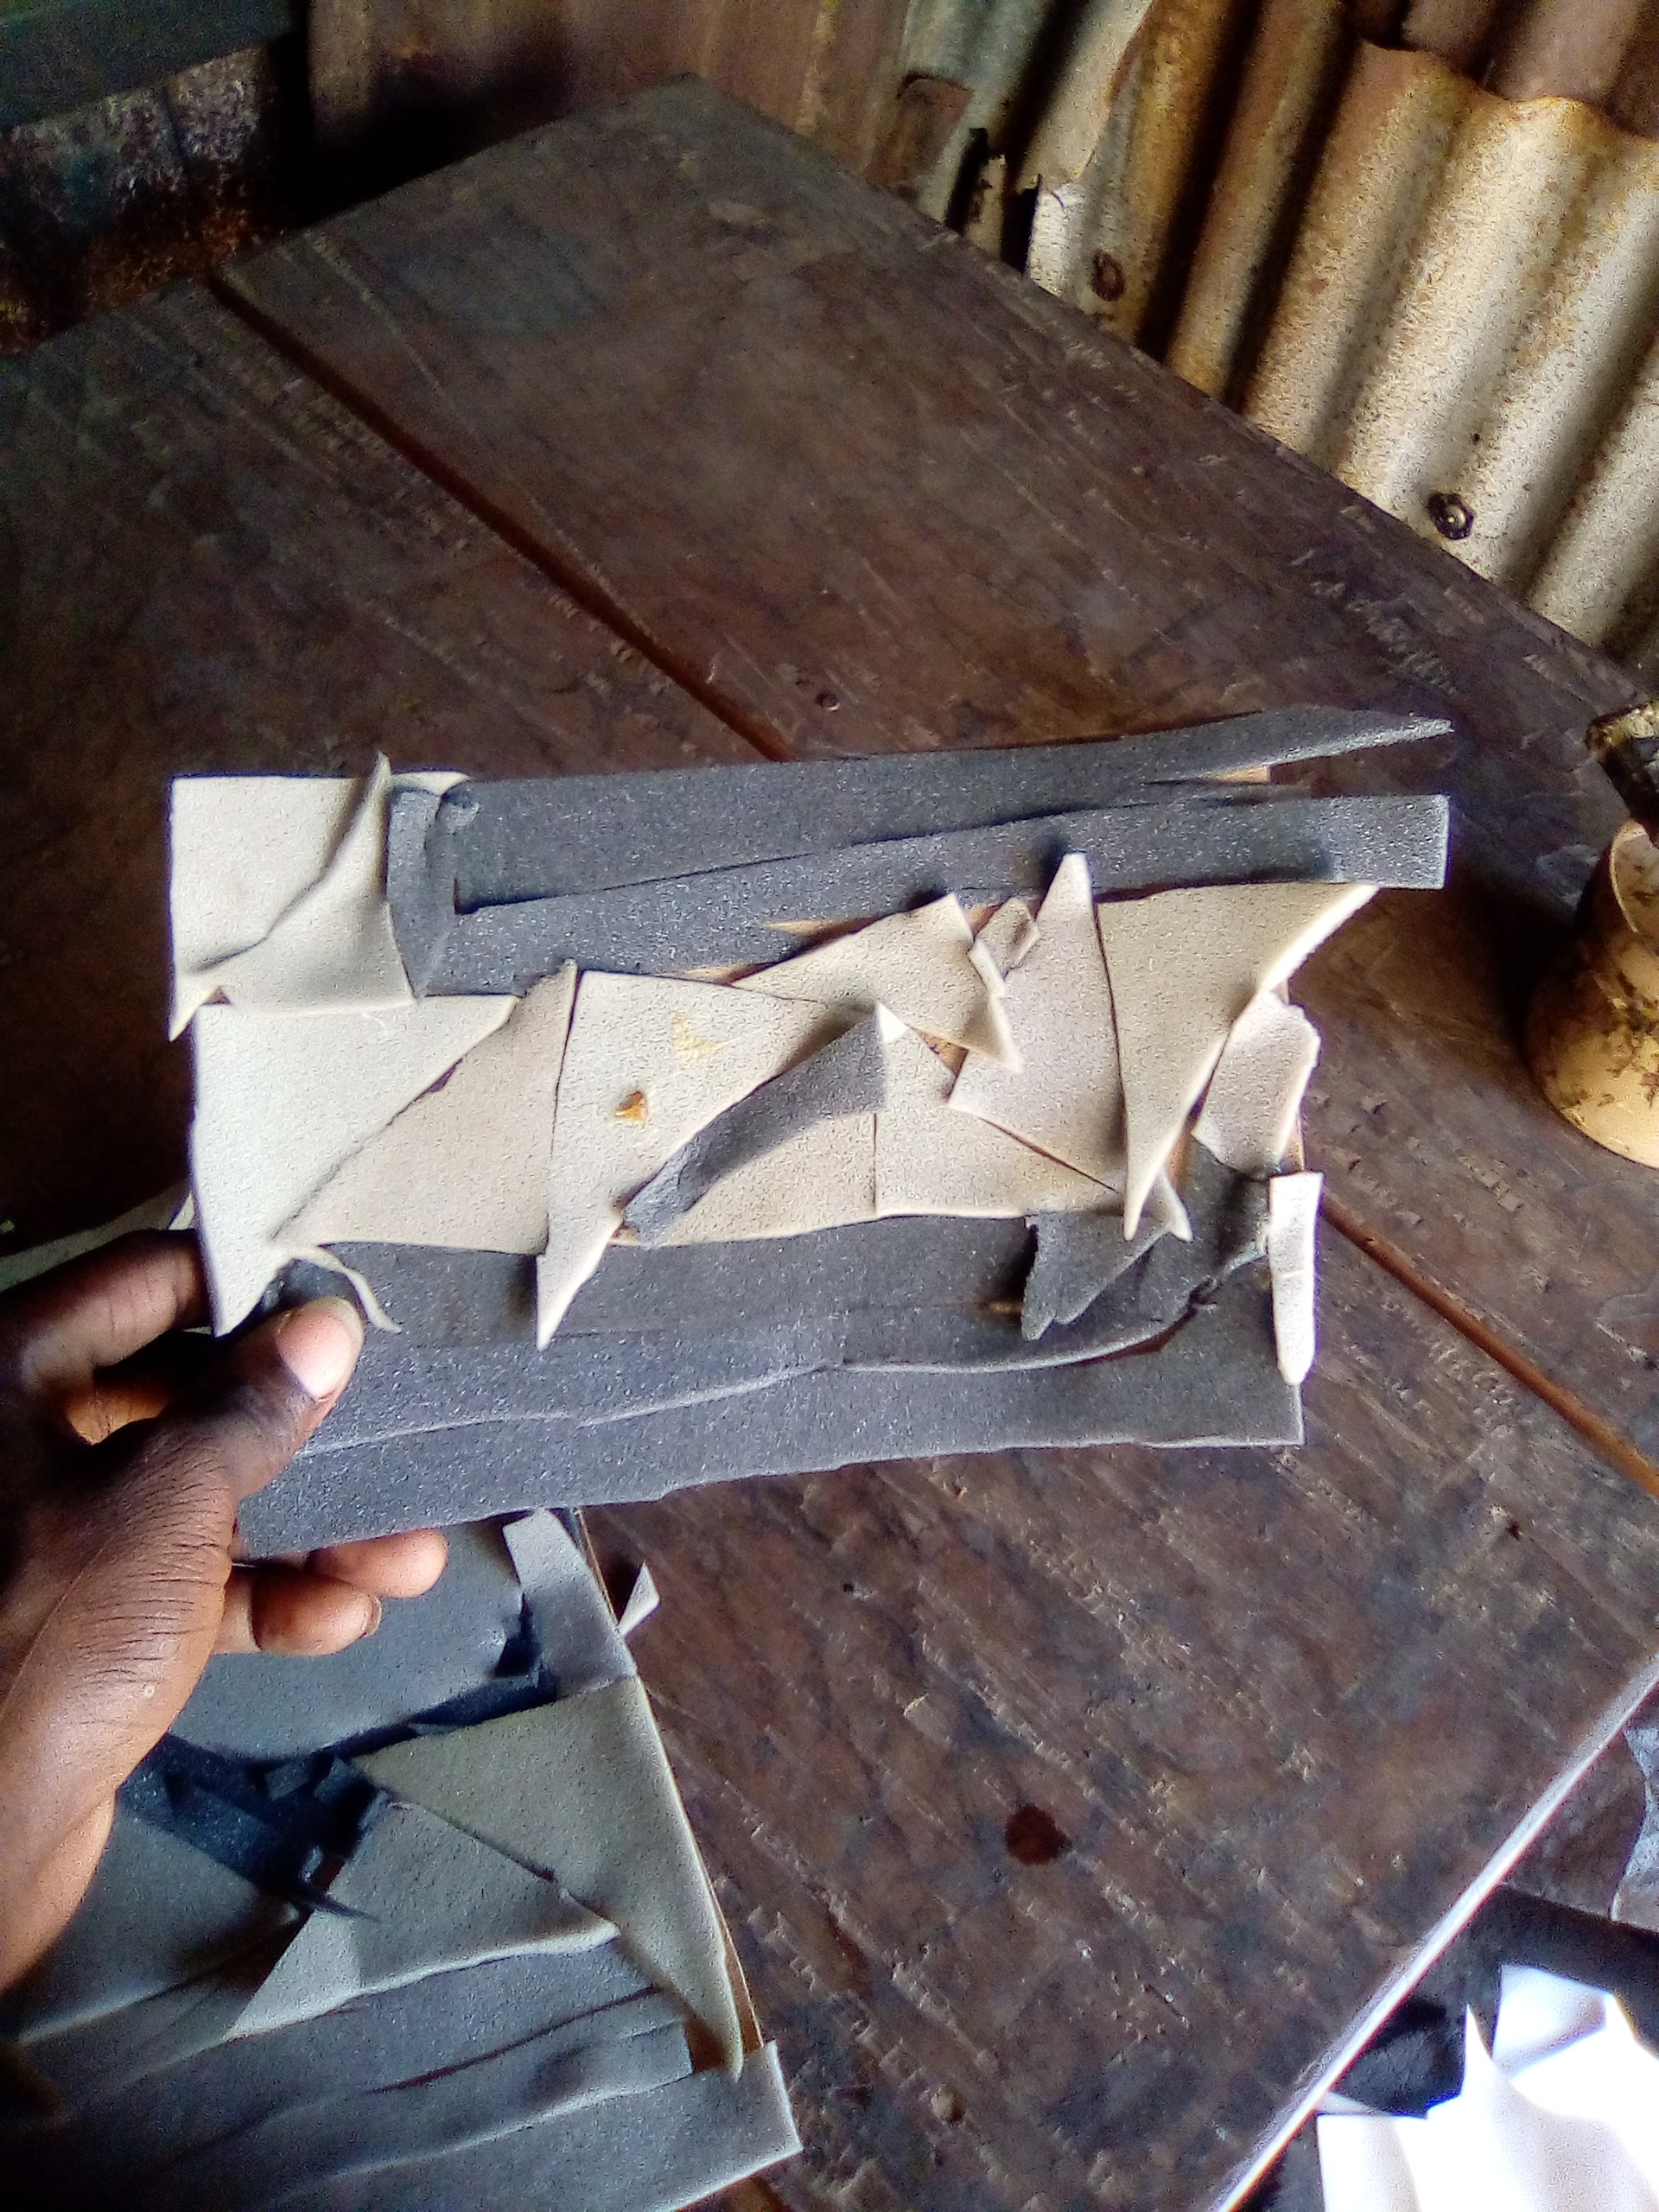
I placed the leather on my table and used the bag pattern to mark out the parts of the bag. While doing this, I left some space where I would apply glue. Then, I used baft leather and cut out the sides and bottom of the bag, which I would use for padding to ensure quality.

Fourth step:
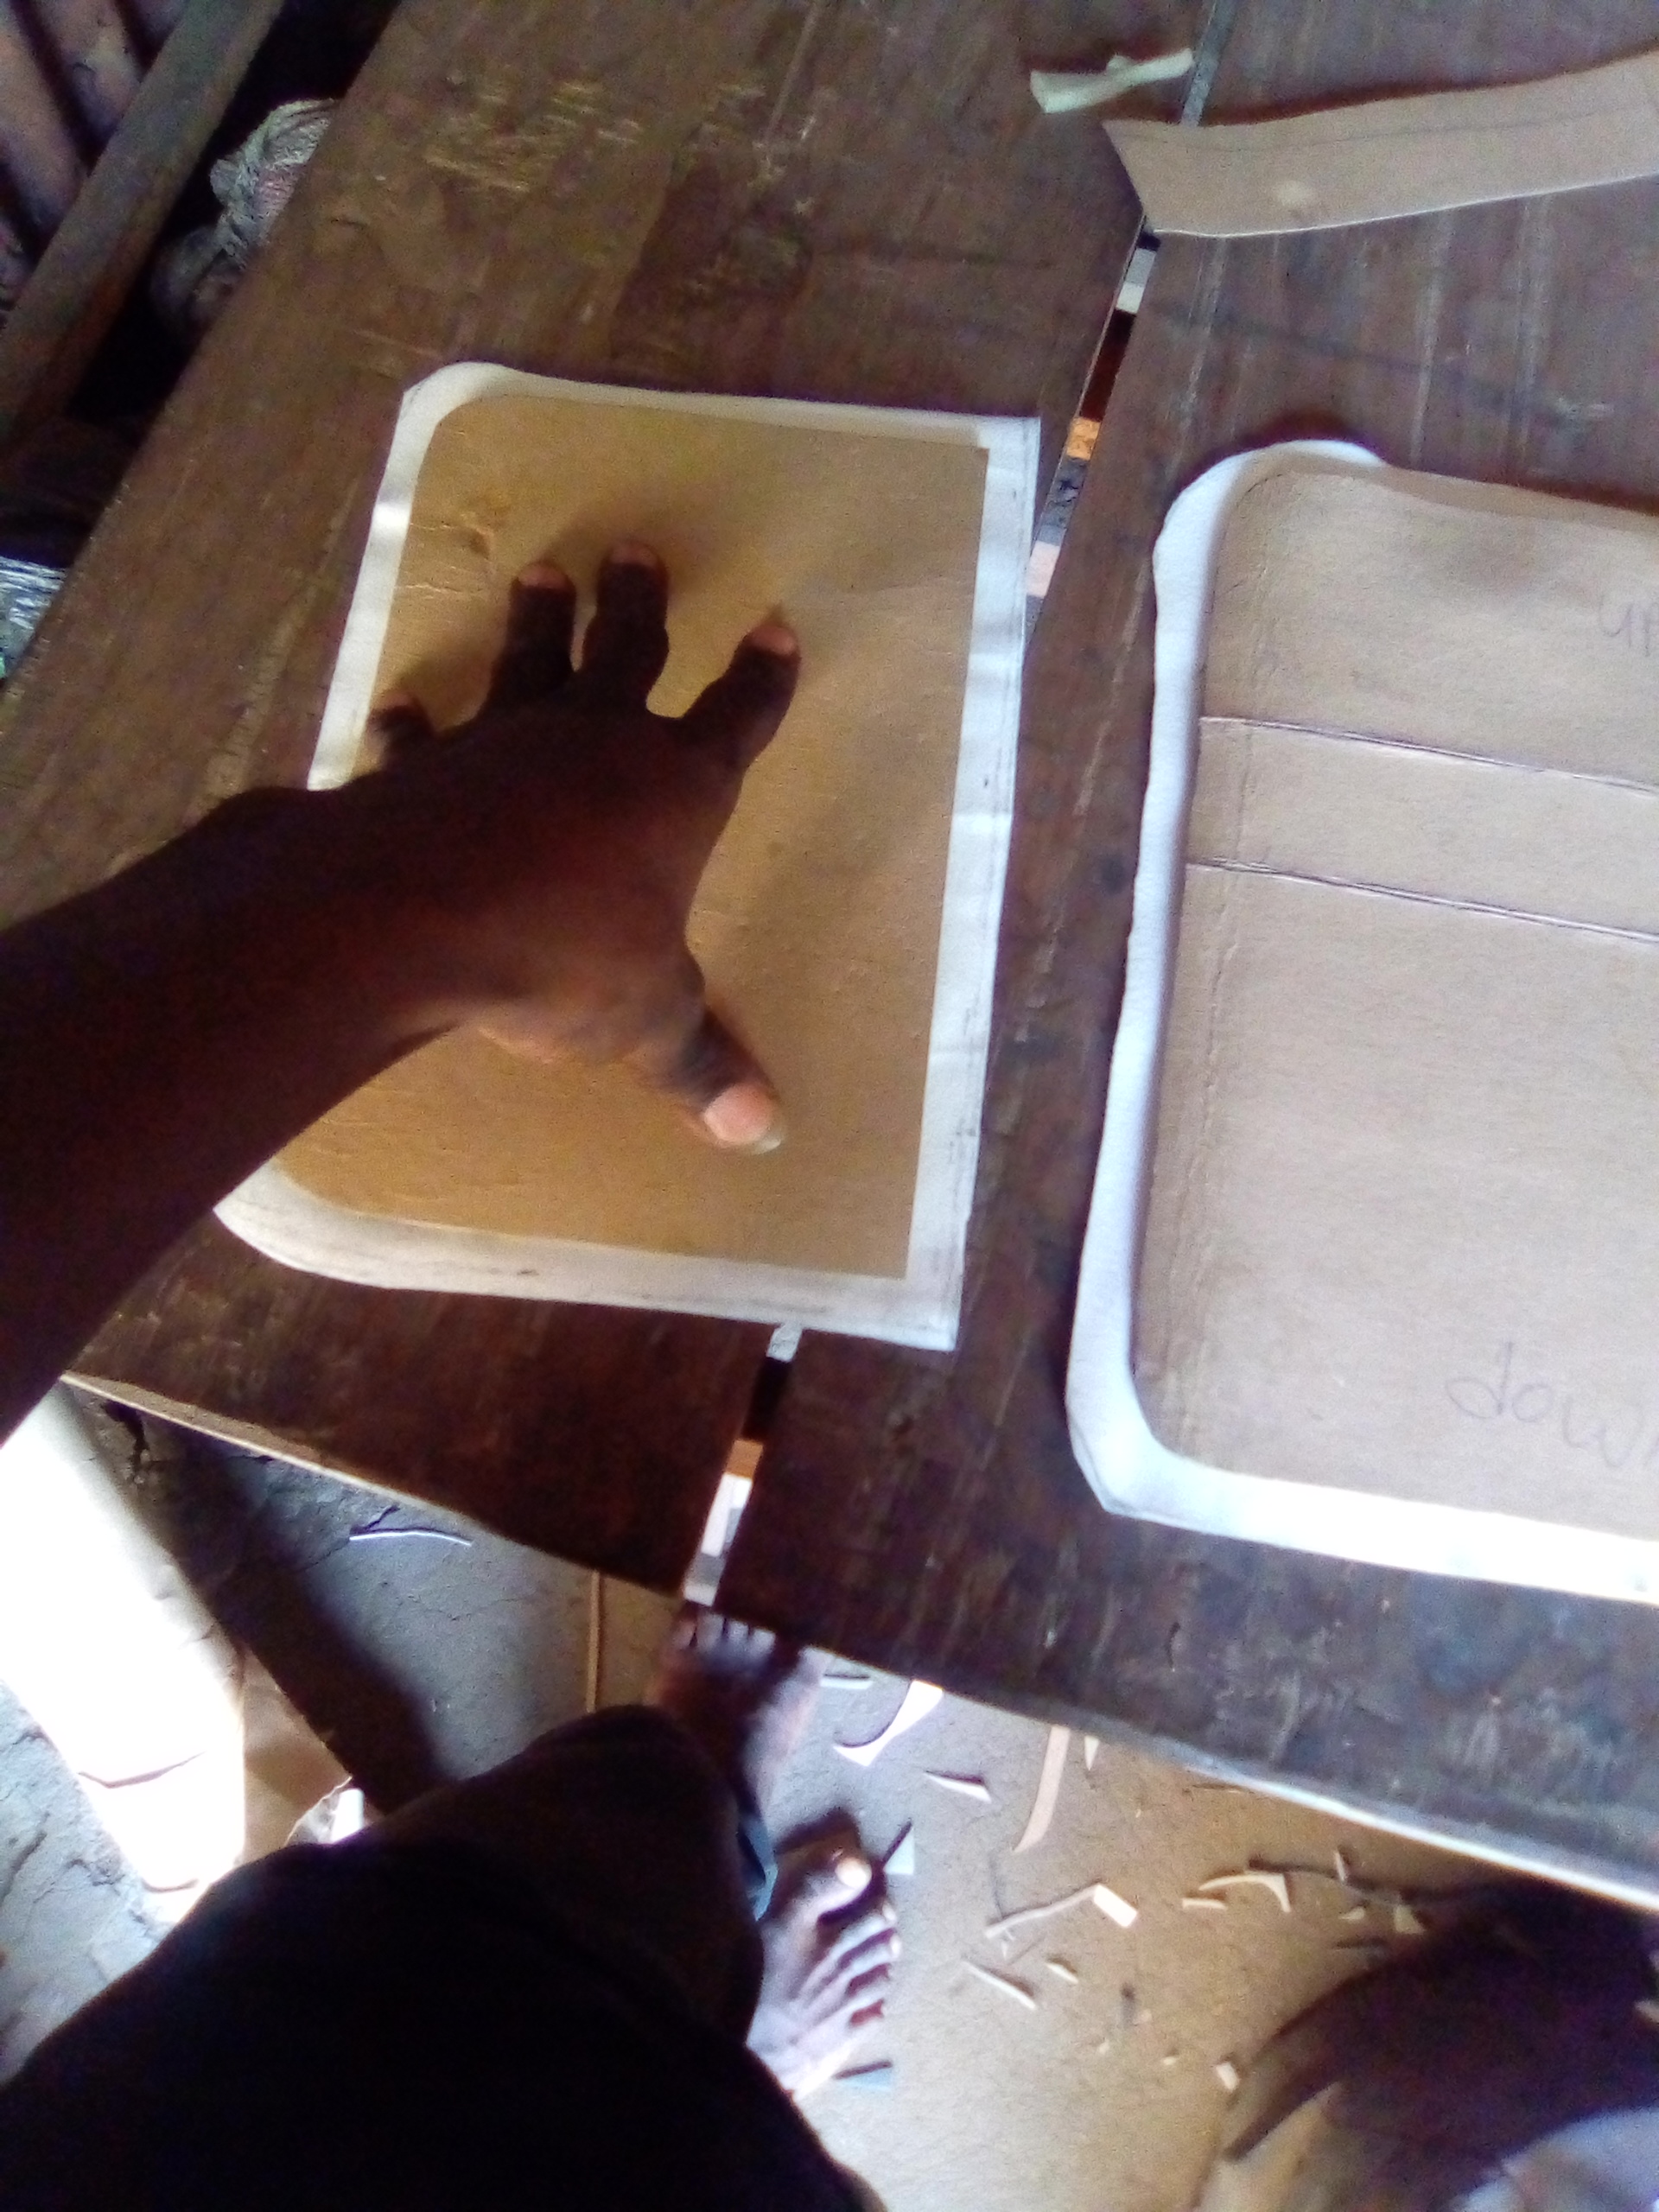
I applied gum to the paper body and the base, and placed my naked pieces of foam on it. After that, I cut out the excess with my scissors. Then, I brought the landing and marked the sides and bottom of the bag from it; after that, I cut it out. Then, I applied gum to the baft and placed the landing on top of it, and after that, I cut out the excess.
Then, I placed it on top of the leather body after applying gum to it.
Fifth step:
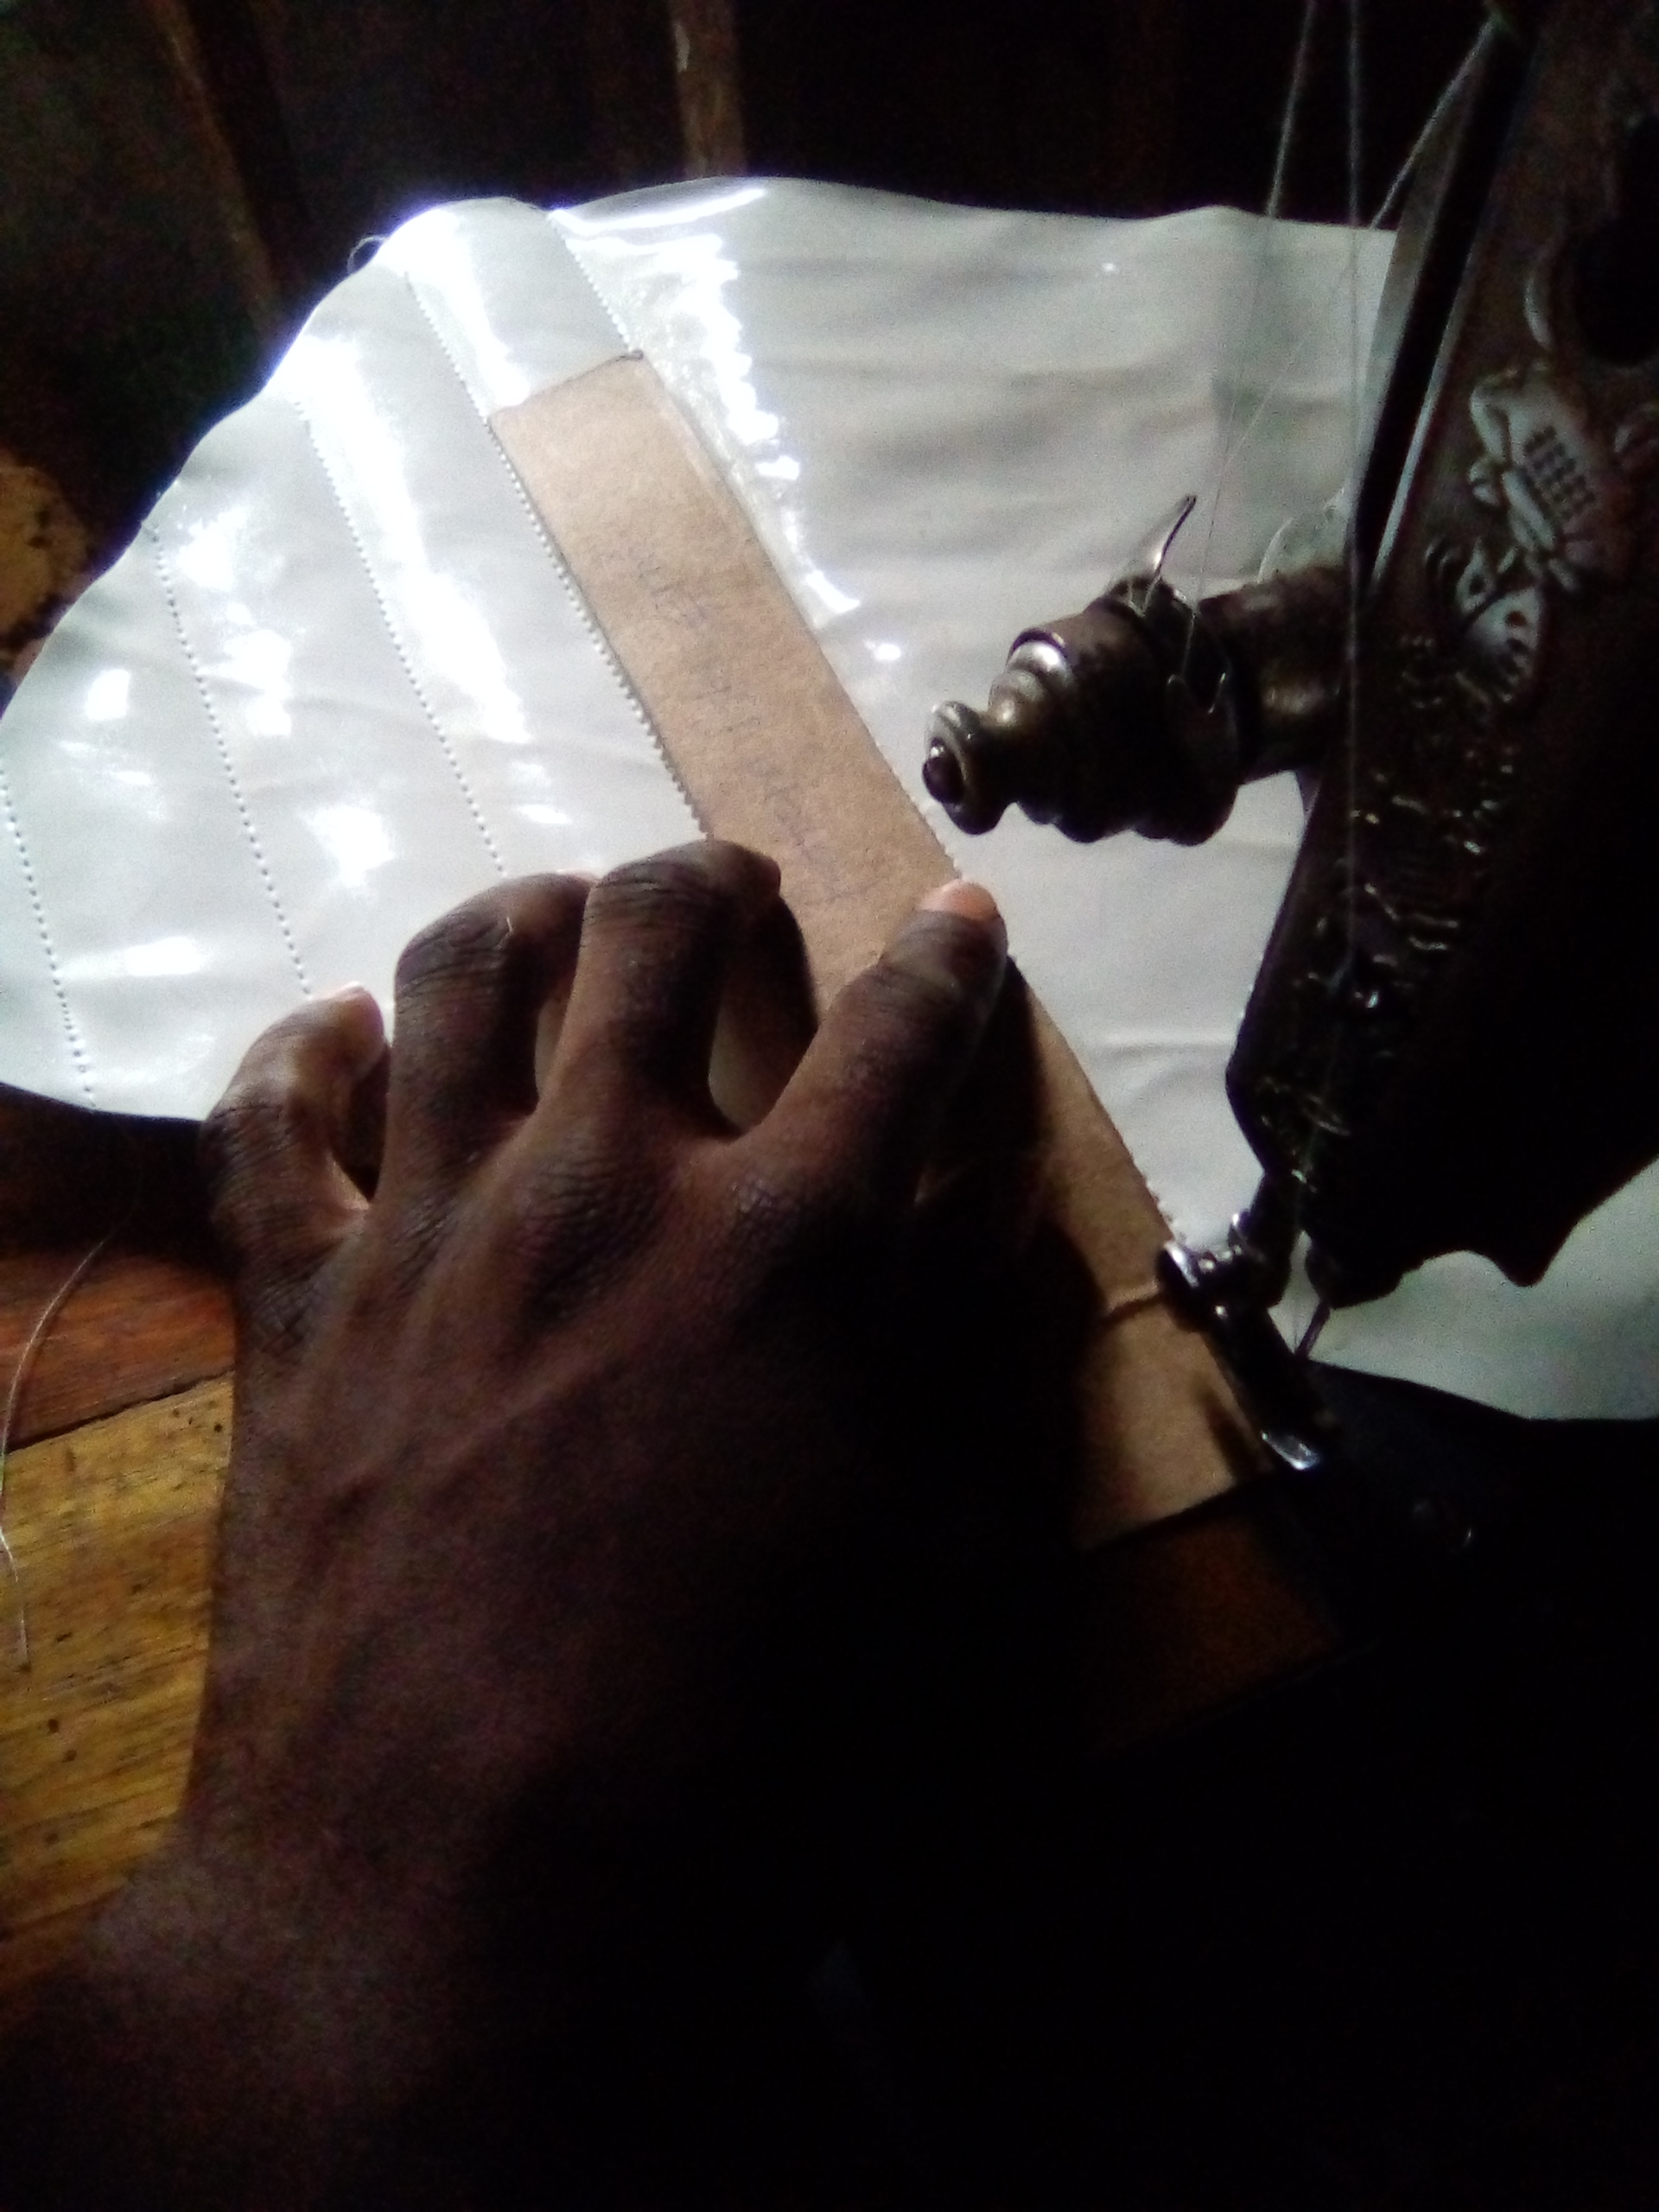
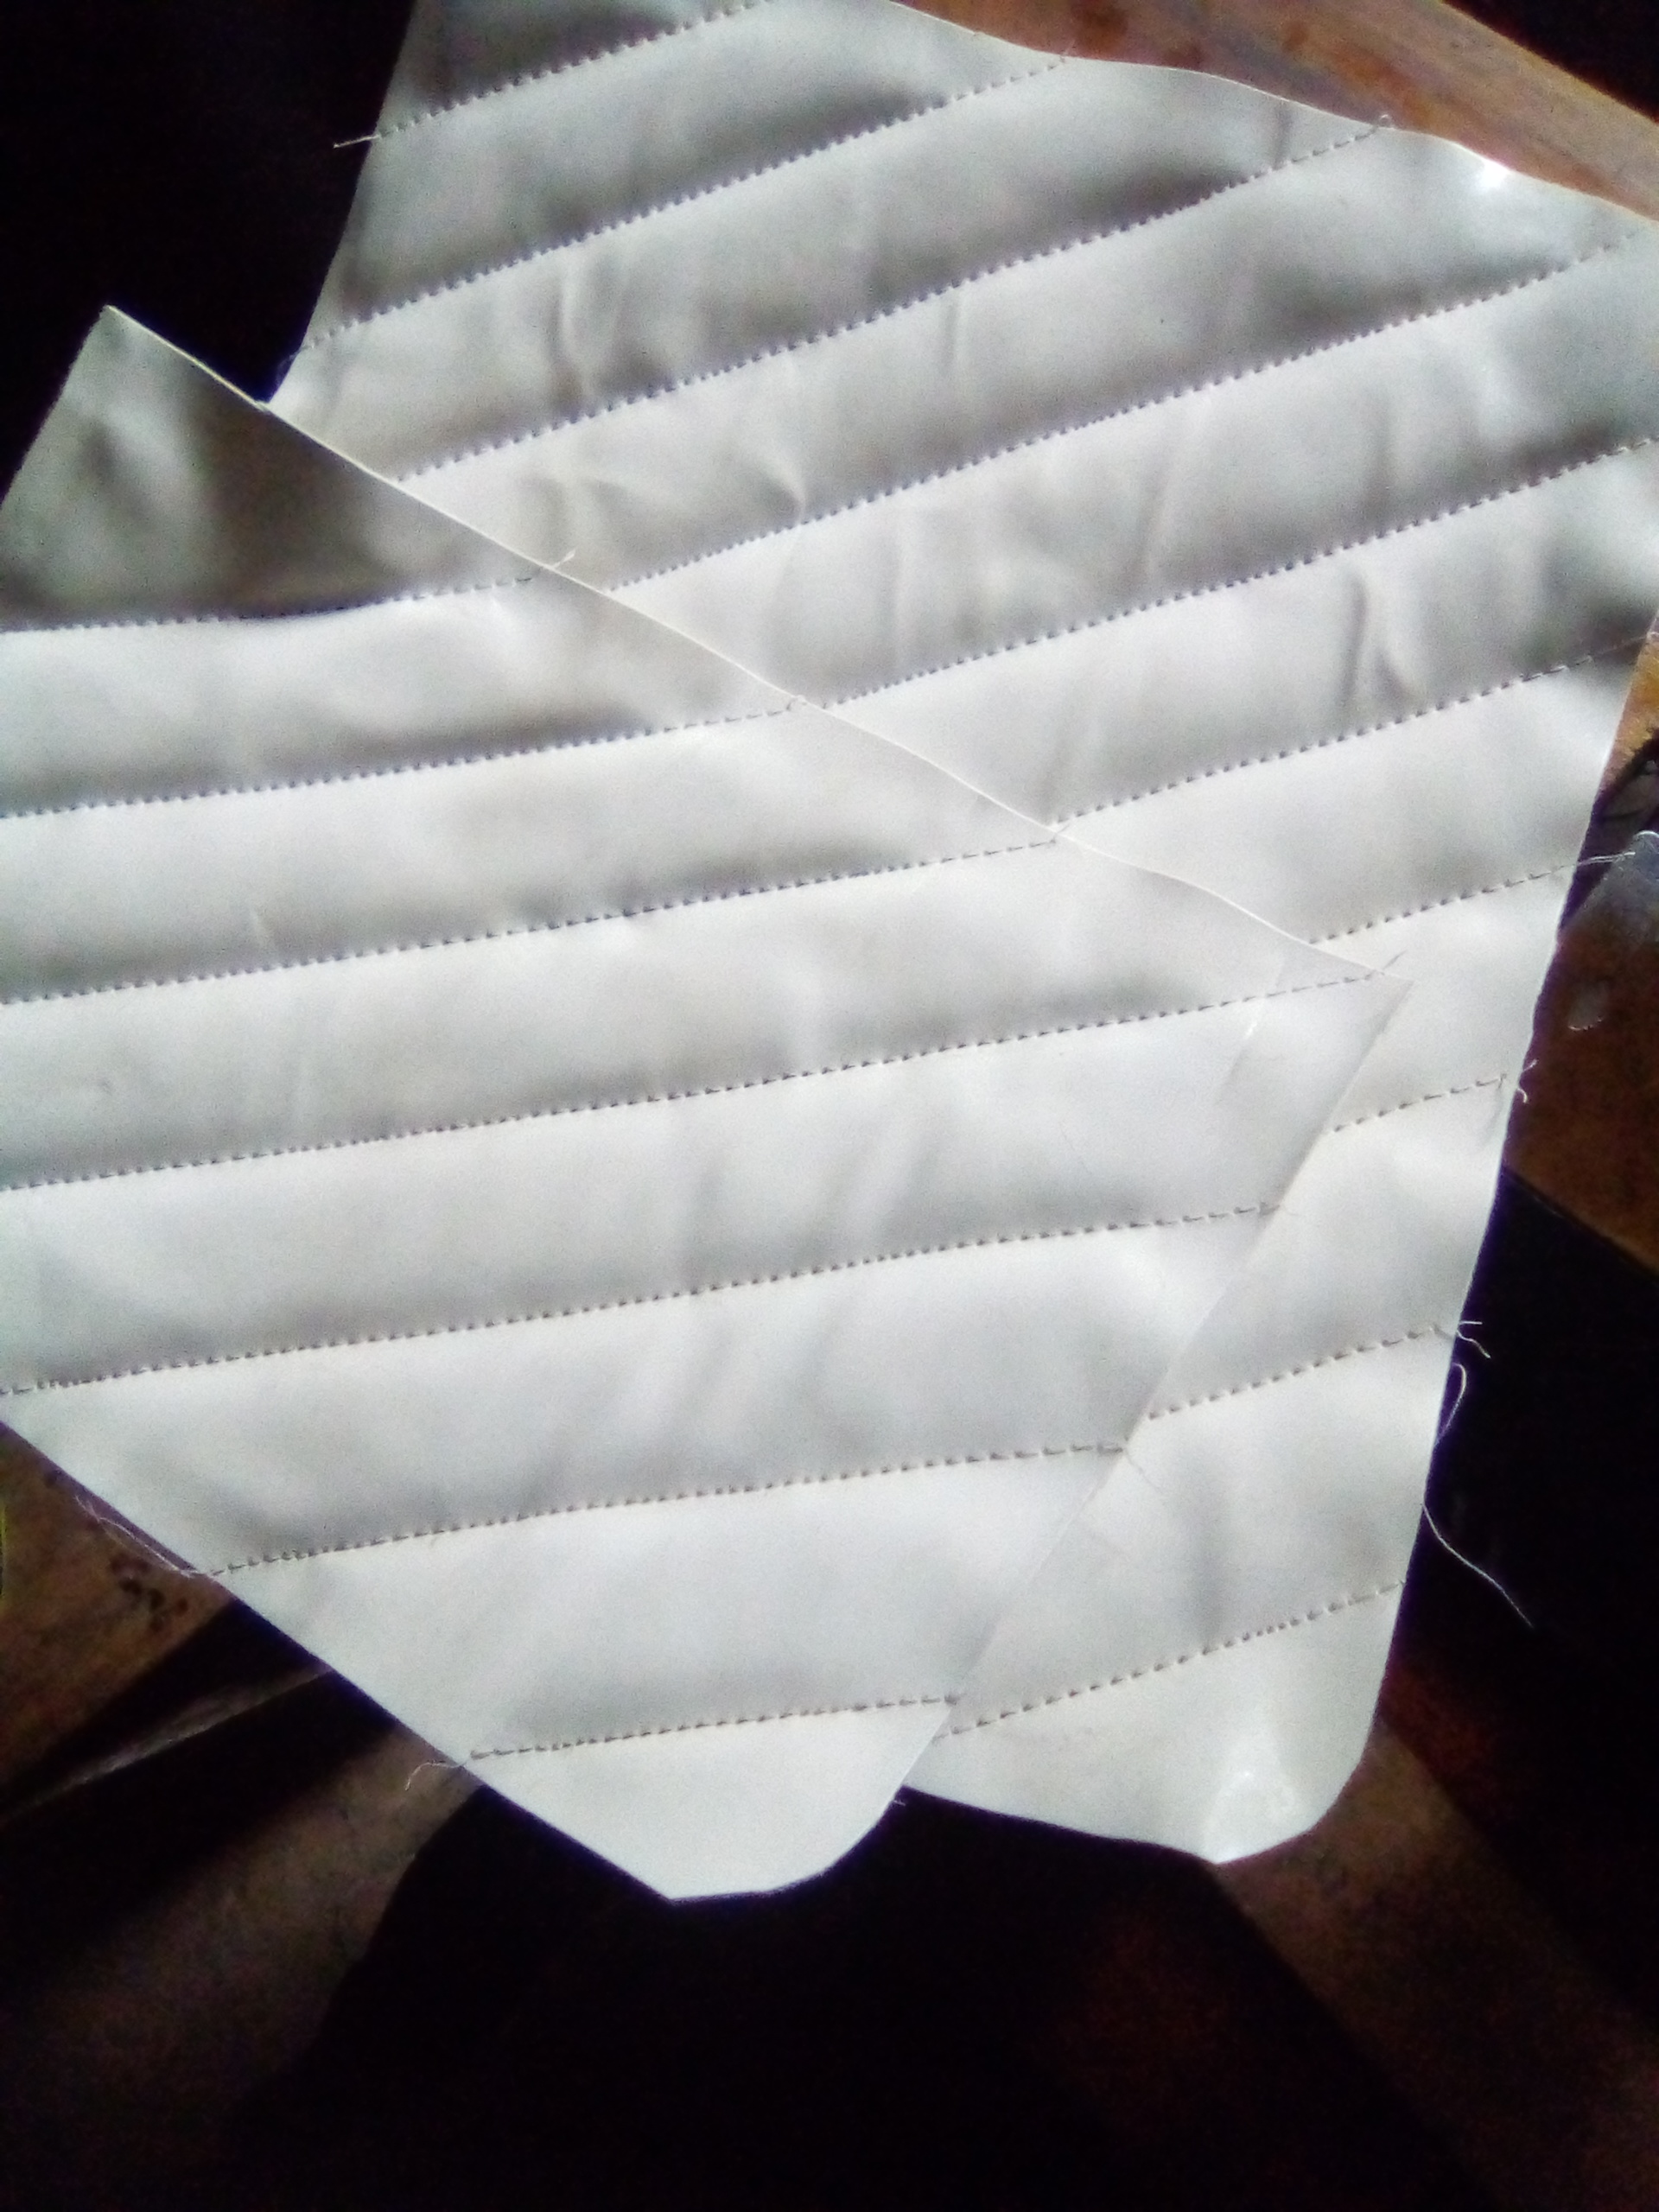
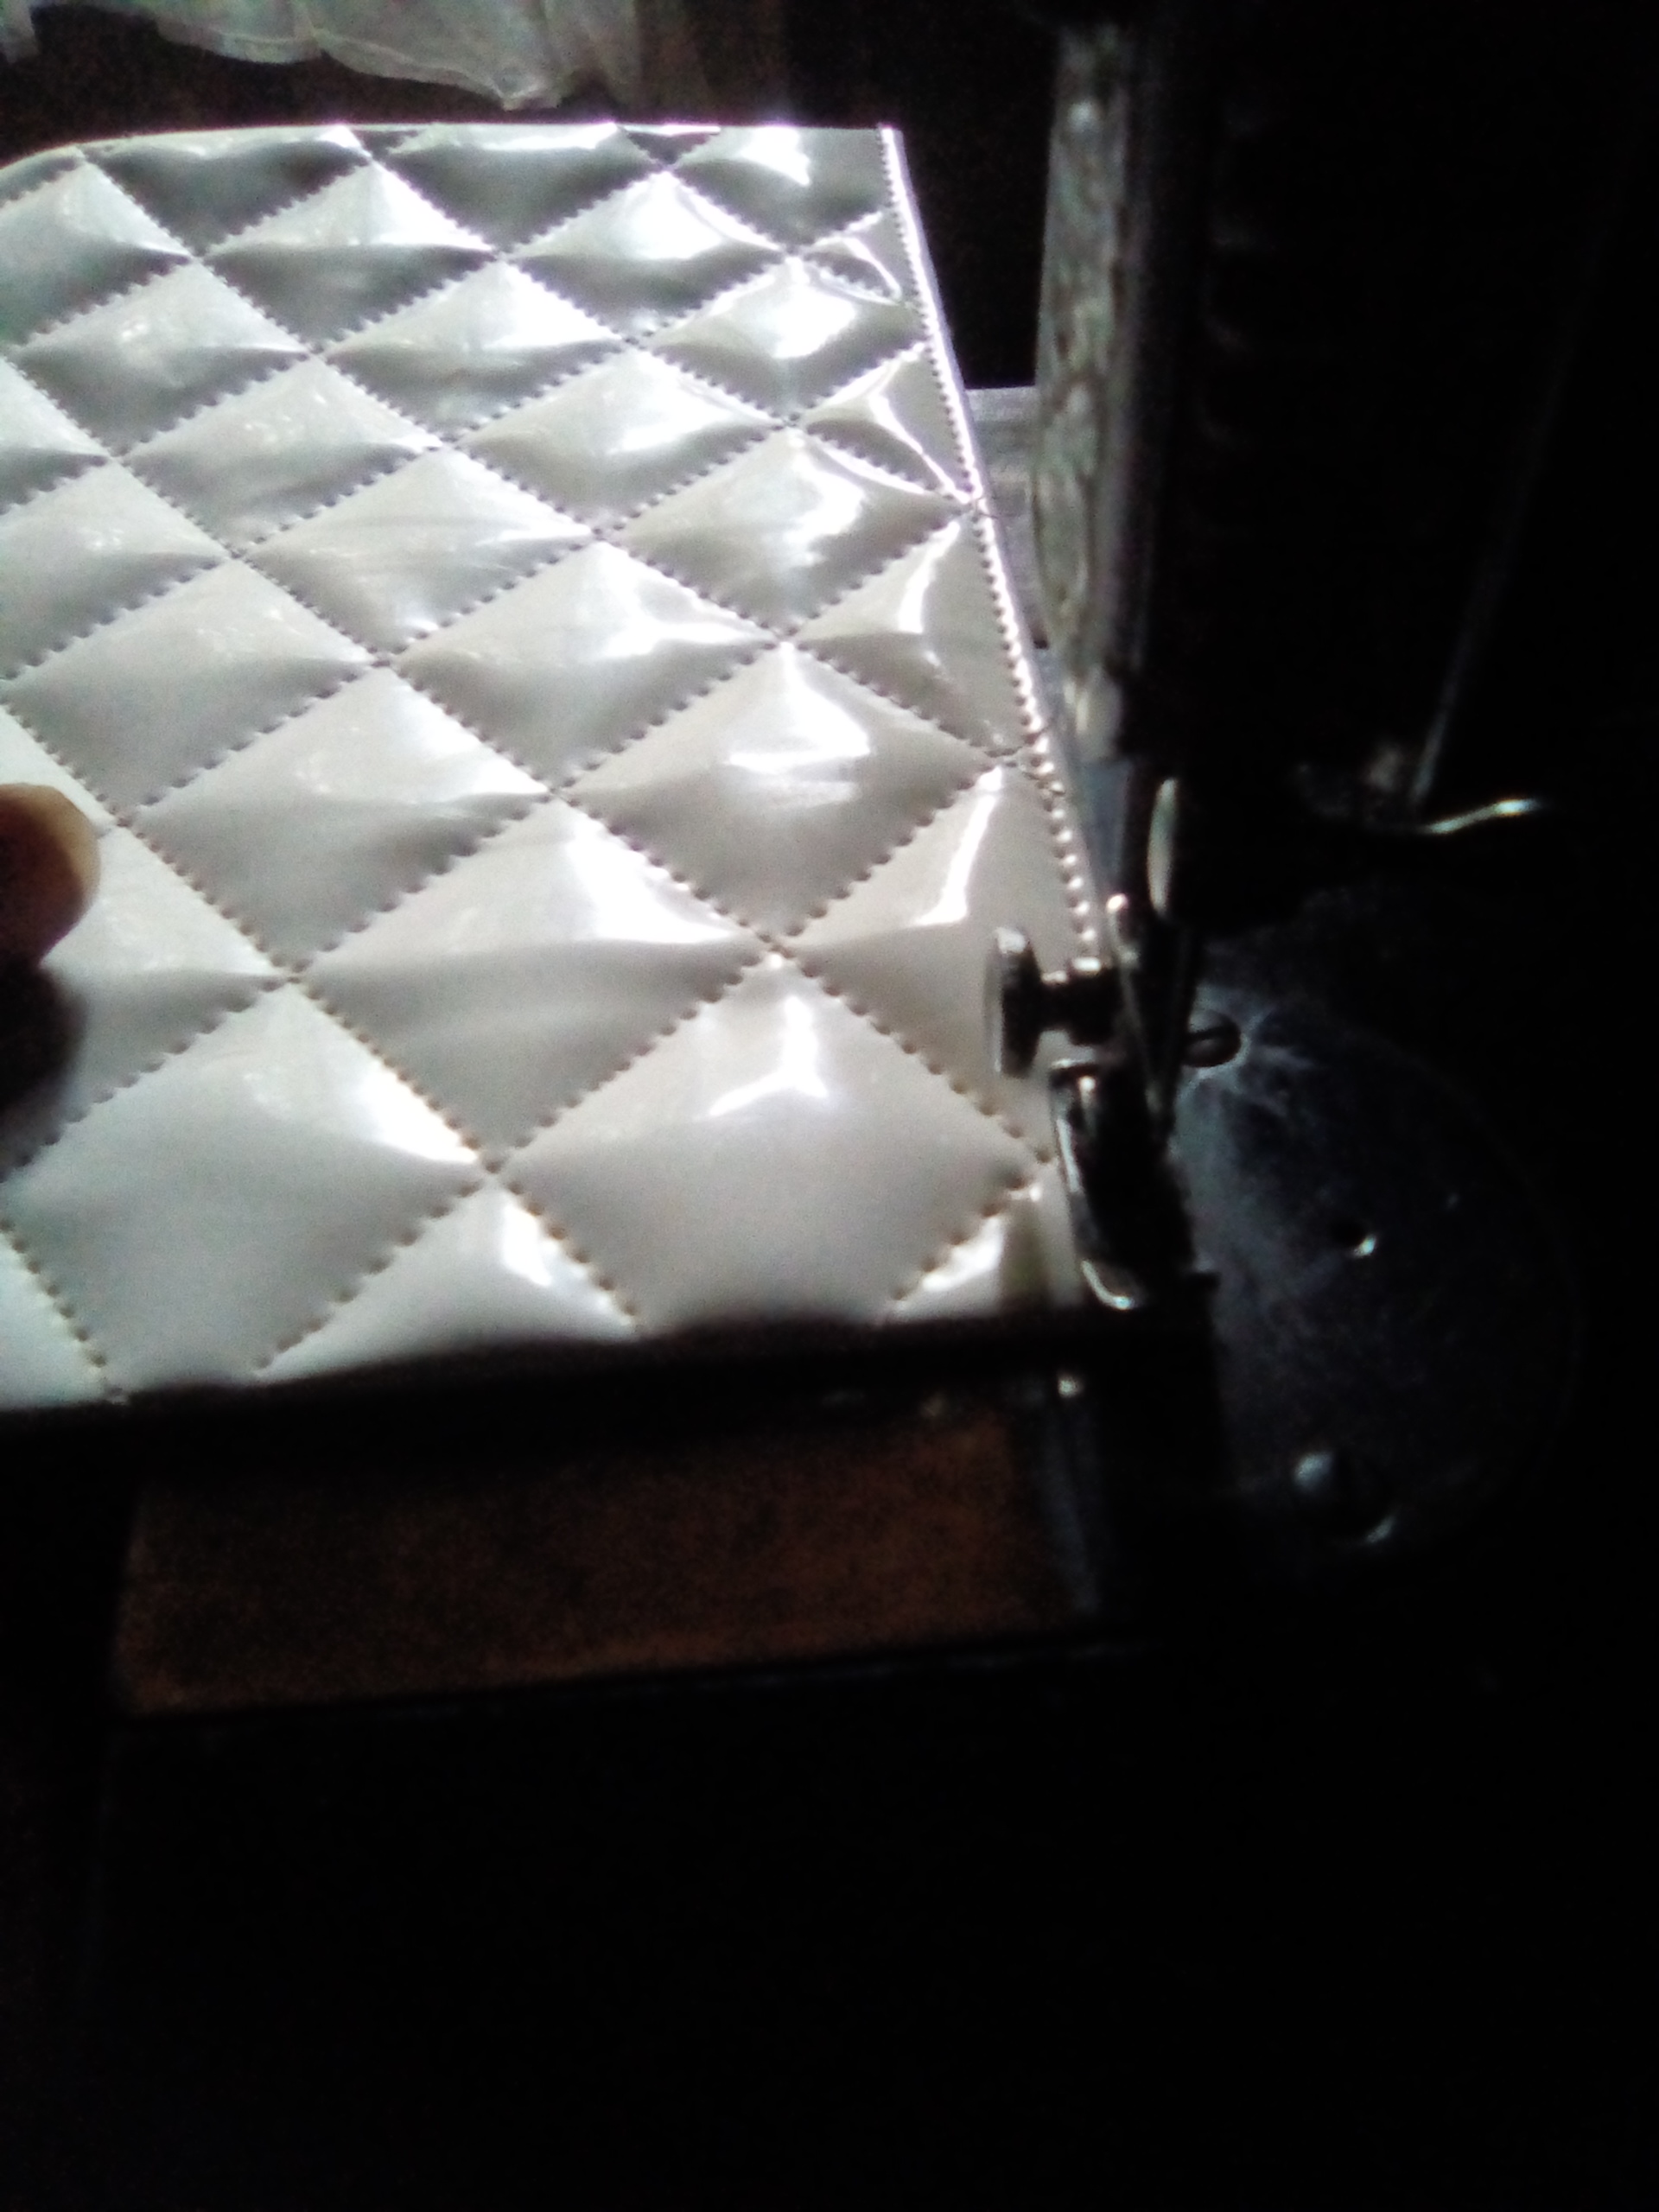
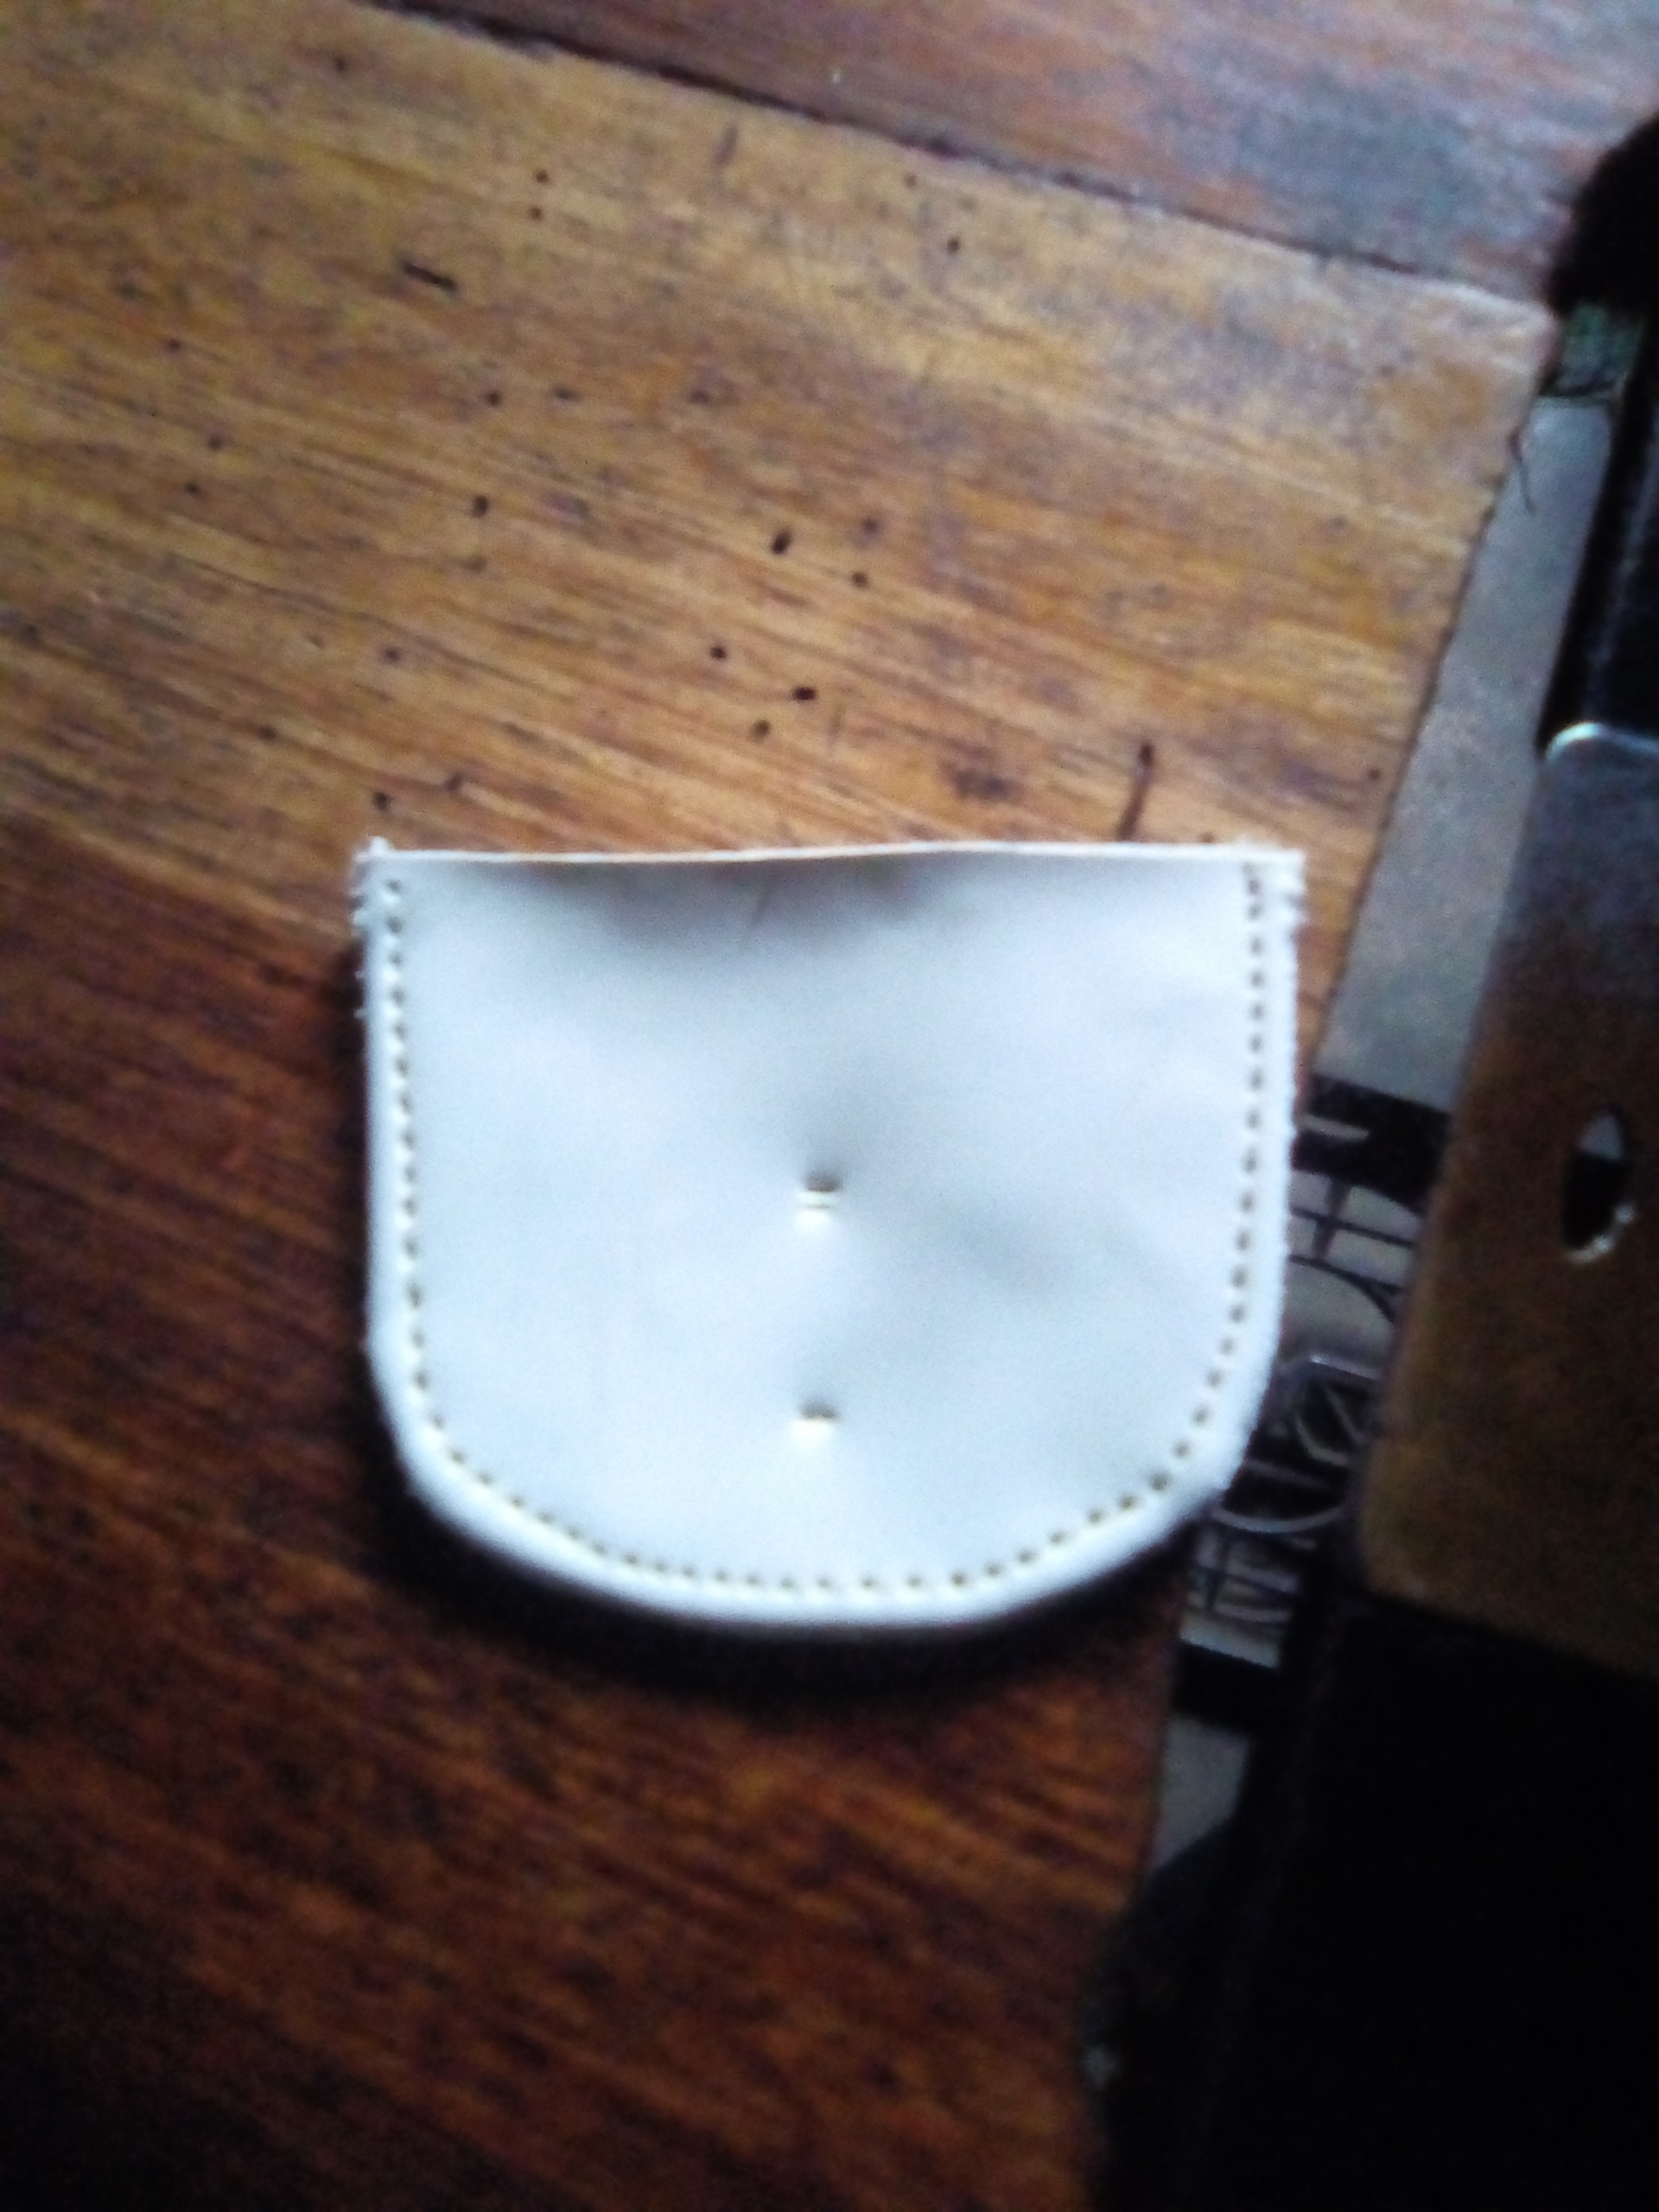
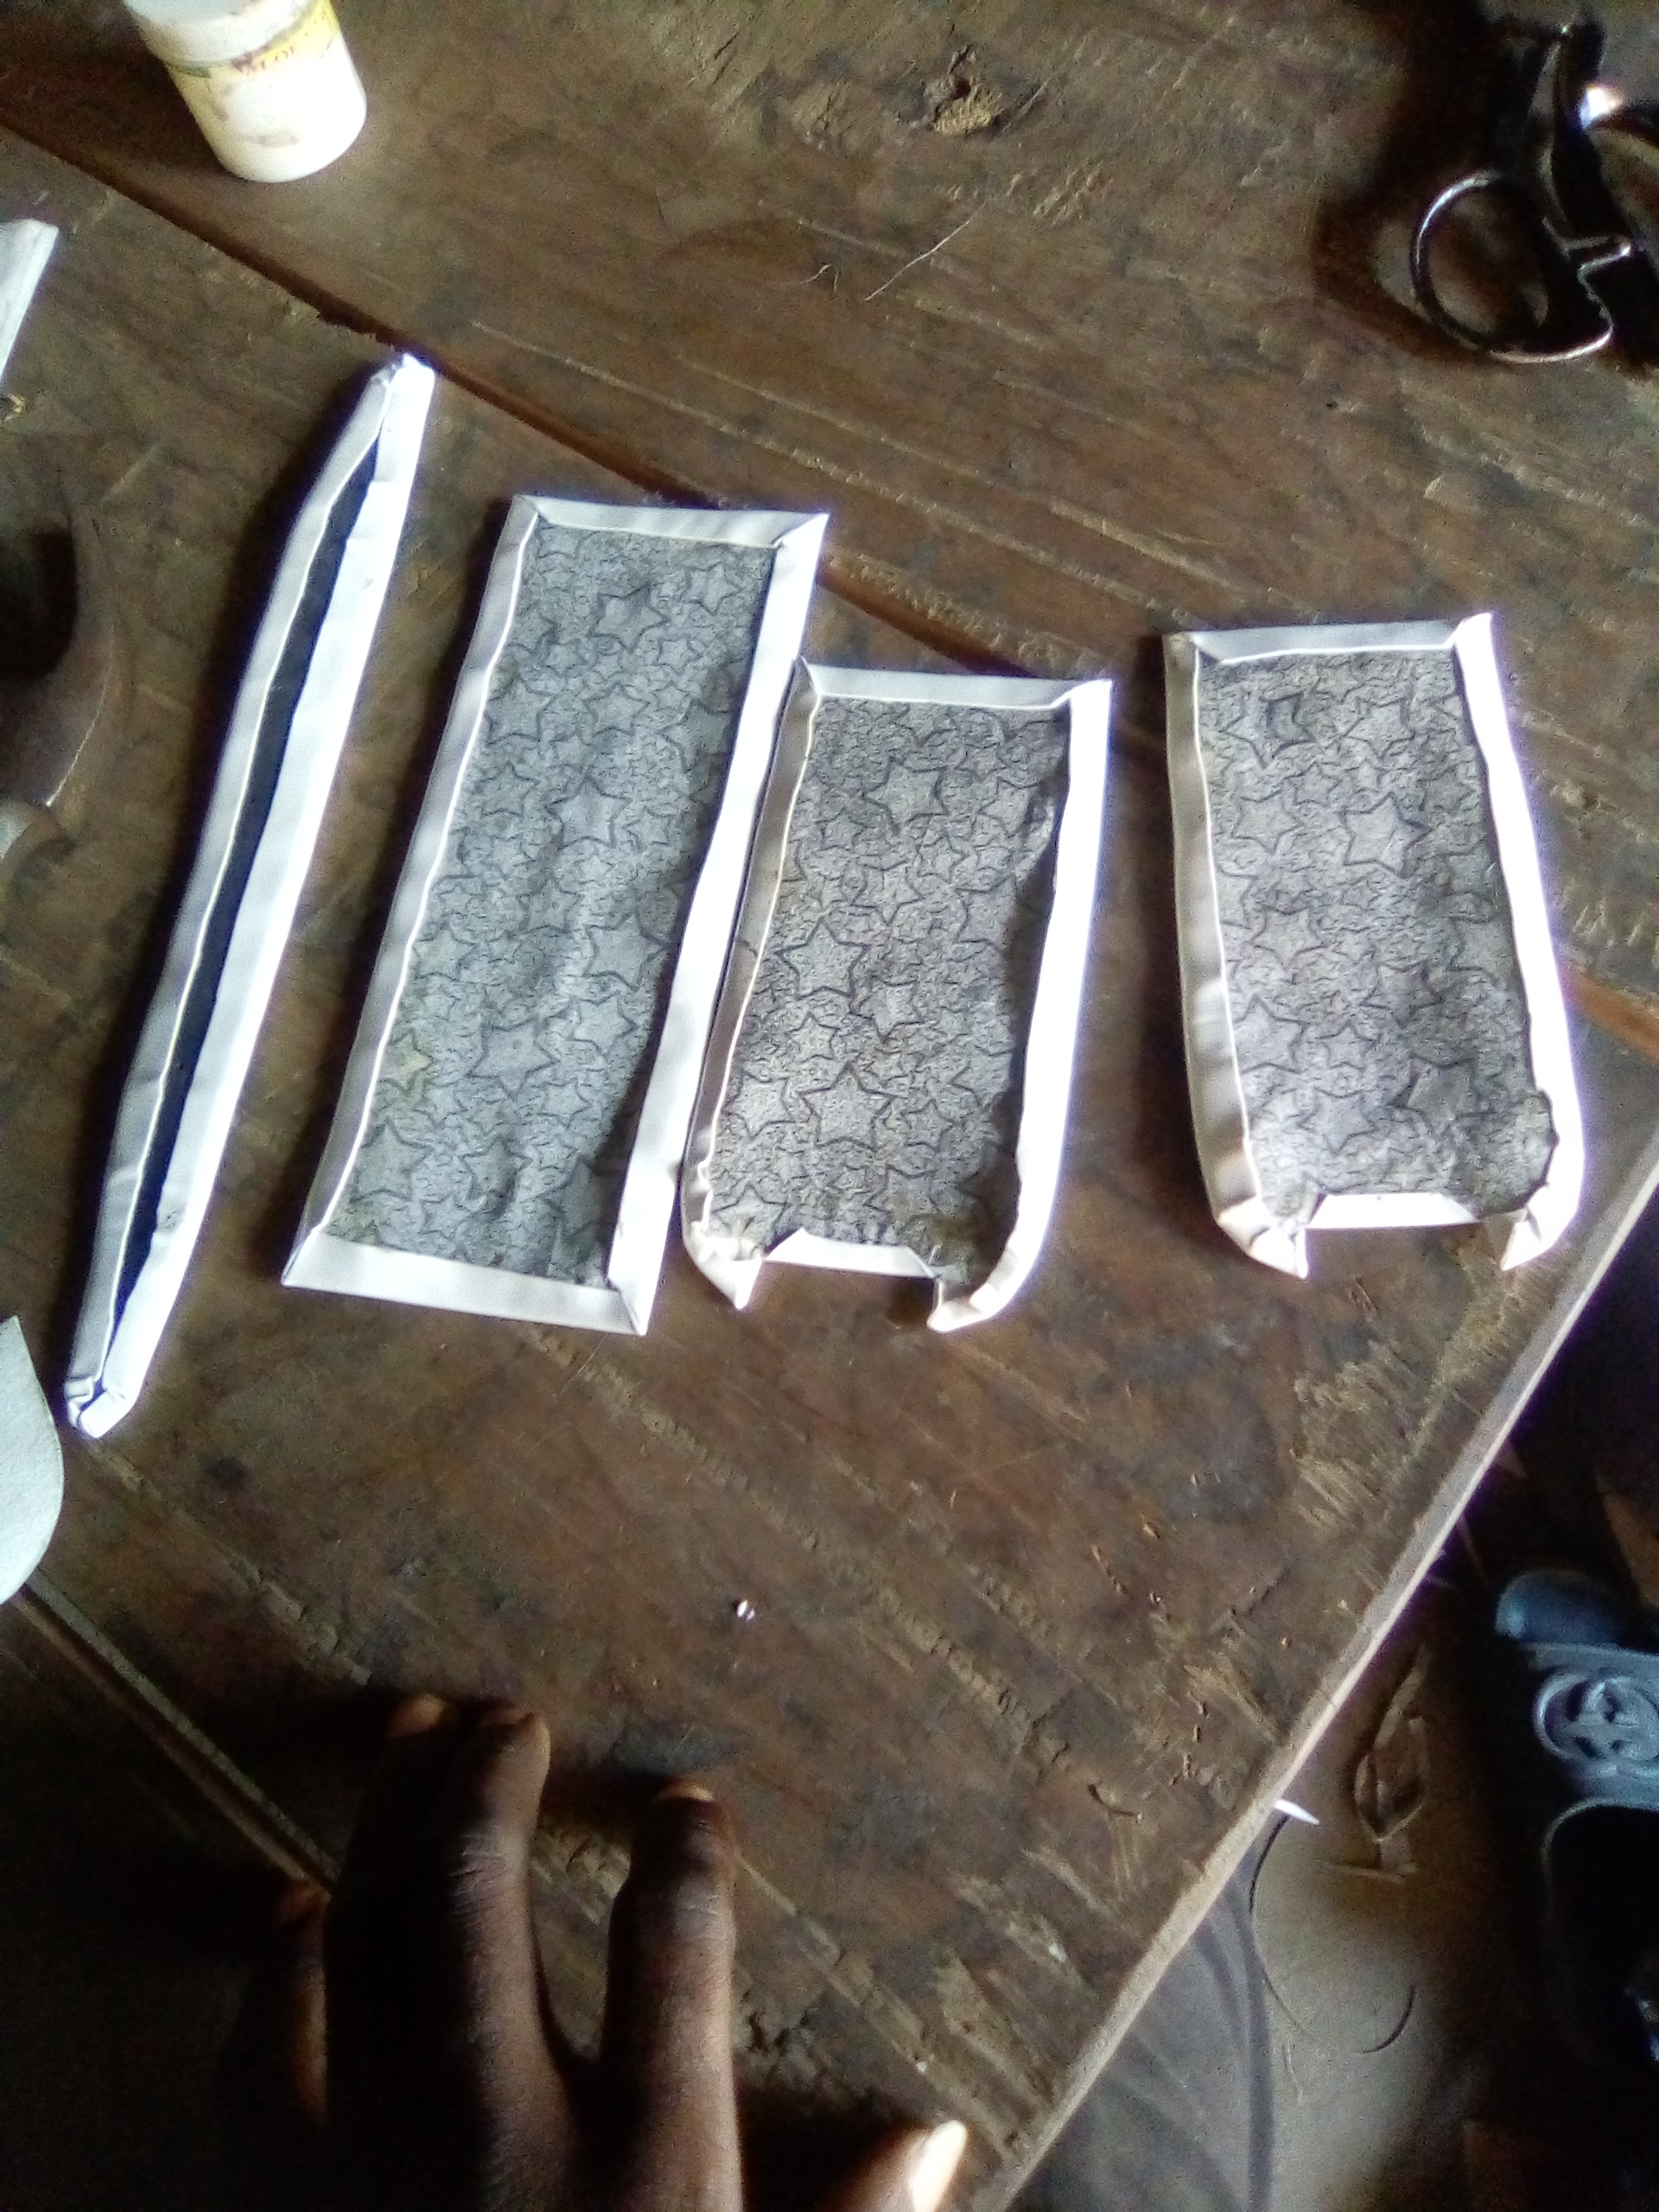
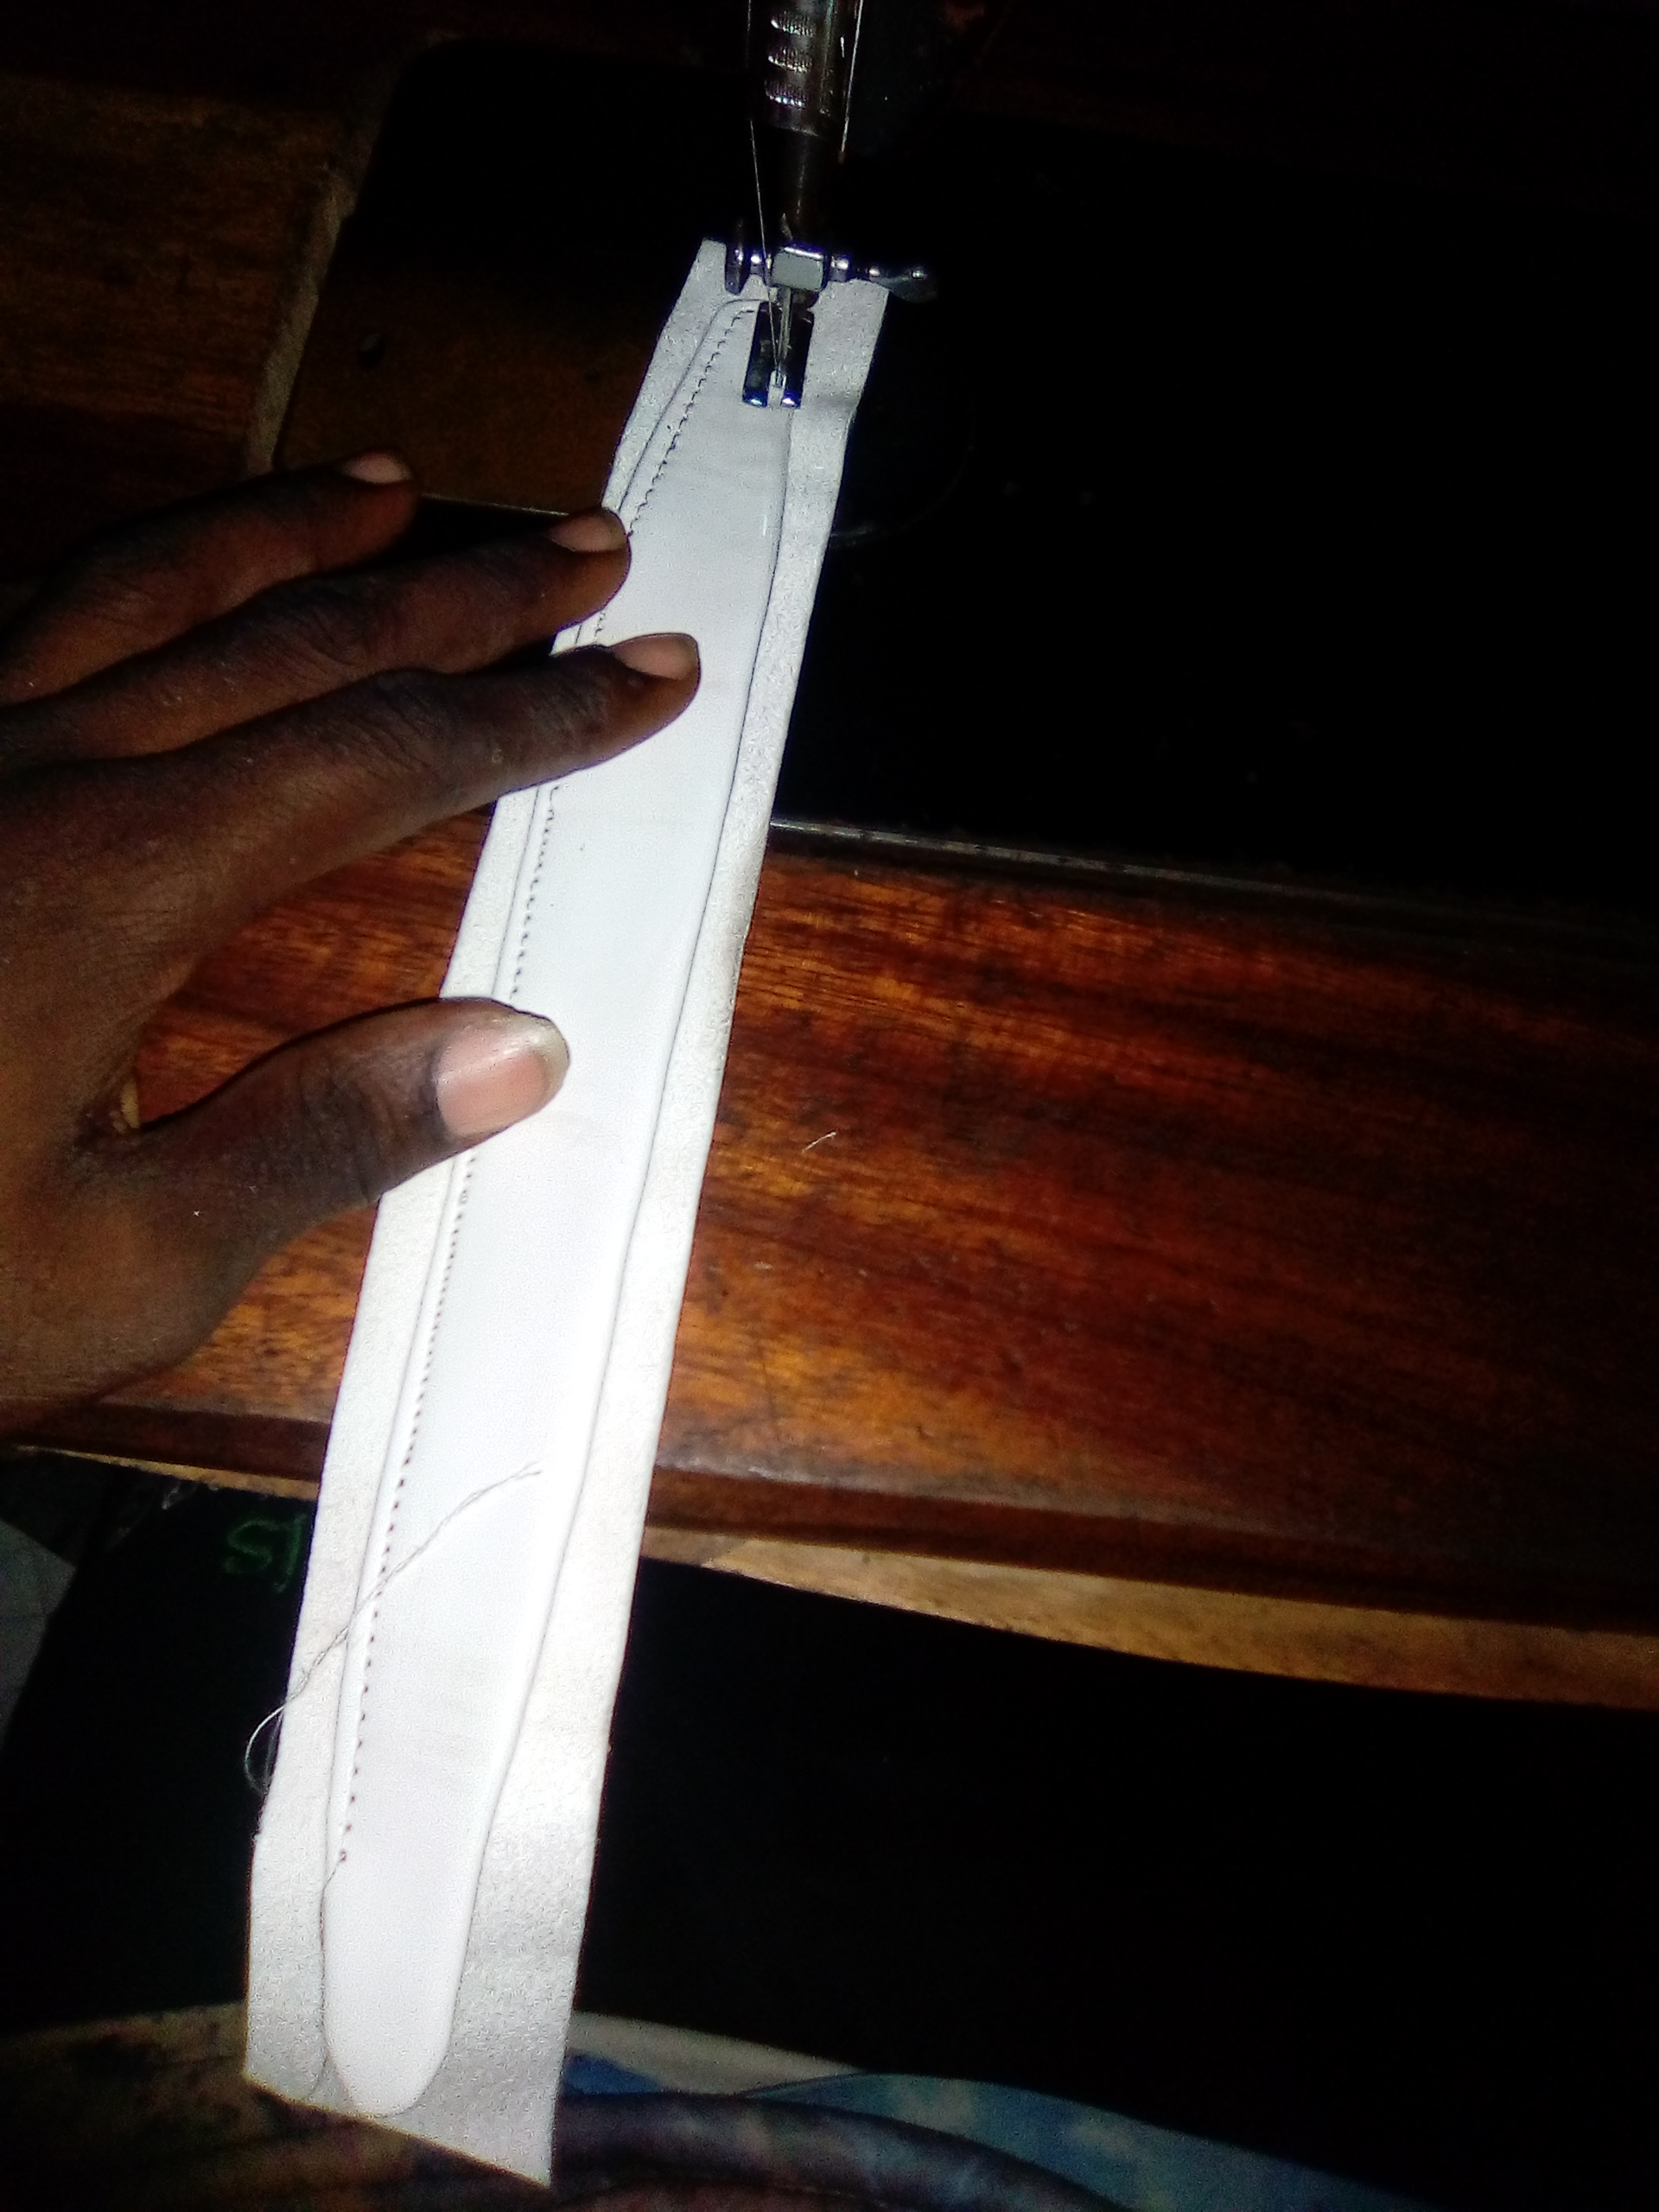
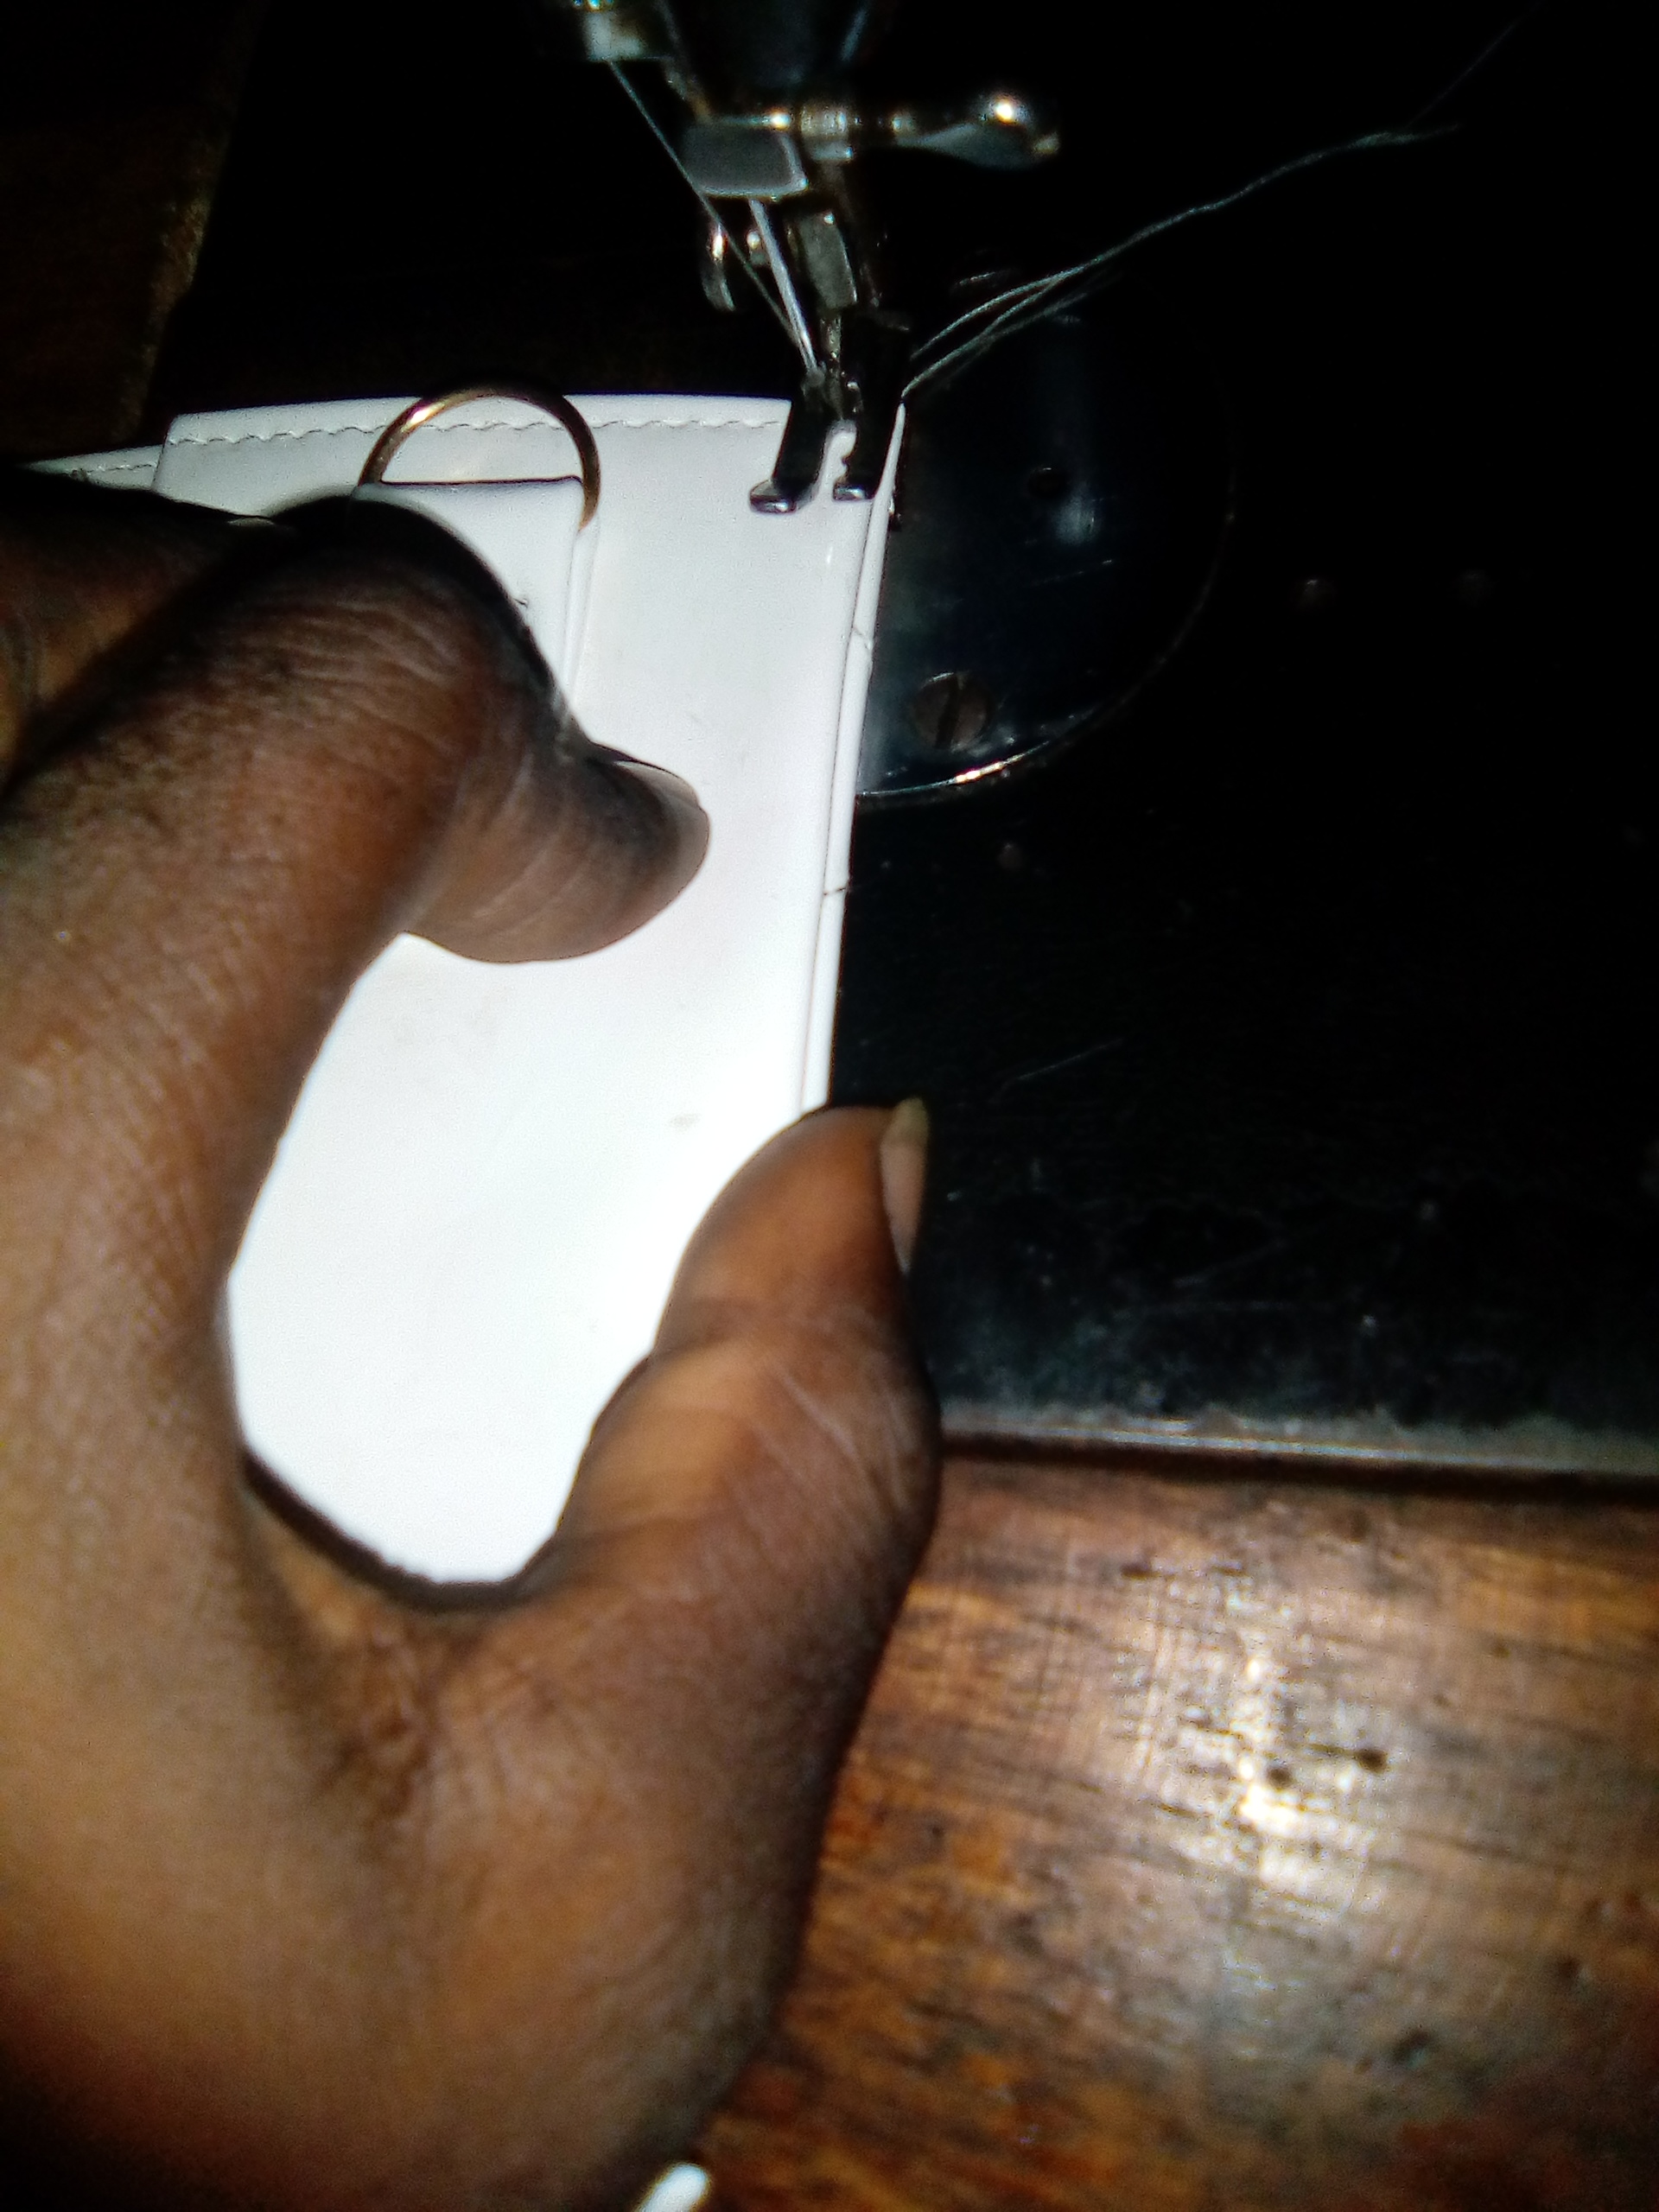
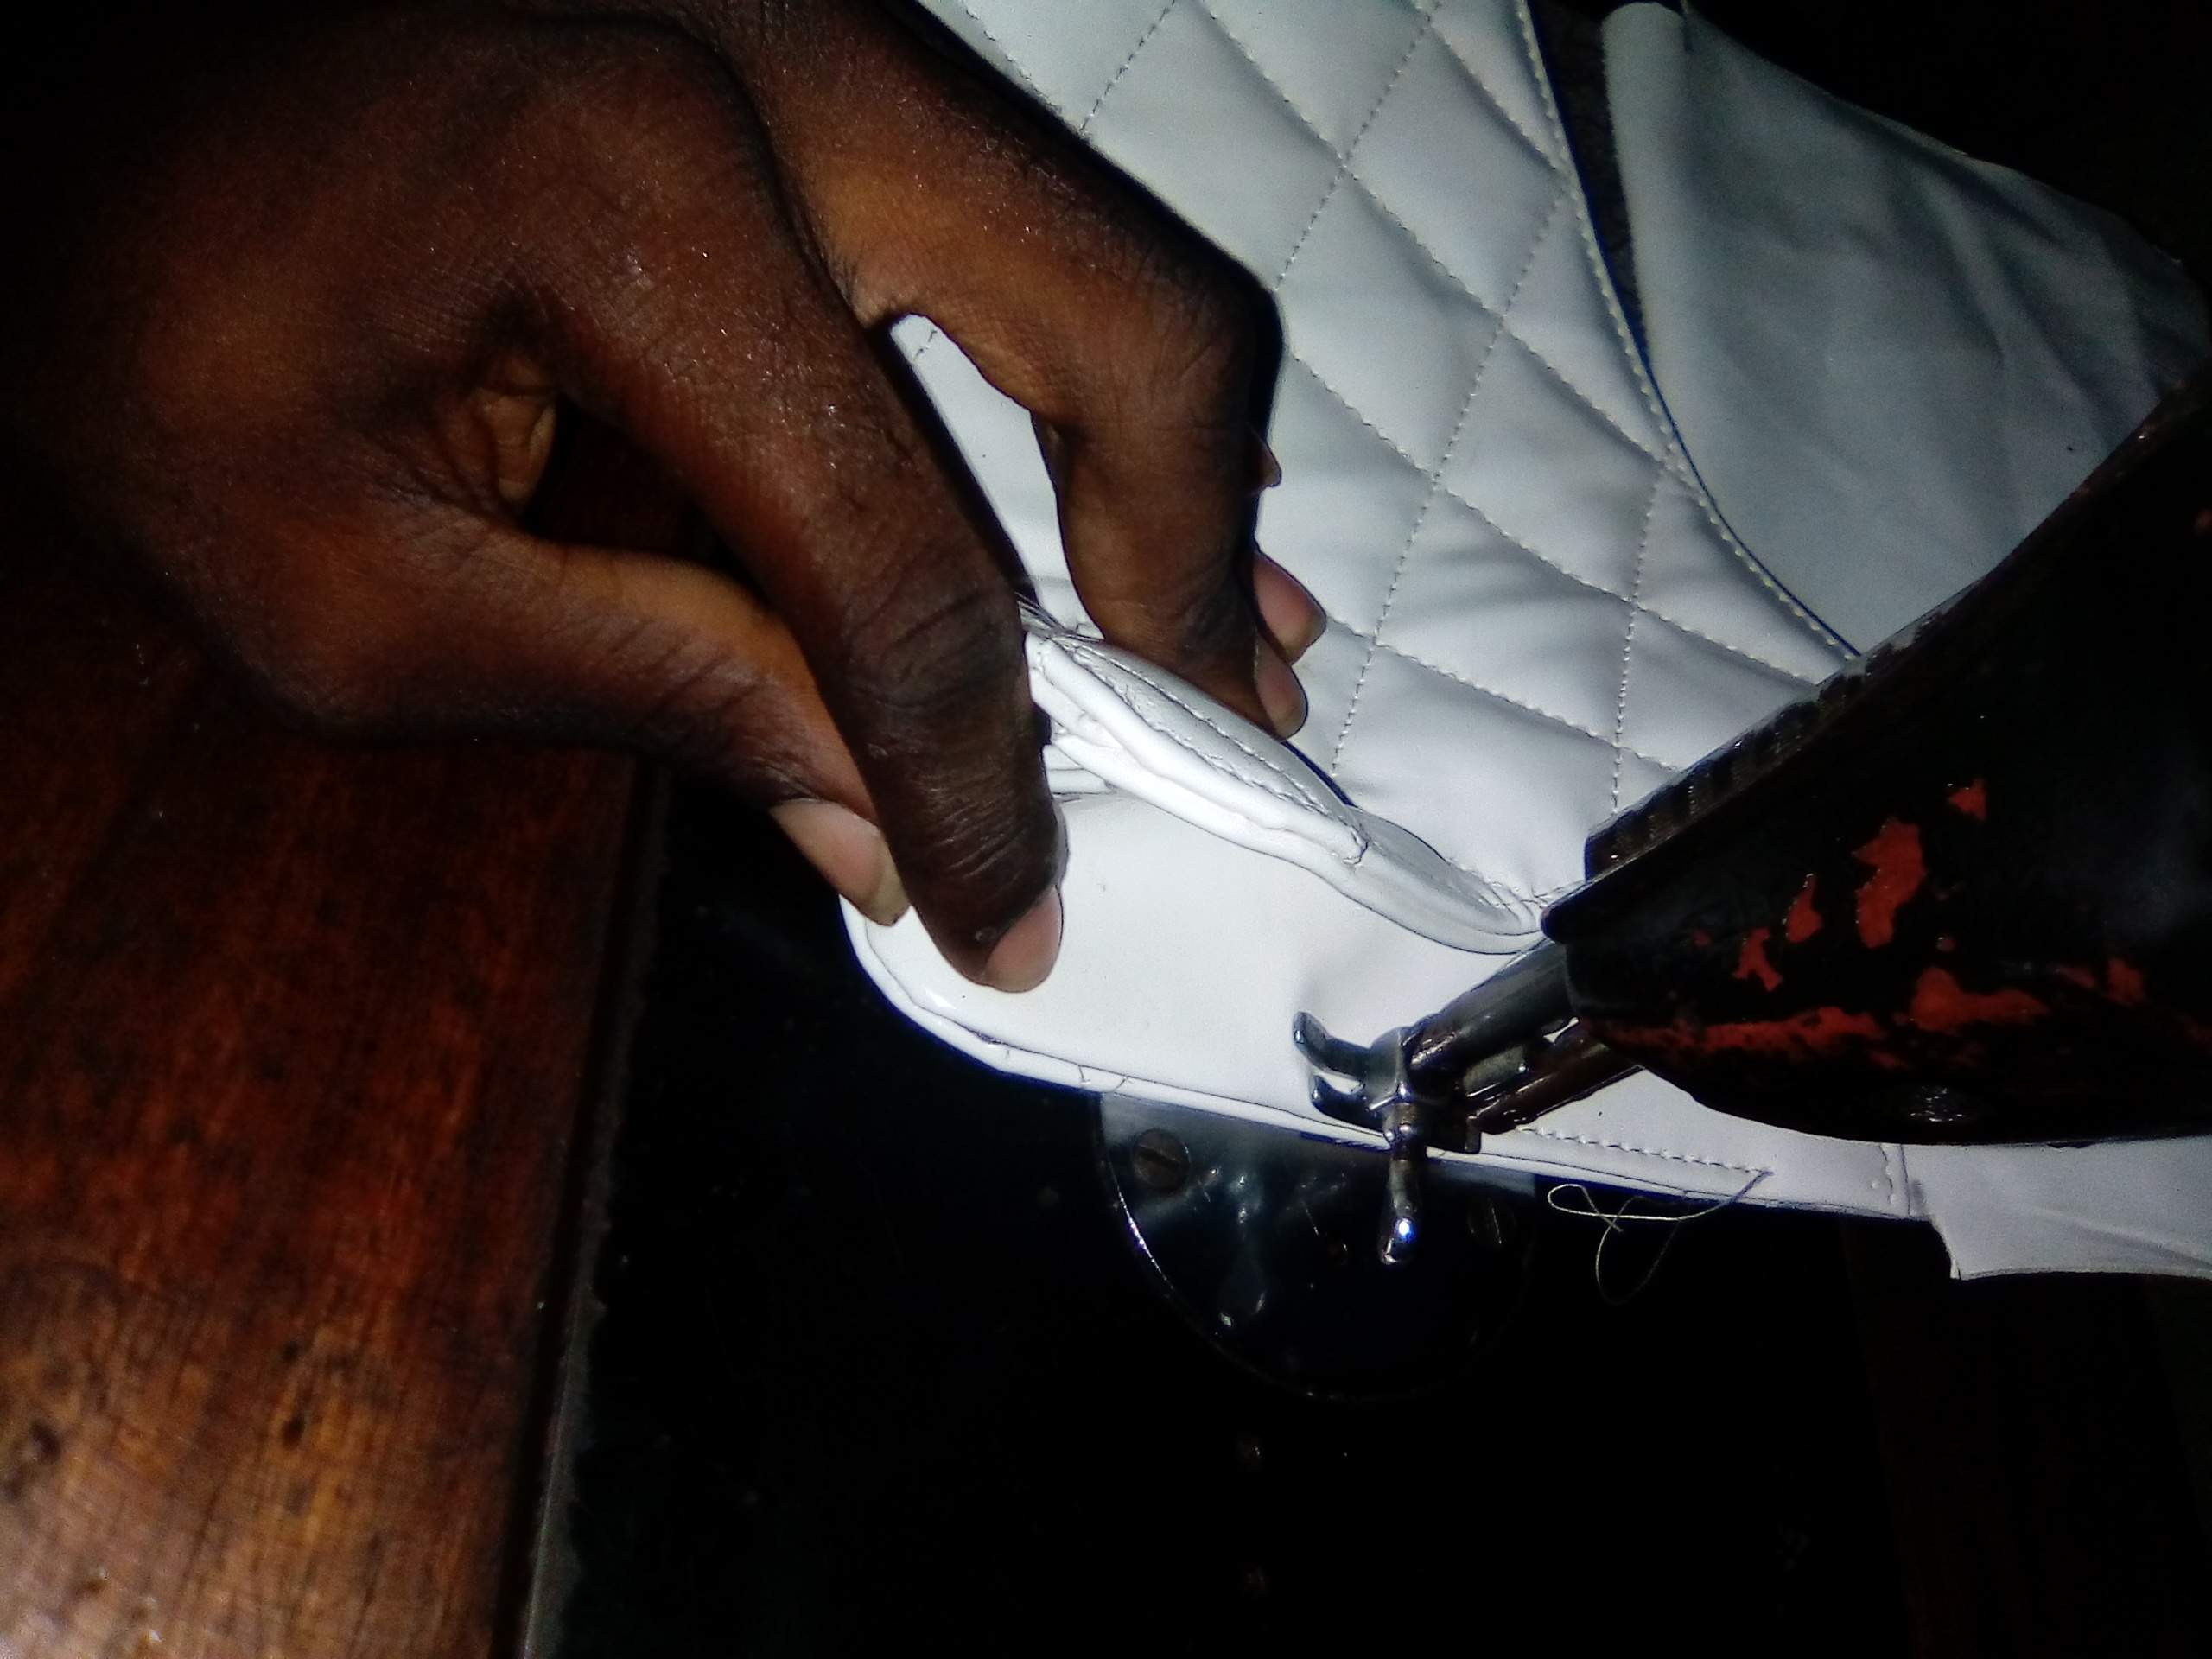
I applied gum to the excess parts and then used my sewing machine to add some designs to the bag so that it would look nice since the material is plain.
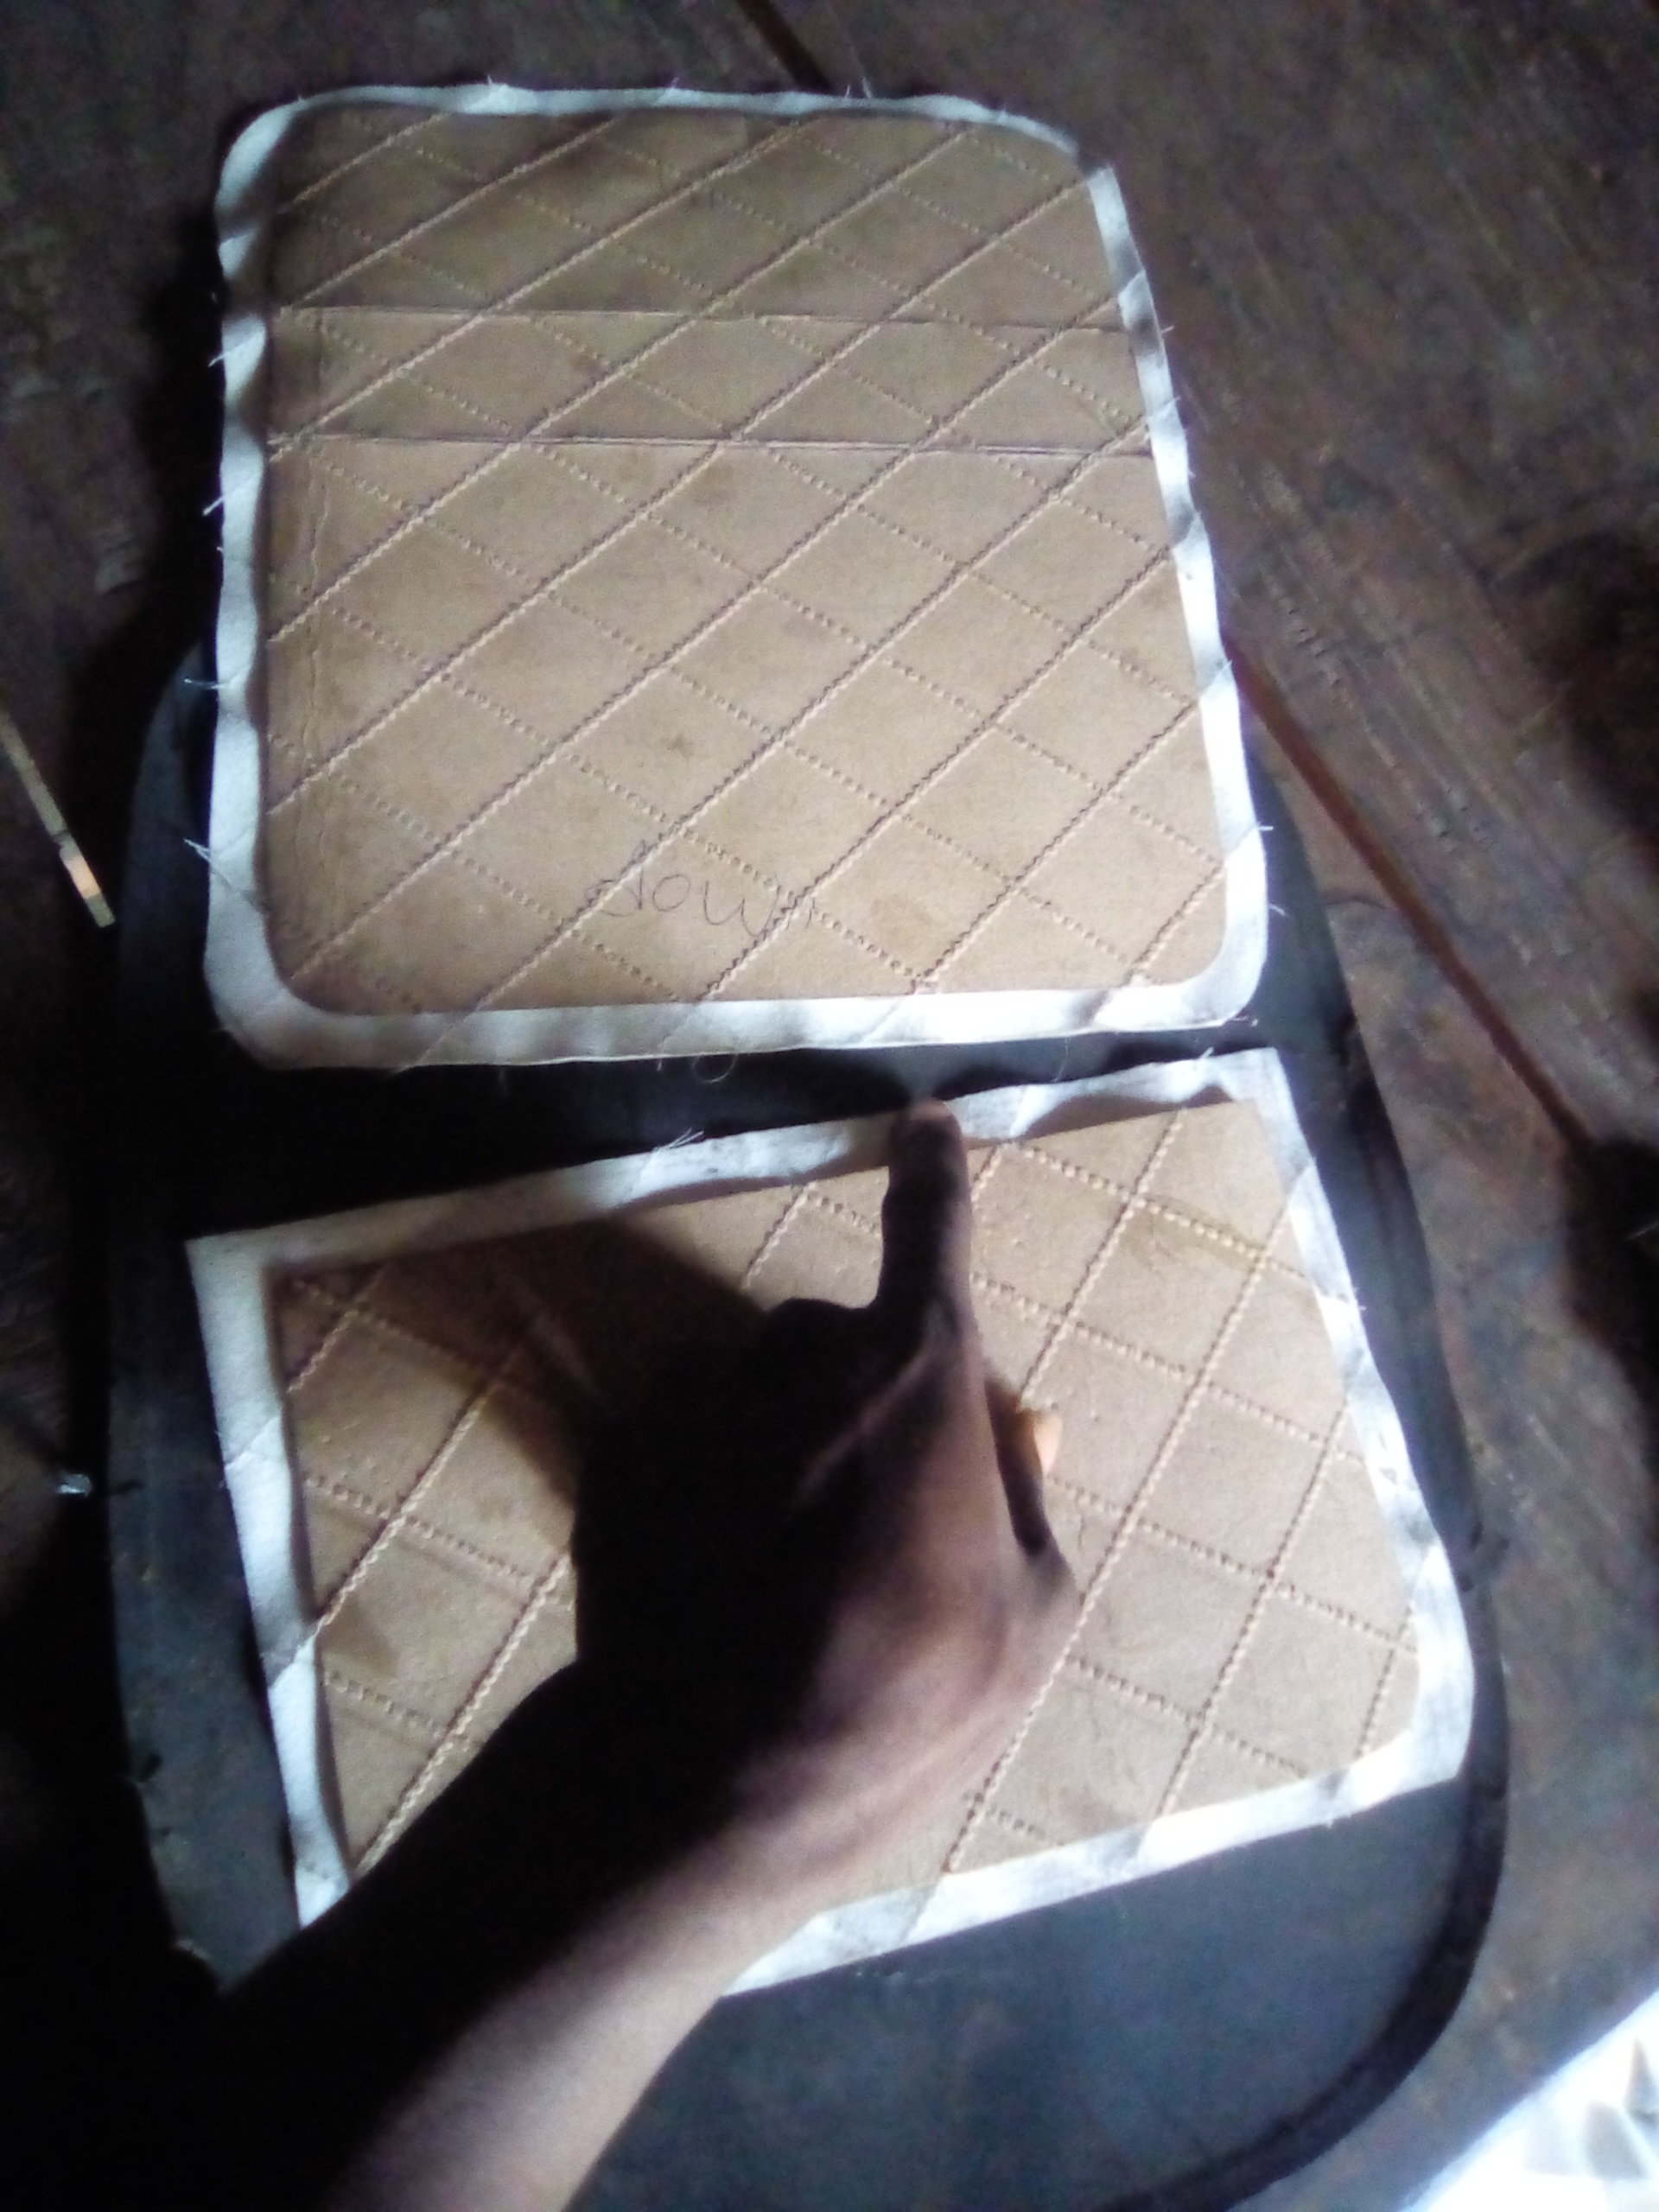
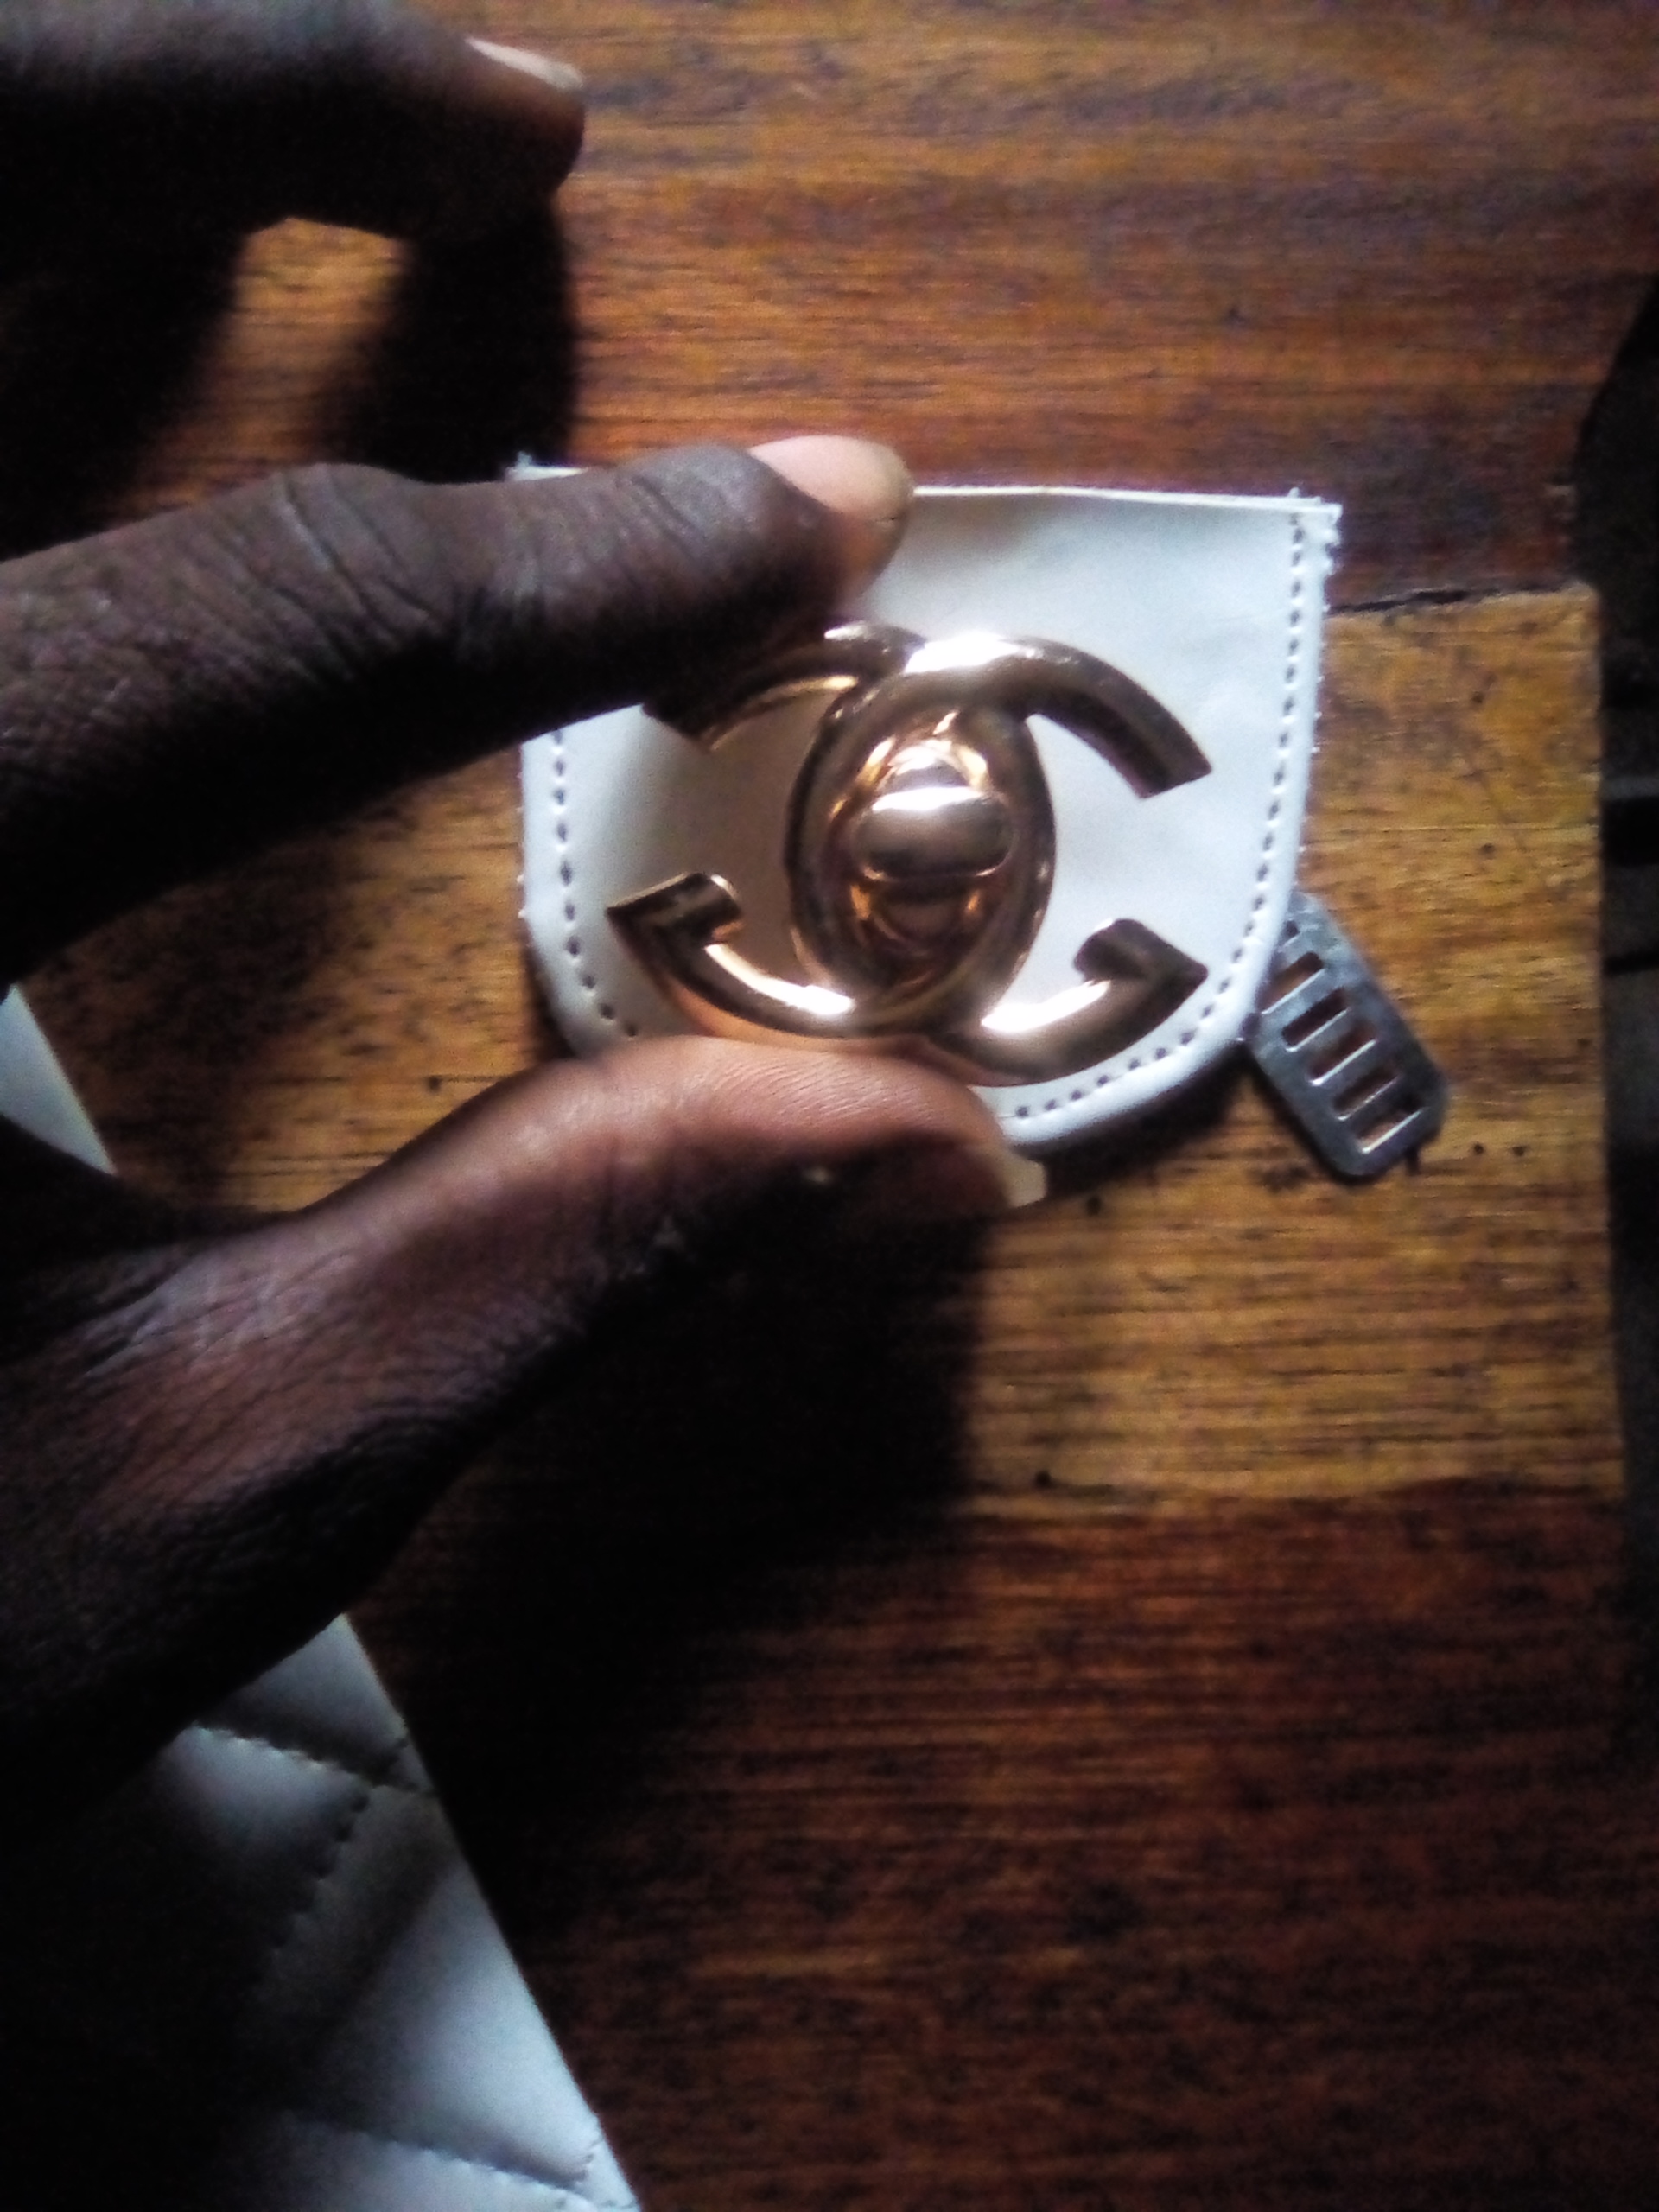
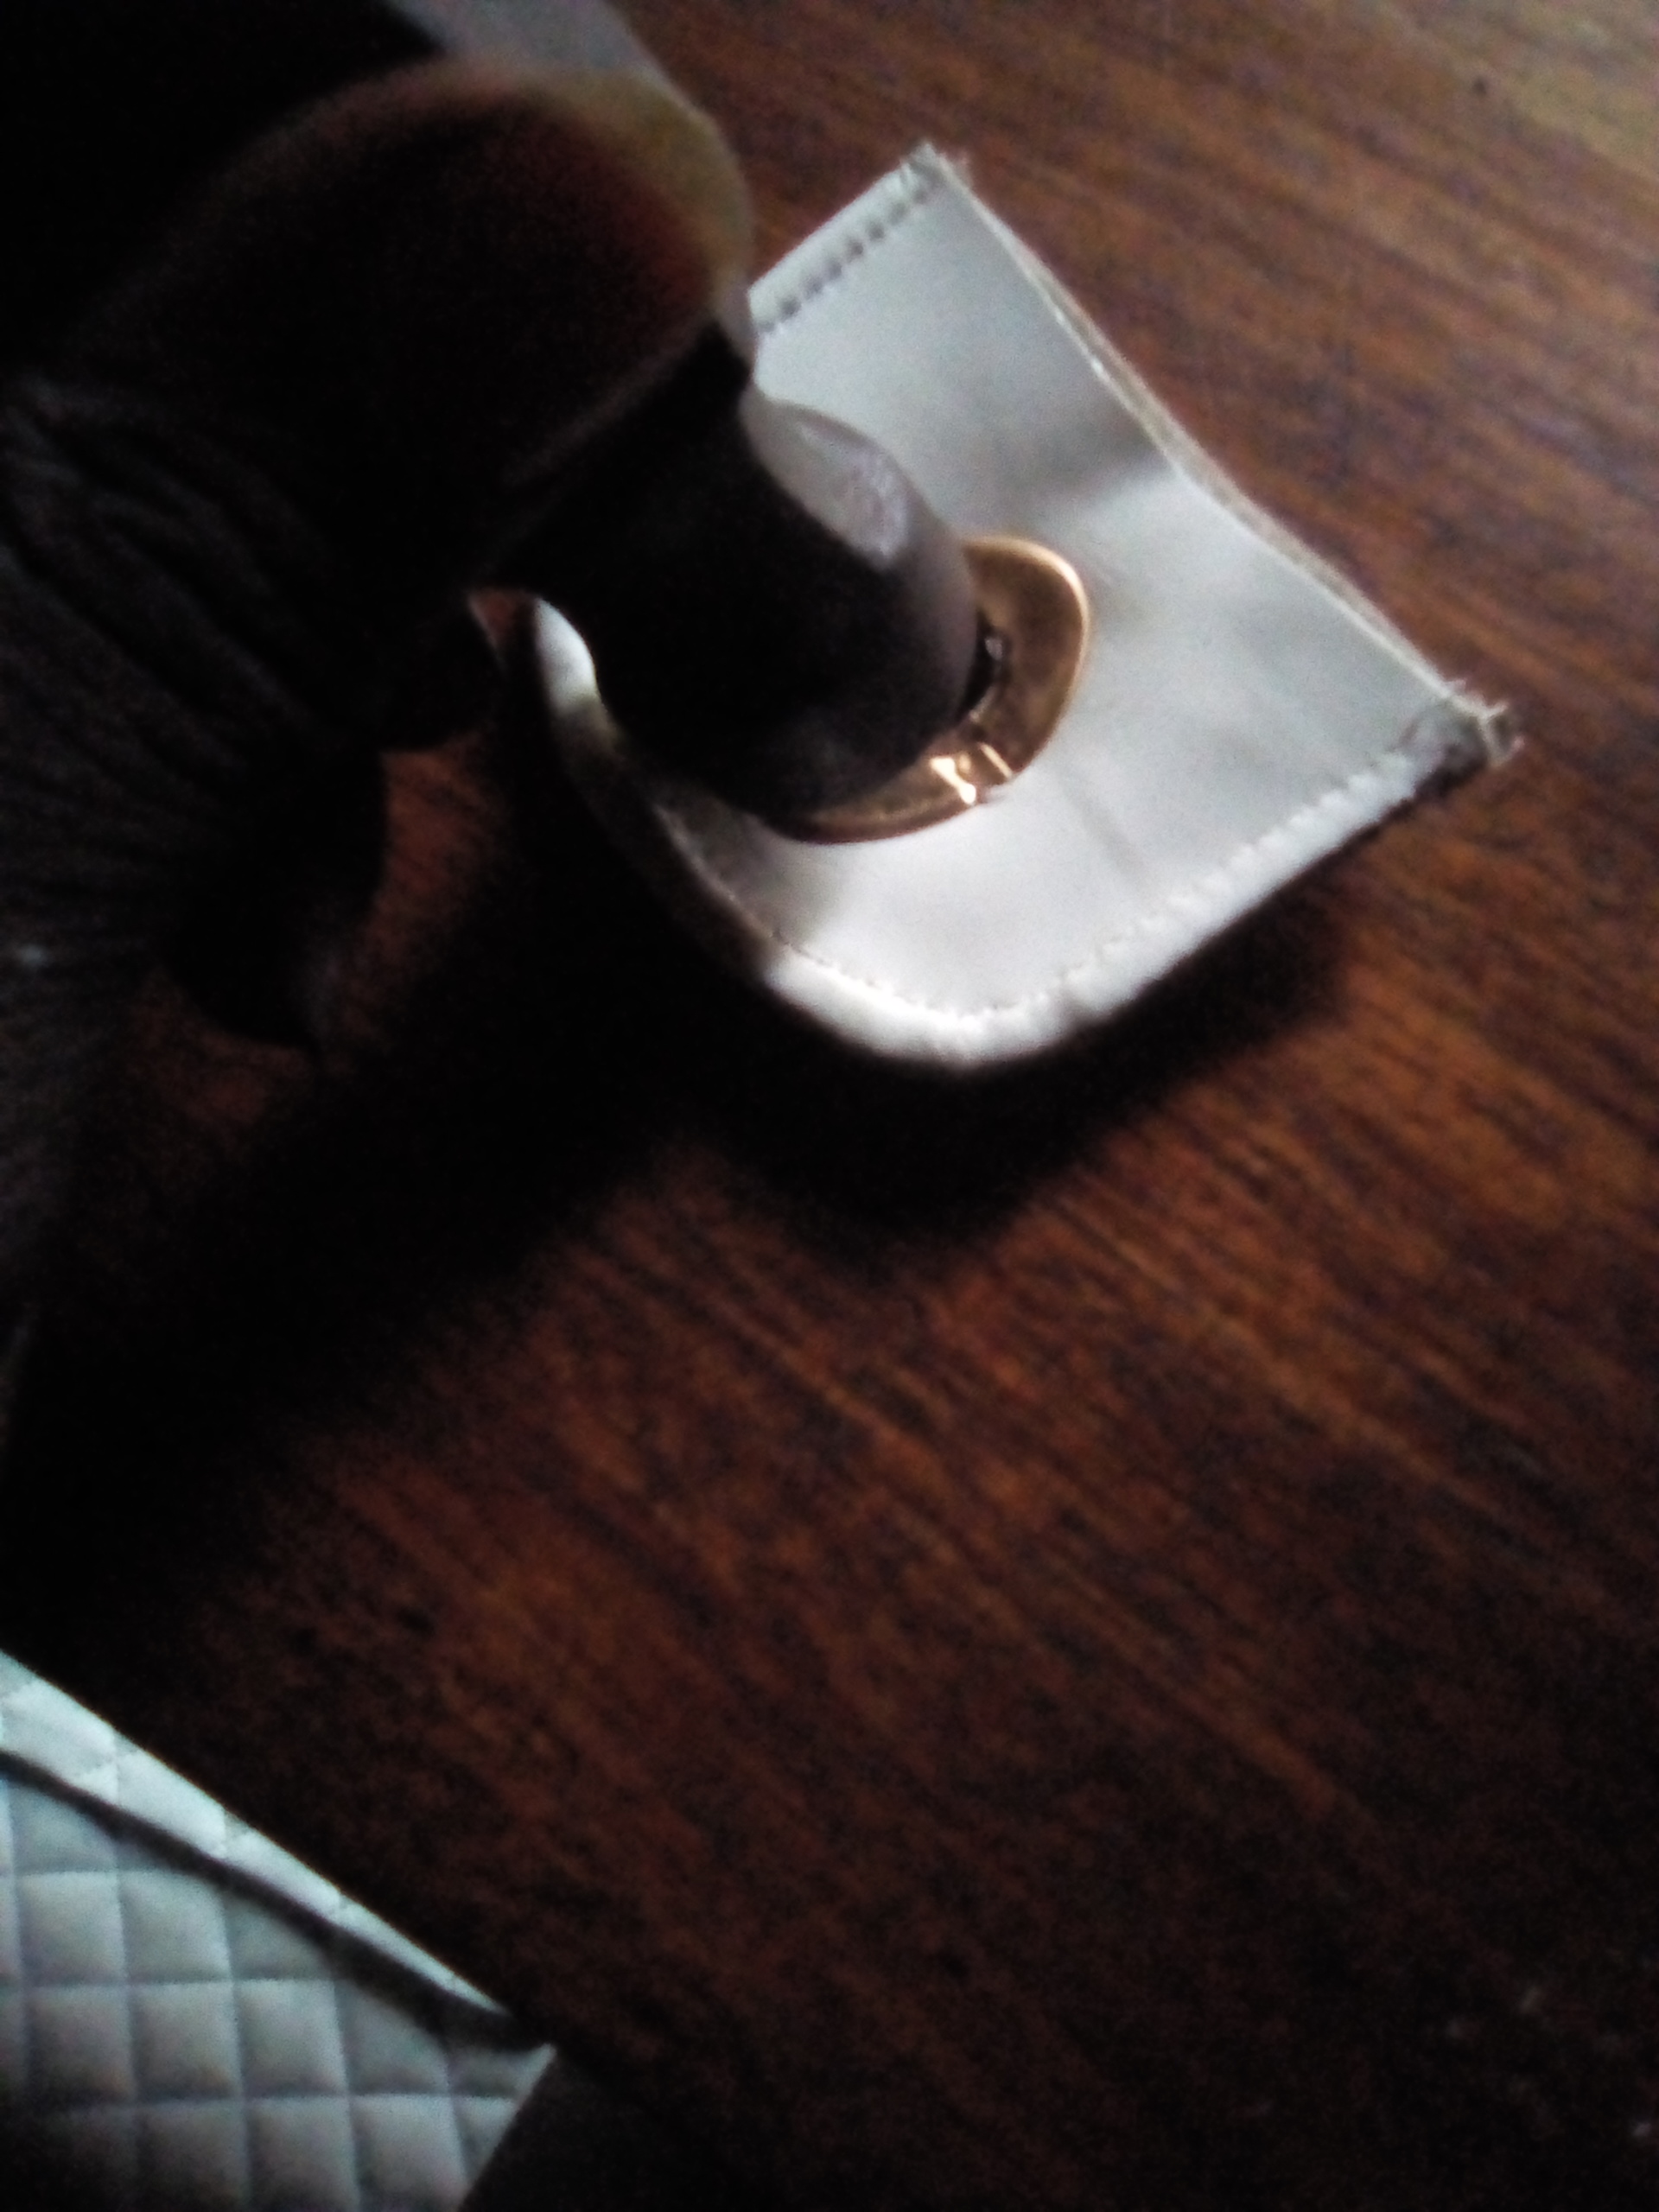
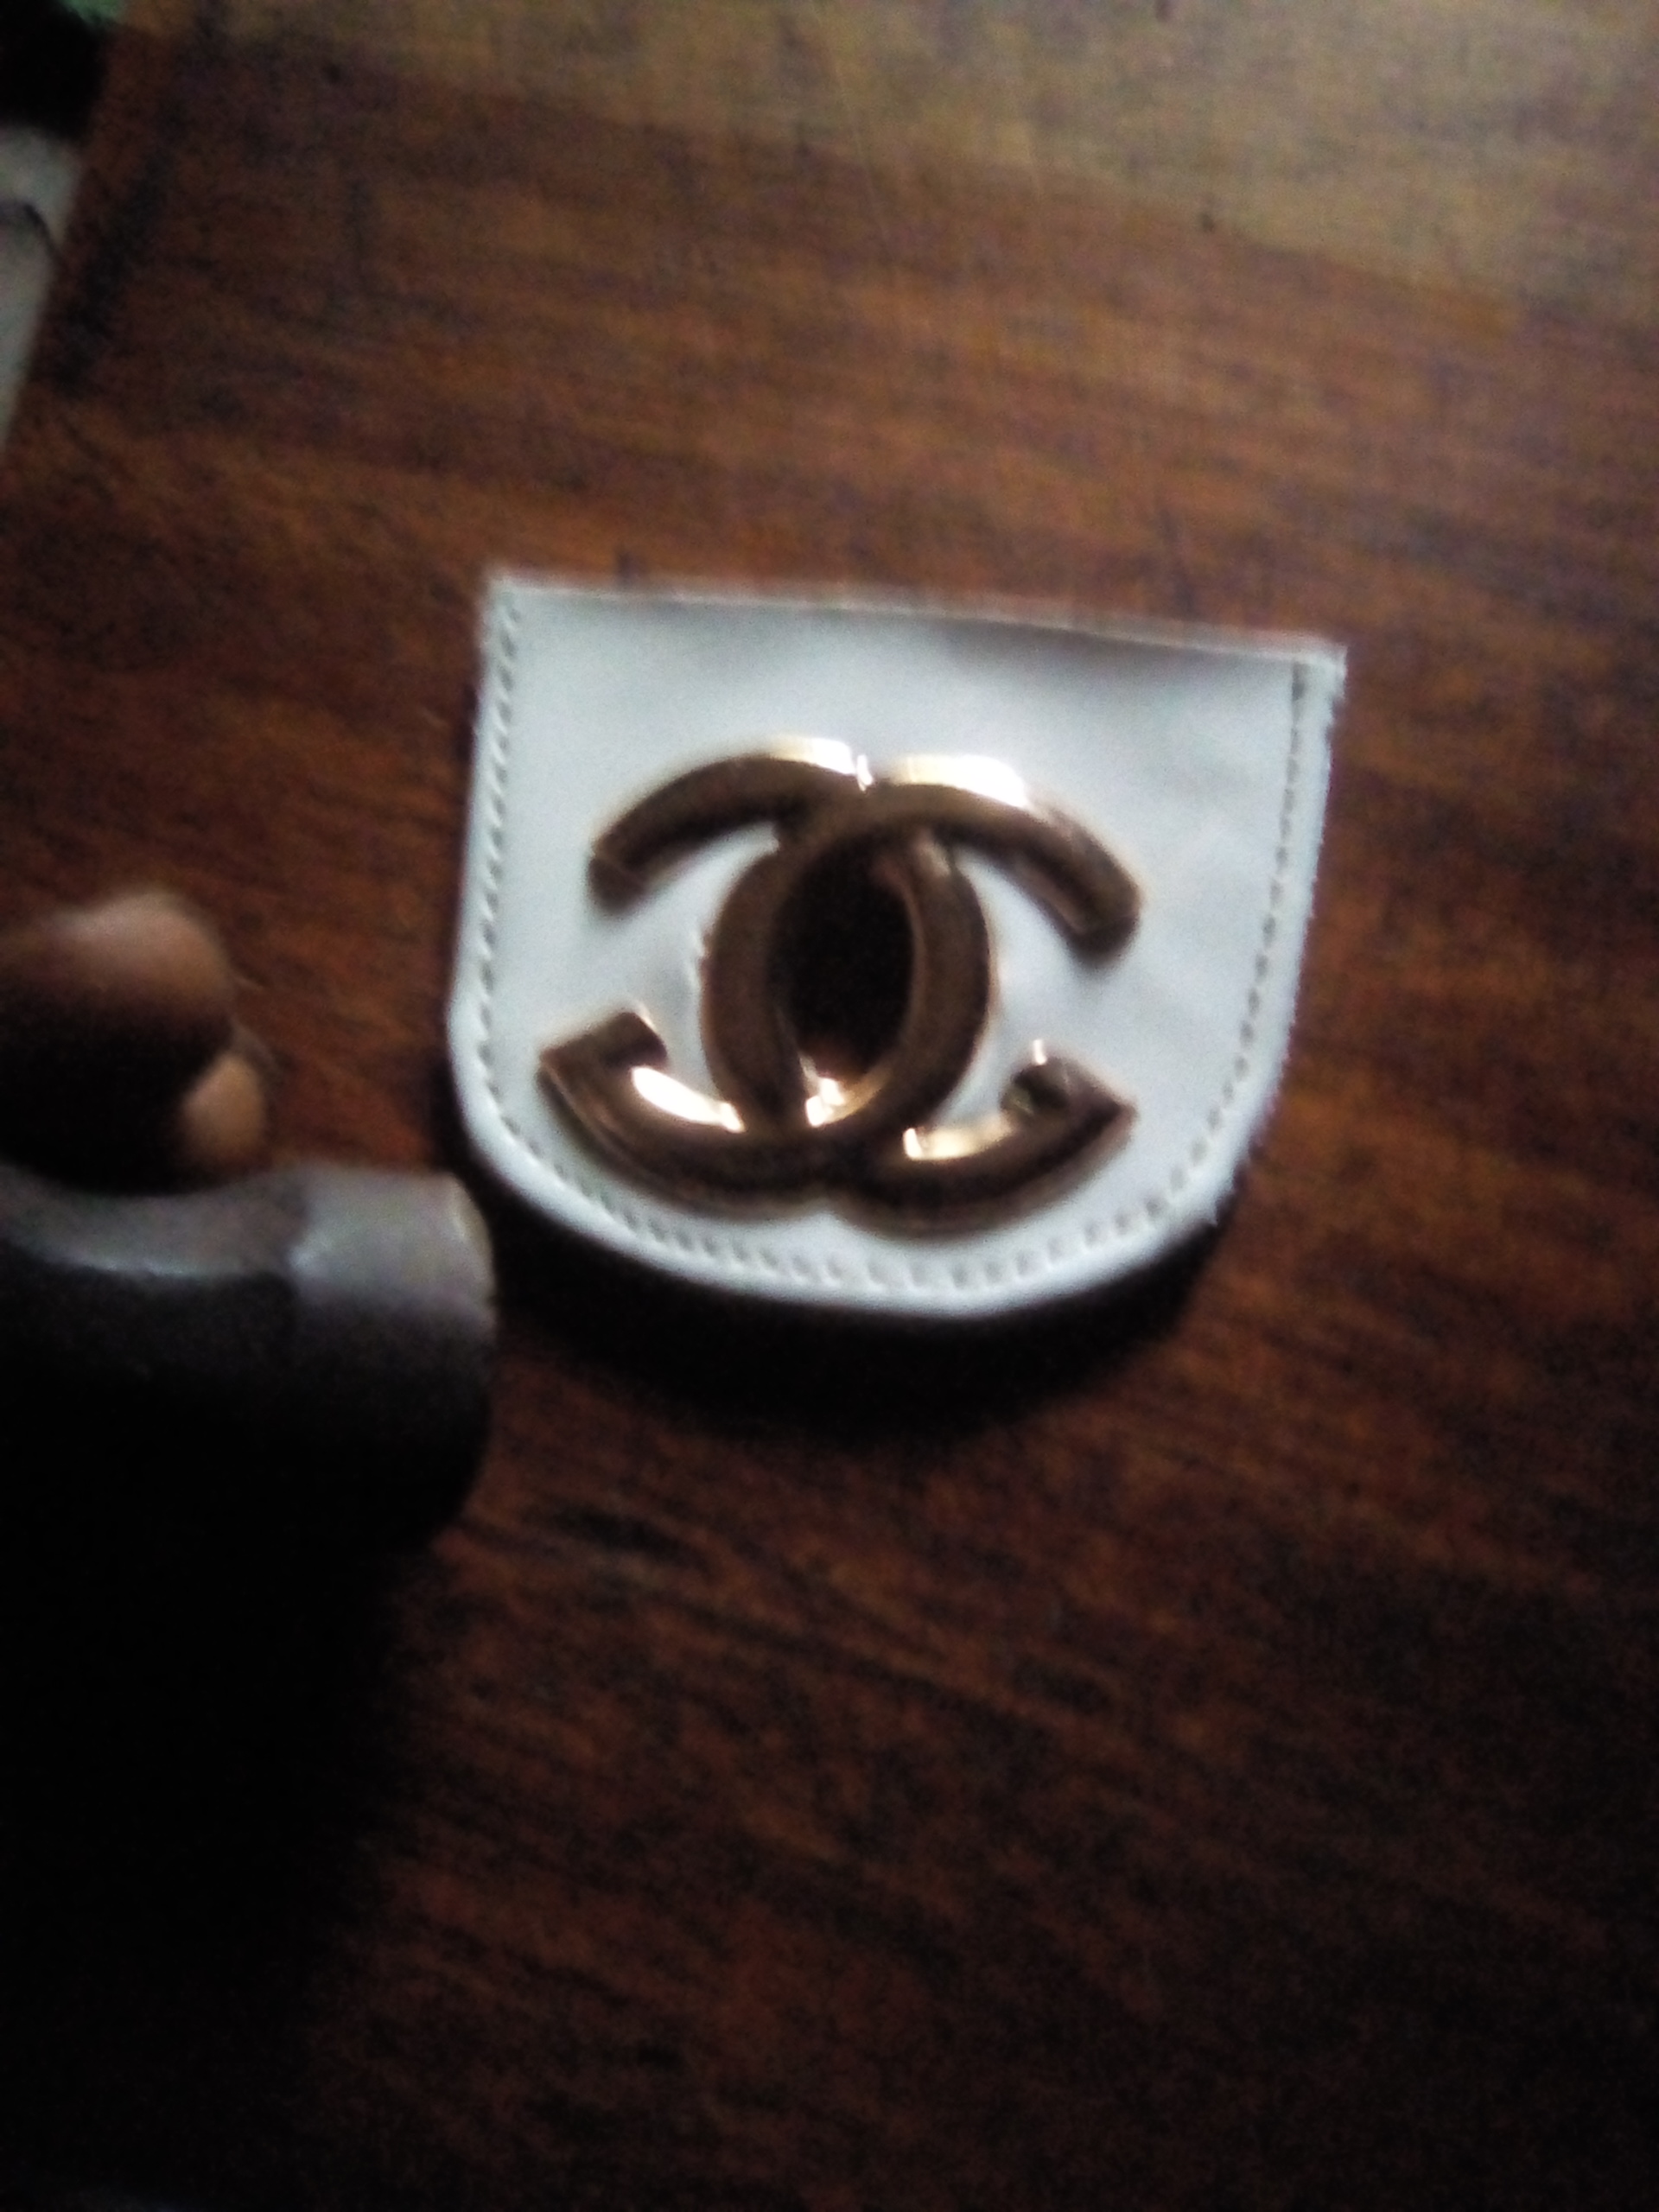
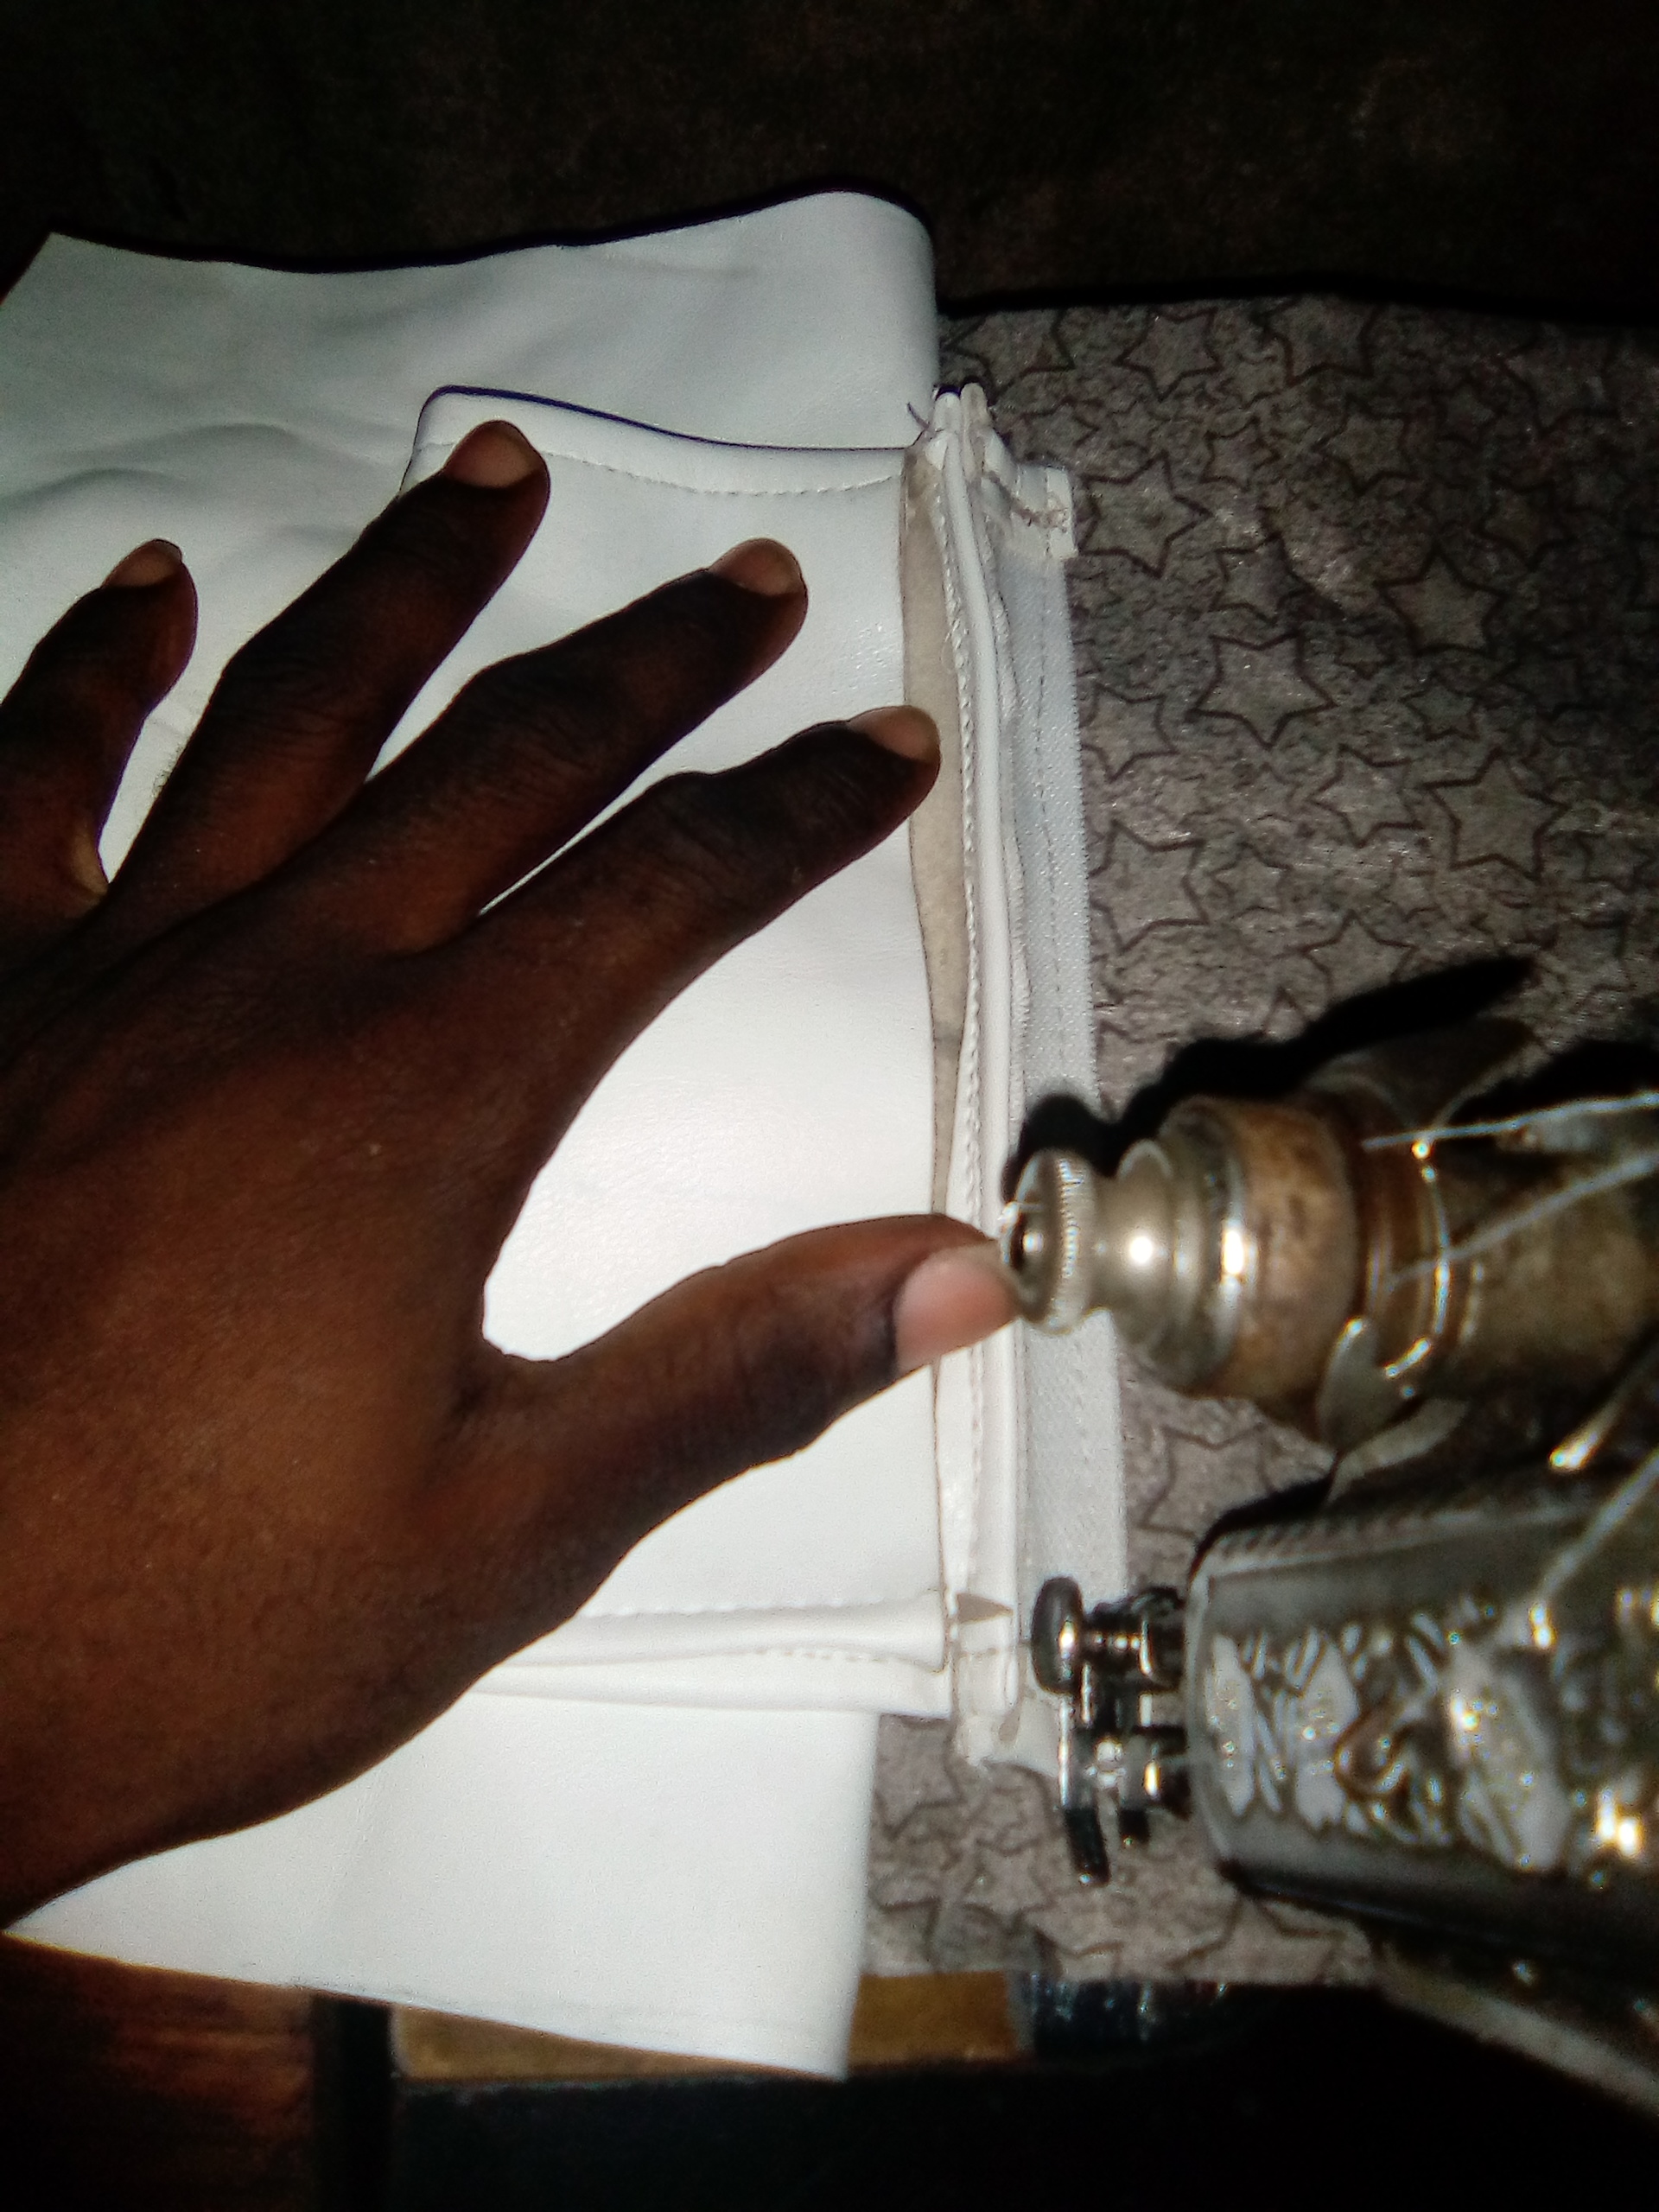
After that, I applied glue to the excess parts.And folded it round. After that, I brought the channel key and placed it on the U-shaped closure of the bag, which I had already sewn and marked the point I was going to open in order to insert the key. Then I inserted the key.
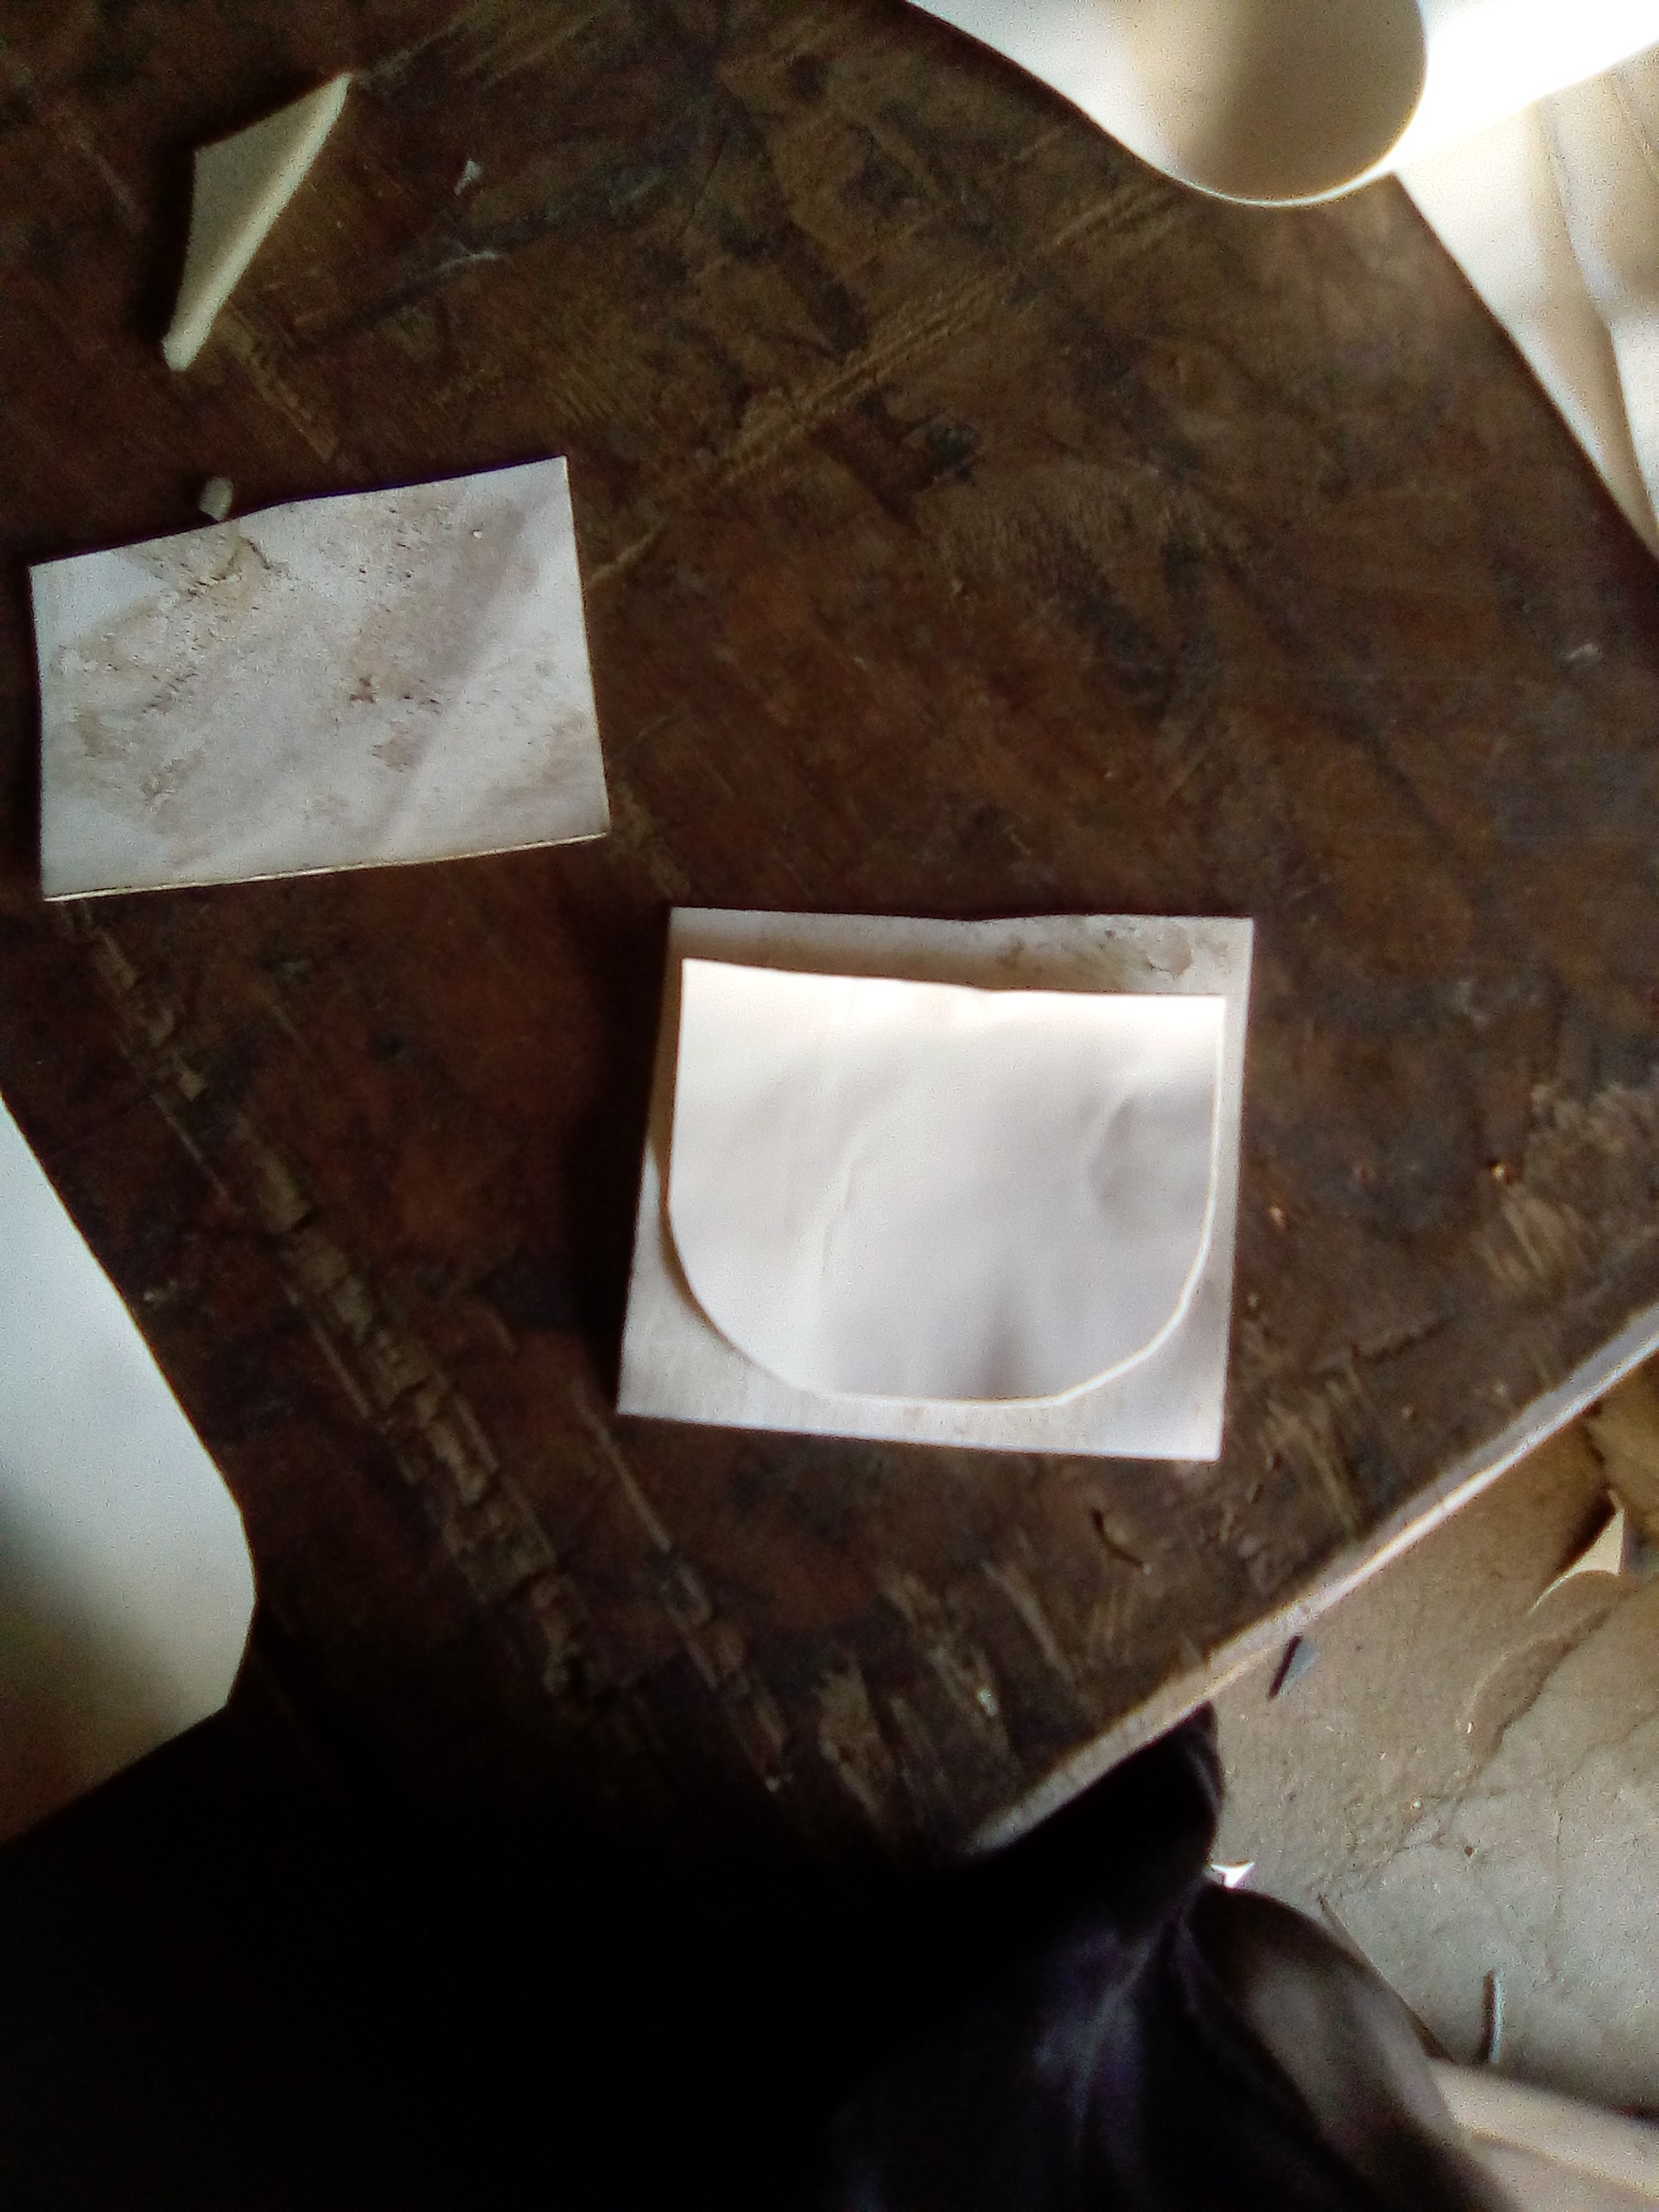

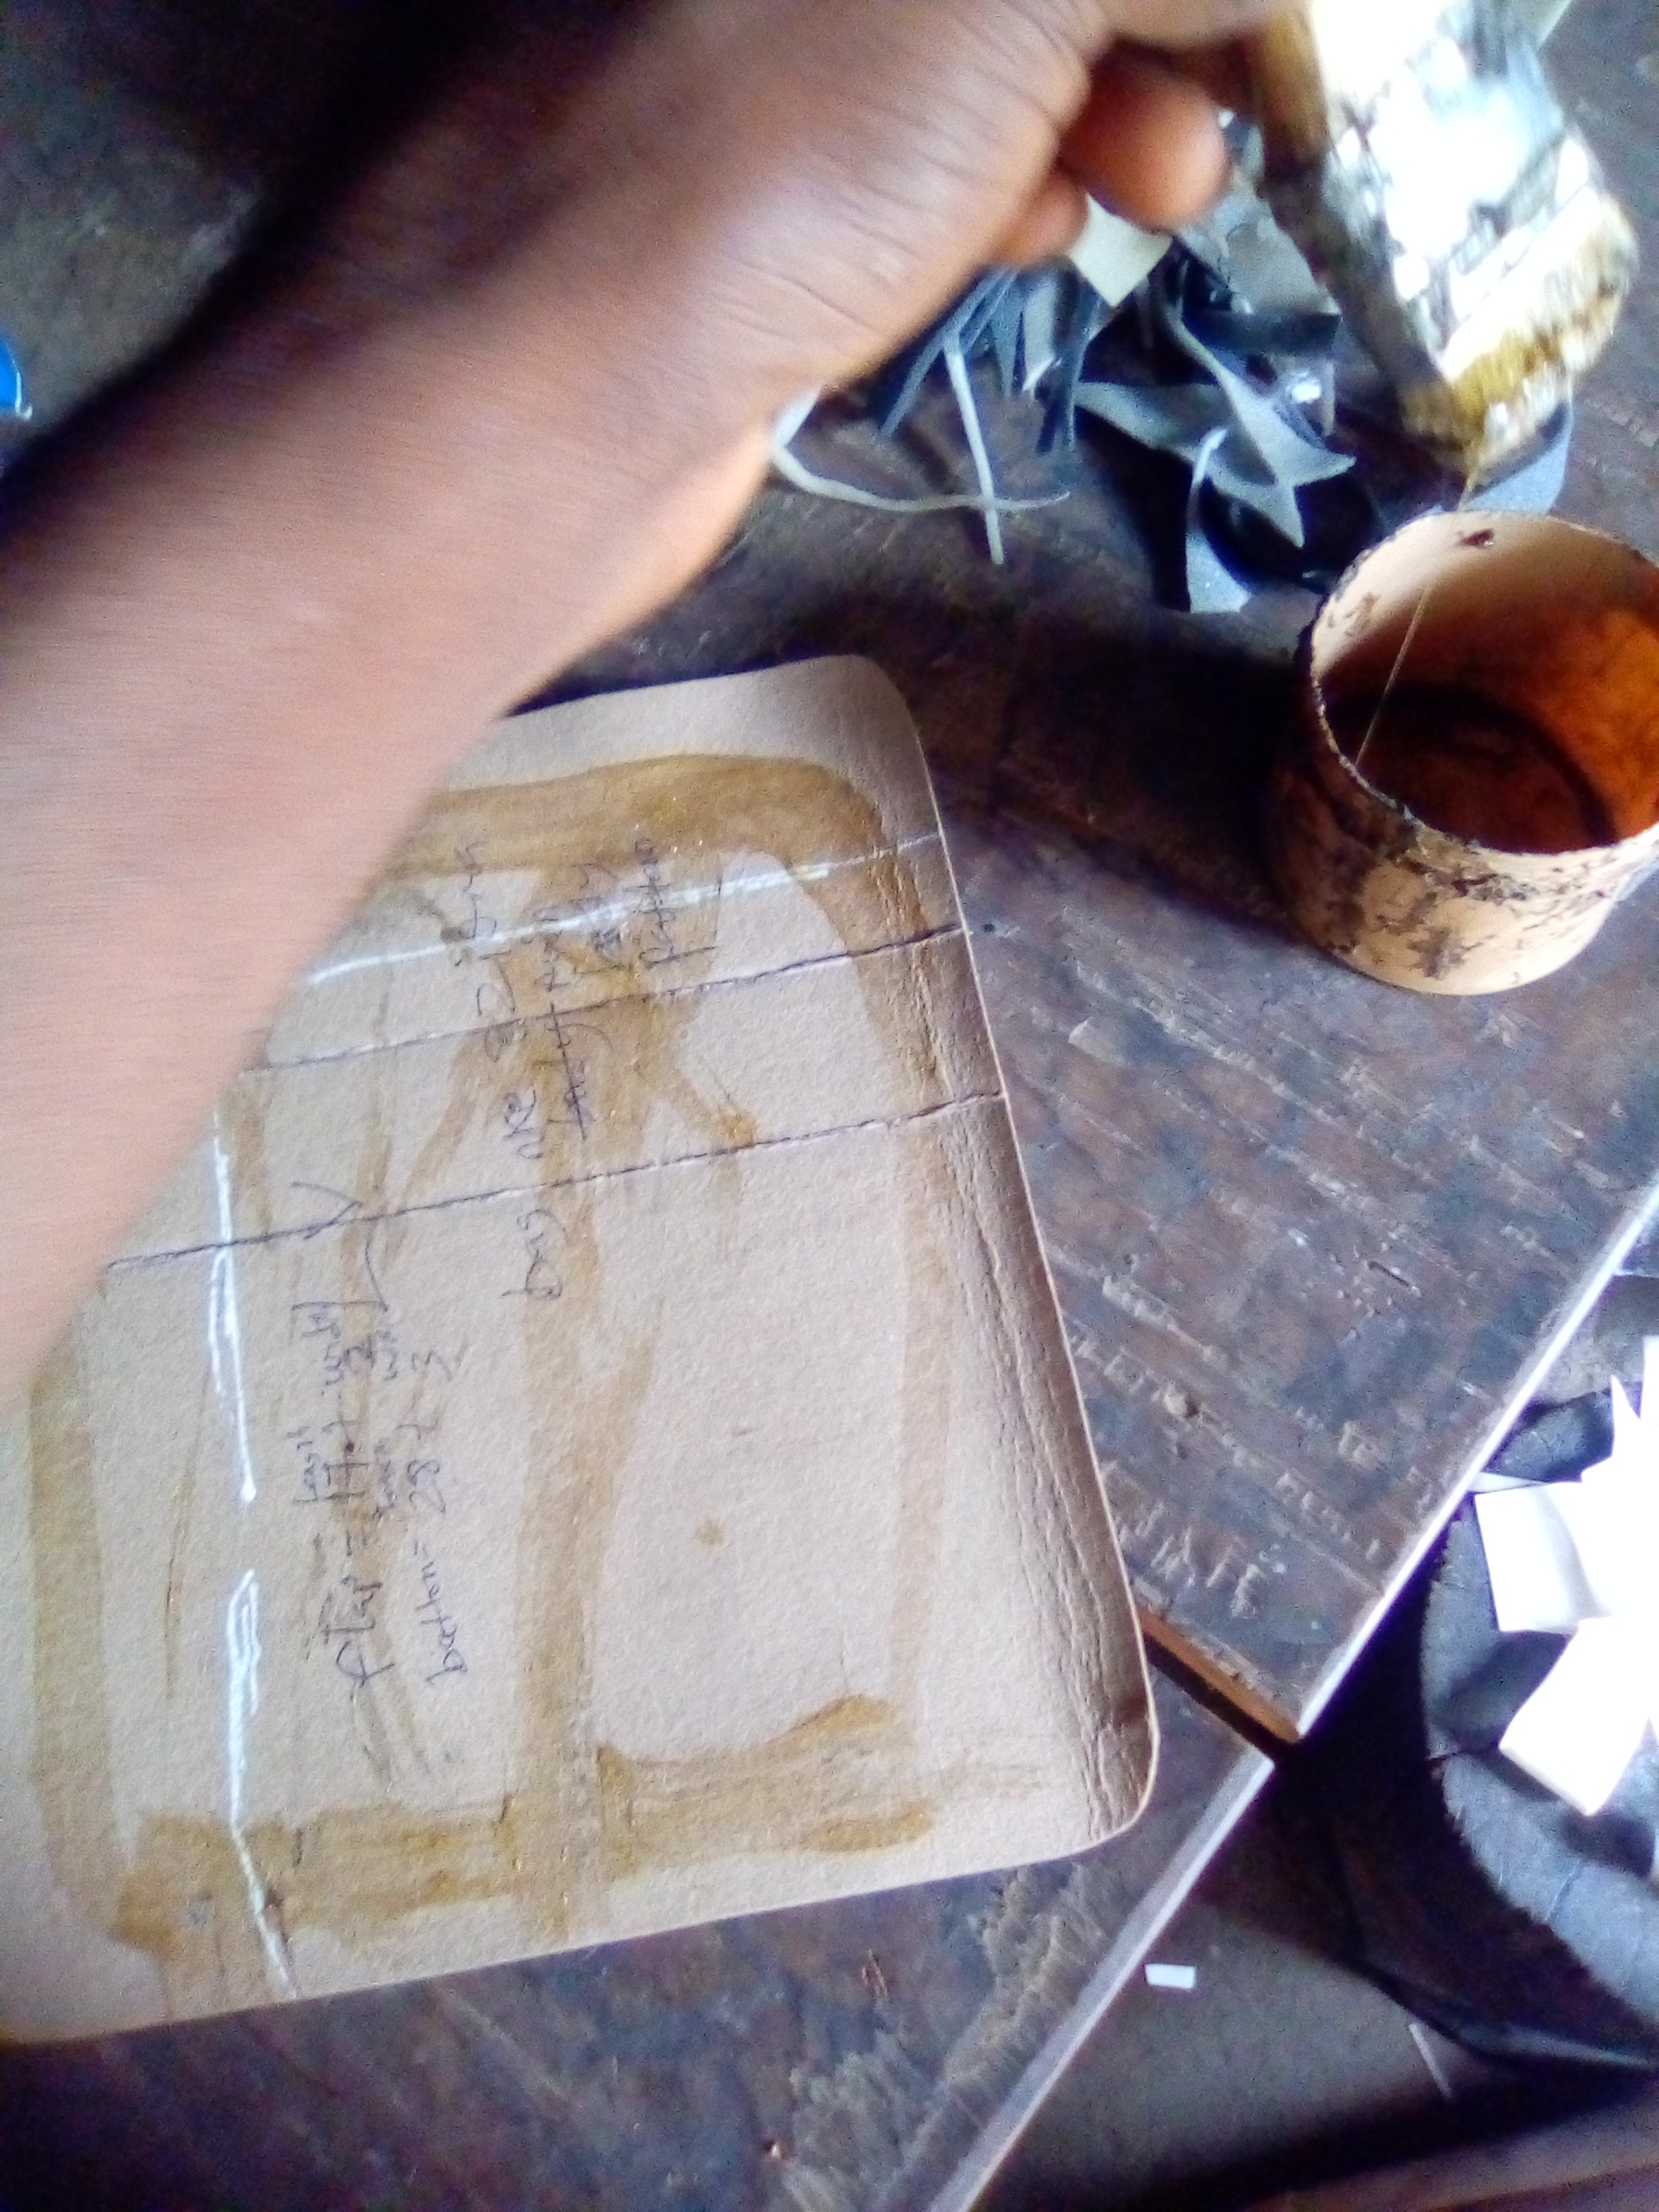
Sixth step: I placed the marking sole on the table and used the small hand pattern to cut out the short hand
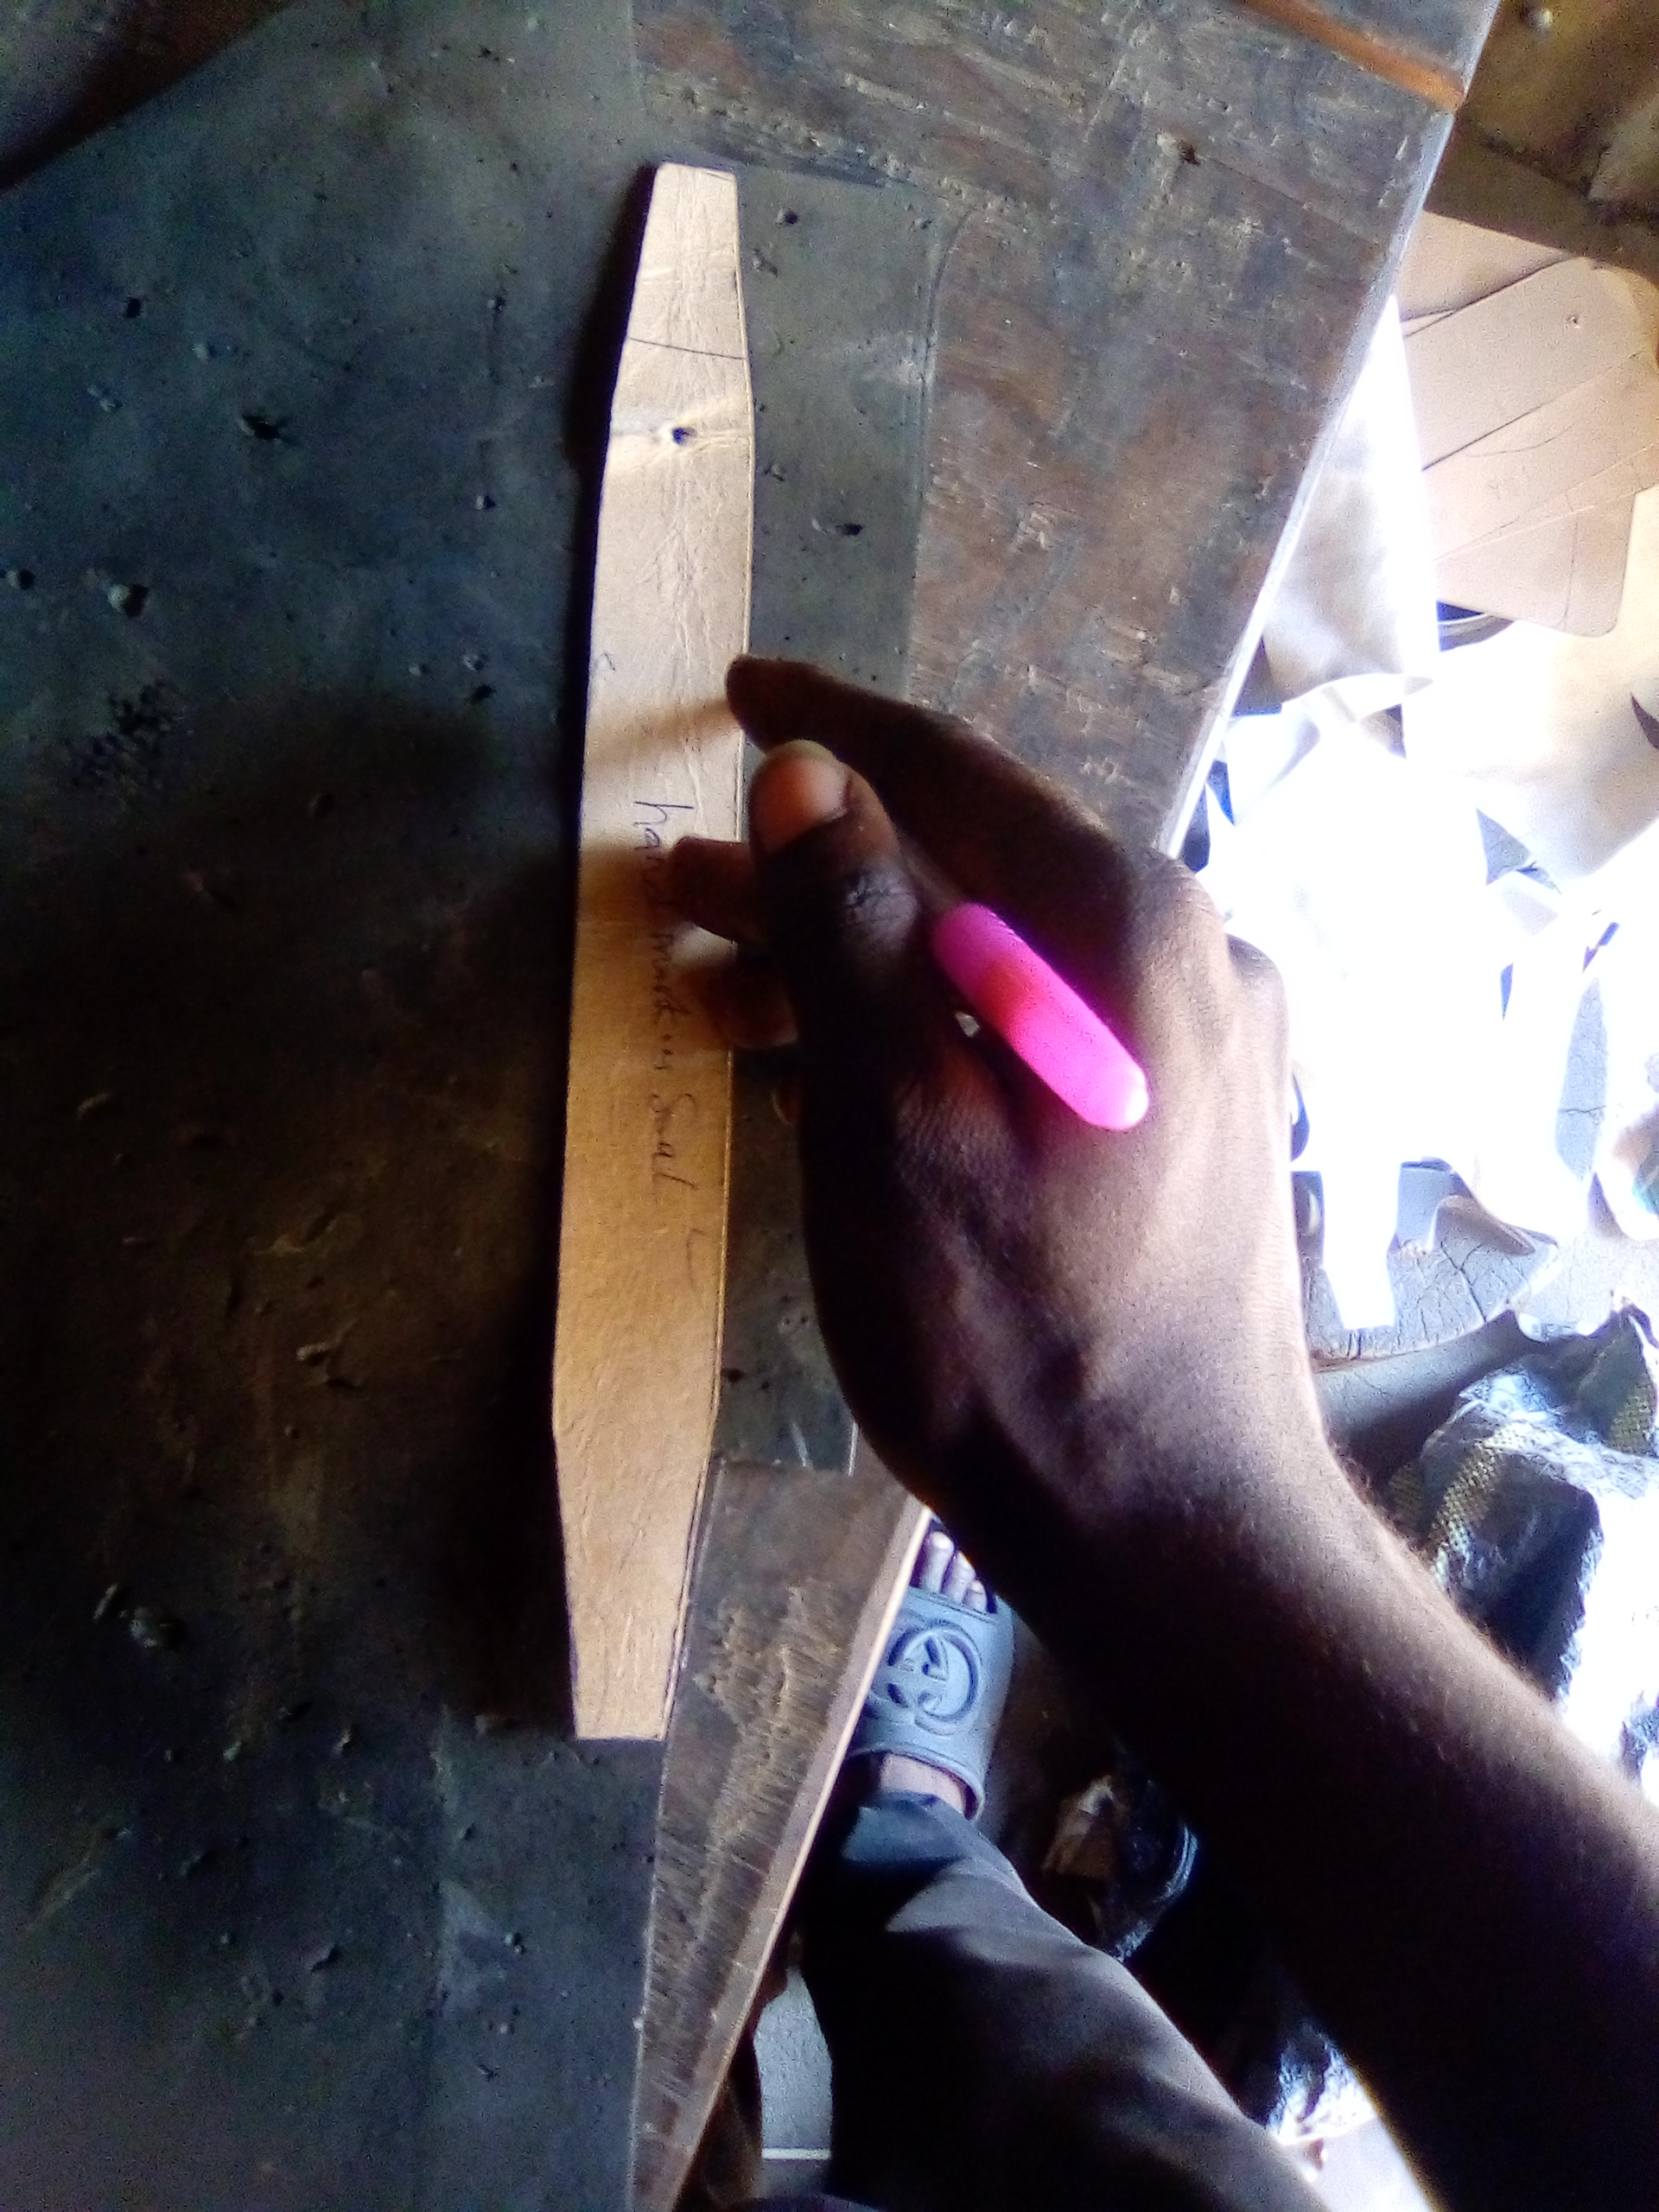
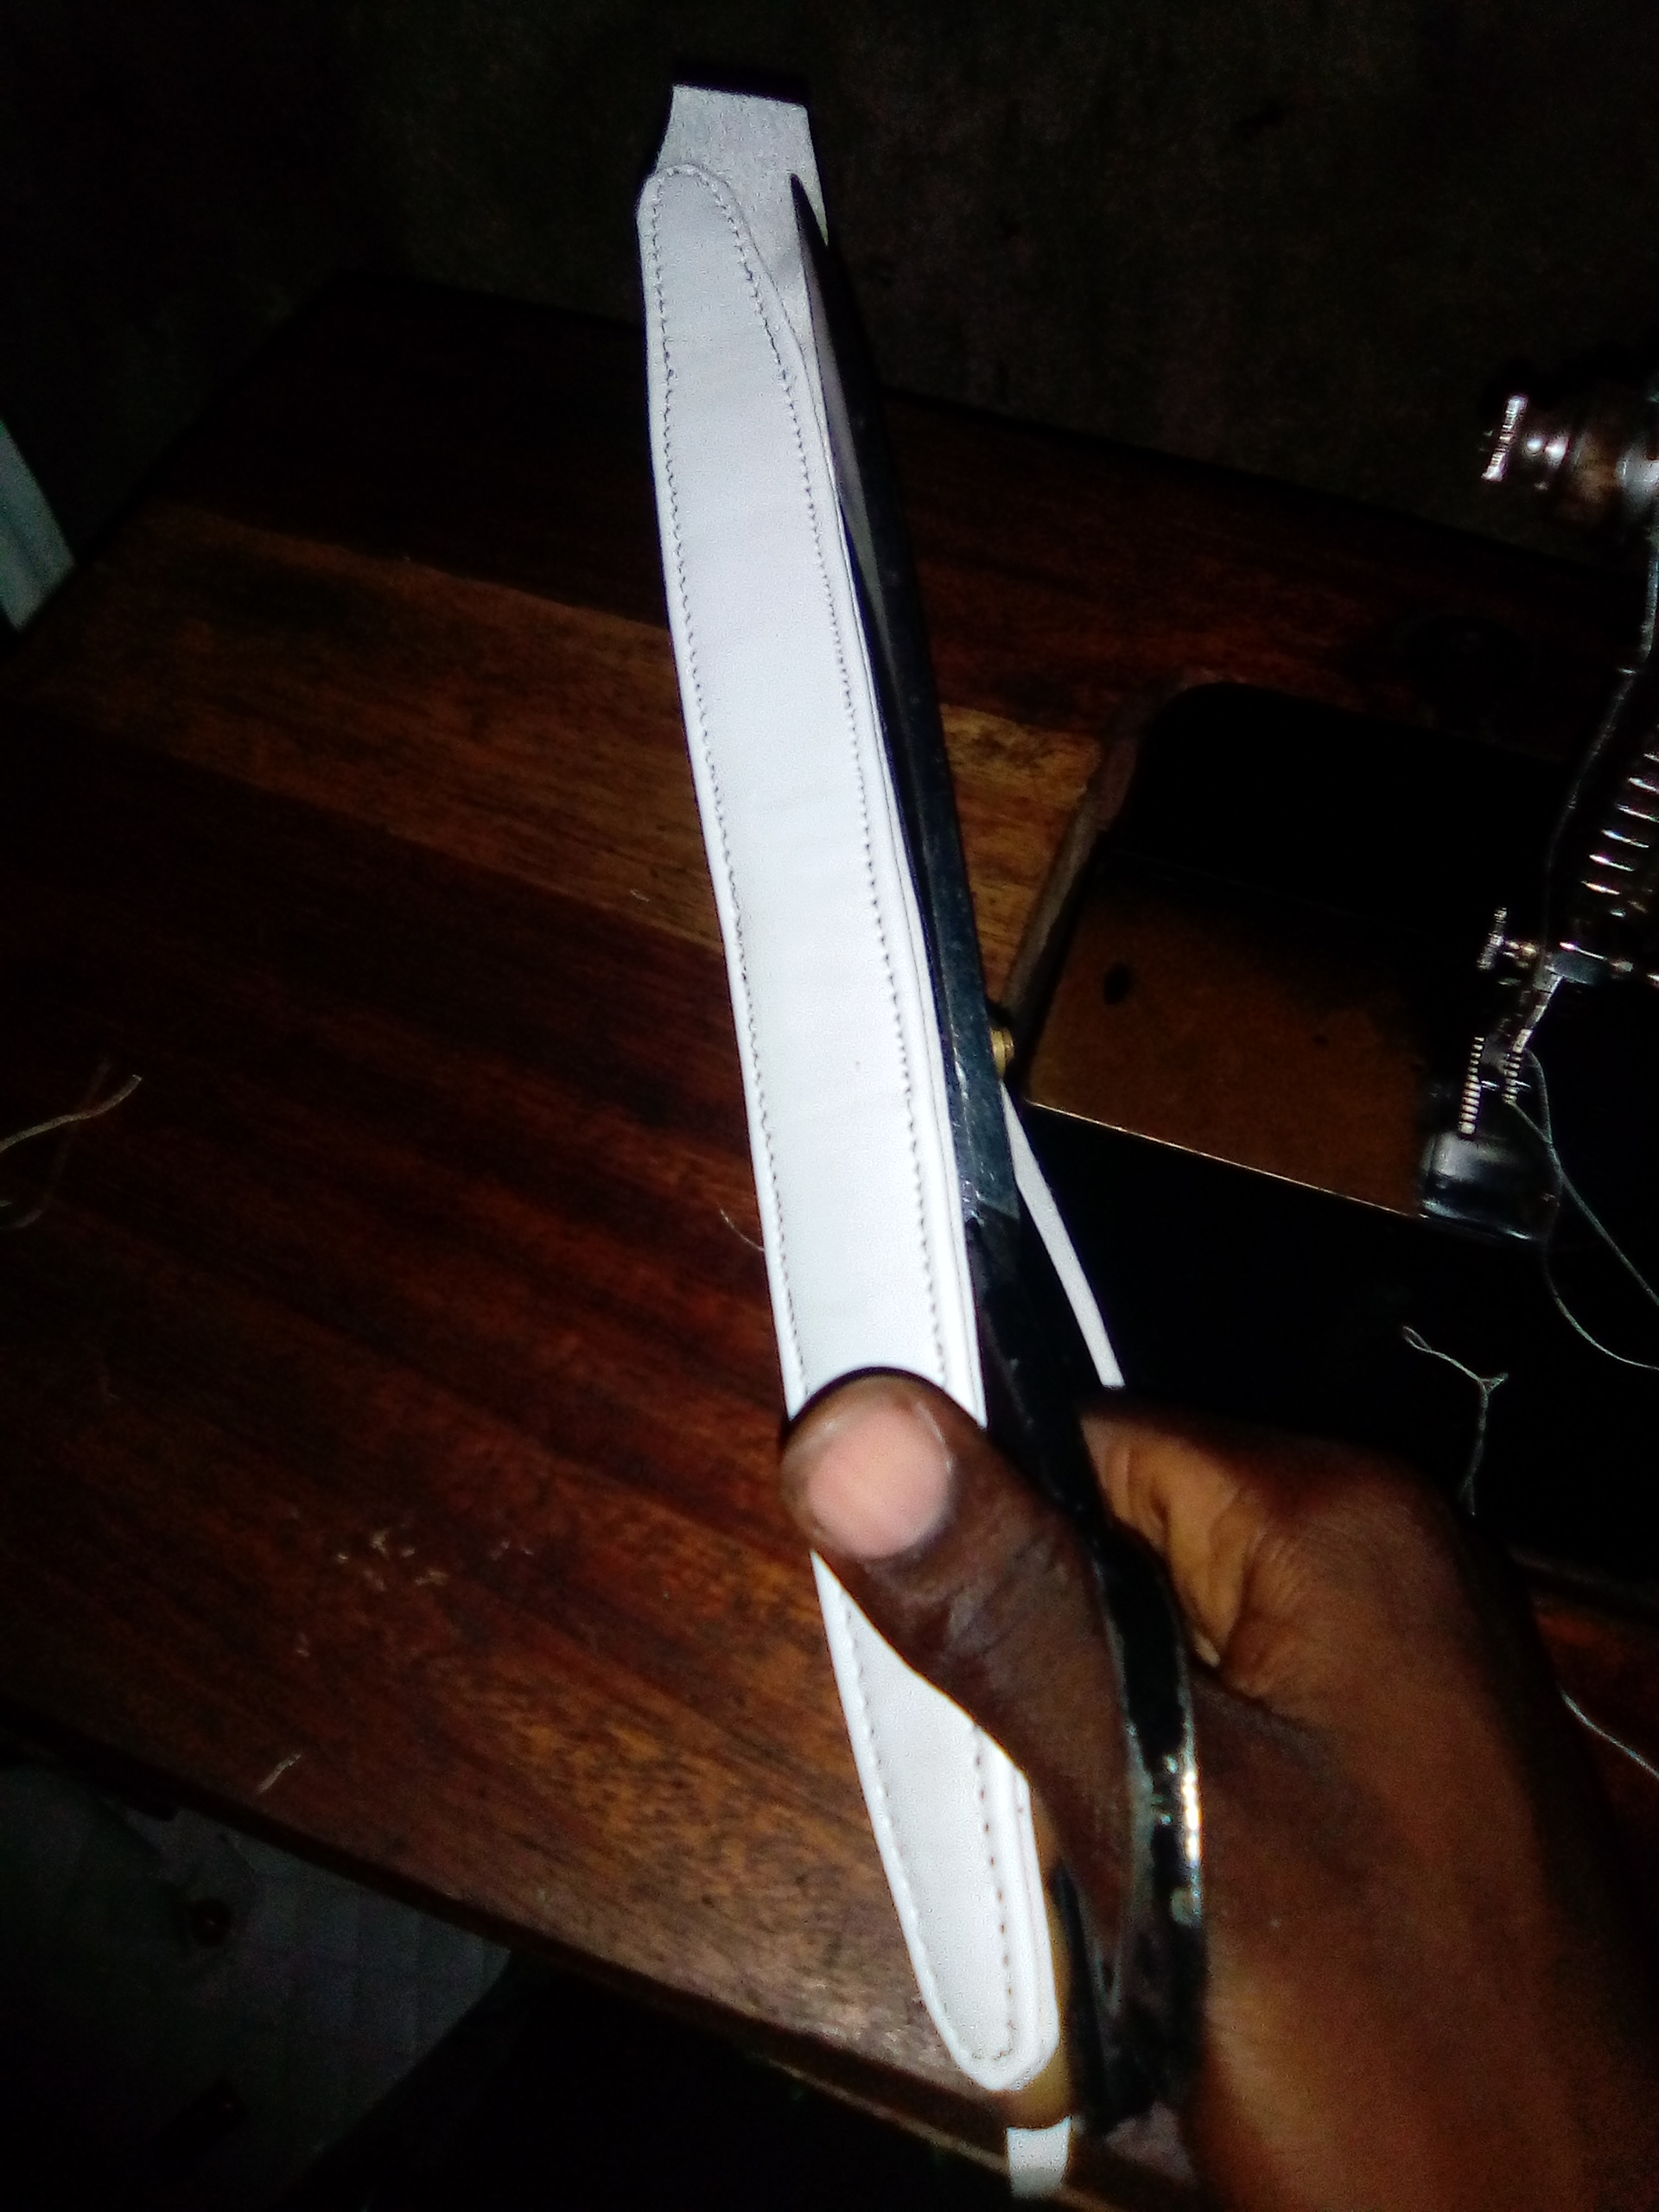
I also cut an 8-inch length by 2-inch width from the leather, which I was going to use to make the short hand of the bag. After that, I applied glue to the leather and placed the short hand on it.
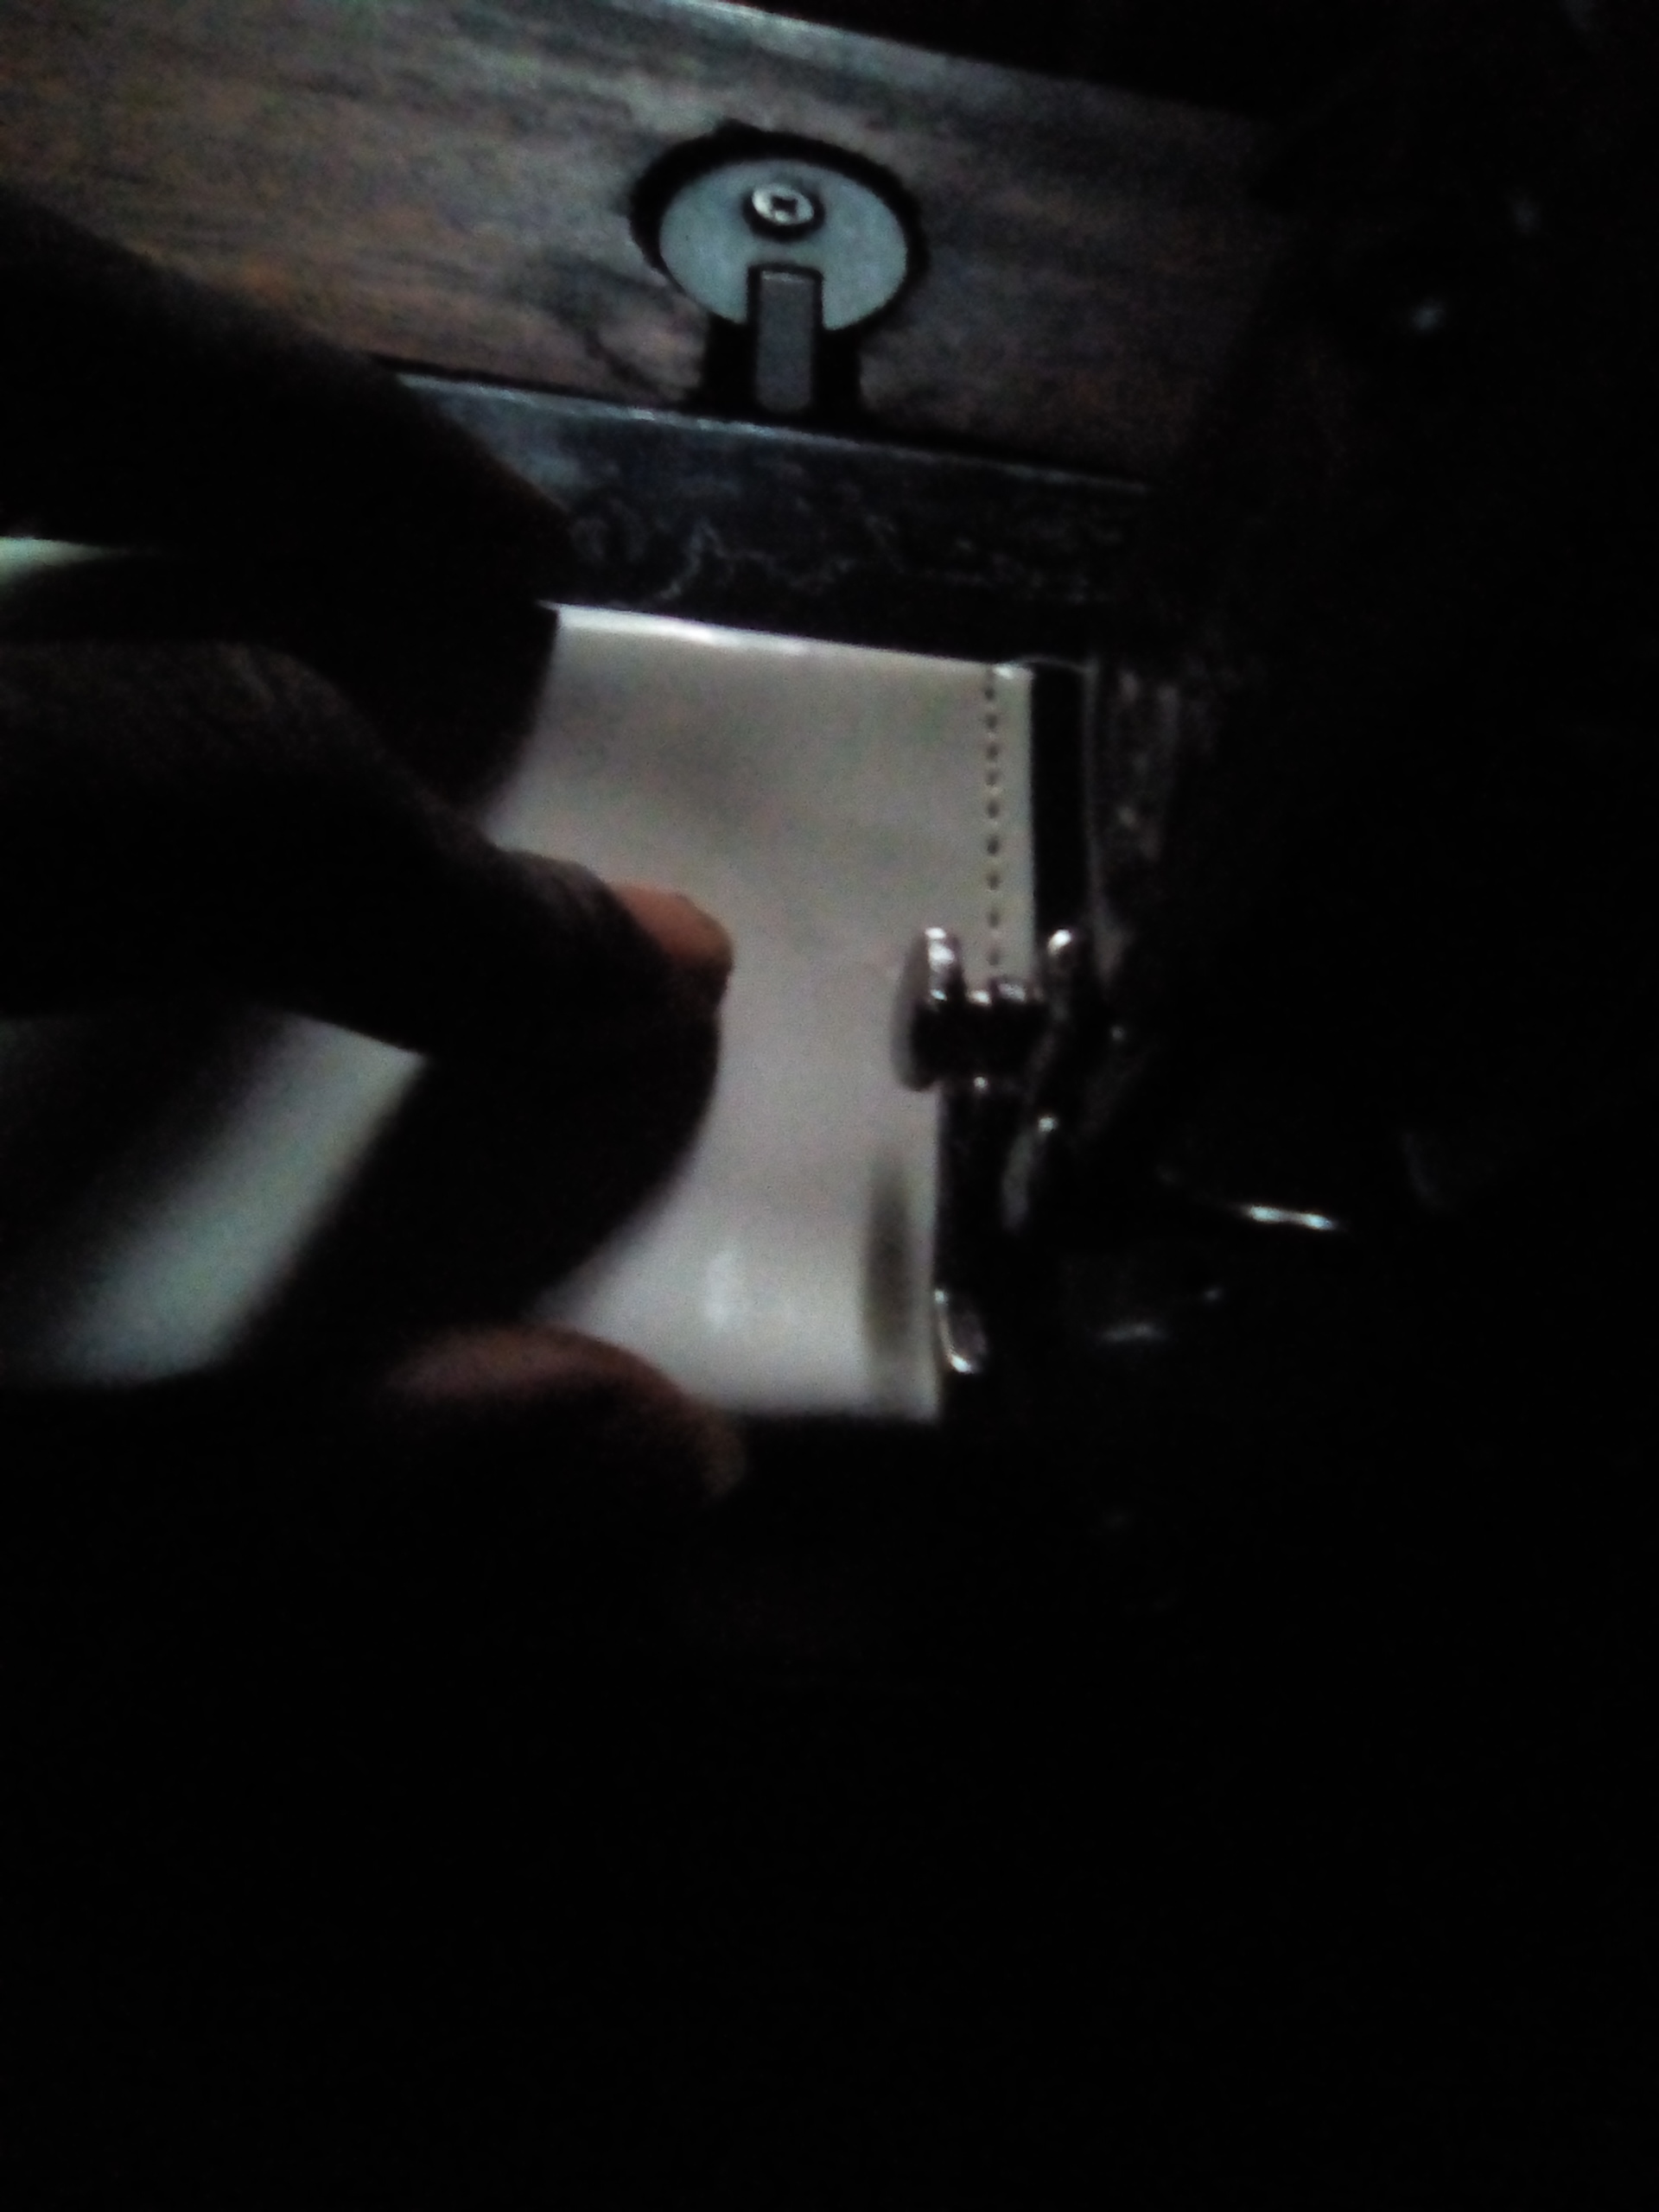
Then I folded it round. After that, I kept a piece of leather under the short hand and sewed it with my sewing machine.
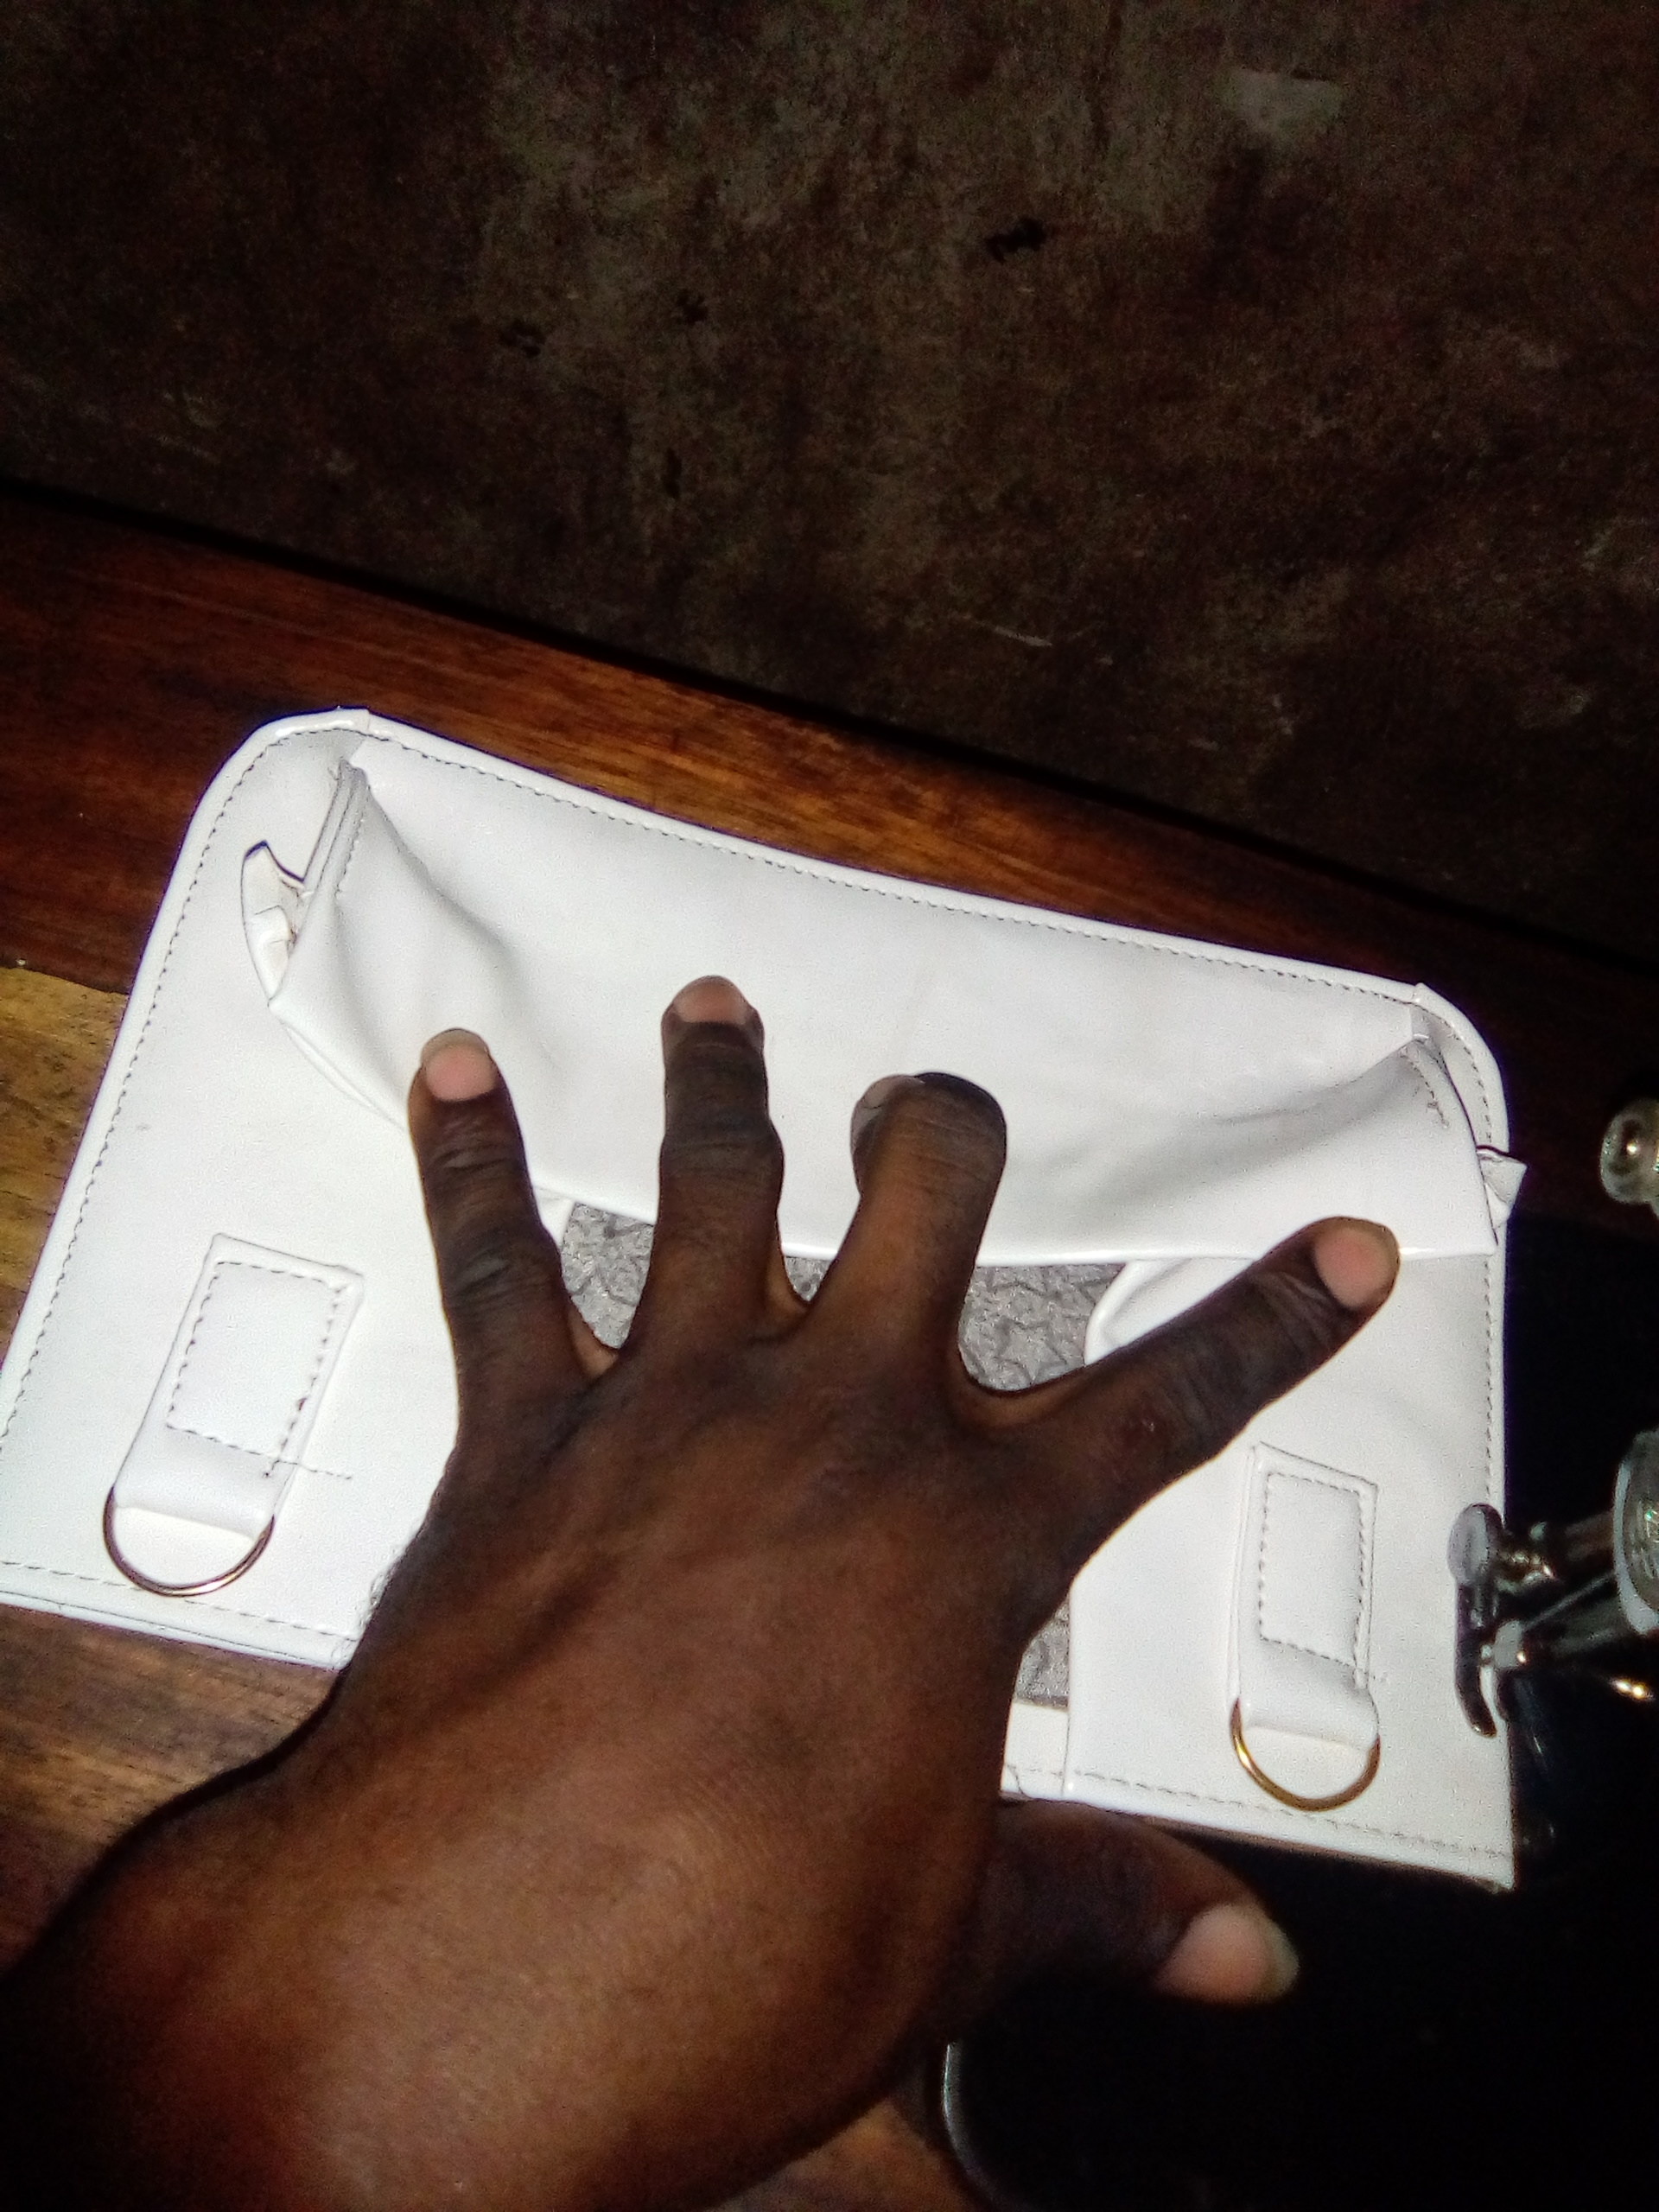
Seventh step: Then I stitched the base with my sewing machine. I also inserted the inner bag and the D-ring. After that, I stitched the bottom part of the bag together with the base. After that, I stitched all the parts together, here is the outcome.
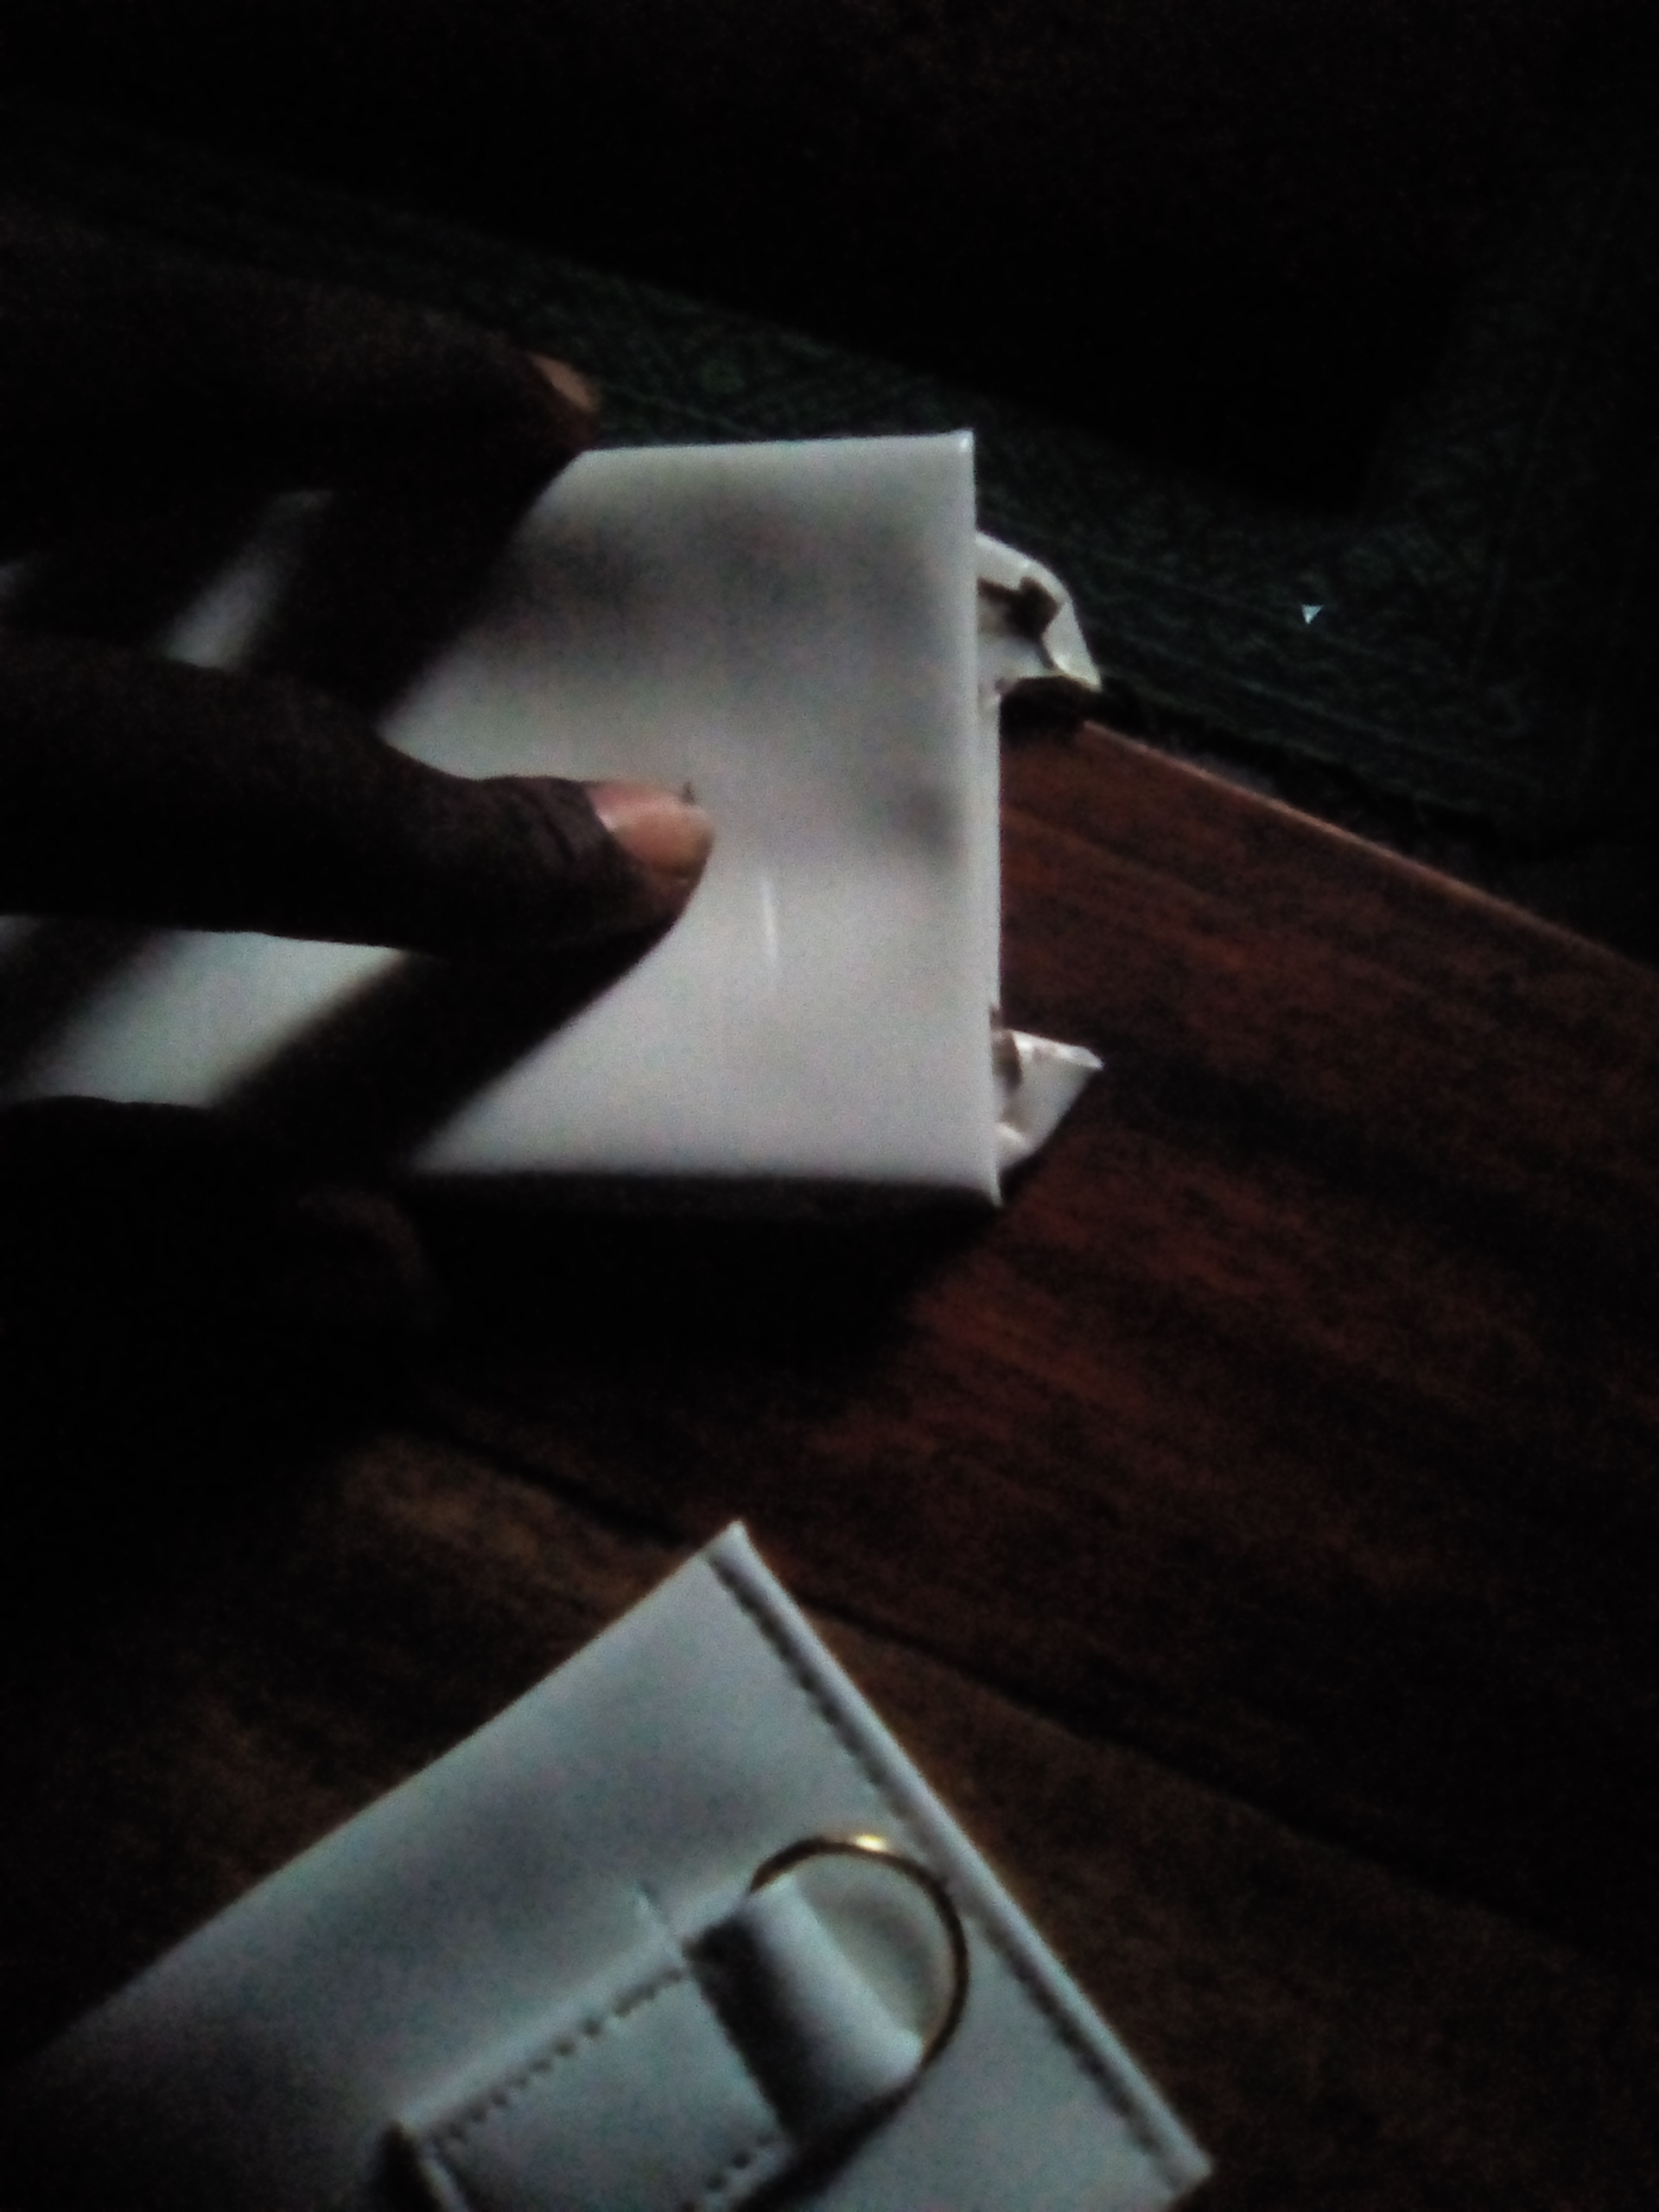
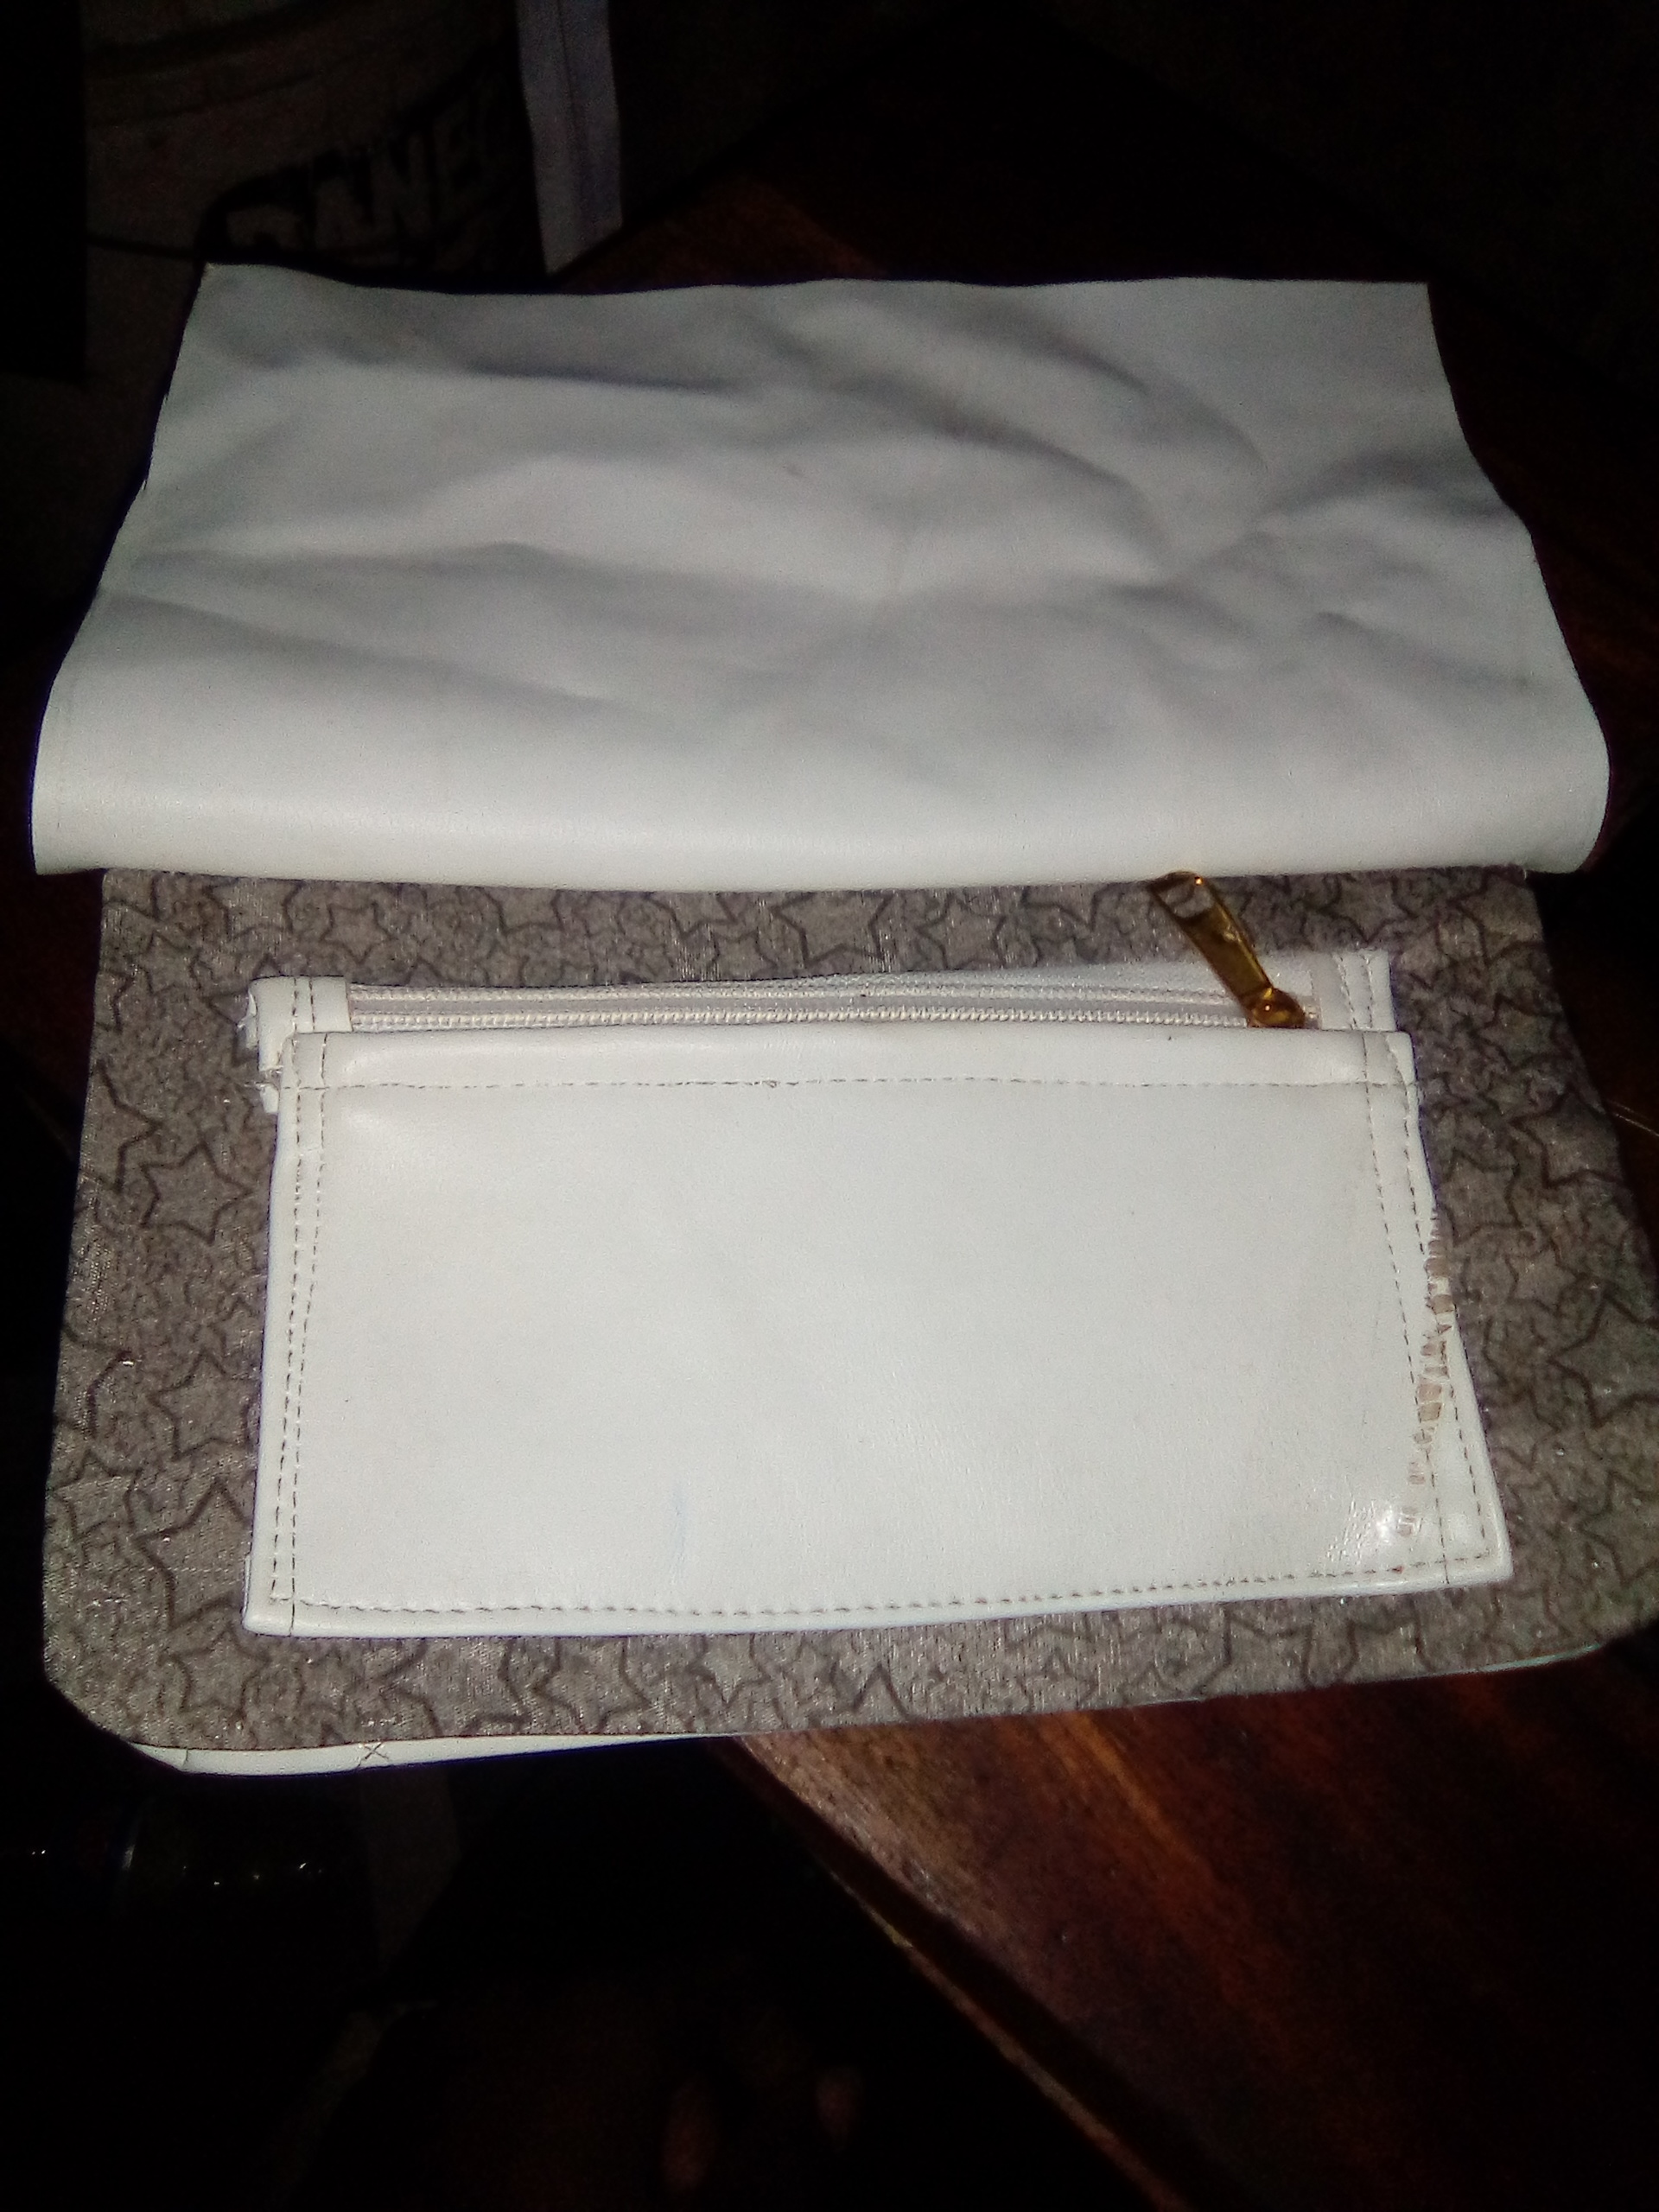
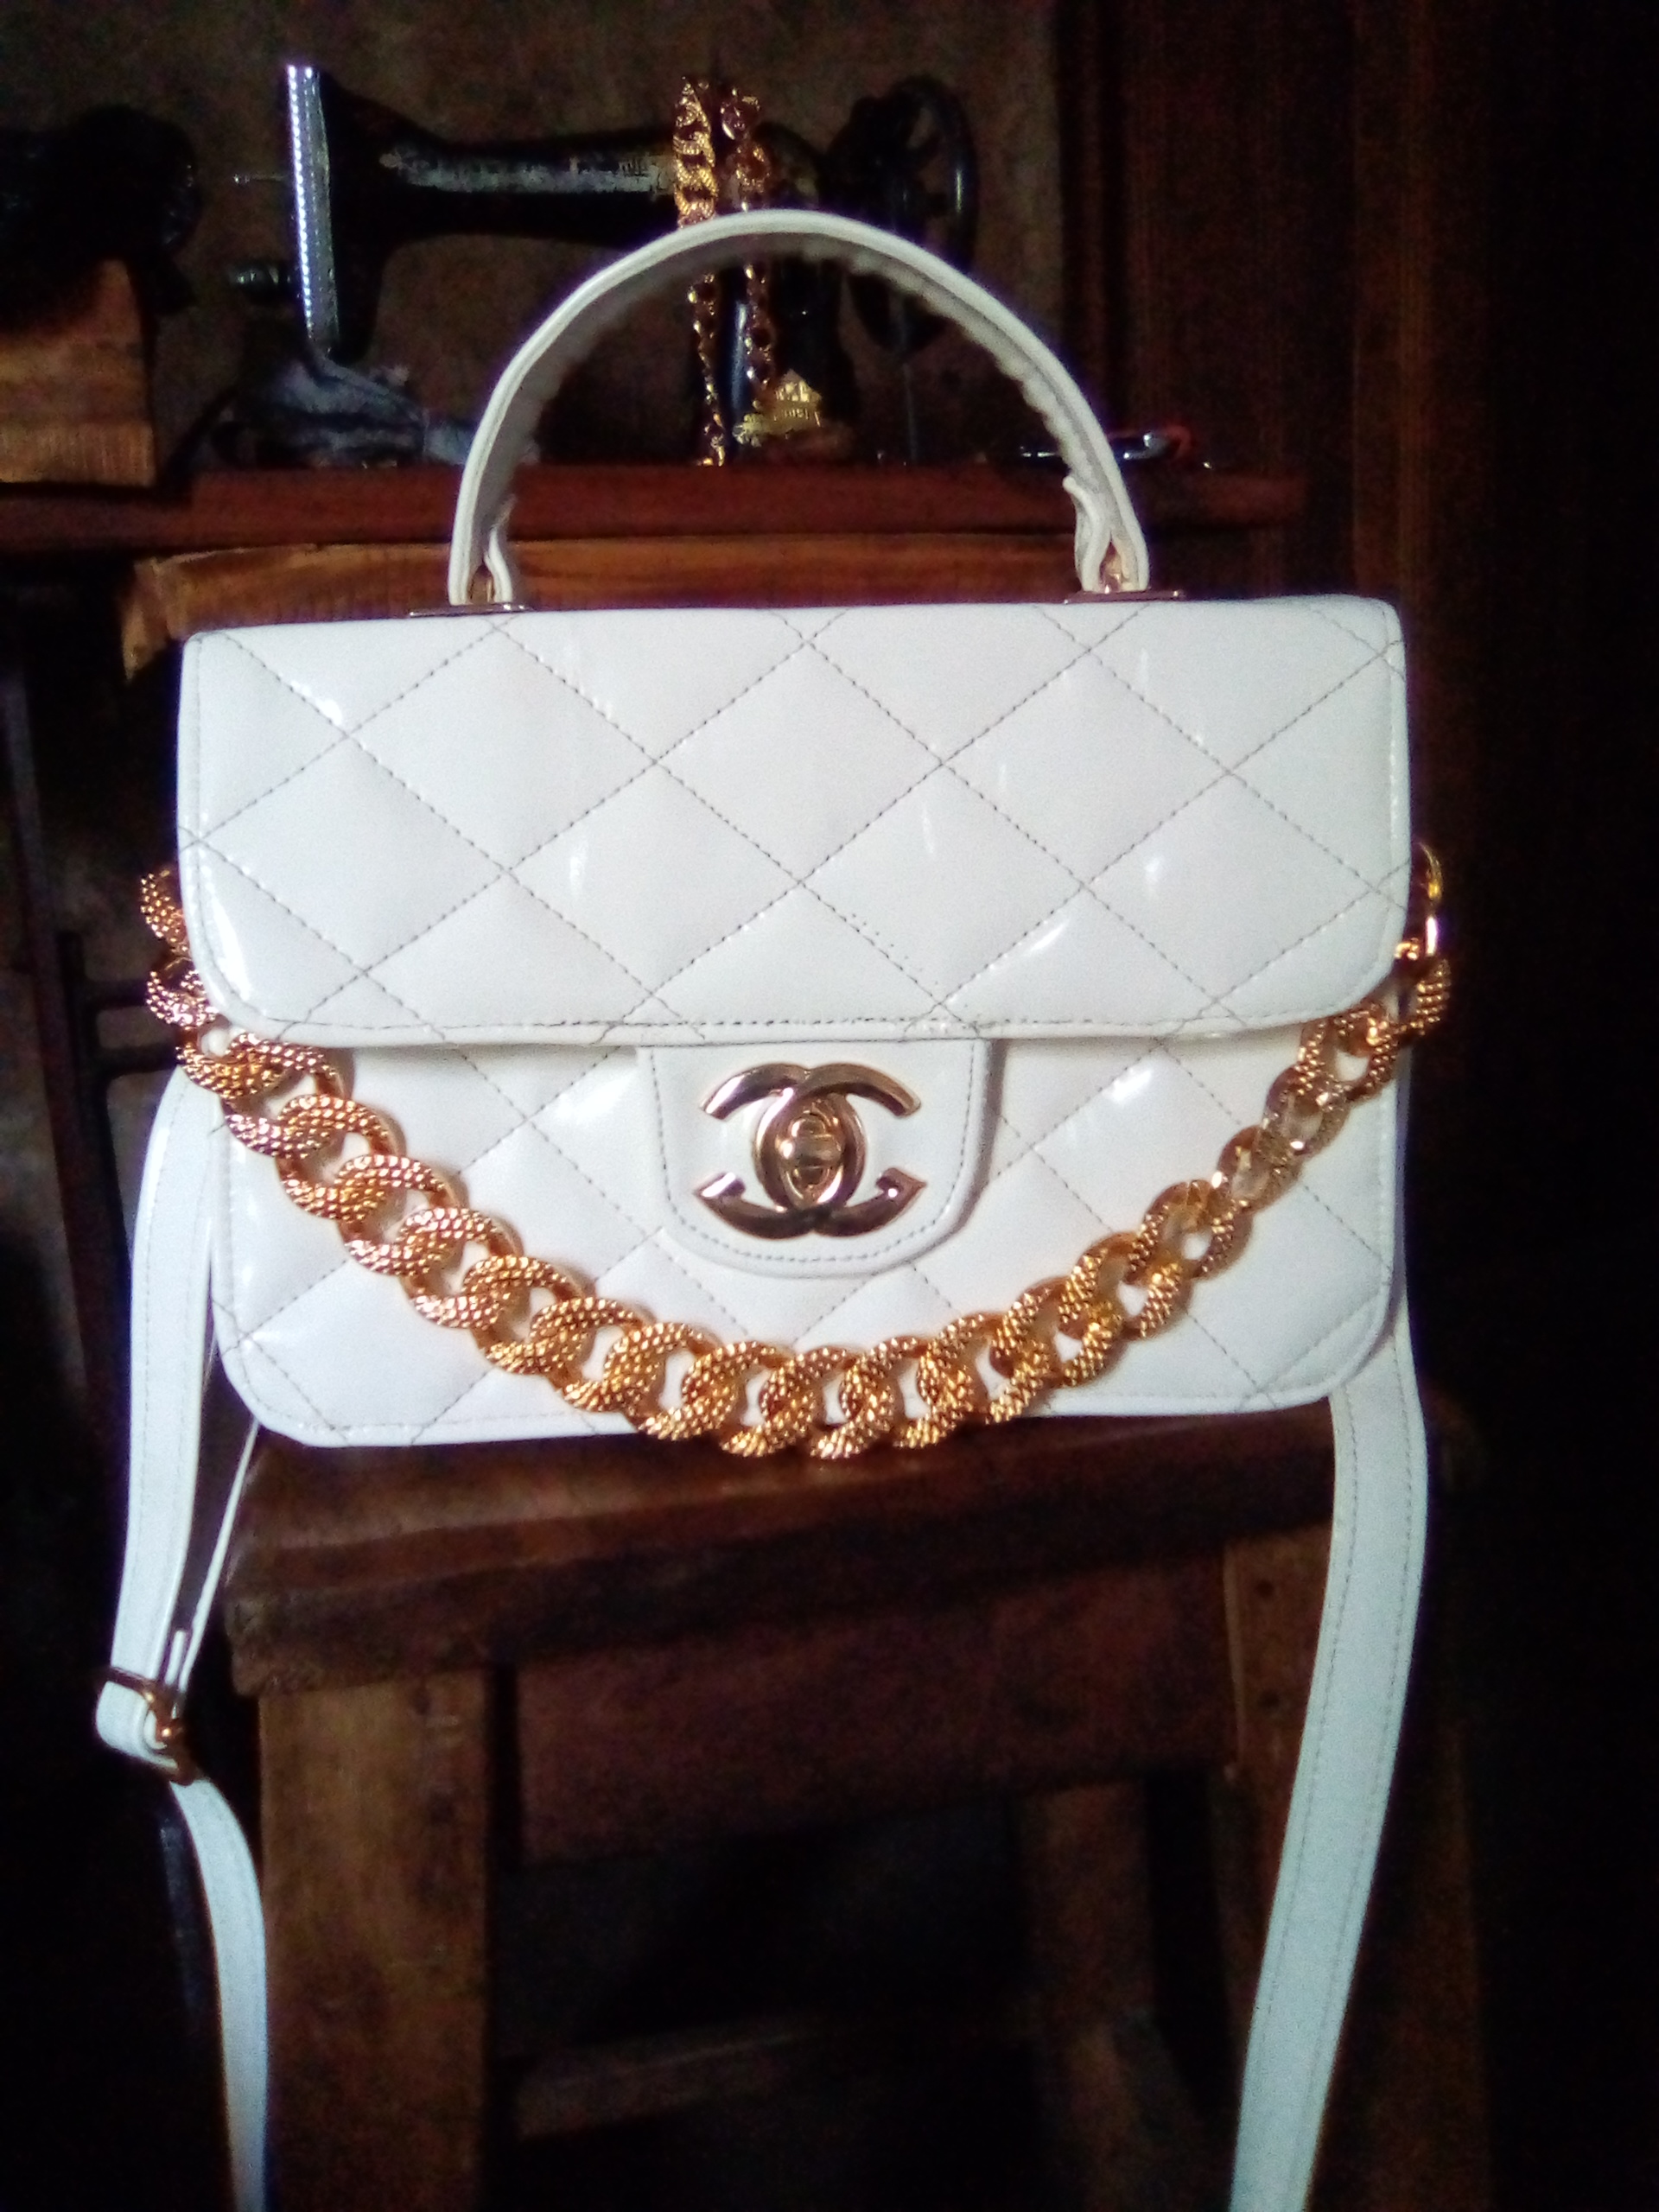
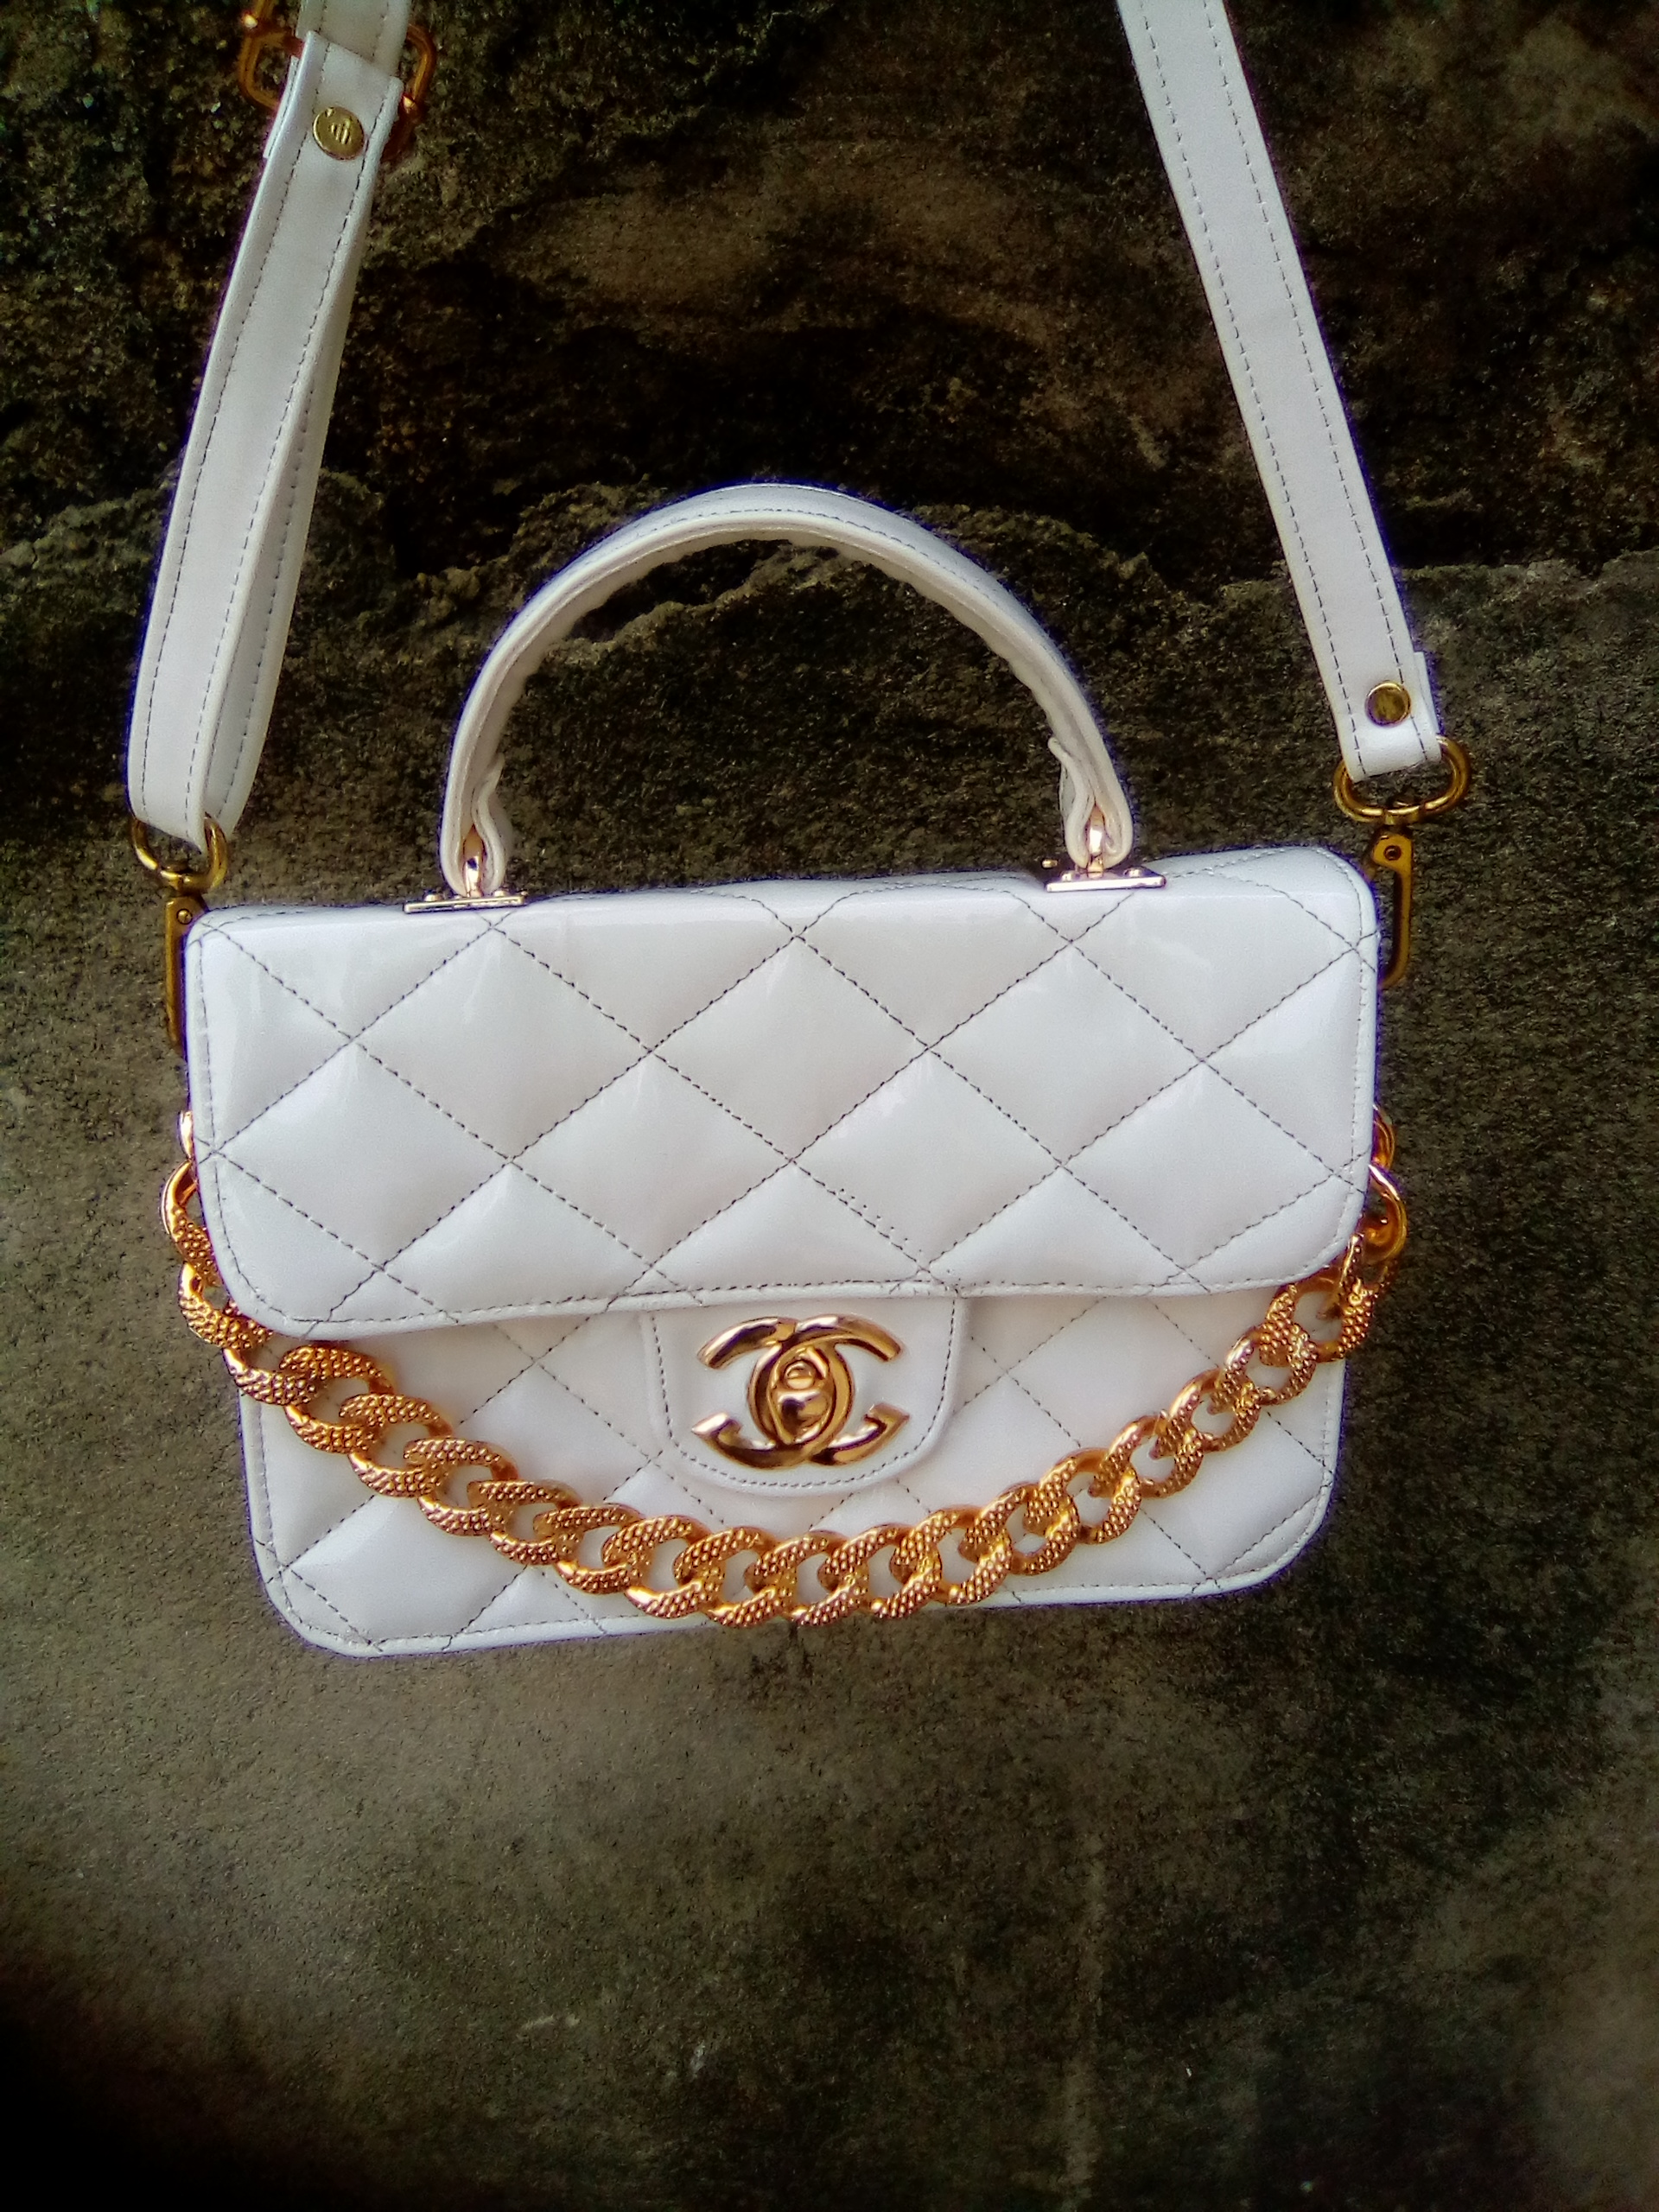
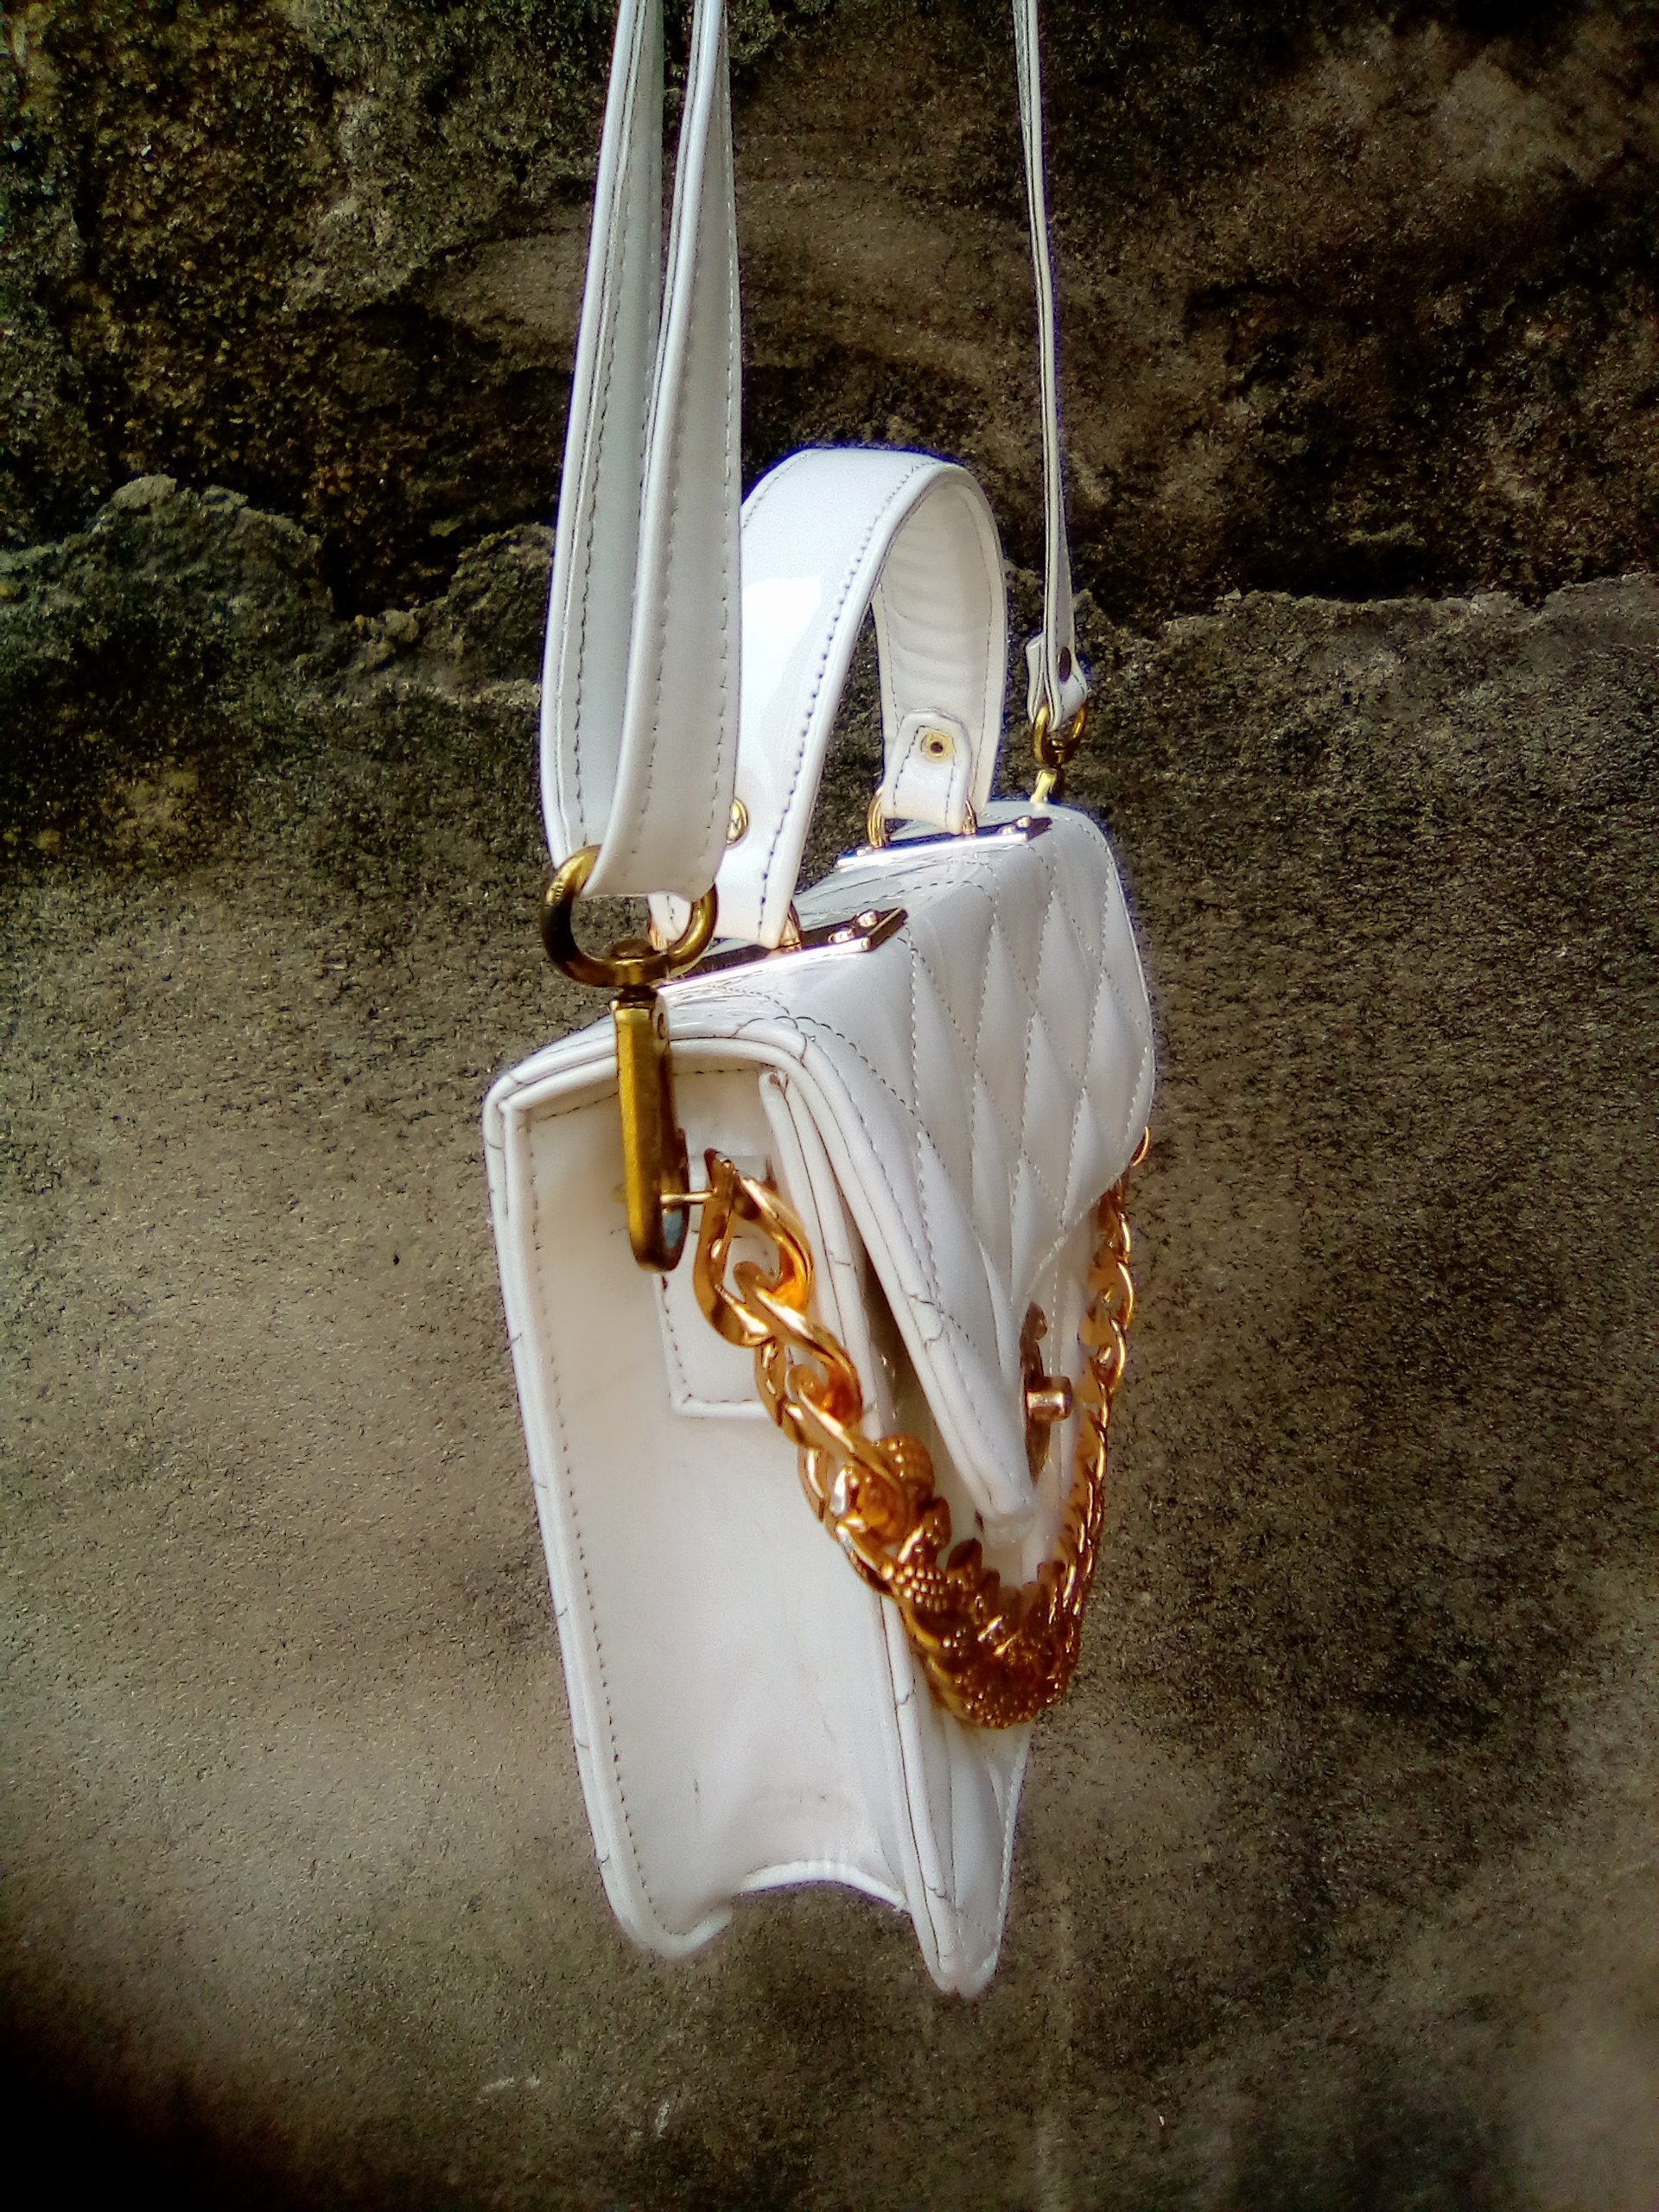
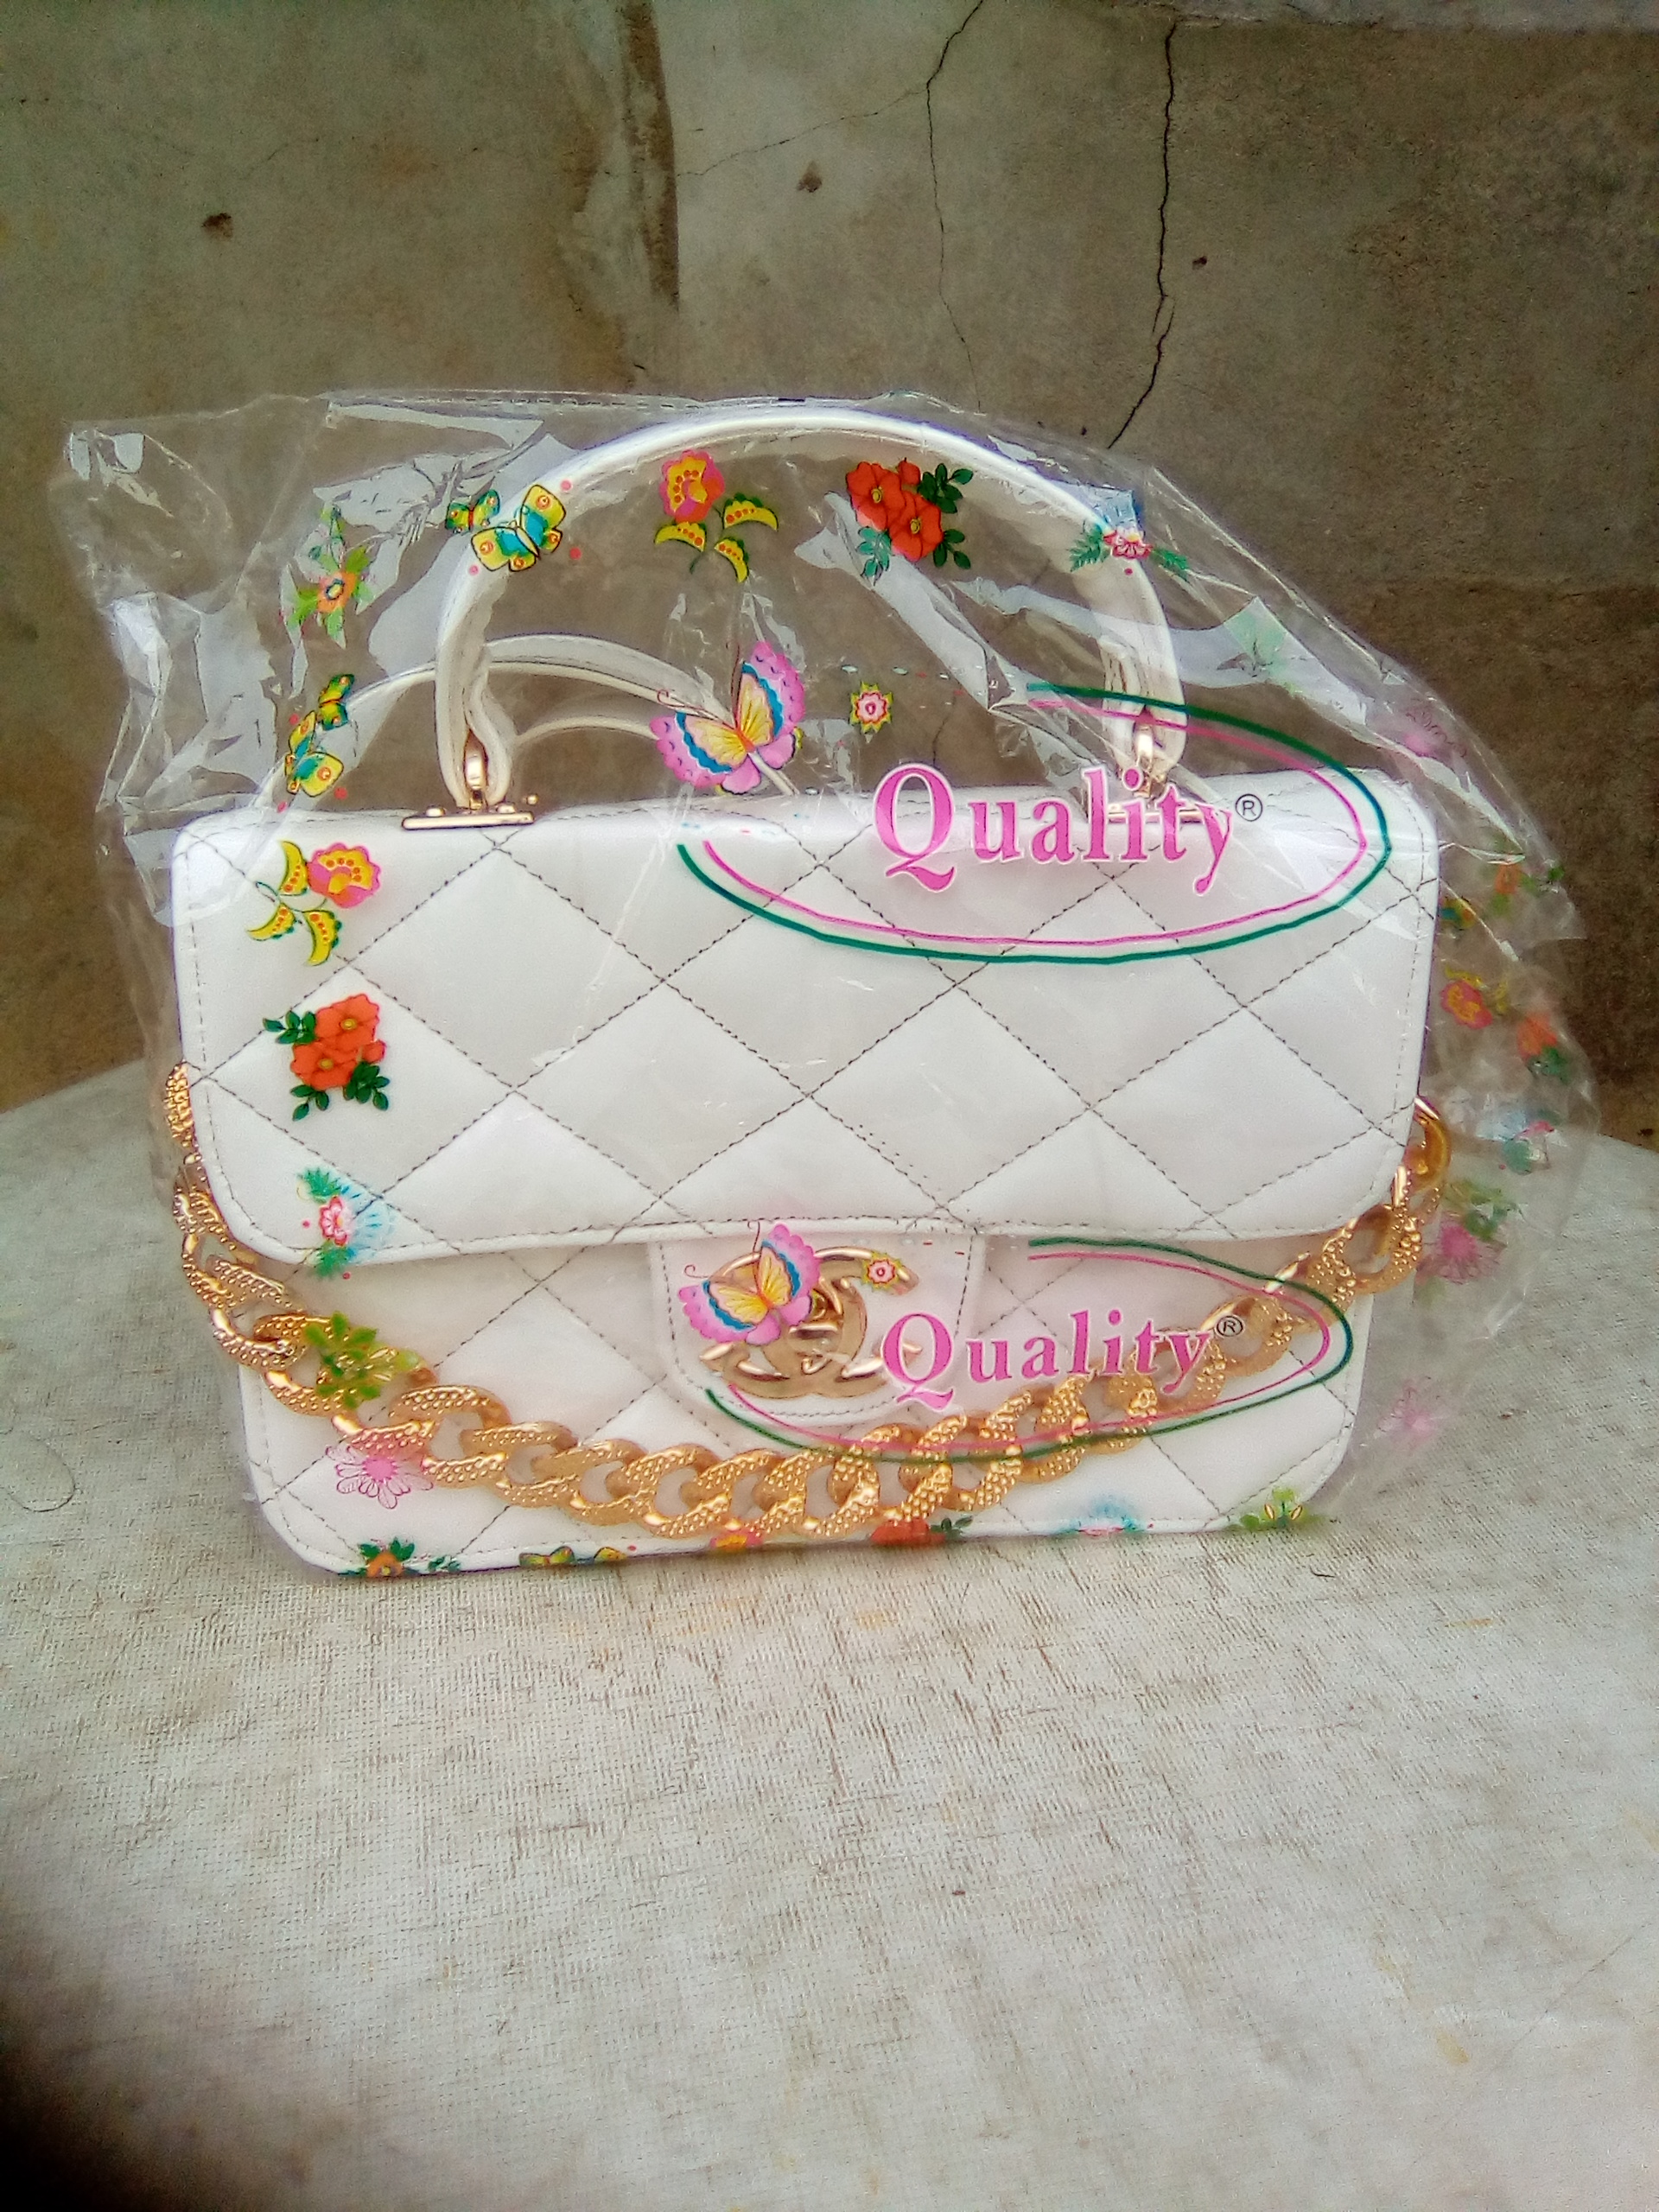
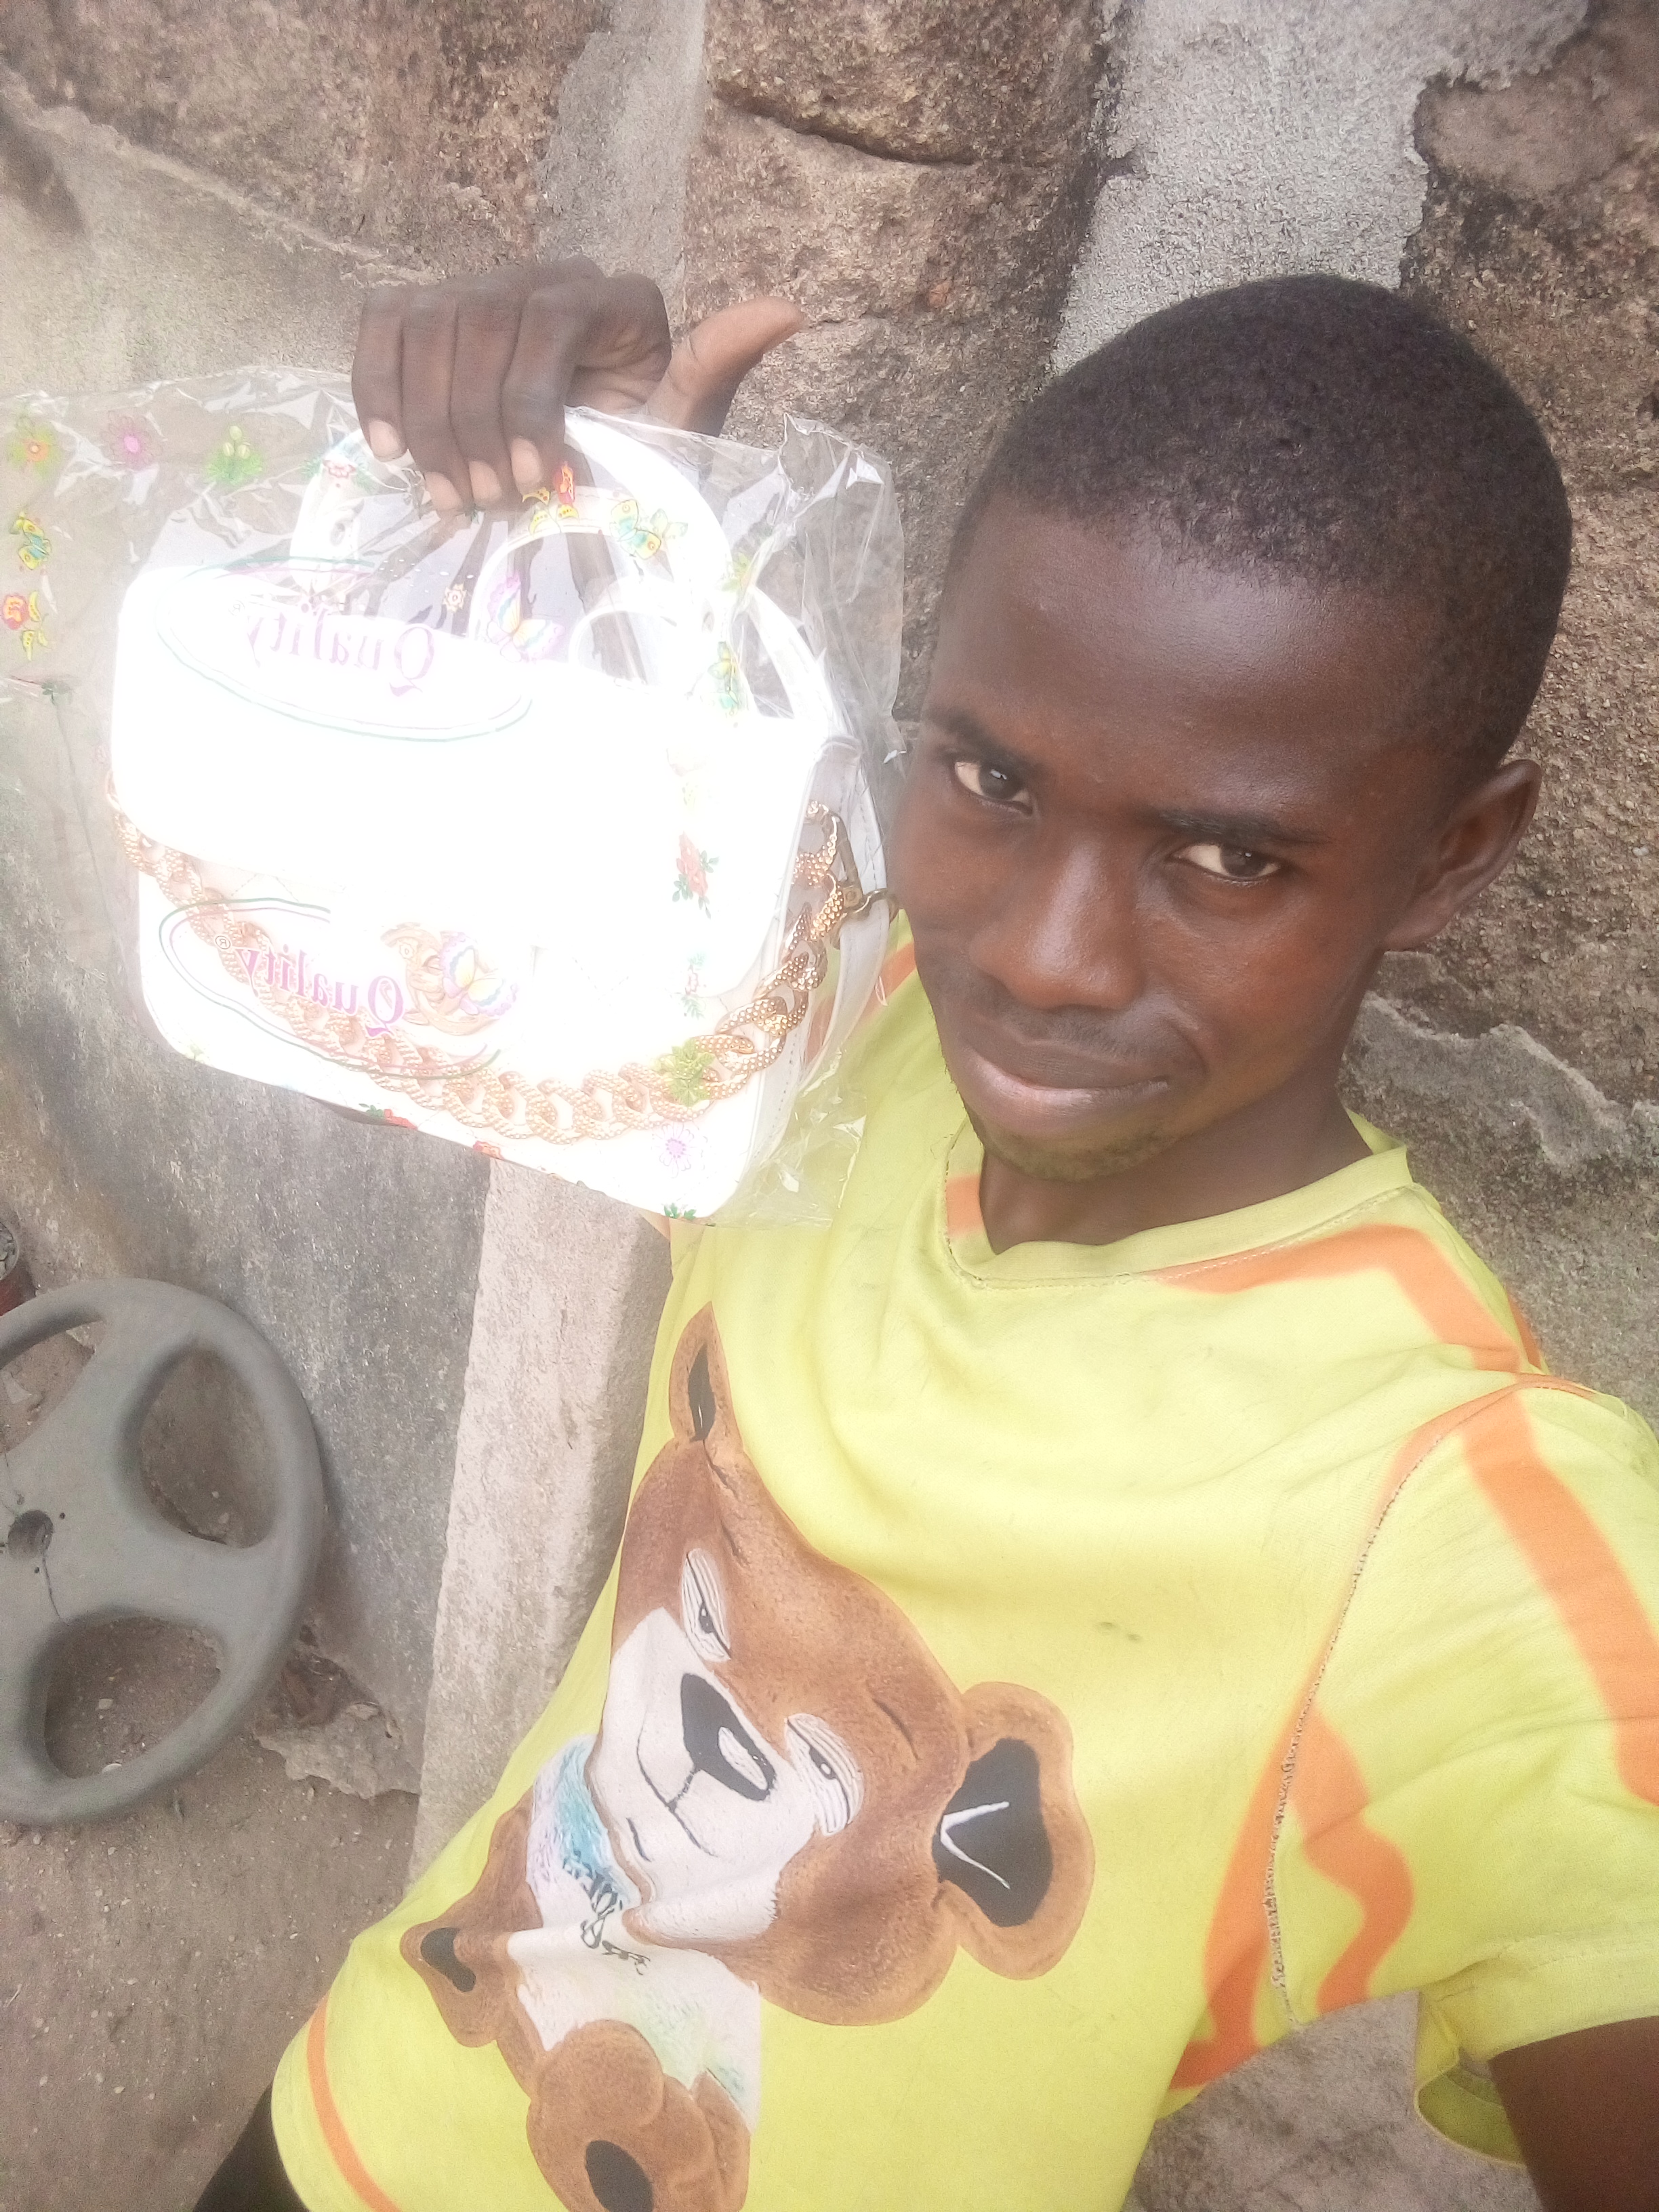
Finally, I was done with it. It took about 10 hours to make this bag. It was really a lot of work, but I am glad I finished it, i Later, I took it to my client, and she was so happy to receive it. Thank you for reading my post.
Congratulations @bethelite! You have completed the following achievement on the Hive blockchain And have been rewarded with New badge(s)
Your next target is to reach 4750 upvotes.
You can view your badges on your board and compare yourself to others in the Ranking
If you no longer want to receive notifications, reply to this comment with the word
STOPCheck out our last posts:
It is an admirable job what you have done. I really like how you have made this beautiful piece. I hope you manage to sell many! My admiration and respect for you!
Thank you so much
Very nice work! That takes some serious skill to make by hand. This can definitely become a business if you standardize certain parts of it!
Since you tagged me, would love to see you post your work in the FreeCompliments Community (hive-140084).
Thank you so much
I congratulate you, you did a brilliant job, very professional, love these bags.
Thank you
😊👍
The result is really fantastic, they were elegant. I imagine your client was happy and ready to wear it.
sure
Thanks
That a nice quality bag you have made for your client. You are welcome to the community. Kindly go through the pinned post in the community for a guide on how to write quality content. You can also make a photo collage of your images to reduce the number of uploads to a minimum.
Oh wow. It's really beautiful. Hatts off to your hardwork and creativity.
Thanks alot
You've got a really good skill and the bags are beautiful