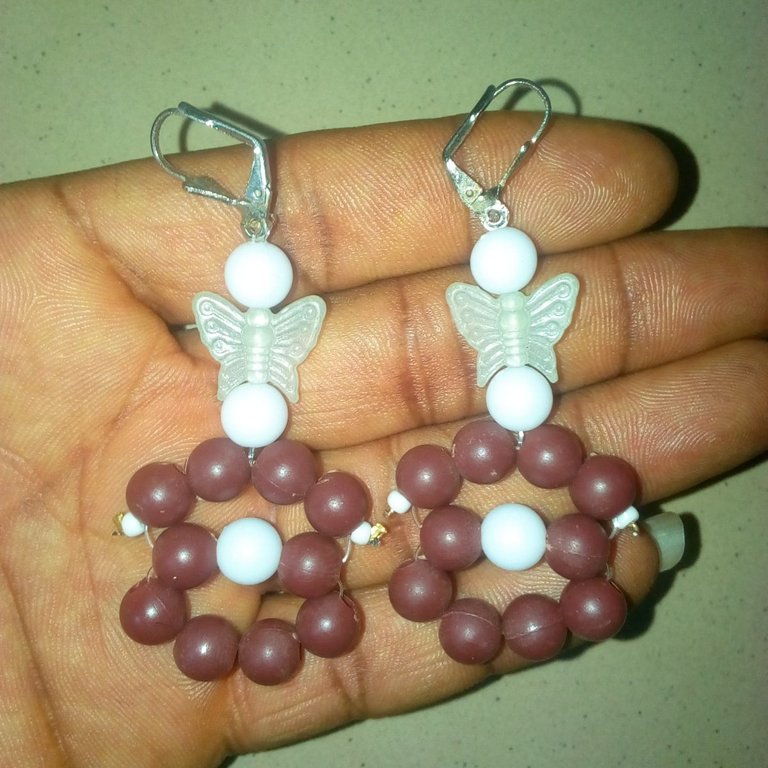
Another Earring Option for my Customer not to Worry
Hello to all fellow #jewelry creators community members. I hope everything is going well with you, your family, and your business. I know there may not seem the way you want it but time will surely tell. Today, I want to share with you how a customer nearly messed my jewelry work up if I was not creative enough. Before I go into detail about what happened, I want you to understand that customers are your key target in every business you do and they must be respected and followed in a manner that'll always be understood.
Yesterday, a customer came to me and demanded I should make earrings for her because the ones she had were old. I was happy that I had a customer to make earrings for because money would surely enter my hand. After our business discussion on the description, color of beads, and other materials to be used for the making of the earring. I went ahead to made the earring. I didn't have the chance to make the earring that same yesterday because of other activities. It was this morning I rushed and made the earring for the customer because we agreed she'd have it today.
When the customer came this morning to collect the earrings from me. She noticed I used a nylon line and beads to make the earrings. Before I knew it, the customer started quarreling with me and she told me to use wire for her earring instead of ordinary nylon line. Knowing I was faulty, I started pleading with the customer and told her that the wire supposed to be for the work had finished and besides, there was no other place I could have bought wire for her work. I told her that the nylon line is still as good as using wire for earring making. The customer didn't still agree with me and continued with her quarrel.
When I noticed the customer was too stubborn to agree with me, I immediately scattered the earrings in her present and told her to describe what she wanted me to create for her using a nylon line. She became surprised and confused and made another description for another earring. Within a short period with me, I made another earring for her, and she was happy again that I satisfied her needs. Why I scattered the old earring was for her to have sympathy with me and it worked for me.
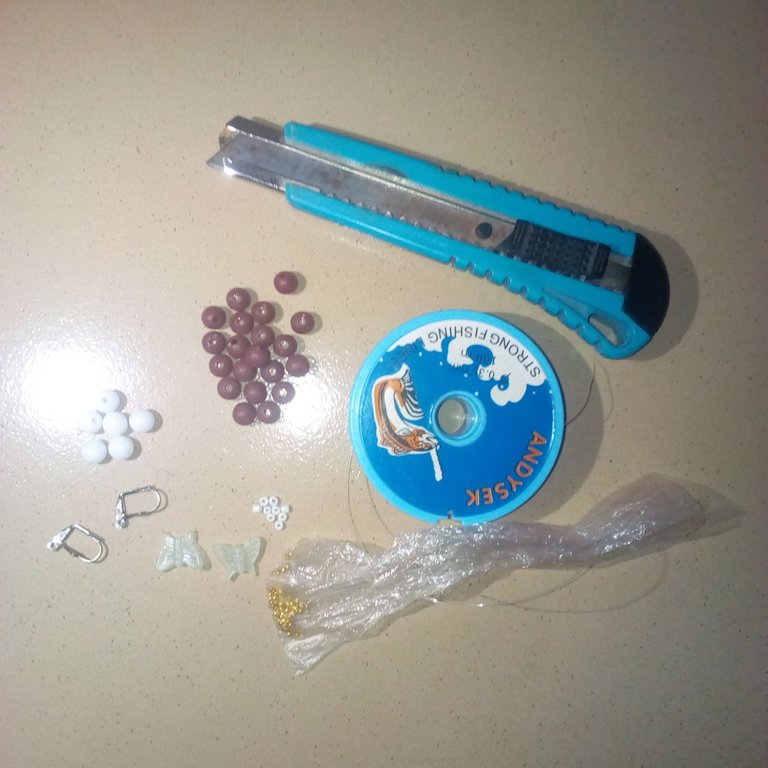
Materials that I used for the making of the earring can be mentioned below:
Nylon line.
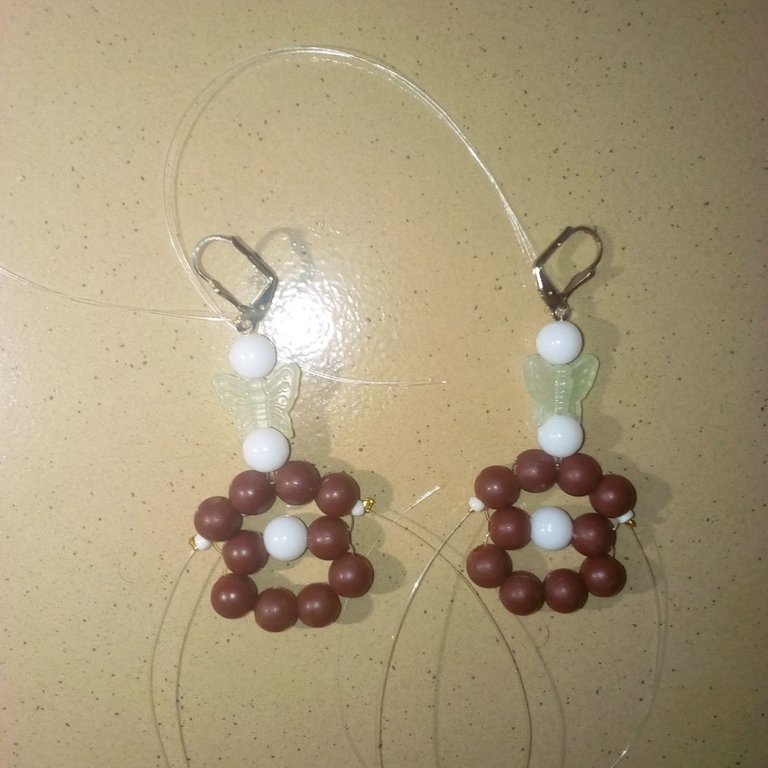
20 pieces of brown pearl bead while 10 pieces were used to make each side of the earring.
6 pieces of white pearl bead while 3 parts were used for the making of each side of the earring.
4 pieces of white sand bead while 2 pieces were used to make each side of the earring.
2 pieces of white butterfly bead.
Earring hook.
Bead stopper.
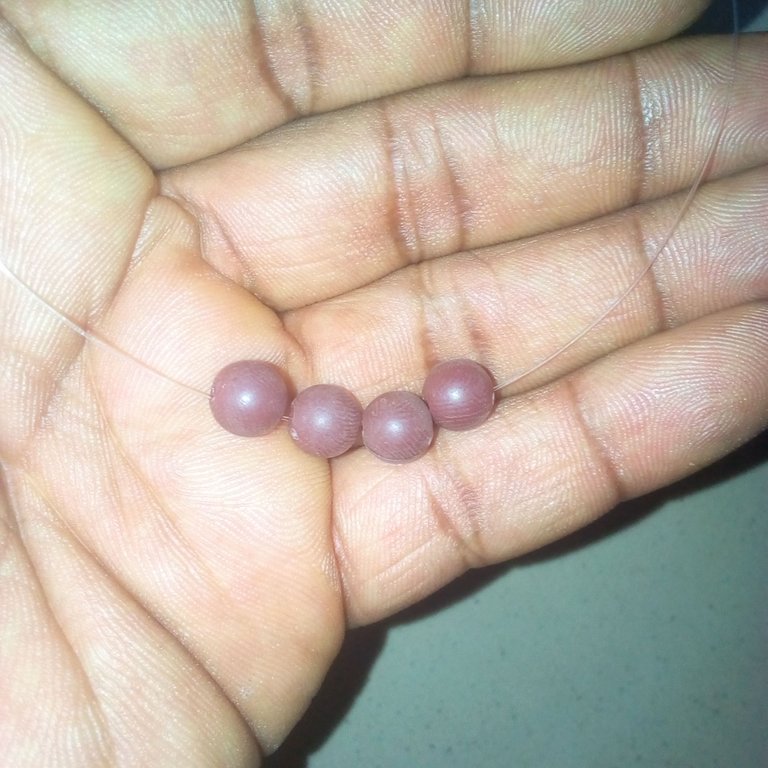
Procedures I used to make the earring will be followed below:
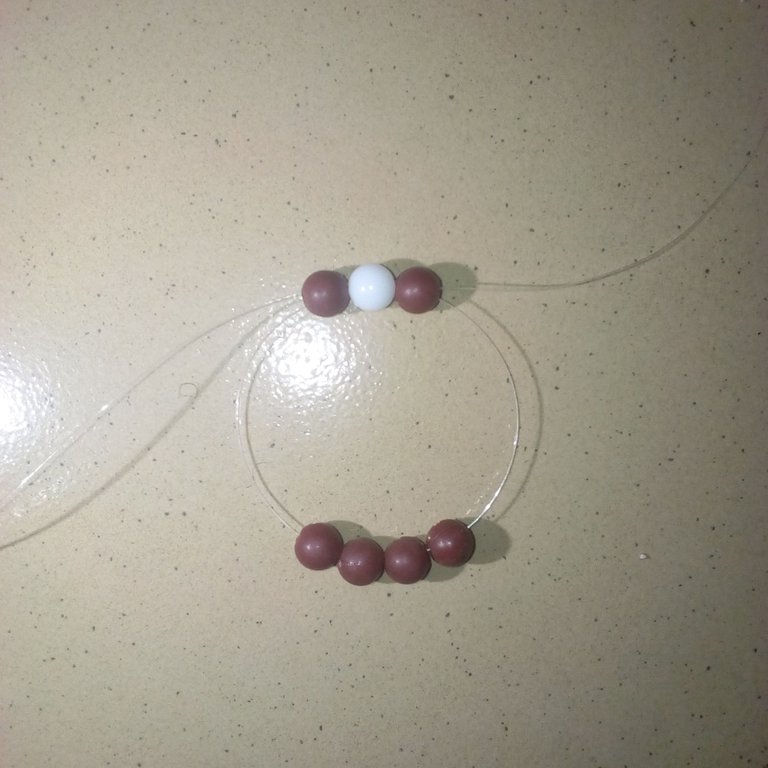
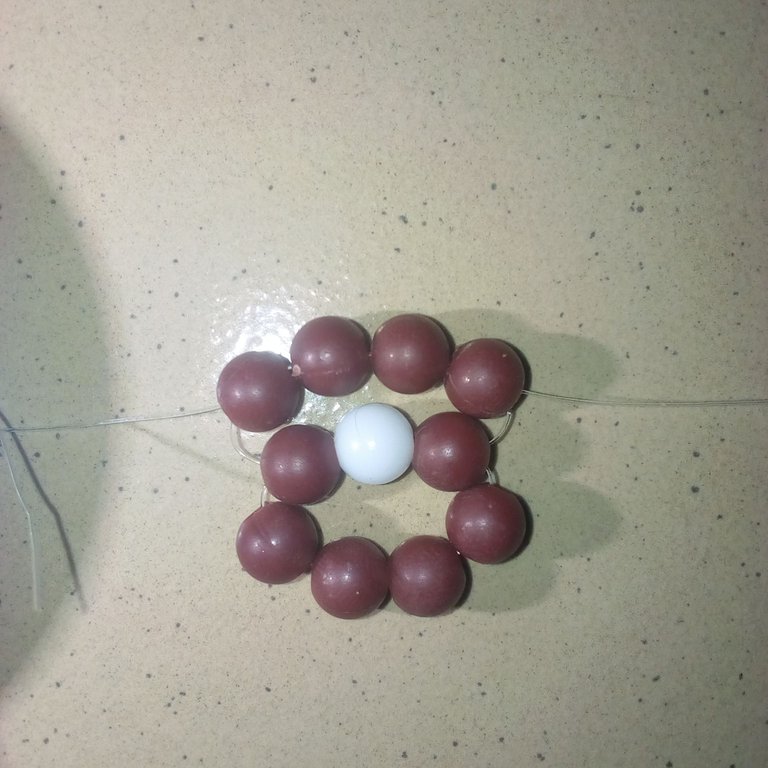
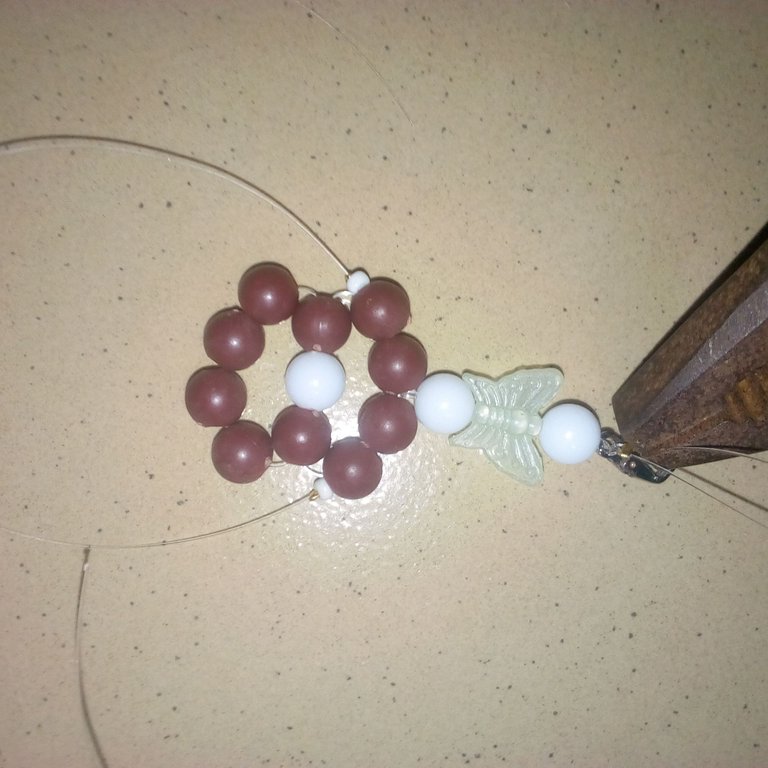
I have to cut a nylon line from its normal row and insert 4 pieces of brown pearl bead, making it appear at the center of the nylon line.
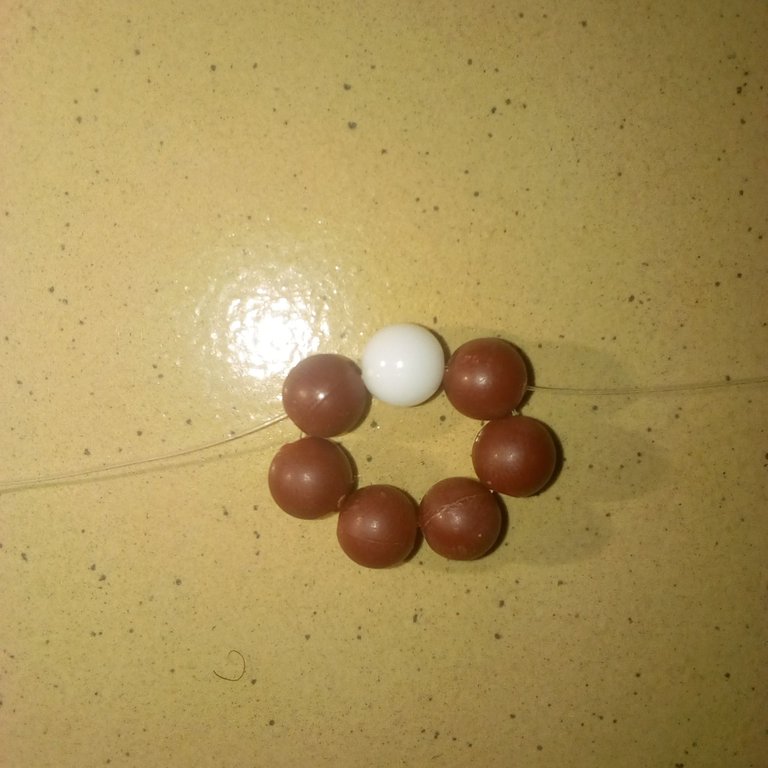
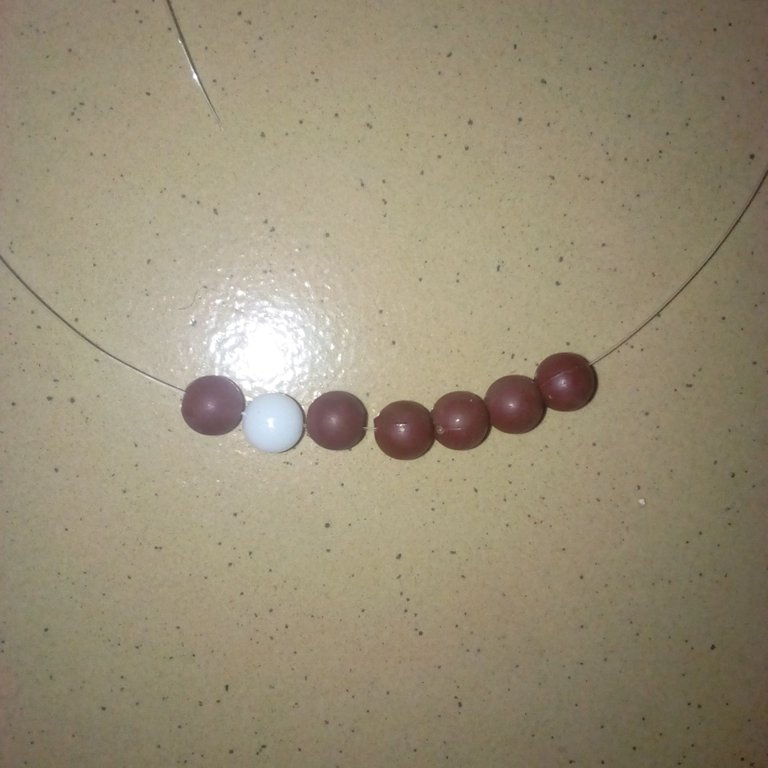
Now from the left, I have to insert 1 piece of brown pearl bead, 1 piece of white pearl bead, and 1 piece of brown pearl bead. I now have to insert the right nylon line into the 3 pearl beads inserted from the left nylon line and then draw the nylon lines.
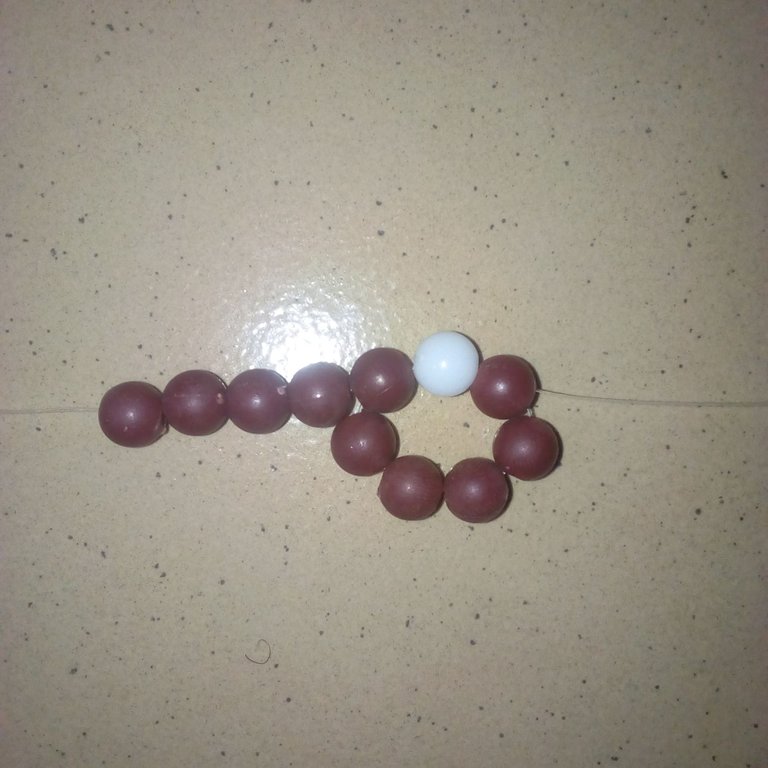
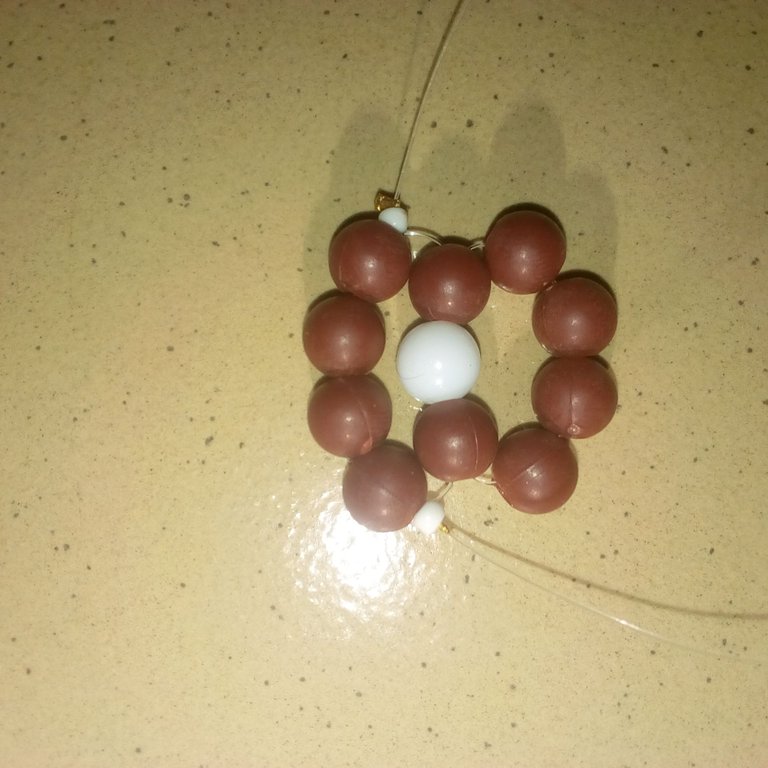
Now from the left nylon line, I have to insert 4 pieces of brown pearl beads and then insert the right nylon line from the last to the first four brown pearl beads and draw.
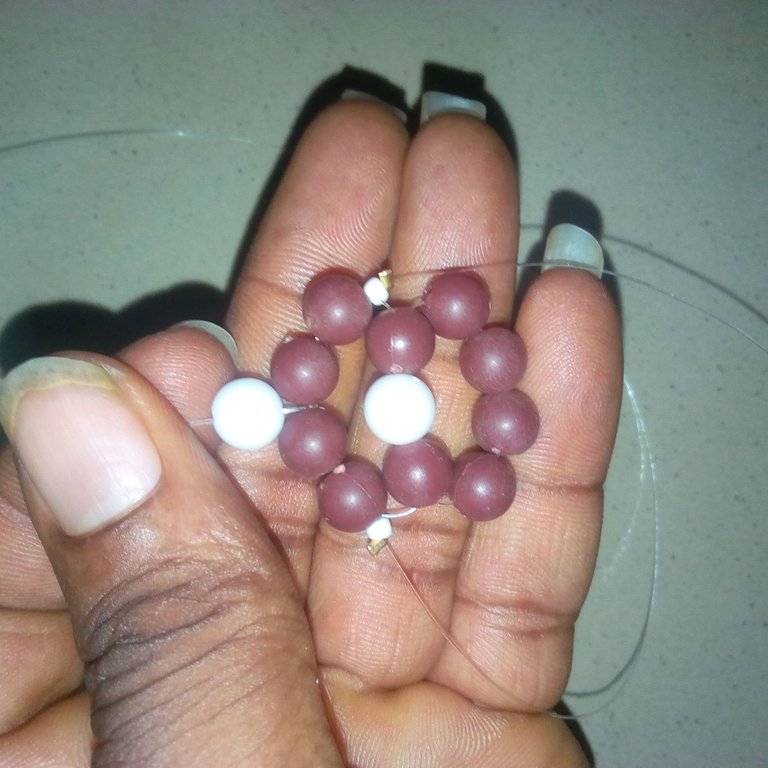
Now, from the left nylon line, I inserted 1 piece of white sand bead and used a bead stopper to hold it using a plier. From the right nylon line, I also inserted 1 white sand bead and used a bead stopper to hold it.
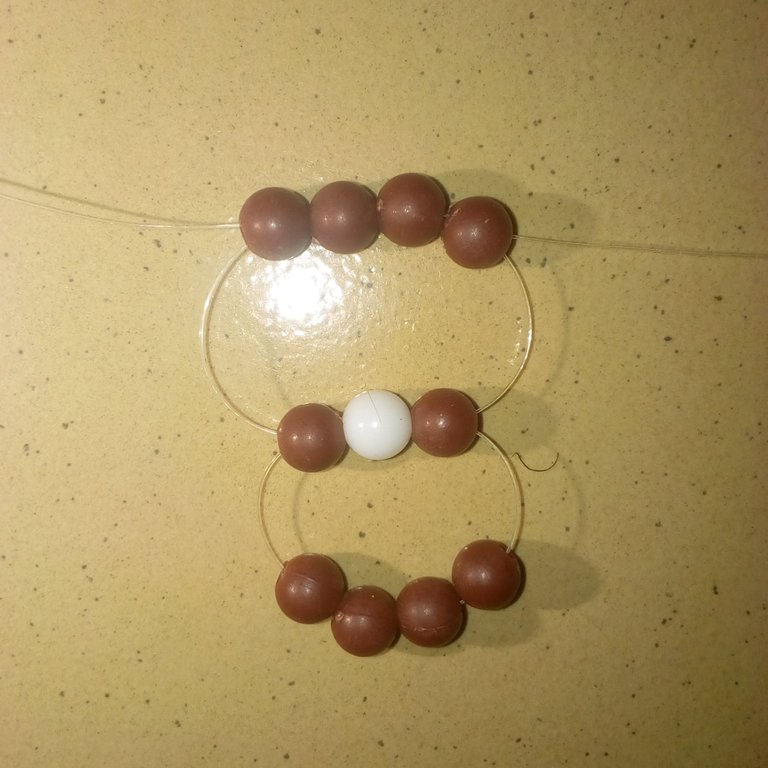
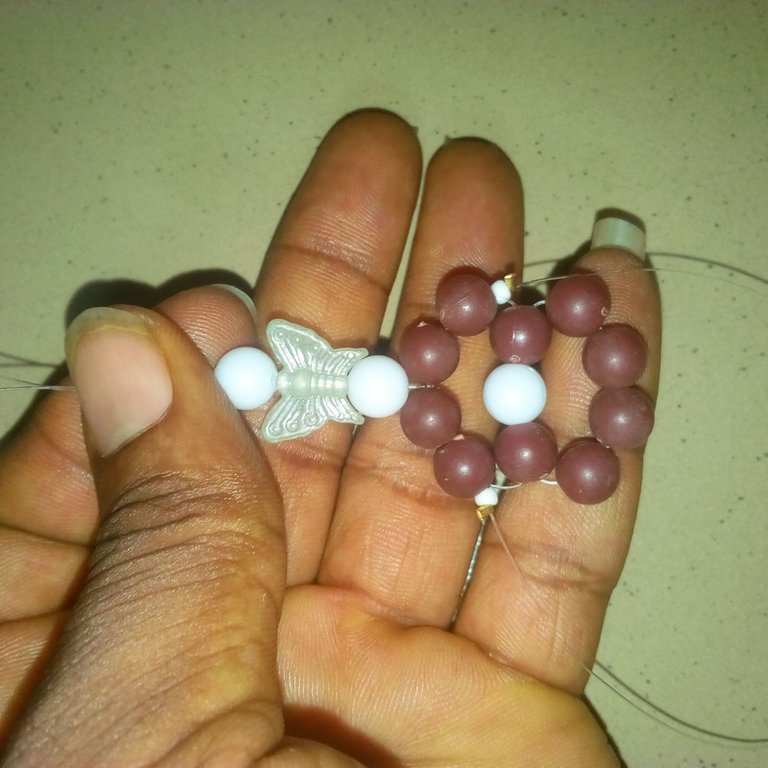
Now, I have to cut another nylon line and bend it into two by making sure it's inserted at the center of the four brown pearl beads. From the new nylon line, I inserted 1 piece of white pearl bead, 1 piece of butterfly bead, and 1 piece of white pearl bead. I had to insert an earring hook into one nylon line and use the second to tie it. I also used a bead stopper to hold it using a plier.


you're fast becoming virtuoso at your craft. Well done.
Thank you dear for the awesome compliments. I'm delighted to do more.
Están muy hermosos 👍
Te quedo estupendo el diseño que escogiste.