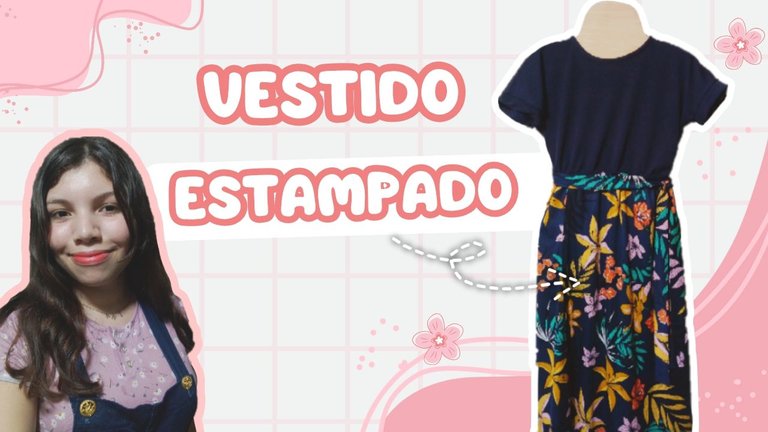
🌹🌸🌼Tutorial donde aprenderás a hacer un vestido sencillo en tan pocos pasos🪡🌿🧵 / 🌸🌻🏵️Tutorial where you will learn how to make a simple dress in just a few steps🧵🌿🪡[ES|EN]
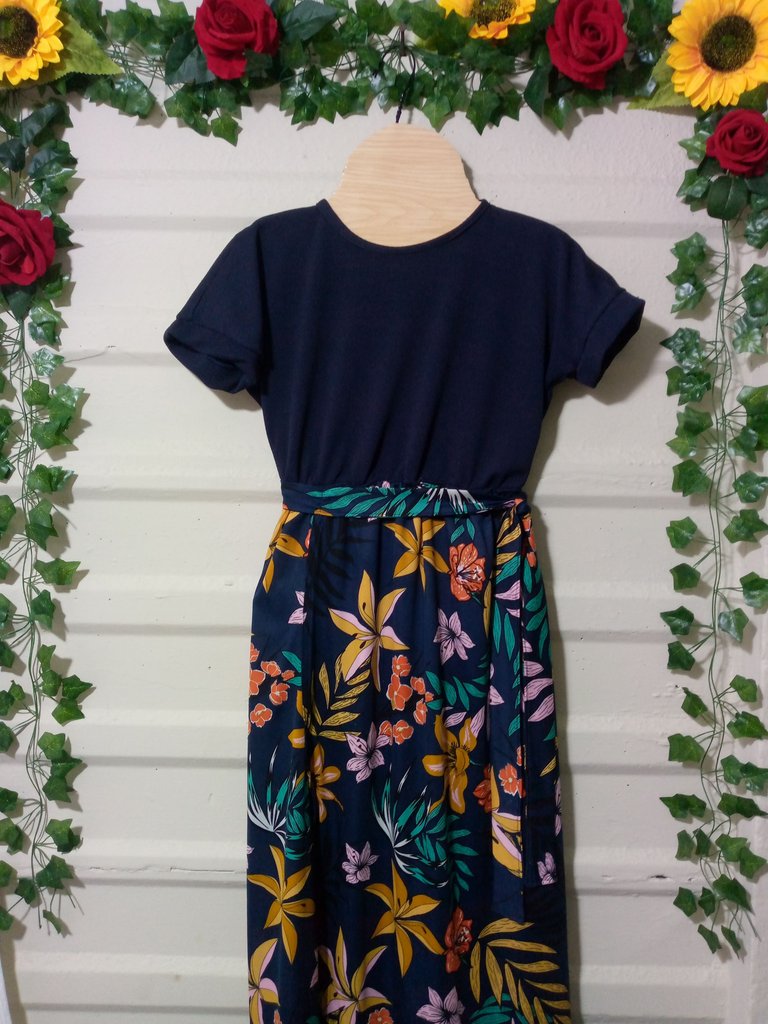
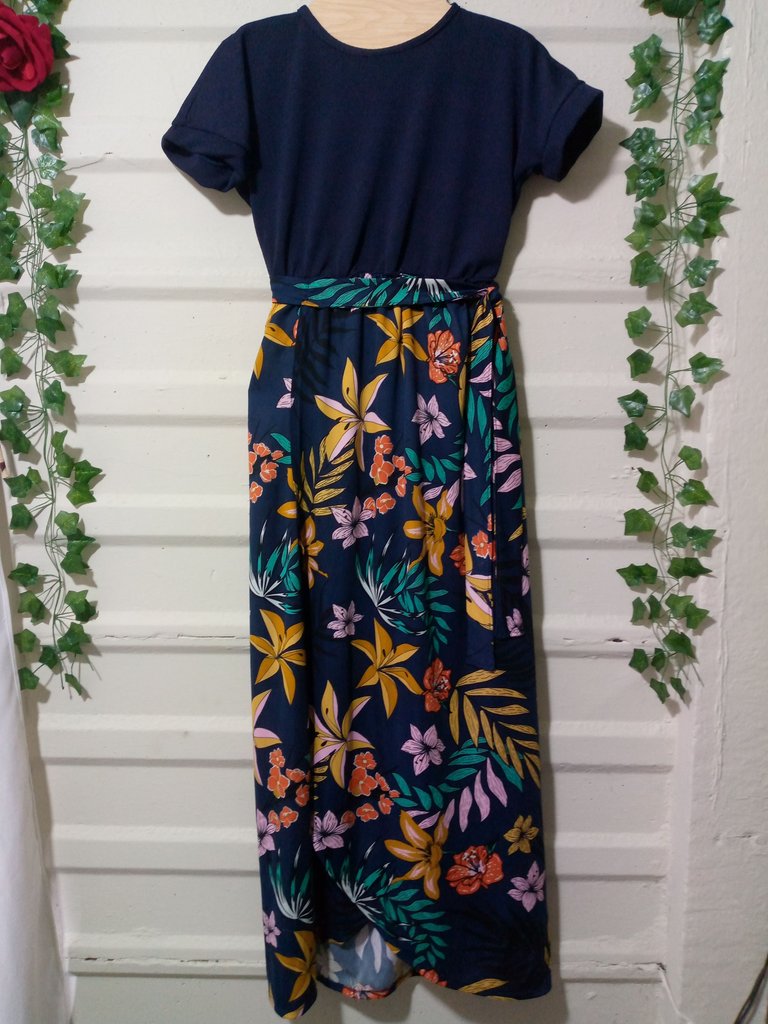
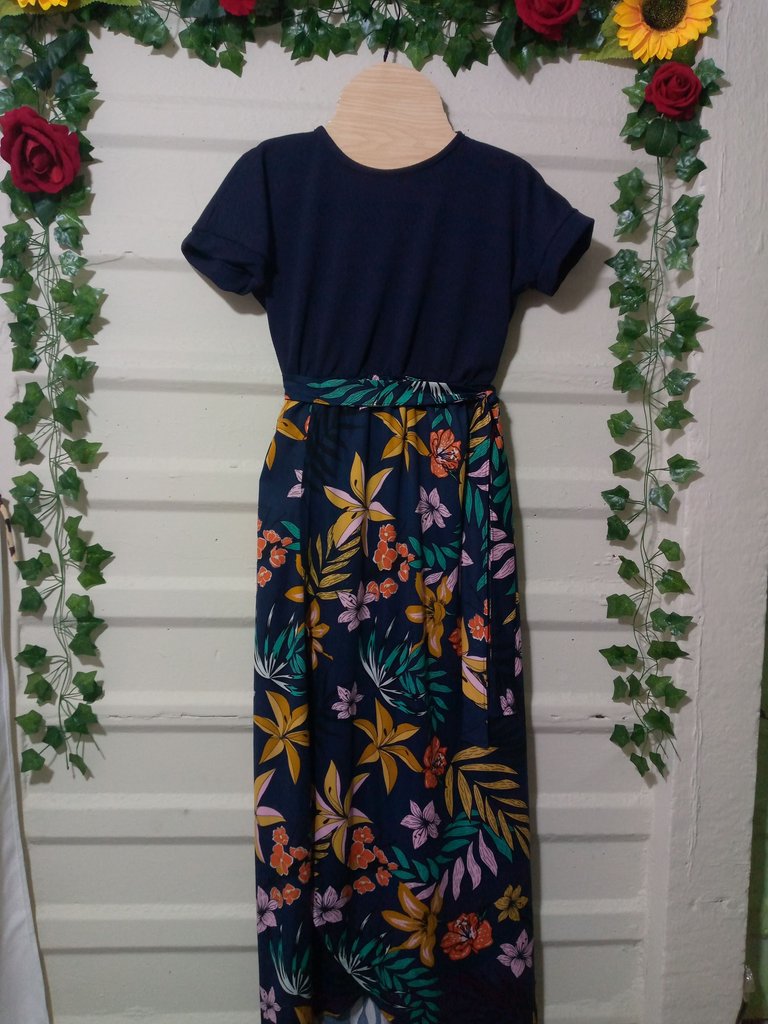
Hello hello good evening my dear artisan friends, I hope you have finished your day full of hard work and many things learned since we always have the opportunity to wake up and thank our God for one more day for so many beautiful things that he has allowed us to enjoy, today he has allowed me to enjoy a successful work that I finished in the afternoon and for reasons of circumstances I had not been able to share part of the process with you, if you notice on the cover of the blog we will be making this very simple printed muslin fabric dress with full sleeves that you can learn to make in the comfort of your home with the help of a garment that fits you well to be able to cut the fabrics, in this case I bought a muslin print in flowers with a navy blue background and then I bought another Beverly type in navy blue, I also feel that this color suits it very well because it combines perfectly with the print of my fabric below.
.jpg)
If you really like making simple dresses, this is your opportunity to learn how to make your own. This tutorial will simplify your life and you will learn how to do it easily. Don't miss every detail in the step-by-step instructions I have prepared for you...🦋🪡🧵
Materiales:// Materials:
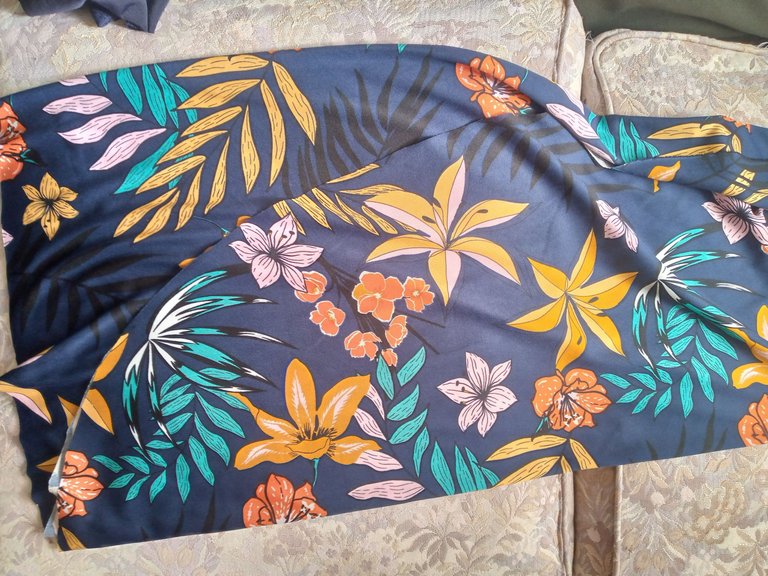
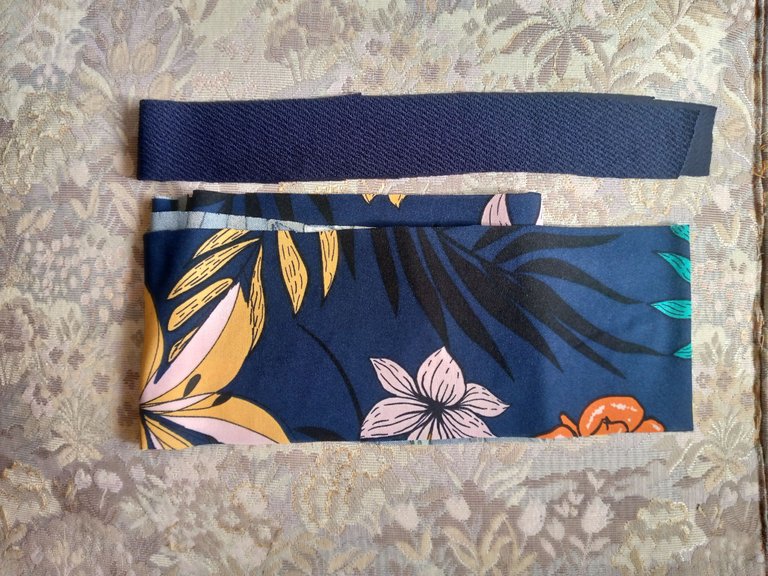
- 1 metro de tela muselina estampada(o cualquier color que elijas para hacer el vestido)
- Nuestras máquinas de coser
- Hilo
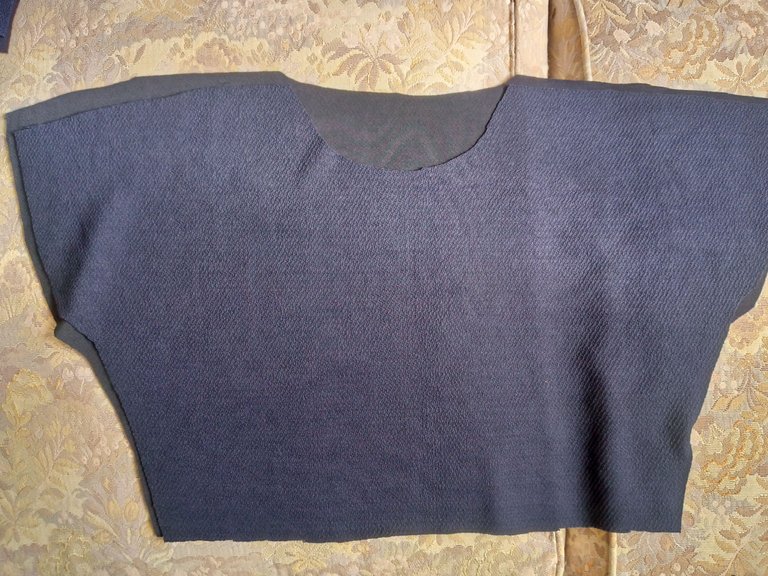
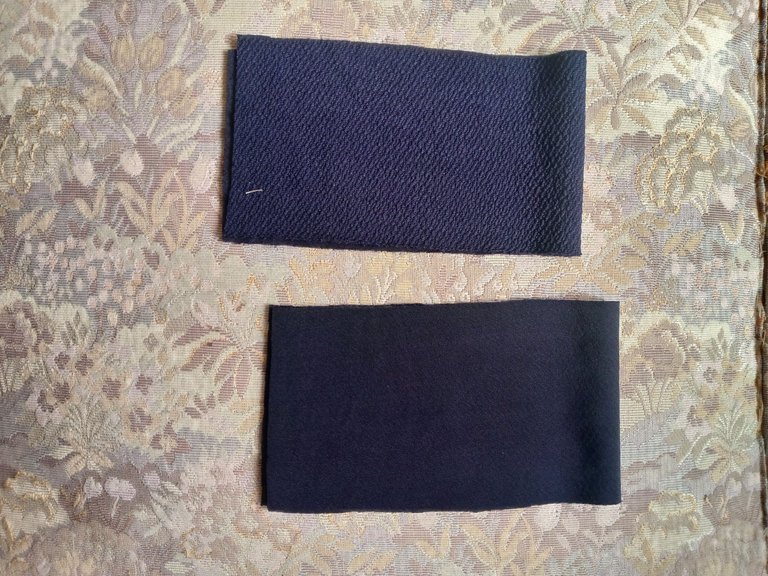
- 70 cm de tela tipo Beverly para la parte de arriba del vestido en unicolor
- Tijera
- Cinta métrica
- 1 meter of printed muslin fabric (or any color you choose to make the dress)
- Our sewing machines
- Thread
- 70 cm of Beverly Hills fabric for the top of the dress in solid color
- Scissors
- Tape measure
Pasos a seguir://Steps to follow:
Paso 01
Step 01
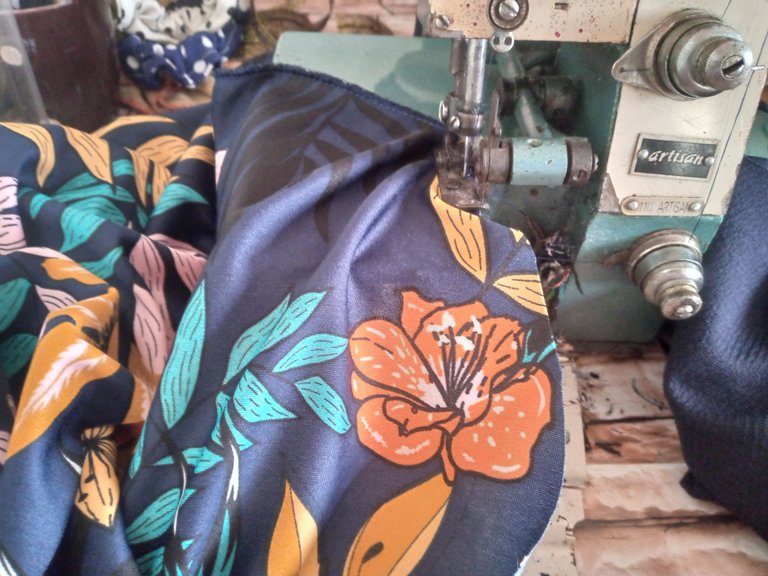
Since I wanted this dress to be a bit open at the front, what I did was first cut the pieces that would be the most difficult for me, such as the skirt, so we left the square as normal and simply took the length of the dress. In my case, since I am a size M, the length would be 98 cm. We marked and cut, then to shape the skirt so that it would be open, I simply rounded the sides so that we have the skirt with a rounded cut in the front. We cut the front and back waist pieces with a continuous sleeve at once, then we cut the pieces for the sleeve cuff and the bias and simply the waistband the width and length you like.

Paso 02
Step 02
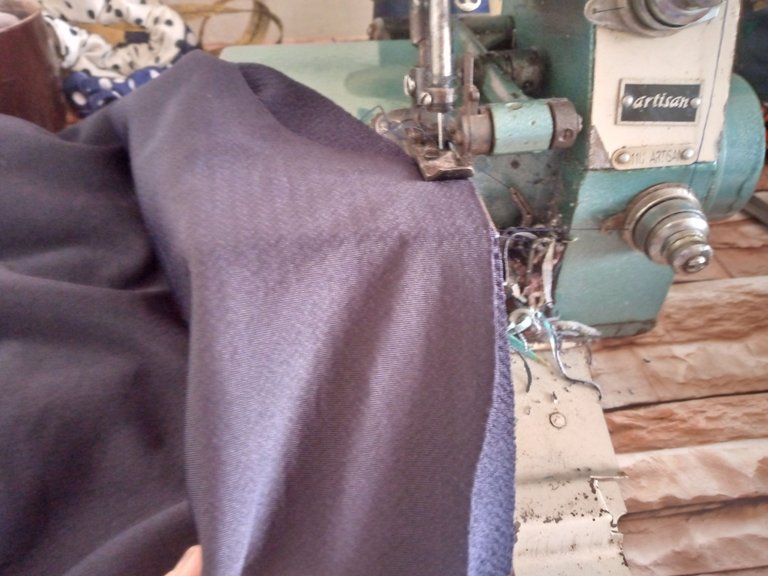
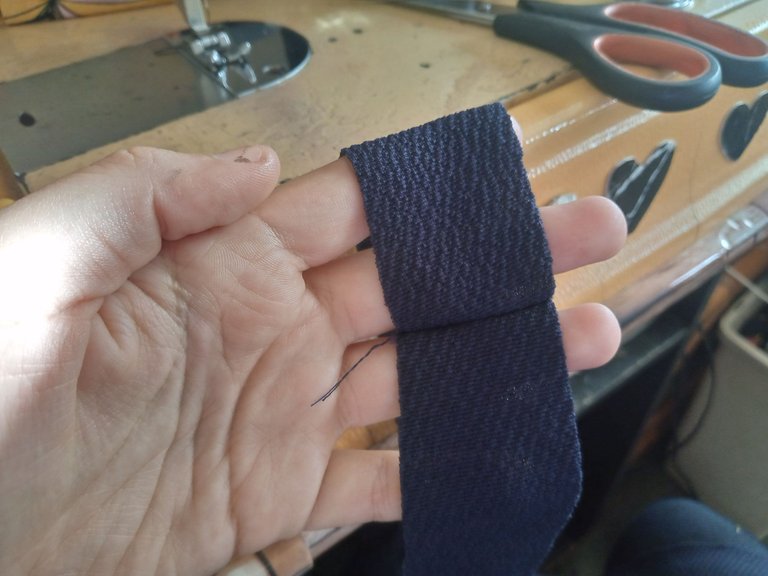
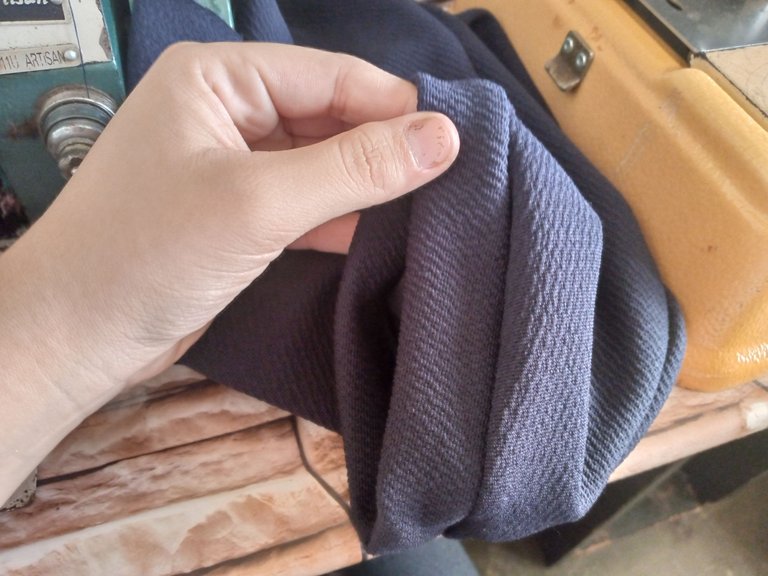
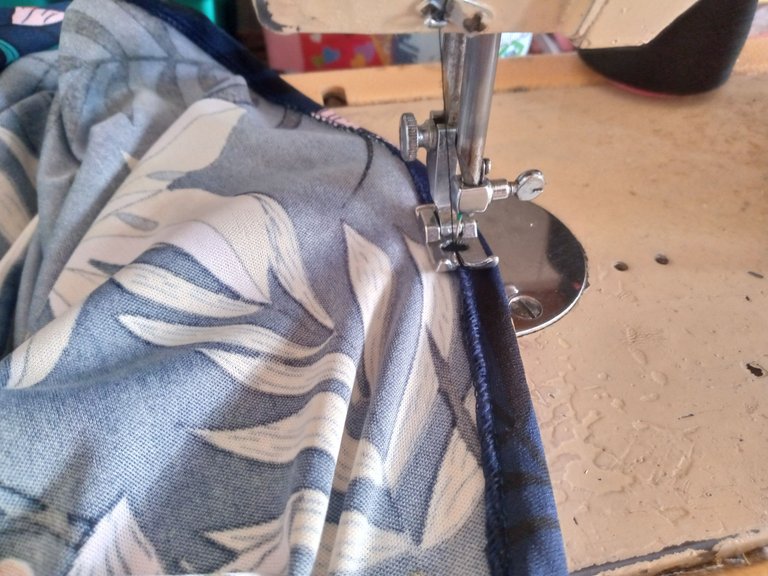
We are going to sew the shoulder part of the blouse of both sizes to seal it at the top. I sewed with an overlock then with a straight seam to reinforce the seam. We are going to sew the bias of the neck joining our bias and sew from the inside out, overlaying it.
Paso 03
Step 03
To do step three we are going to sew the bias of the sleeve along the outline, we sew like the track, we fold and sew all around our sleeve, it should look like the left image, then we sew the hem of the entire skirt at once from one end to the other so that the fabric does not fray, then we re-edge the hem 2 cm with a straight seam.

Paso 04
Step 04
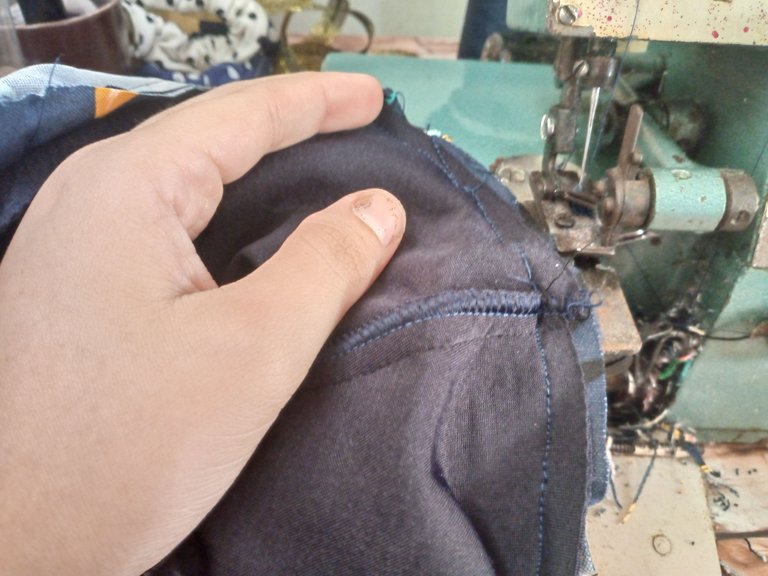
Finally it was time to place the skirt on the blouse piece once I sealed the blouse on the sides then we will sew while we make small tabs to the skirt fabric once we sew it to the blouse, we sew first with a straight seam then we go and sew with overlock, if the dress is a bit wide we simply add a thin elastic to gather the waist and nothing happens, it looks very good and adapts to your figure, then I sew the waist strip.
Resultado:// Result:
Once I finish sewing the short dress, the excess thread that can remain and damage the garment over time, with the photos of the final result I say goodbye to you and I hope you loved the idea of making such a simple, beautiful and elegant dress to go out, these dresses, although you can use them to go out to meetings, beach days, interviews, etc. Endless moments, thank you for reaching the end of my tutorial and I hope to be able to share with you in another process, I wish you a beautiful night and God bless you all ❤️✨.
Creating things with love 🌷❤️
🦋✨ All the images in this publication are my author ,📱taken with my TecnoSpark8C cell phone |📸Photos edited in PicsArt and Canva. Text translated in Google Translate.
Very Clear and easy to follow tutorial. This would really help beginners learn and understand the process.
selected by @stevenson7
Thanks 🥰
Este post ha sido votado y curado por el equipo Hive Argentina | Participa en nuestro Trail de curación.
Únete a nuestro Trail Aquí.
Puedes hacerlo también en nuestros enlaces preconfigurados de Hivesigner:
| 10 HP | 25 HP | 50 HP | 100 HP | 250 HP | 500 HP | 1000 HP | 1500 HP | 2000 HP |
¡Felicitaciones!
Estás participando para optar a la mención especial que se efectuará el domingo 29 de junio del 2025 a las 8:00 pm (hora de Venezuela), gracias a la cual el autor del artículo seleccionado recibirá la cantidad de 1 HIVE transferida a su cuenta.
¡También has recibido 1 ENTROKEN! El token del PROYECTO ENTROPÍA impulsado por la plataforma Steem-Engine.
1. Invierte en el PROYECTO ENTROPÍA y recibe ganancias semanalmente. Entra aquí para más información.
2. Contáctanos en Discord: https://discord.gg/hkCjFeb
3. Suscríbete a nuestra COMUNIDAD y apoya al trail de @Entropia y así podrás ganar recompensas de curación de forma automática. Entra aquí para más información sobre nuestro trail.
4. Visita nuestro canal de Youtube.
Atentamente
El equipo de curación del PROYECTO ENTROPÍA