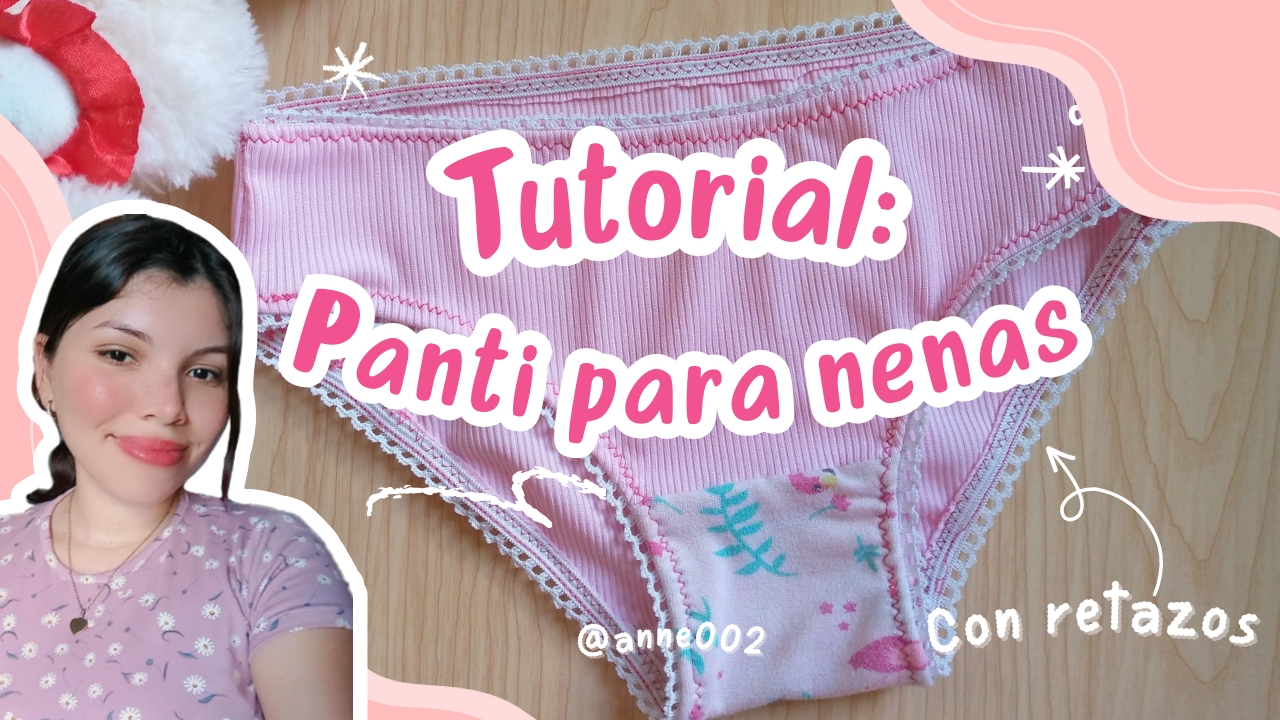
✨Hoy confeccionaremos una panti con retazos de tela para niña❤️🧵✂️//✨Today we will make a pair of panties for a girl with scraps of fabric❤️✂️🧵[Esp~Eng]
.jpg)
Hello, happy afternoon! It's a pleasure to greet you, dear and appreciated friends. I hope you are all doing very well today, enjoying one more week close to the end of the year and closing ideas for this month. I give you a warm welcome to a new blog of creative and simple sewing step by step where I will be sharing the creative process of what we will do here. Feel comfortable and thank you for being here reading this blog. ✨❤️
.jpg)
As you know I really love to share with you the creative processes of the beautiful seams that I always do, this beautiful afternoon I want to show you how to make a beautiful elastic part for girls, reusing of course my fabric scraps, this year I decided to do this creative and very useful project to make clothes with the leftover scraps, it is good to take advantage of these types of scraps because this way we get new clothes that we can use and so we use them we make new things with these scraps and we give them use, although I am not one of those who loves to store fabric because I always want to do something and I want to see how it looks 🤭 so scraps of fabric with me because there is none left hahaha it sounds funny but it is the reality I love to use them and reuse them 🥰.
I will be showing you here how I made these tights. I made four for my cousin who loves how I make her tights and always wears them. I hope you like this idea to reuse scraps and with this we begin the step by step which is basic and that you can do at home. Stay until the end to see how these pretty tights turn out. You will like them.
.jpg)
.jpg)
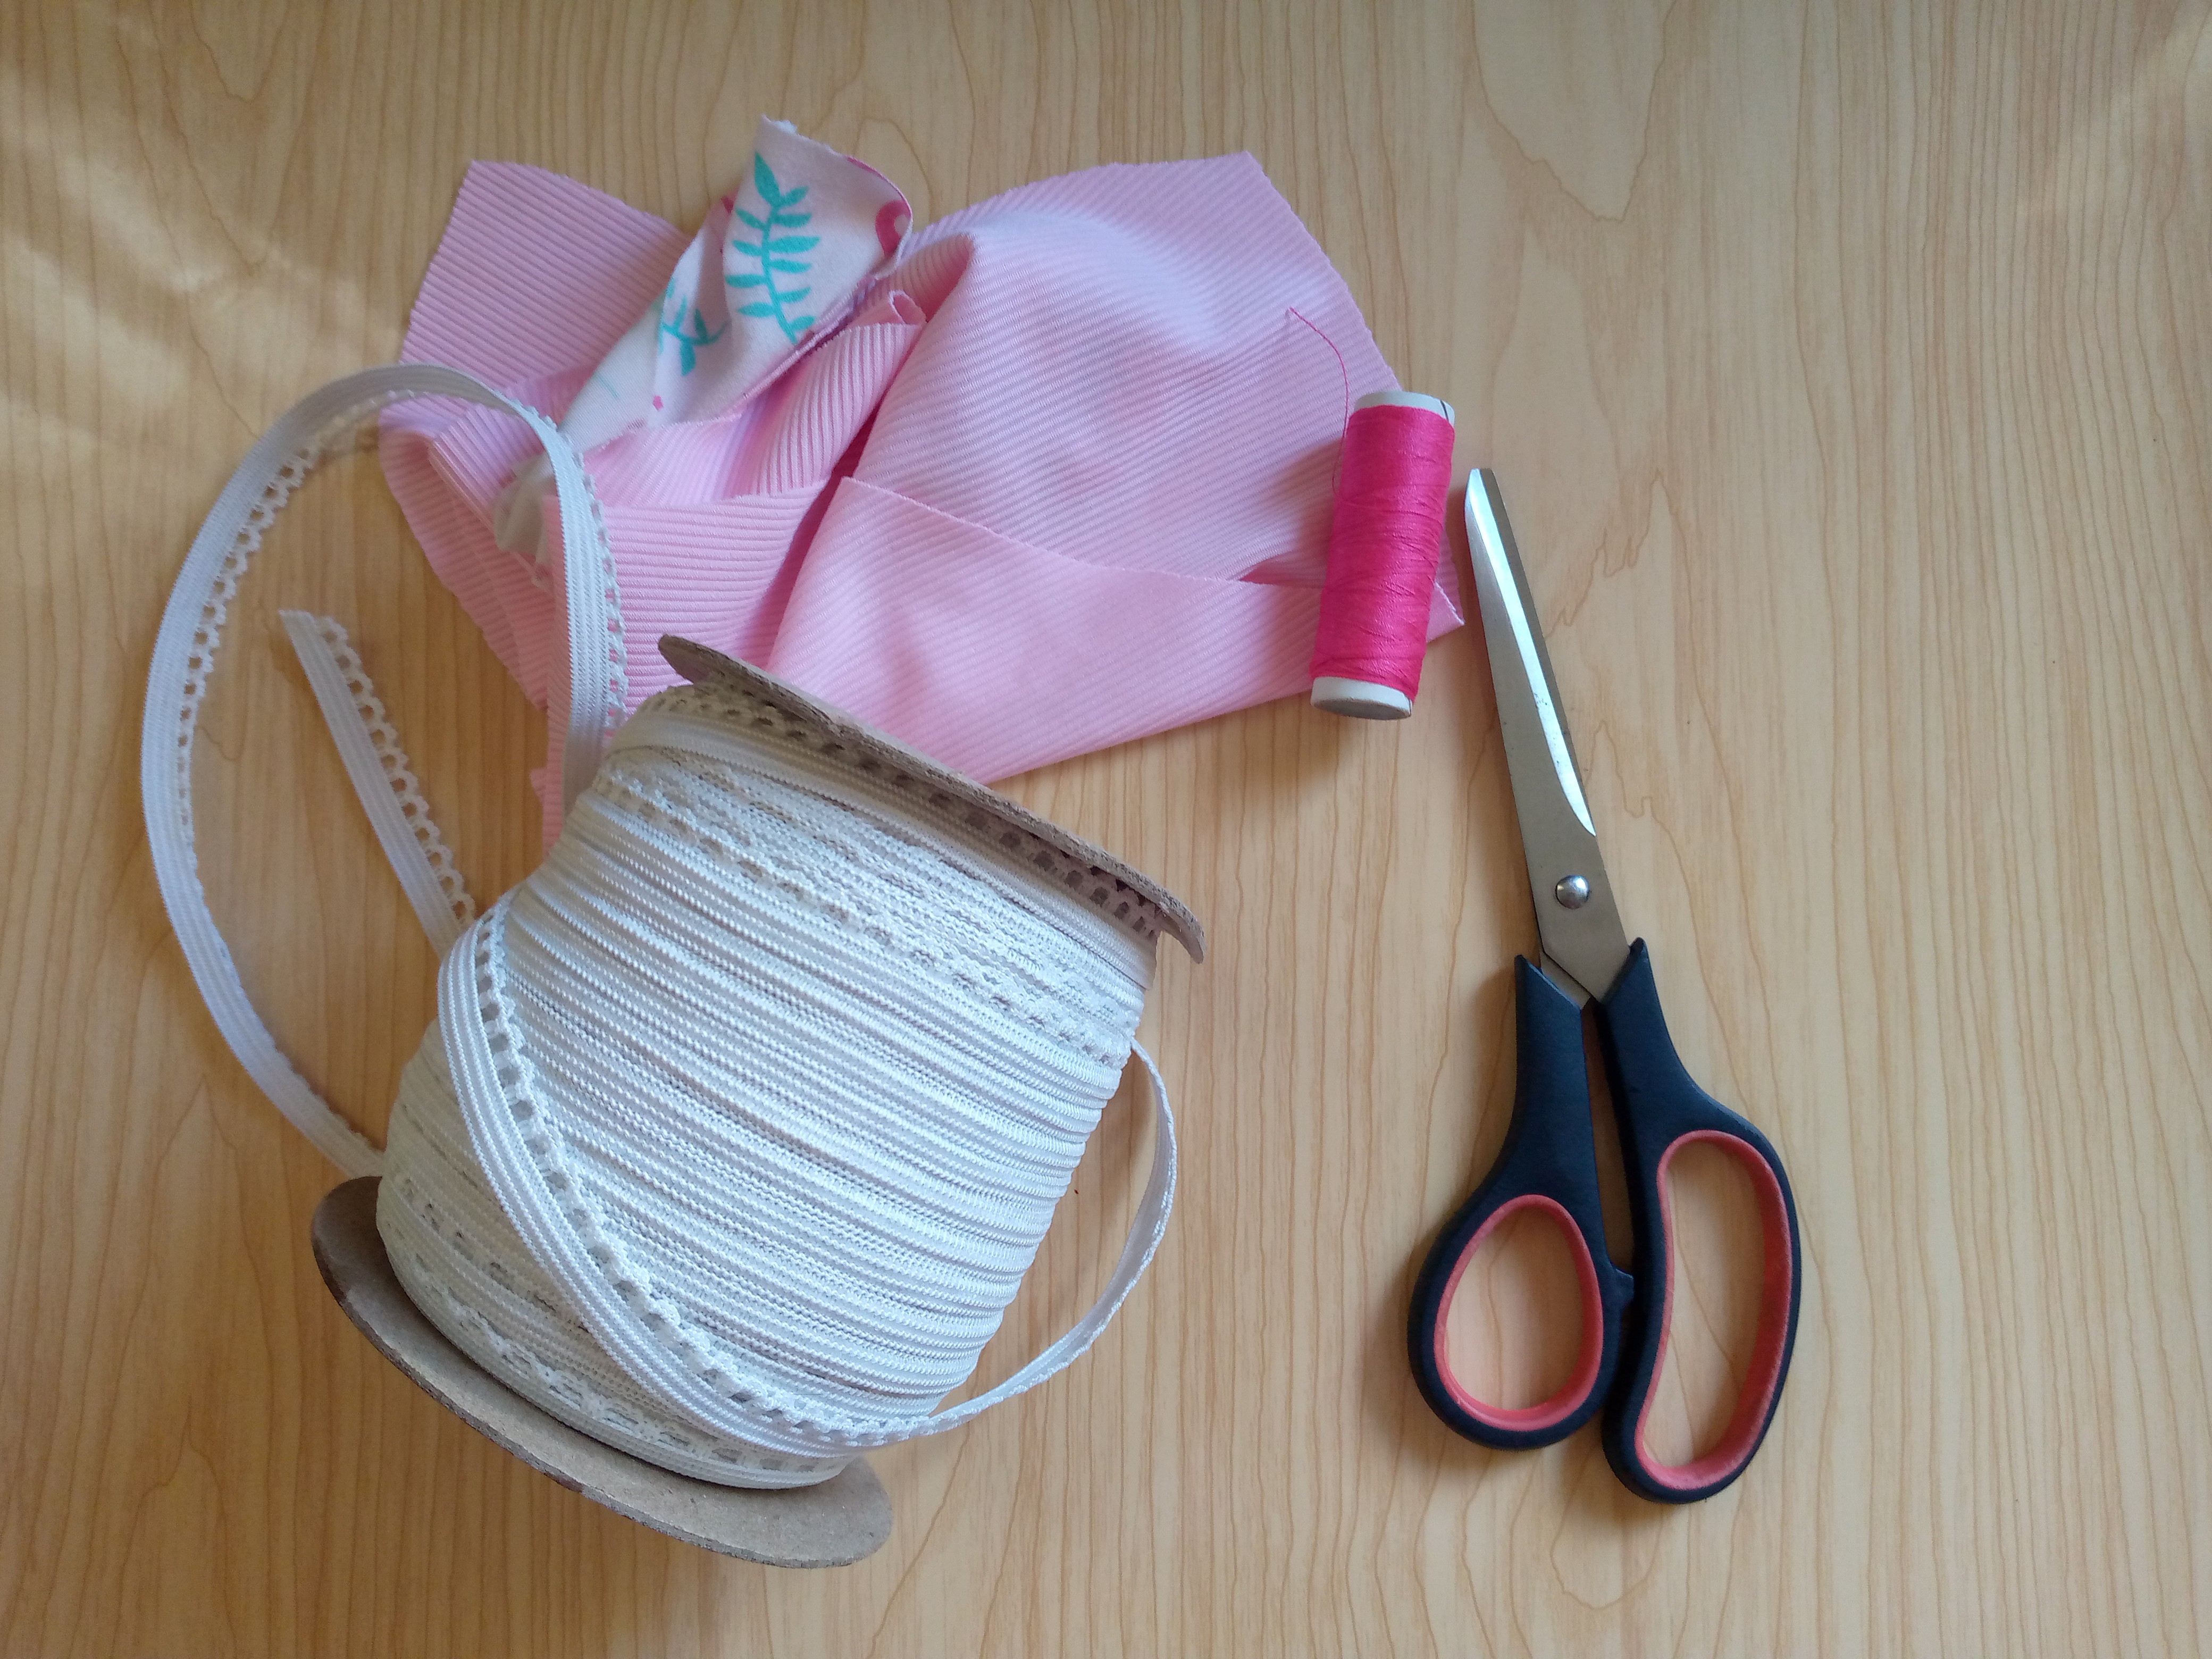
Materiales:// Materials:
- Usaremos elástico suave para pantis de niña ,yo tenía en casa este color blanco ,utilizaremos lo que tenemos en casa amigos
- Nuestras tijeras
- Retazos de tela que tengamos en nuestro cesto
- Hilo ,la verdad no tenía en tono color rosa pero si este fucsia que le quedó muy bien
- Aguja para máquina número 11
- Y nuestra máquina de coser que no puede faltar
- We will use soft elastic for girl's pantyhose, I had this white one at home, we will use what we have at home, friends
- Our scissors
- Scraps of fabric that we have in our basket
- Thread, the truth is I didn't have it in pink but I did have this fuchsia one that looked really good
- Machine needle number 11
- And our sewing machine that can't be missing
.jpg)
Pasos a seguir://Steps to follow:
Paso 01
Step 01
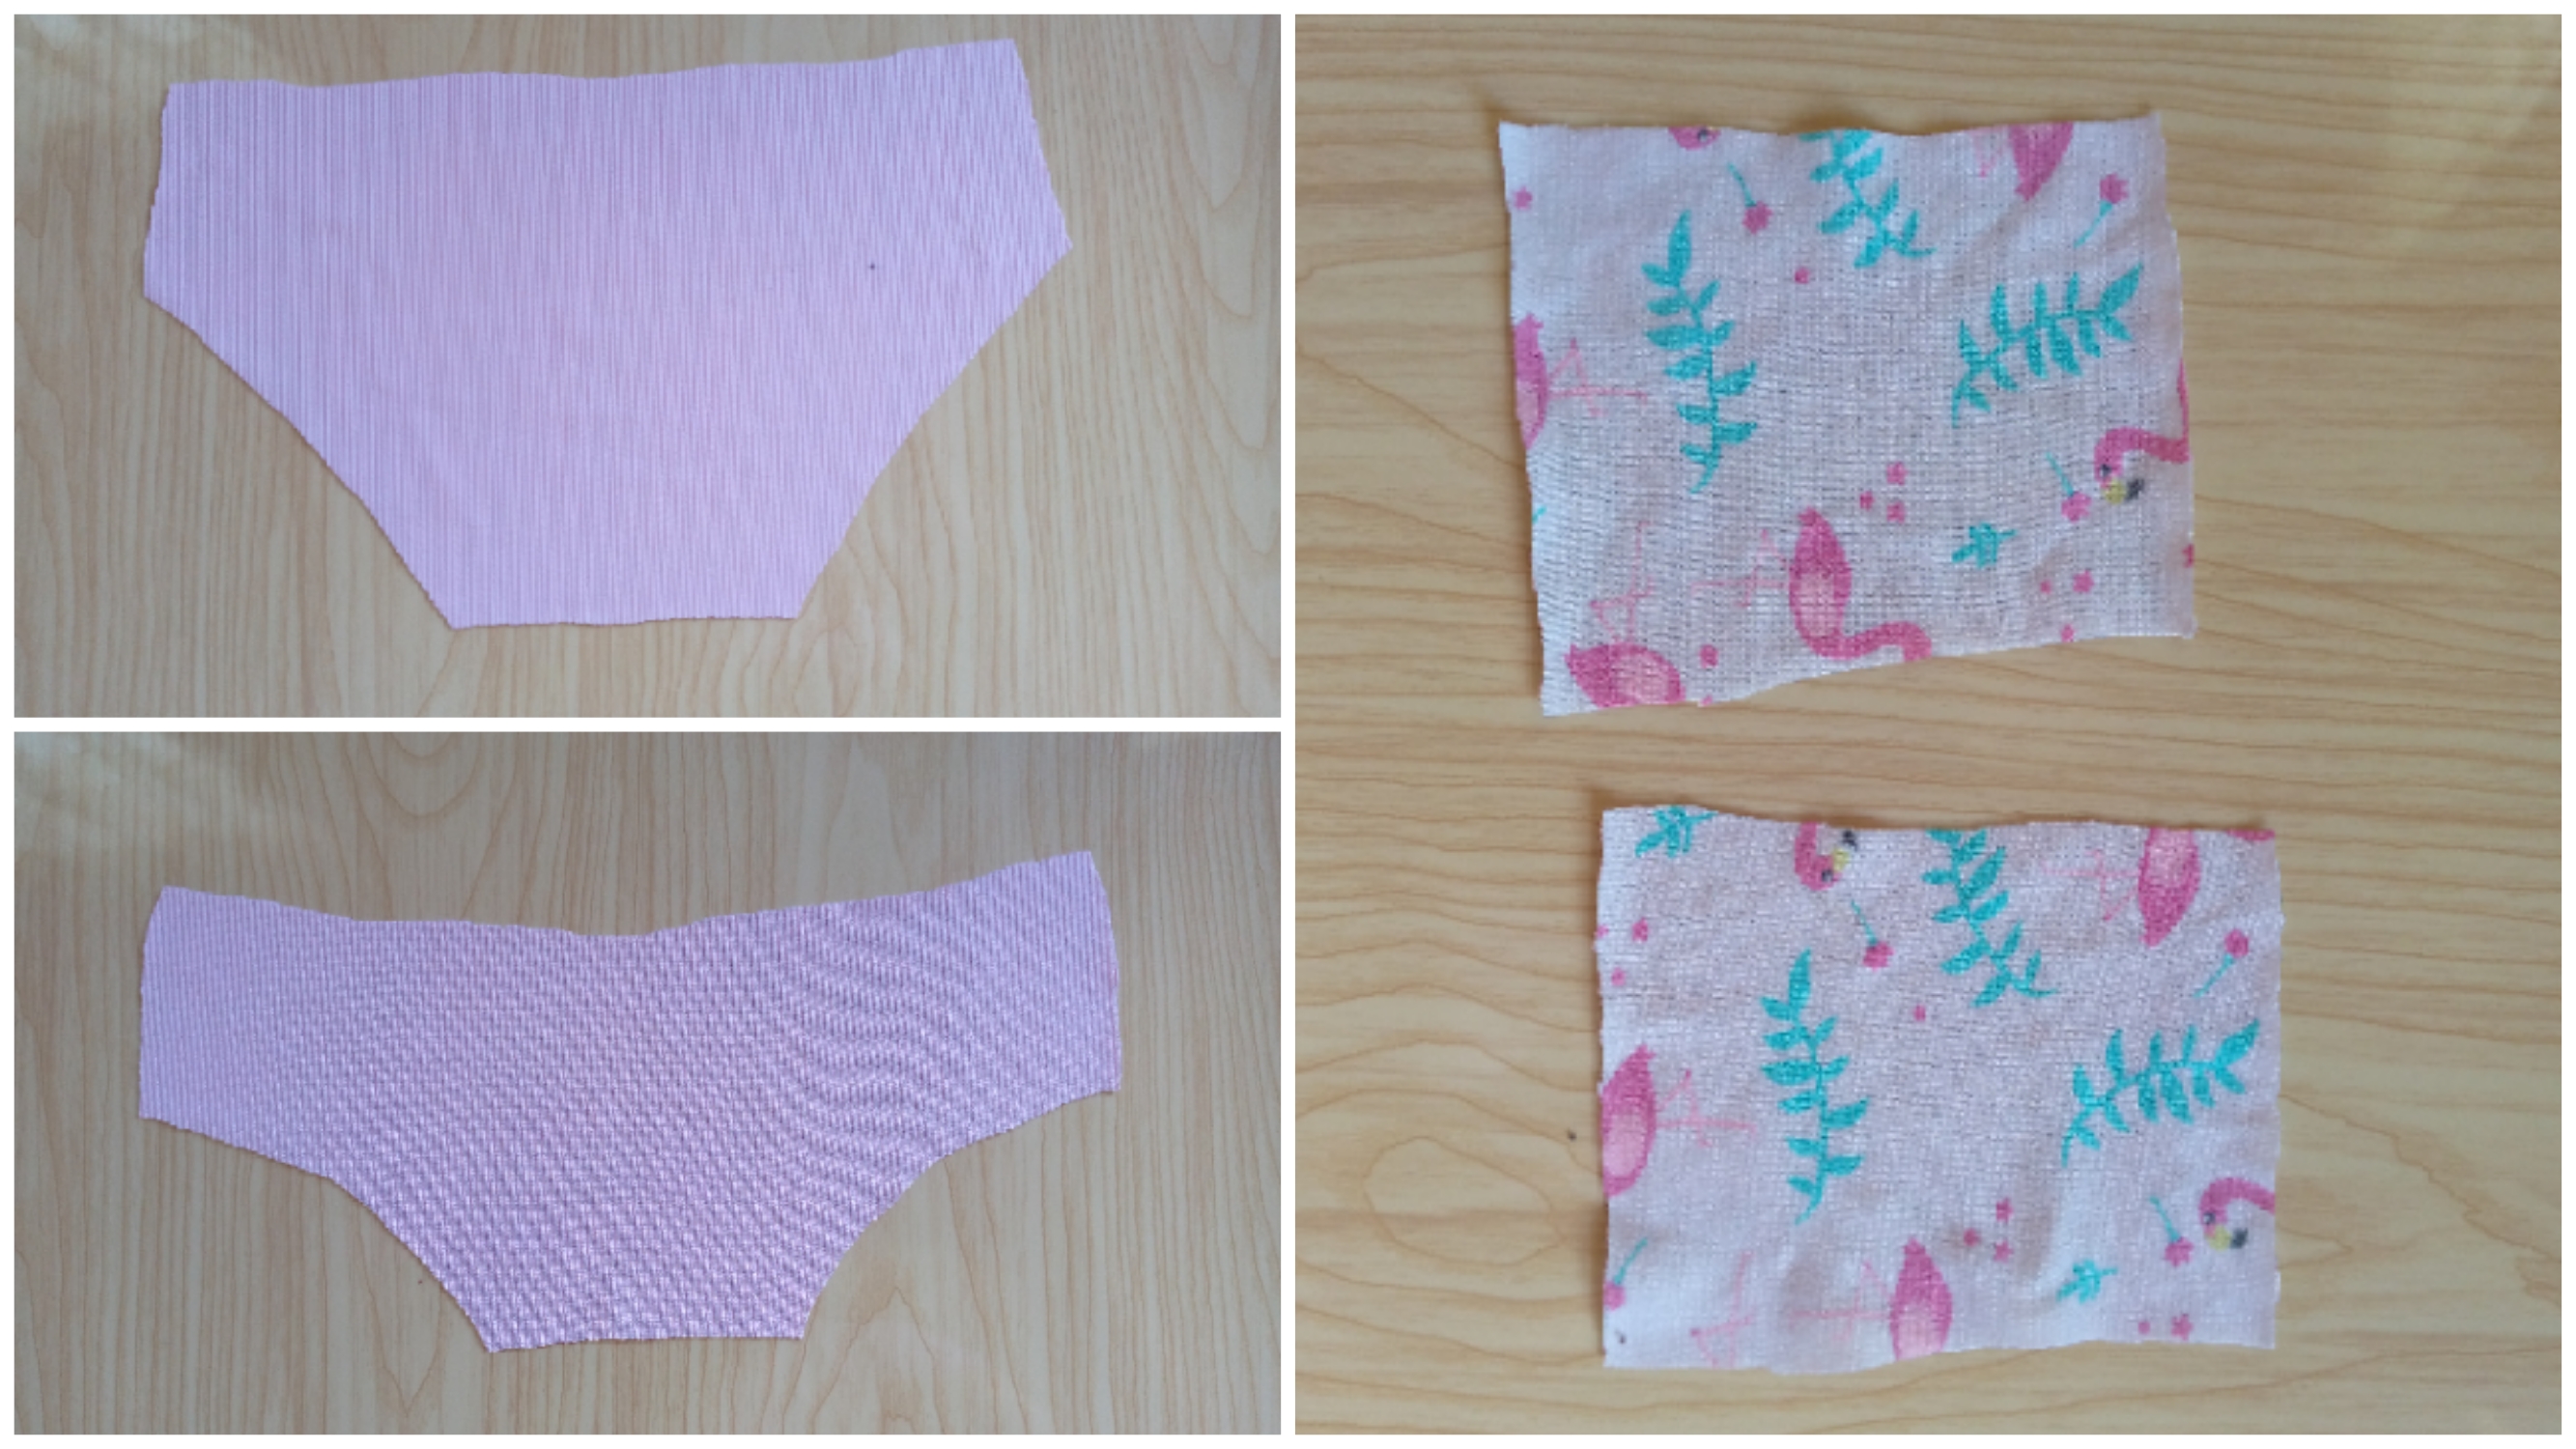
To start, we will cut our panties using a piece of clothing. From this we will get four pieces. The following are one piece for the front and another piece for the back. As you can see, this one is larger than the front piece and the front is narrower. We will cut two pieces for the crotch and that's it. These are the basic pieces for making the panties.
Paso 02
Step 02
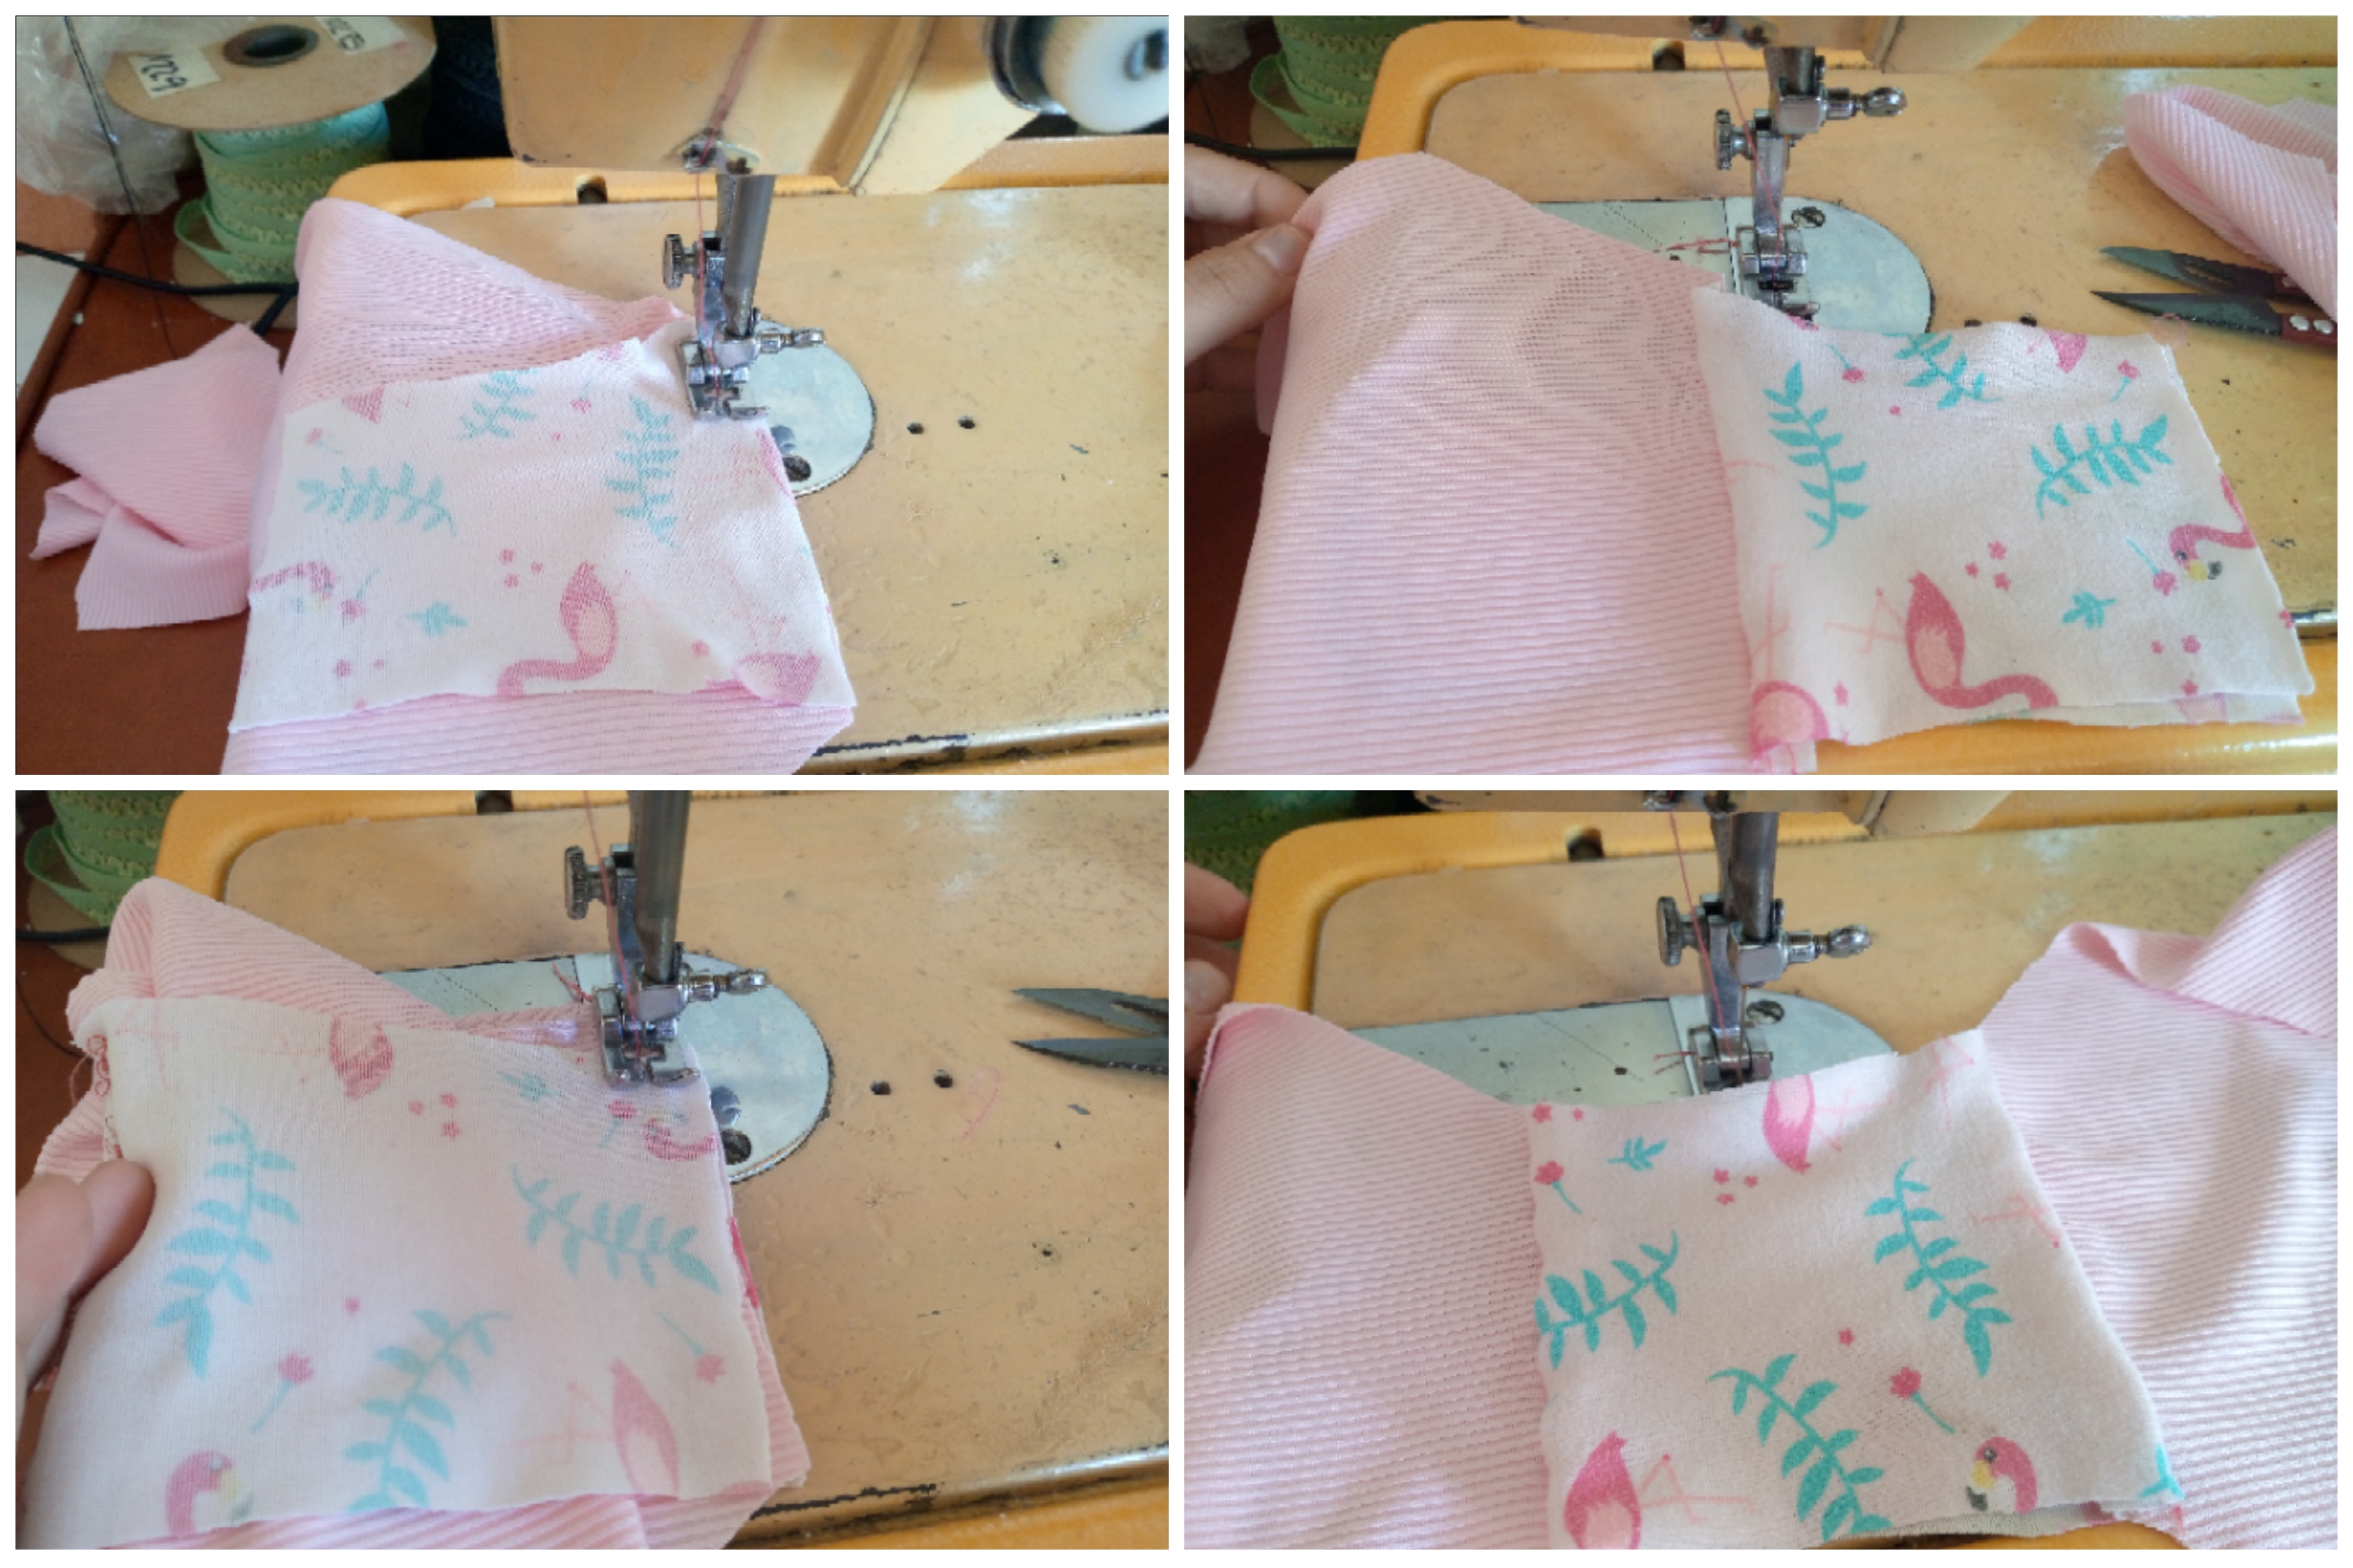
To start sewing we are going to place a piece of the crotch below with a top view, we place a piece of the panty then another piece of the crotch. The panty piece should be right in the center, so there we are going to sew with a straight seam, then we put the other piece in, we do the same process on the other side just as we did with the previous one and we sew again, when we have sewn we turn it over and our crotch should be sewn on both sides inside, both the right and left sides, we can see that the seam is inside.

Paso 03
Step 03
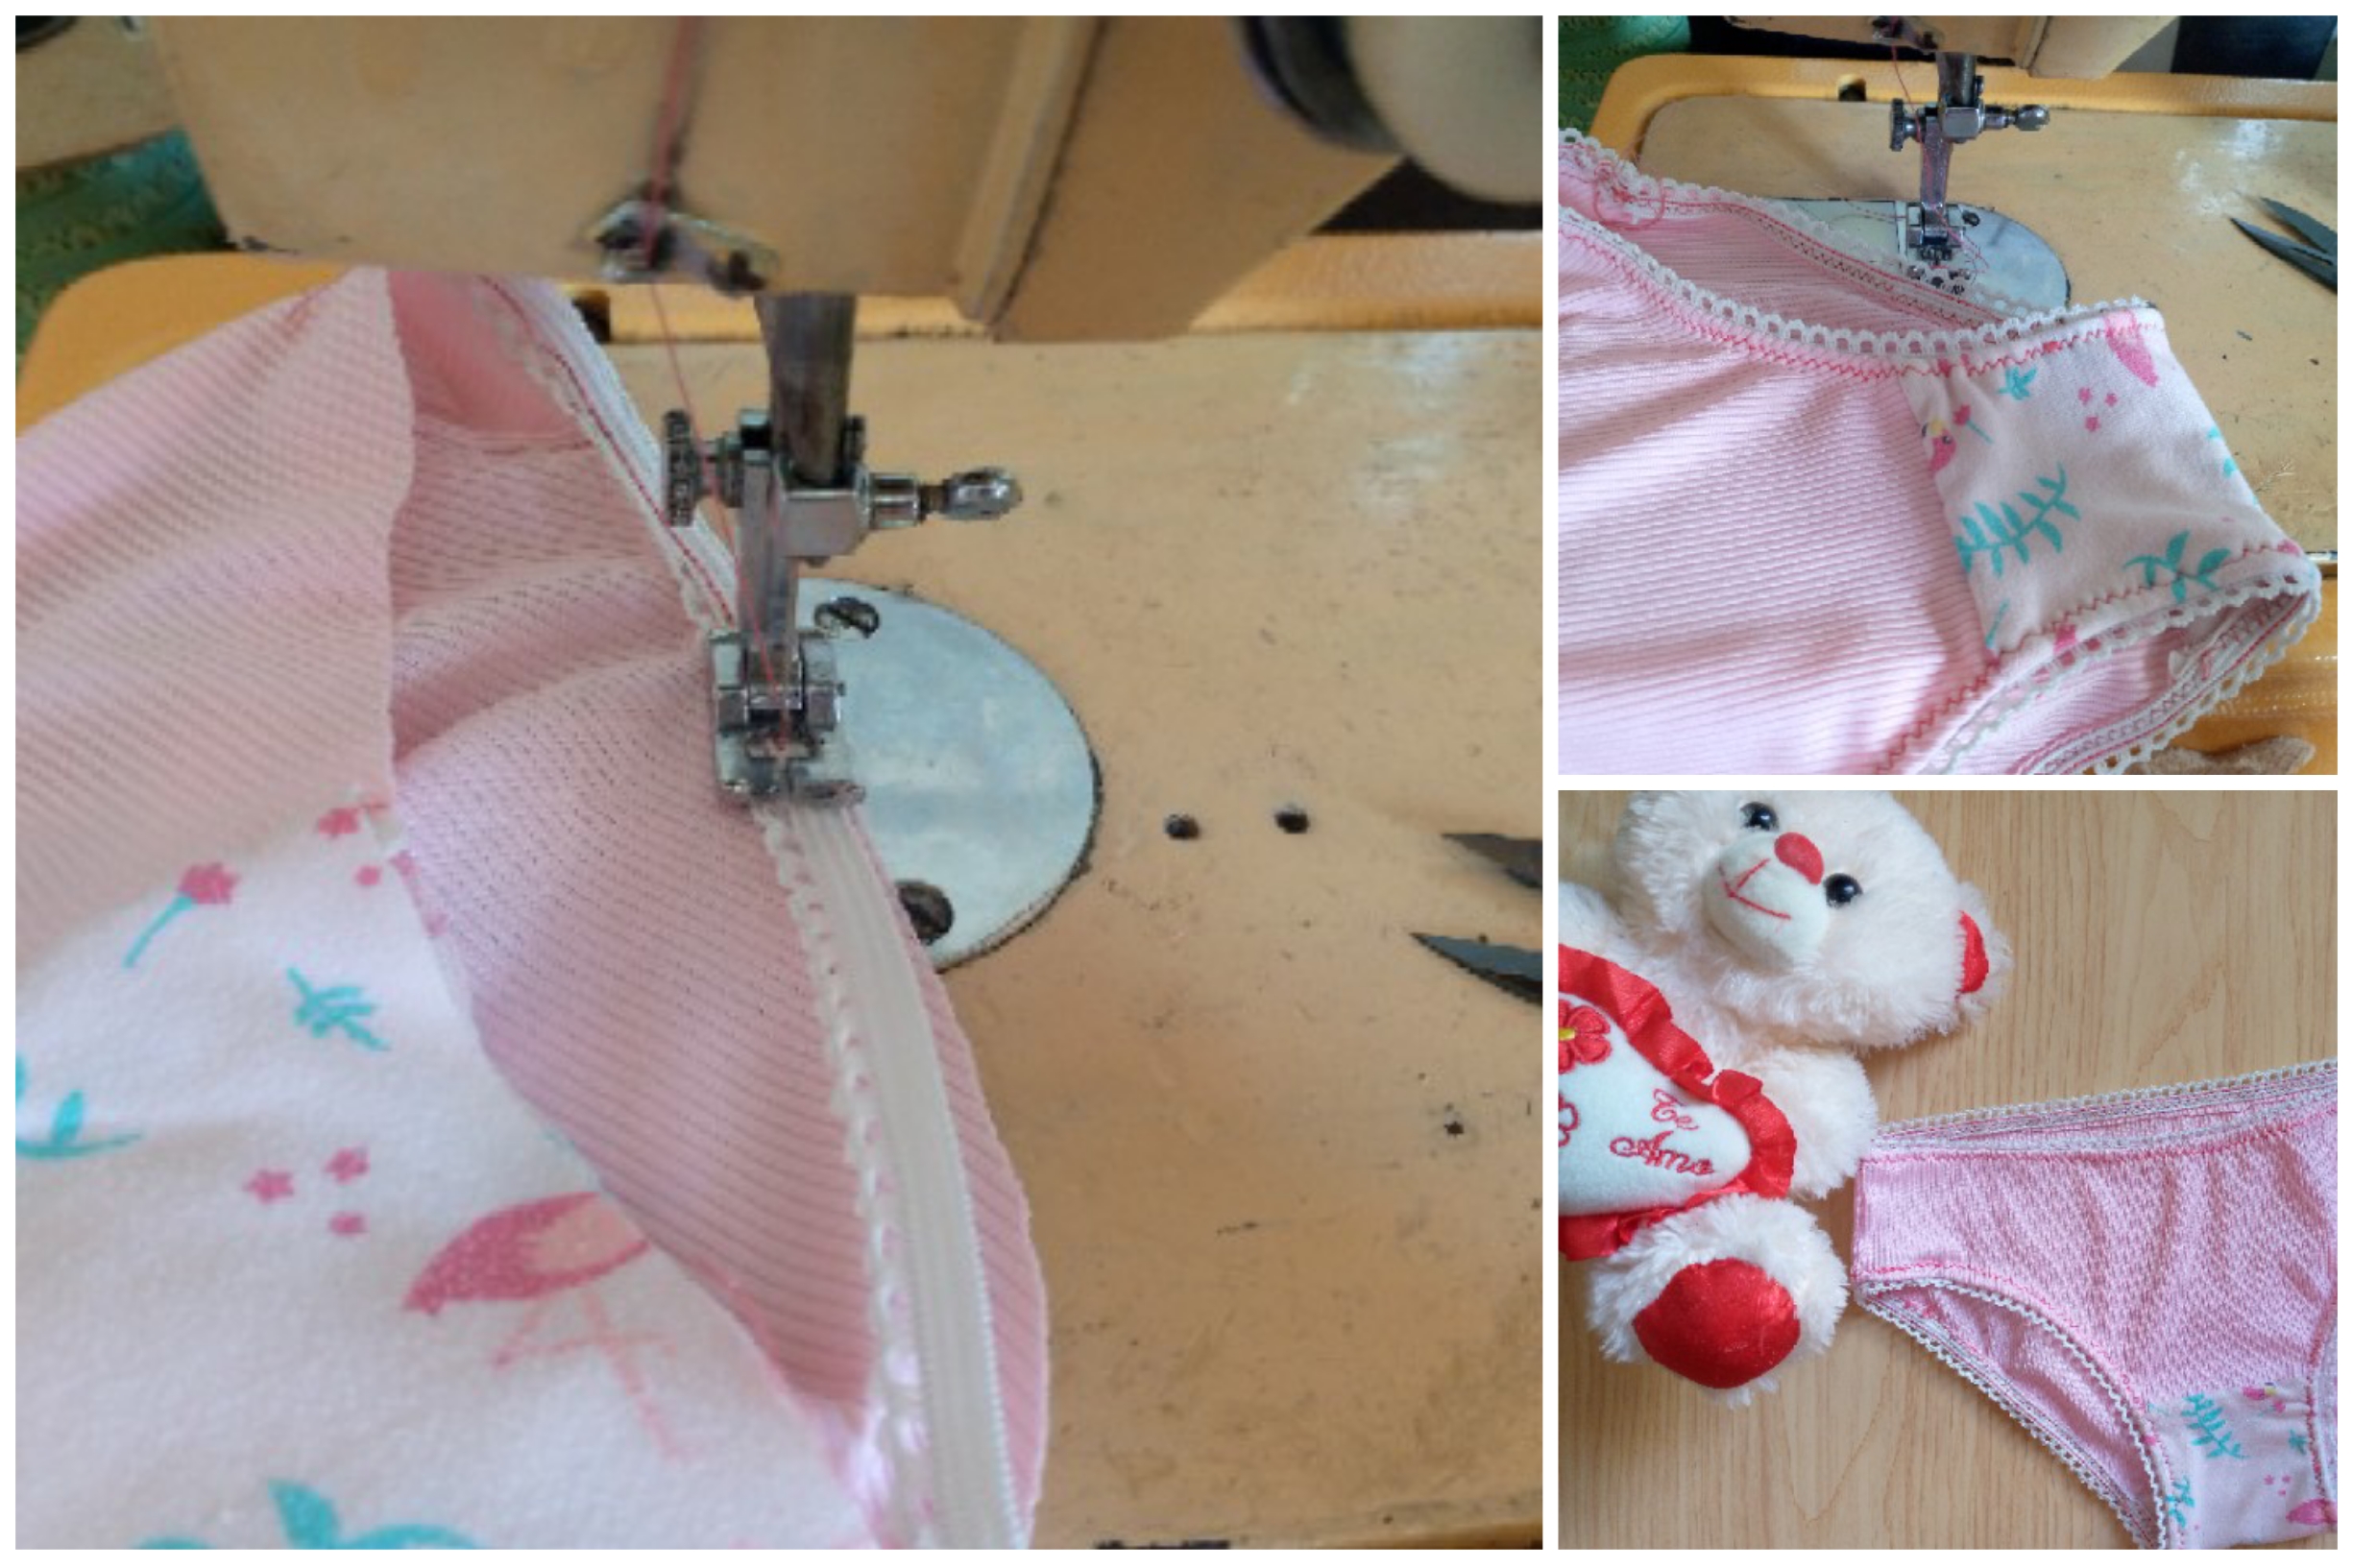
It is time to sew the elastic and we will place it with the lace facing down and sew along the top since when folding it and zig zaging it our elastic will be visible on the inside, well keeping this in mind we sew along the edge of the elastic almost close to the lace that it has and sew along the entire edge. We are going to stretch it a little bit, very little so that the elastic is not so gathered, then we turn it over and go over it with our zig zag, this is how it remains.
Paso 04
Step 04
The last step to follow is to sew the elastic around the leg section. This step is the same as we did previously to sew the elastic at the waist of the panty. We sew along the top and sew over it with a zigzag stitch. It's that simple, my friends. When it's finished, it's time to cut the excess threads that always remain on our garments and it's finished.
.jpg)
Resultado:// Result:
.jpg)
.jpg)
.jpg)
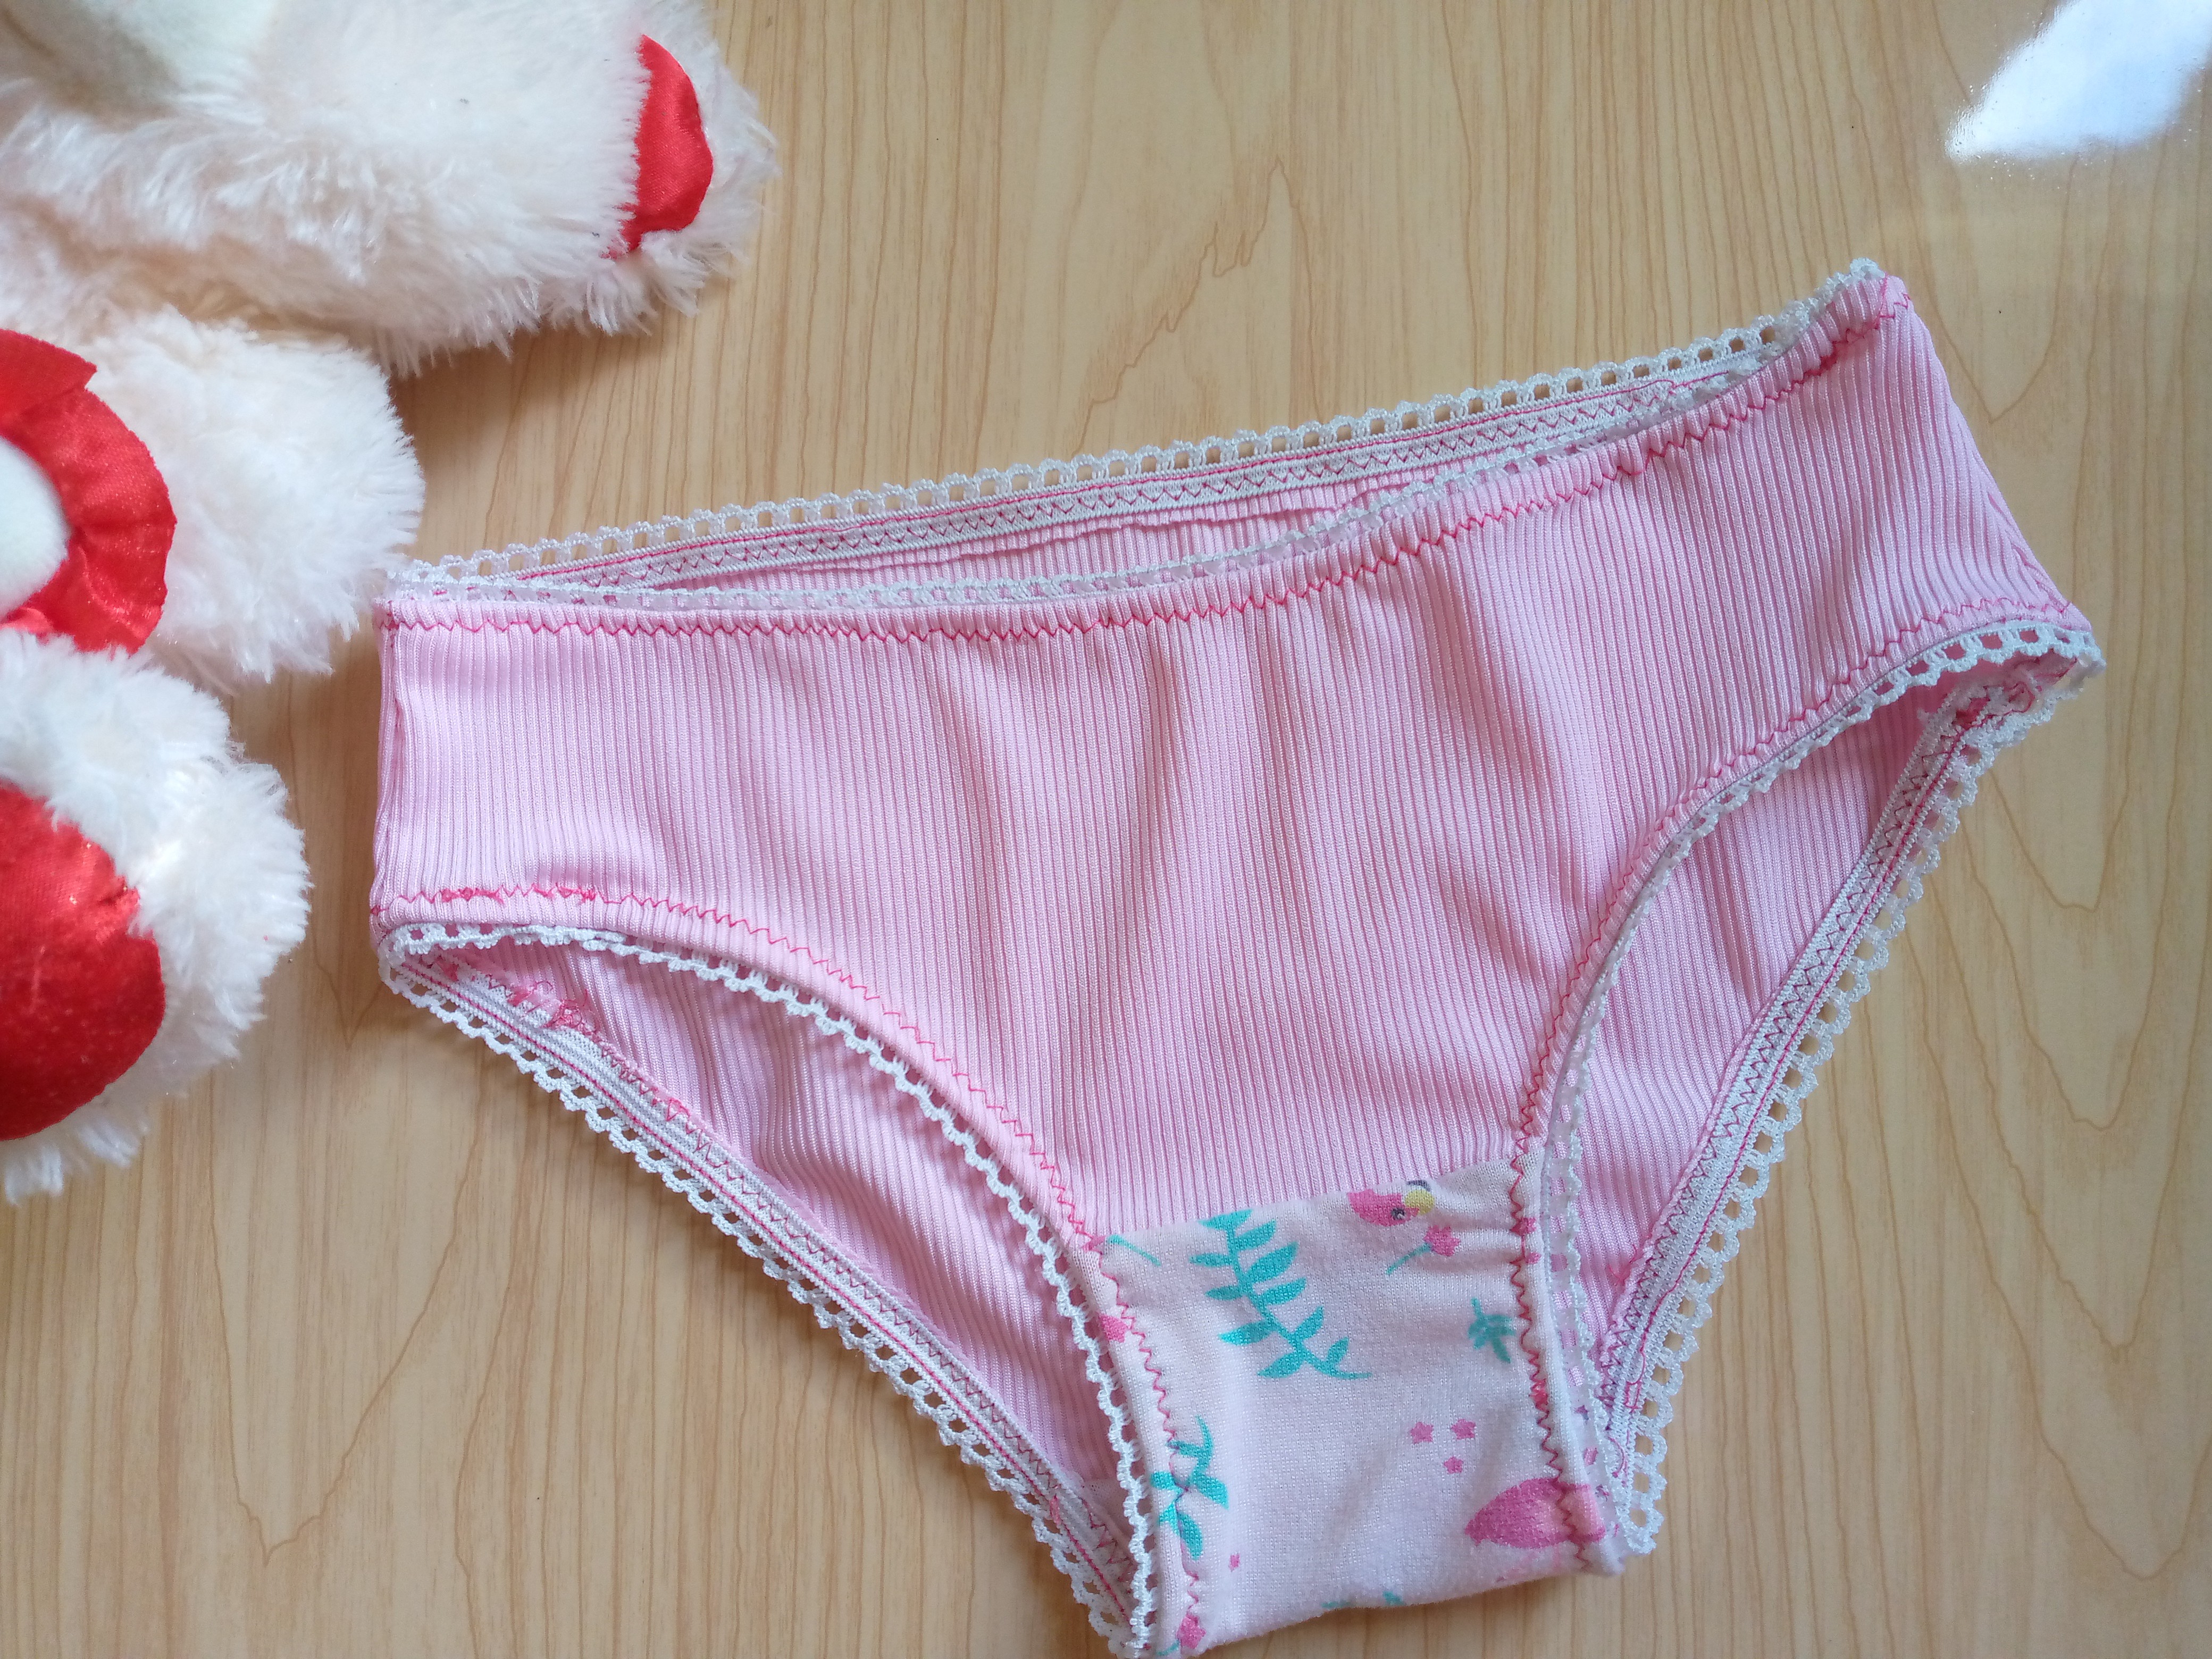
Friends this is the final process of making these panties for girls I loved how they turned out and I feel that I am improving more and more with these types of garments since before I did not know how to do them if you can give me any type I will gladly receive them we are here to support each other and share ideas, if you liked it do not forget to share this tutorial taking advantage of those cuts of fabric that we have at home and that we cannot find what to do with them, if you like these types of tutorials let me know and do not forget to be aware of my next tutorials that I always share with you, I hope it has been to your liking and thank you for getting to the end of this blog with this I say goodbye with these lovely photos of the result and see you in another next blog I wish you a happy afternoon and I send you hugs, See you ✨😇.
.jpg)
Creating things with love 🌷❤️
🦋✨ All the images in this publication are my author ,📱taken with my TecnoSpark8C cell phone |📸Photos edited in PicsArt and Canva. Text translated in Google Translate.
Me encantó, todo el proceso estuvo muy bien explicado y el resultado precioso. ¡Mil felicidades! Gracias por compartir.
Que bueno saberlo!🥰muchas gracias por comentar
Gracias por el tutorial, bien explicado y ordenado, quedó lindo tu trabajo 😉🩷
Gracias hermosa 🫂
Qué bello trabajo amiga, felicidades.
Gracias amiga que bueno te guste 🥰☺️
Te quedo bella amiga, que sigan los éxitos.💛
OMG! The sewing is so fine, that no one can tell it's made at home. And the pattern and color looks very cute.
Thanks friend 🫂😊🥰
Te quedó muy bonita amiga,un trabajo muy bien hecho
Hola hermosa es un placer para mí saber que te ha gustado muchisimas gracias y bendiciones 🥺🥰
Que linda pantis, el color rosa es tan lindo, siempre vamos a querer tener ropa de ese color.
Holiii,ay muchas gracias la verdad es que si a mí me gusta mucho el negro y este color también me encanta 🤭😍
¡Felicitaciones!
Estás participando para optar a la mención especial que se efectuará el domingo 22 de diciembre del 2024 a las 8:00 pm (hora de Venezuela), gracias a la cual el autor del artículo seleccionado recibirá la cantidad de 1 HIVE transferida a su cuenta.
¡También has recibido 1 ENTROKEN! El token del PROYECTO ENTROPÍA impulsado por la plataforma Steem-Engine.
1. Invierte en el PROYECTO ENTROPÍA y recibe ganancias semanalmente. Entra aquí para más información.
2. Contáctanos en Discord: https://discord.gg/hkCjFeb
3. Suscríbete a nuestra COMUNIDAD y apoya al trail de @Entropia y así podrás ganar recompensas de curación de forma automática. Entra aquí para más información sobre nuestro trail.
4. Visita nuestro canal de Youtube.
Atentamente
El equipo de curación del PROYECTO ENTROPÍA