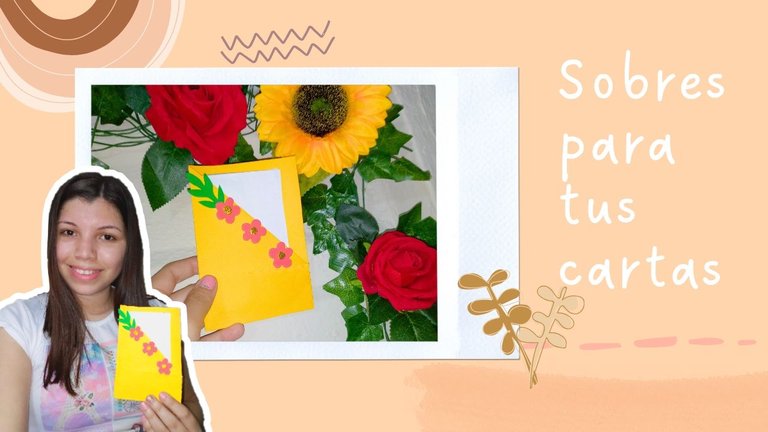
💌❤️Haz sobre de cartas decorados facil y sencillo en casa✨🌿🌸 //💌❤️Make decorated letter envelopes easily and simply at home✨🌸🌿[Esp~Eng]
.jpg)
Good morning, dear community of artisans, it is a pleasure to greet you. I hope you are all doing very well and enjoying this beautiful day. For my part, I am happy to be here again, sharing with you the crafts that I always enjoy doing and always bringing you new, simple and very practical ideas to make your life easier 😁.
On this day and in this tutorial of course I will be teaching you how to make some classic and very simple envelopes either for invitations, special events and even to make a special detail to that person you admire or love so much, it is good to always have some model envelopes at home because we do not know when we need one as a guide and we do not have one, so from many ideas that I have to make my decorative envelopes I will be showing you this one that is made with colored cardboard and that you can get at any school supply store or bookstore, once you make it I would be happy to know what you thought of it and if you have made this model, also your comments will always be very supportive and helpful to me and I thank you in advance for that.
And well, without further ado, let's get to the materials to use and then get to "work"😊🎨.
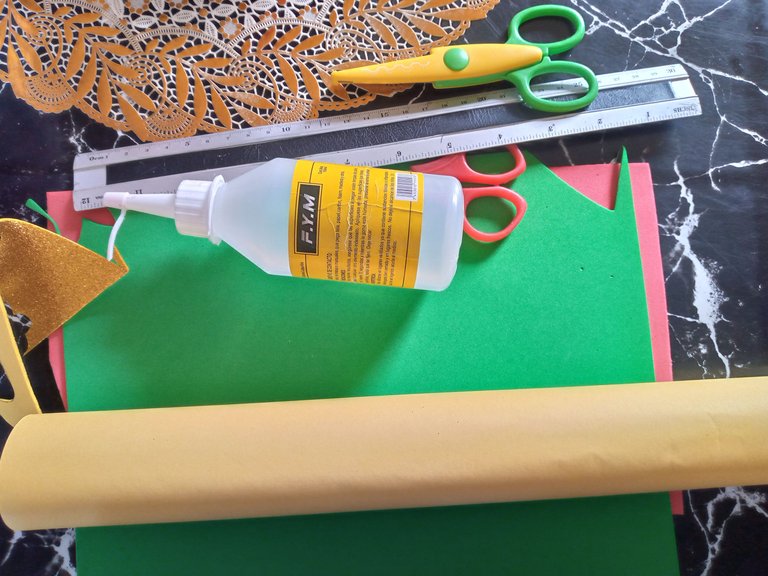
Materiales:// Materials:
| Español | English |
|---|---|
| •Regla | •Ruler |
| •Silicón | •Silicone |
| •Cartulina escolar de colores | •Colored school cardboard |
| •Lápiz | •Pencil |
| •Trozos de fomi de colores | •Pieces of colored foam |
| •Tijera normal y tijera con figuras | •Regular scissors and figured scissors |
Pasos a seguir://Steps to follow:
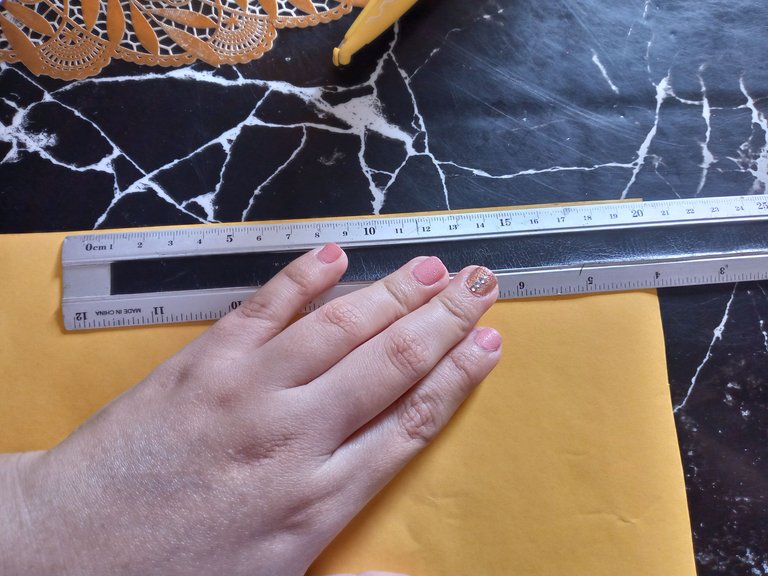
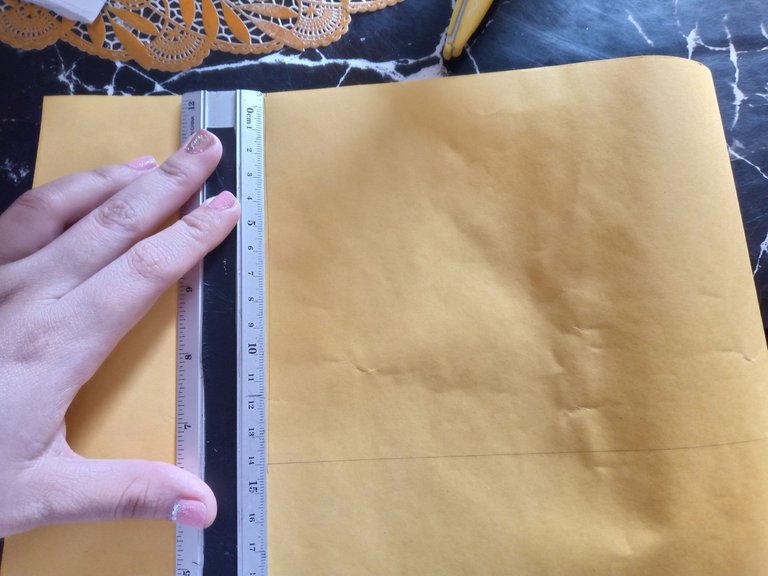
Paso 01
Step 01
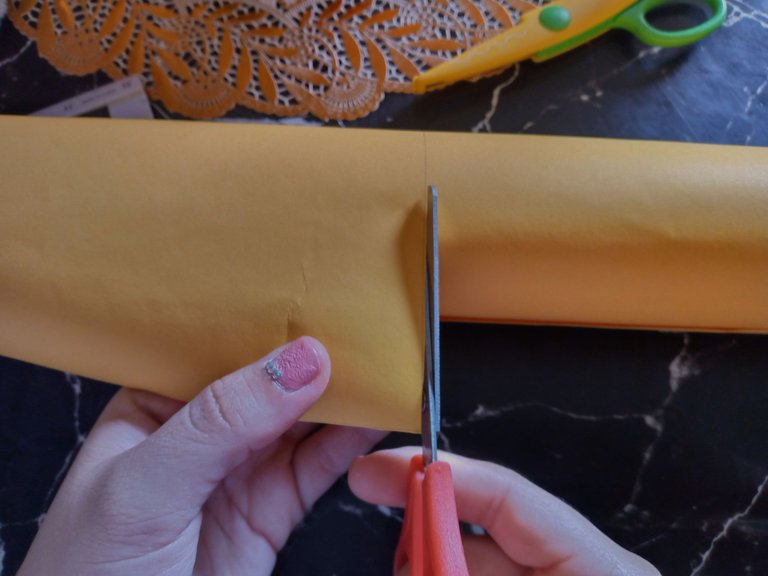
The first thing I'll do is spread out our cardboard on the table and in the corner where you want to start we'll measure the width of our envelope, which in this case would be 20 cm. With the help of a pencil we'll mark a point from that point downwards. We'll measure 14 cm, which will be the length of the envelope. We'll use our ruler to make a straight line and mark again below 20 cm wide to form the rectangle that would be the envelope of the letter.
Paso 02
Step 02
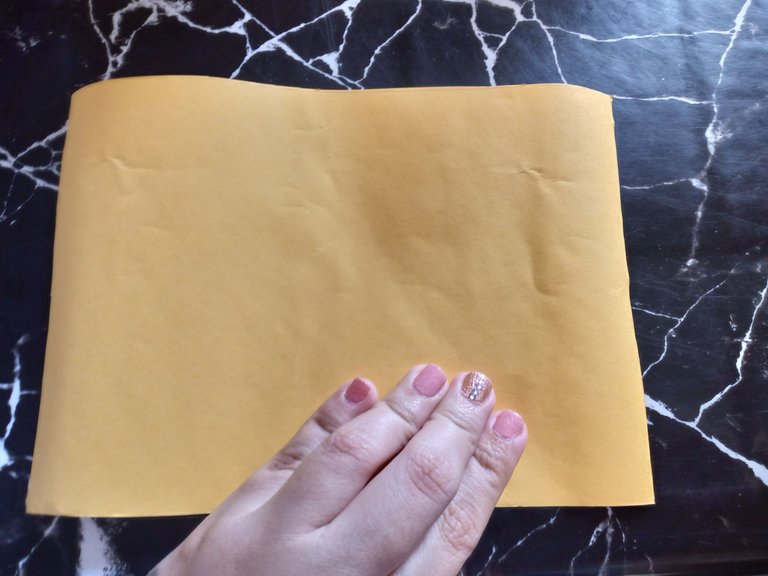
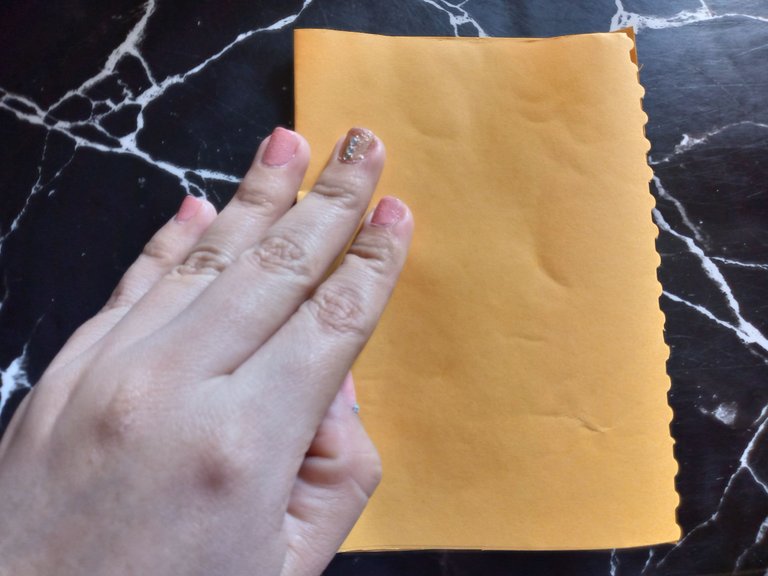
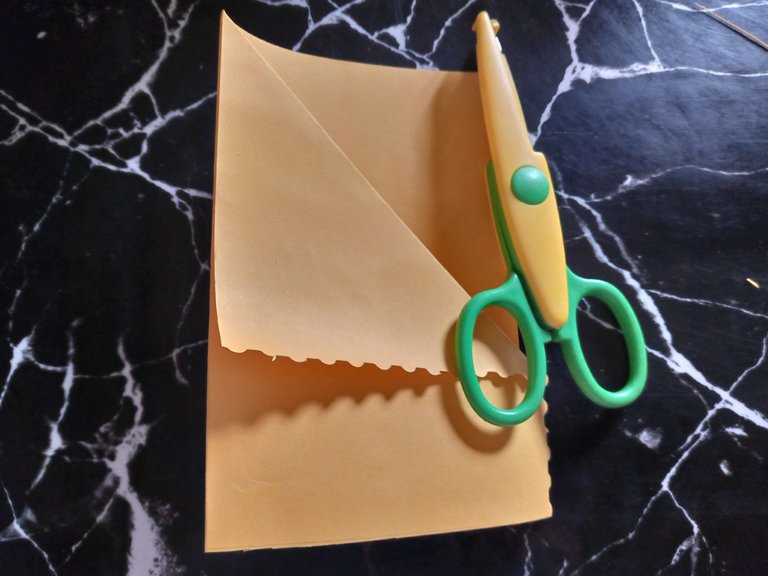
We cut out our rectangle, fold it in half and with our shaped scissors, the one I used is like a cloud shape, I will cut only the outline on the right side of the envelope and we will make that shape only on the front part, of course if you want to do it around the envelope that is also valid.

Paso 03
Step 03
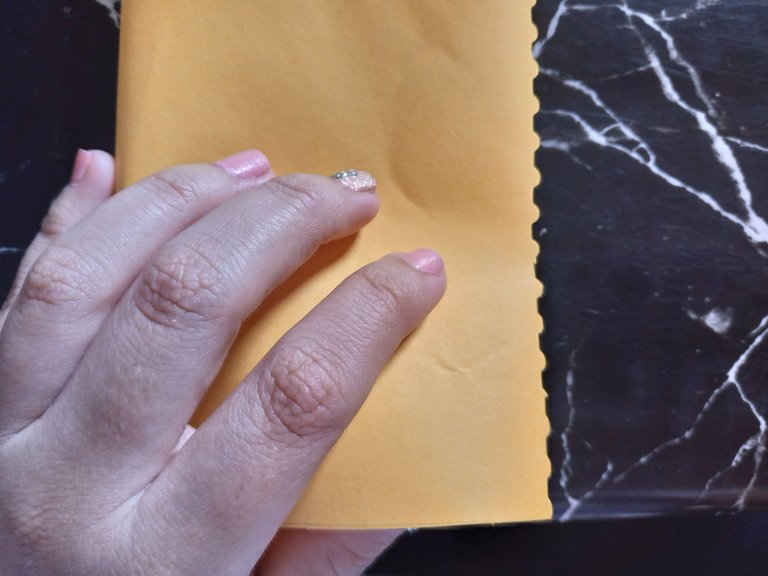
Once I cut that part, what we will do is take one side of a corner of the top of our envelope and bring it down in the shape of a triangle, fold it well and we will glue this view with our silicone.

Paso 04
Step 04
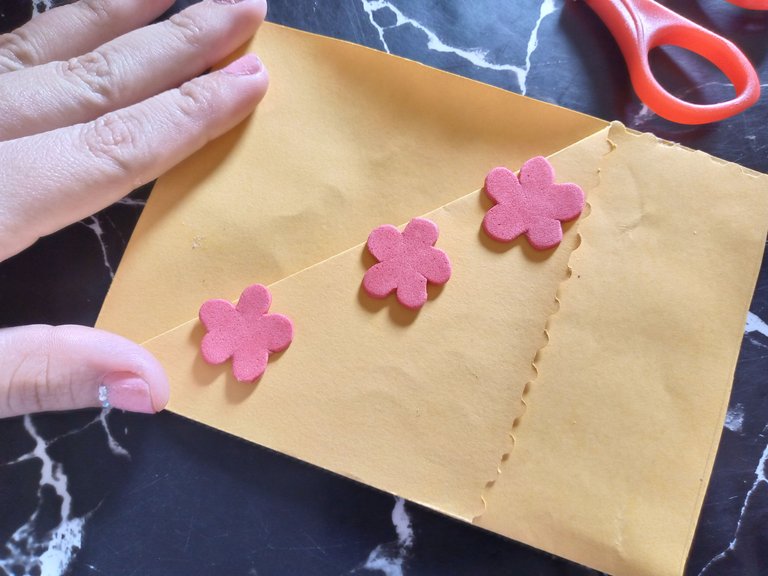
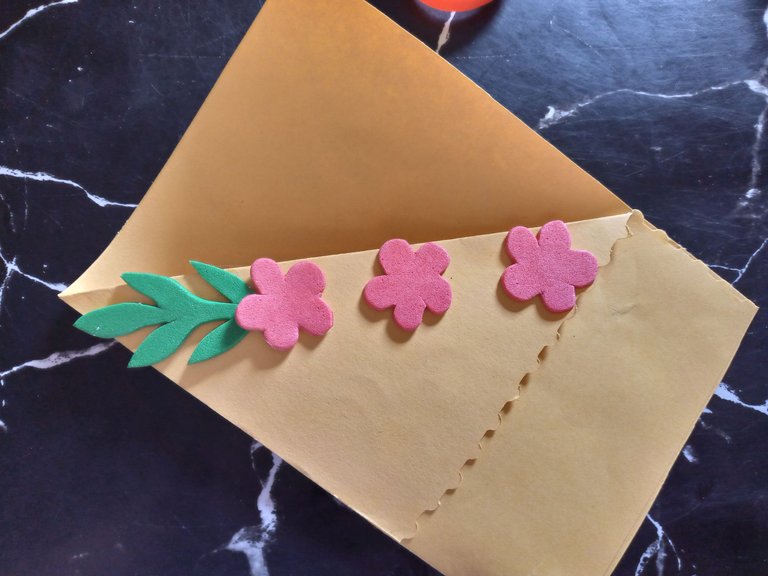
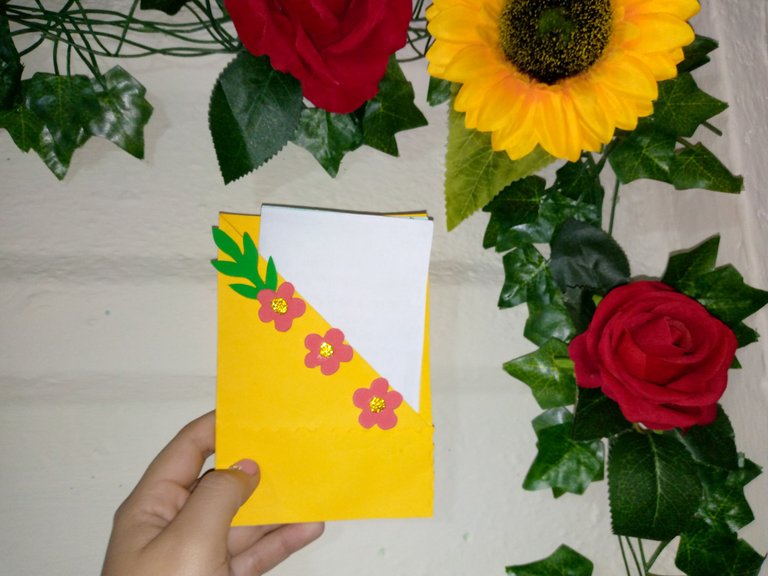
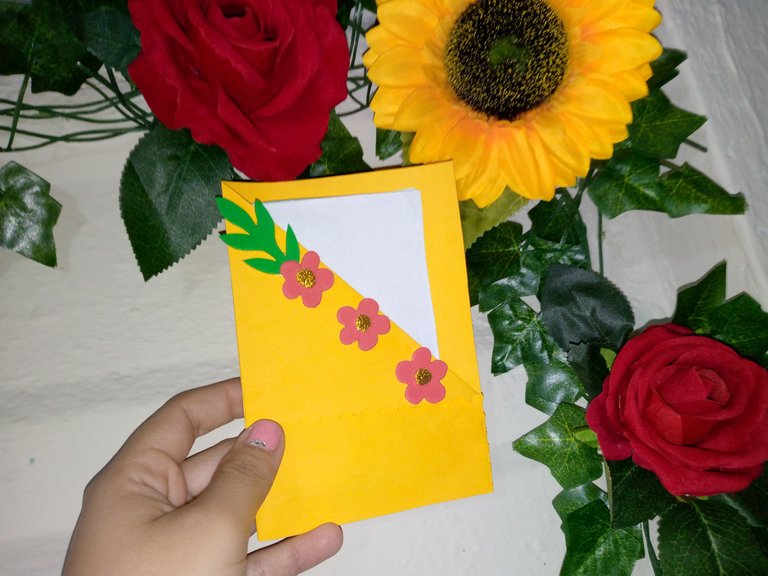
Once we glued this part, with red foam I made small flowers🥰🌸 that I then cut out little by little since they are so small, I cut them delicately so as not to leave them alone, I decided to cut out the center of the flowers with a very small circle with shiny golden foam and we will glue it right in the center of our flower, we glue the flowers wherever we see that it looks good and I will also cut a branch of leaves 🌿 also in green foam and I will glue it in a corner of the envelope, let it dry and now I can put whatever I want inside it, so easy and simple I have finished it 😍.
Resultado:// Result:
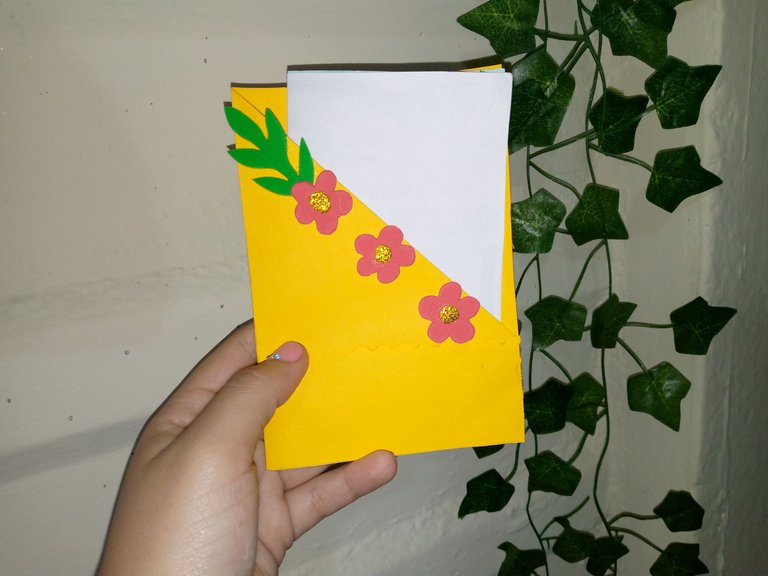
This way we have our envelope that you could make when it is that special event that you want to give away invitations, you can make them this way and even using other materials ✨💌, I hope you like this idea and tell me what you think, until the next tutorial.


Creating things with love 🌷❤️
🦋✨ All the images in this publication are my author ,📱taken with my TecnoSpark8C cell phone |📸Photos edited in PicsArt and Canva. Text translated in Google Translate.
¡Muy bien!
¡Gracias por mostrarnos detalles que podemos hacer en la cotidianidad!
Ains muchísimas gracias por tu comentario saludos 😇🤗
🙏🫂
Que lindo, me gusto mucho el diseño, es una bonita presentacion para enviar y dar una carta jeje 😍
Gracias 🦉saluditos 🥰🤗
Congratulations @anne002! You have completed the following achievement on the Hive blockchain And have been rewarded with New badge(s)
Your next target is to reach 3000 upvotes.
You can view your badges on your board and compare yourself to others in the Ranking
If you no longer want to receive notifications, reply to this comment with the word
STOP¡Enhorabuena!
✅ Has hecho un buen trabajo, por lo cual tu publicación ha sido valorada y ha recibido el apoyo de parte de CHESS BROTHERS ♔ 💪
♟ Te invitamos a usar nuestra etiqueta #chessbrothers y a que aprendas más sobre nosotros.
♟♟ También puedes contactarnos en nuestro servidor de Discord y promocionar allí tus publicaciones.
♟♟♟ Considera unirte a nuestro trail de curación para que trabajemos en equipo y recibas recompensas automáticamente.
♞♟ Echa un vistazo a nuestra cuenta @chessbrotherspro para que te informes sobre el proceso de curación llevado a diario por nuestro equipo.
🥇 Si quieres obtener ganancias con tu delegacion de HP y apoyar a nuestro proyecto, te invitamos a unirte al plan Master Investor. Aquí puedes aprender cómo hacerlo.
Cordialmente
El equipo de CHESS BROTHERS
Te quedo hermoso, gracias por compartir tu proceso 🤗