HOW TO MAKE PROBIOTIC WATER KEFIR - FROM BOTTLE EXPLOSION TO FIZZY SUCCESS
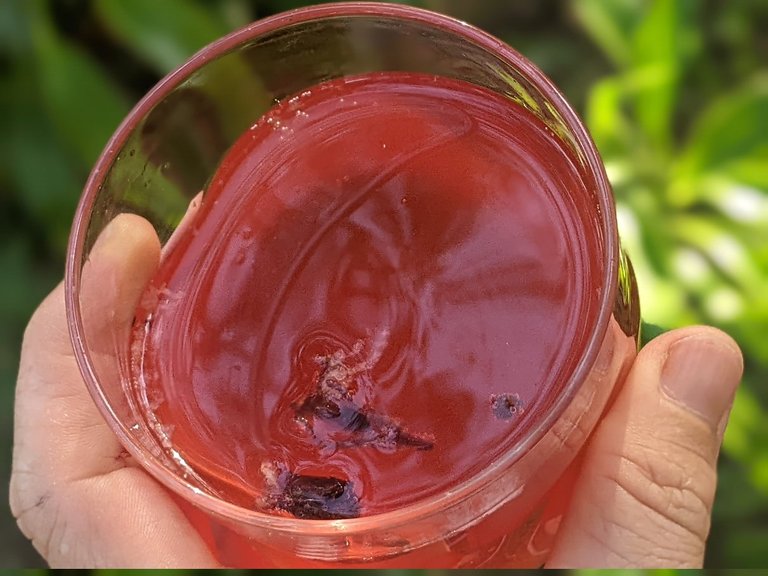
Greetings to our wonderful Hive community. Today, I'm thrilled to share my experiences from last week's experiments. It's been a little over a week since my water kefir grains arrived, and I've already started mastering the art of creating yummy, fizzy flavors, although I did encounter a bottle explosion along the way.
After years of fermenting and carbonating kombucha and ginger bug drinks, it was inevitable. I'm still uncertain whether the explosion resulted from excessive pressure or a tiny crack in the bottle that could no longer withstand the buildup of fizz. Thankfully, I always place my second ferments in a bucket to contain potential explosions, and this week, that precaution proved invaluable.
Behold the small disaster.....
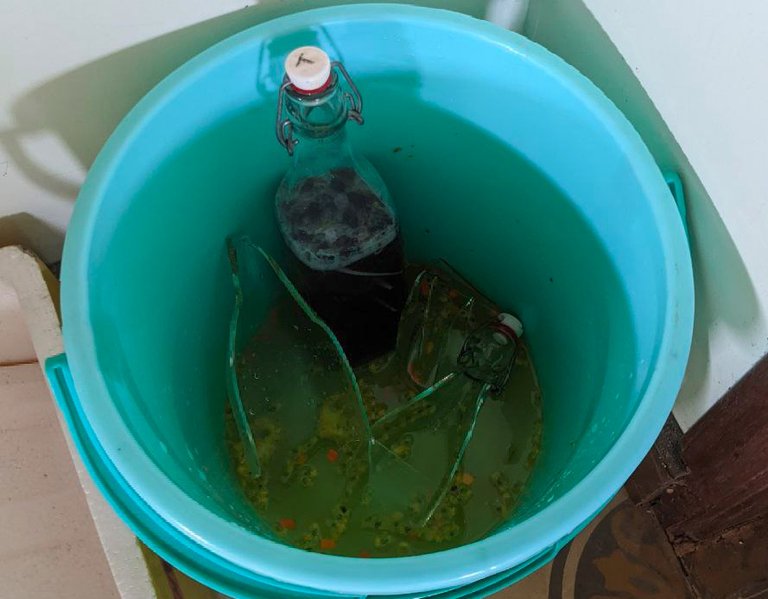
Though some people prefer to do their second ferments in plastic bottles to feel the pressure build, I have never been a fan of using them for a few reasons. First of all, we don't have plastic bottles in the house, so we would have to start buying water in plastic bottles or other drinks in plastic bottles just to have them available.
Secondly, plastic isn't a hard material and easily scratches. These scratches can become the home of unwanted bacteria and other impurities, which are not easy to clean. Furthermore, using the wrong kind of plastic bottle can leach chemicals into your kefir. Most plastic bottles are not meant to hold acidic liquids, so over time, the bottle will degrade.
That being said, if you are new to fermenting, you might want to do your second ferments in plastic bottles to build up some fermenting confidence. But if you keep your glass bottles in a bucket or box, no harm is being done by an exploding bottle. It just might give you a good scare, as the bang is quite loud. Also, keep in mind that I have been fermenting drinks for years, and this week was my first explosion.
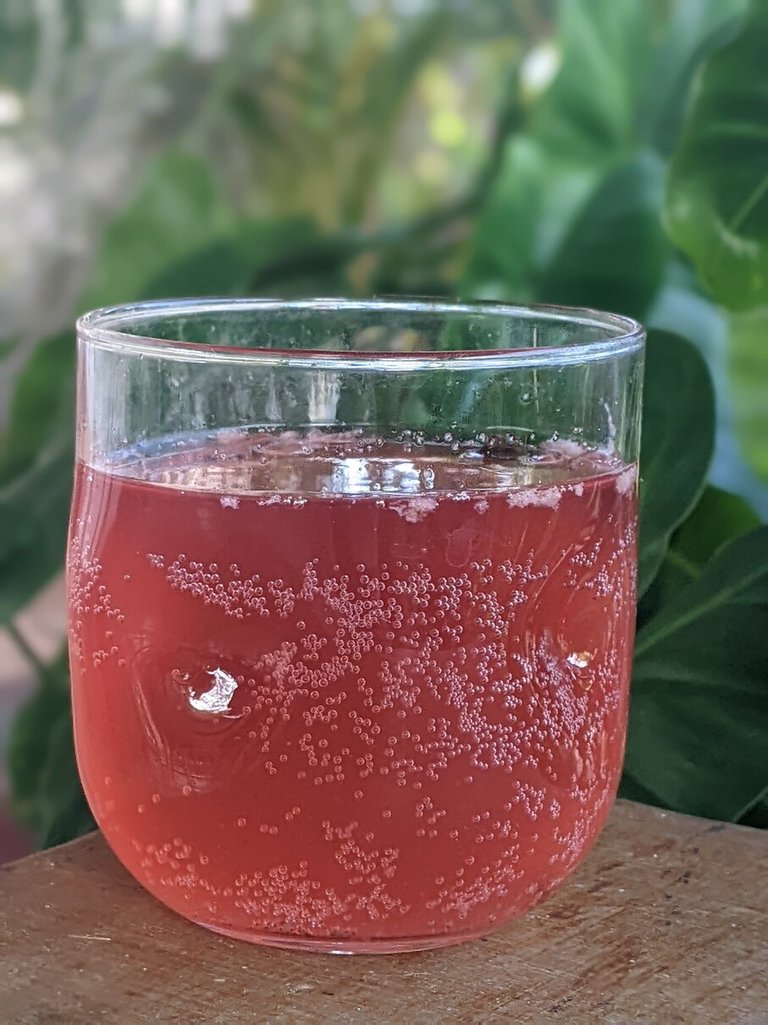
HOW TO MAKE FIZZY WATER KEFIR
INGREDIENTS (MAKES ABOUT 2 LITER)
Primary fermentation
- 8 cups of filtered water
- ½ cup of raw cane sugar
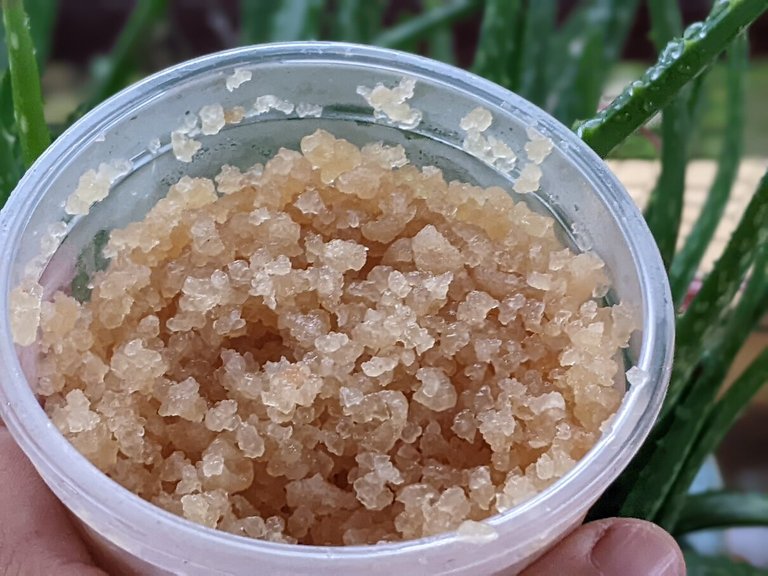
- ½ cup water kefir grains
Optional:
- One small lime or half a lemon (organic if possible)
- A few raisins, dried figs, or other dried fruits
- A pinch of Himalayan pink salt
I'll explain in a bit why you should consider adding these to your primary ferment (SEE IMPORTANT NOTES).
Secondary fermentation
Fresh fruit or fruit juice, herbs, spices, edible flowers, herbal teas, etc
Below, I'll share some flavor combinations for water kefir. Although I've only been making flavored water kefir for a little over a week, I've already experimented with a variety of flavors, and to be honest, it's not much different from secondary kombucha ferments, which I've been making for years now.

How to….
Primary fermentation
Step 1: Boil 1 cup of water. Stir in the sugar and 2 pinches of Himalayan pink salt (one pinch per litter you are brewing) until it completely dissolves. Add the other 7 cups of water, stir well, and allow to cool to room temperature.
Step 2: Divide the sugar water over 2 clean 1-liter or 1-quart size mason jars. Add about ¼ cup of water kefir grains to every jar. If using include ½ a lime and a tablespoon of raisins or one big fig or 2 small ones in every jar.
FYI: if you are not certain about the origin of your limes or lemons, peel off the skin to avoid chemicals ending up in your drink.
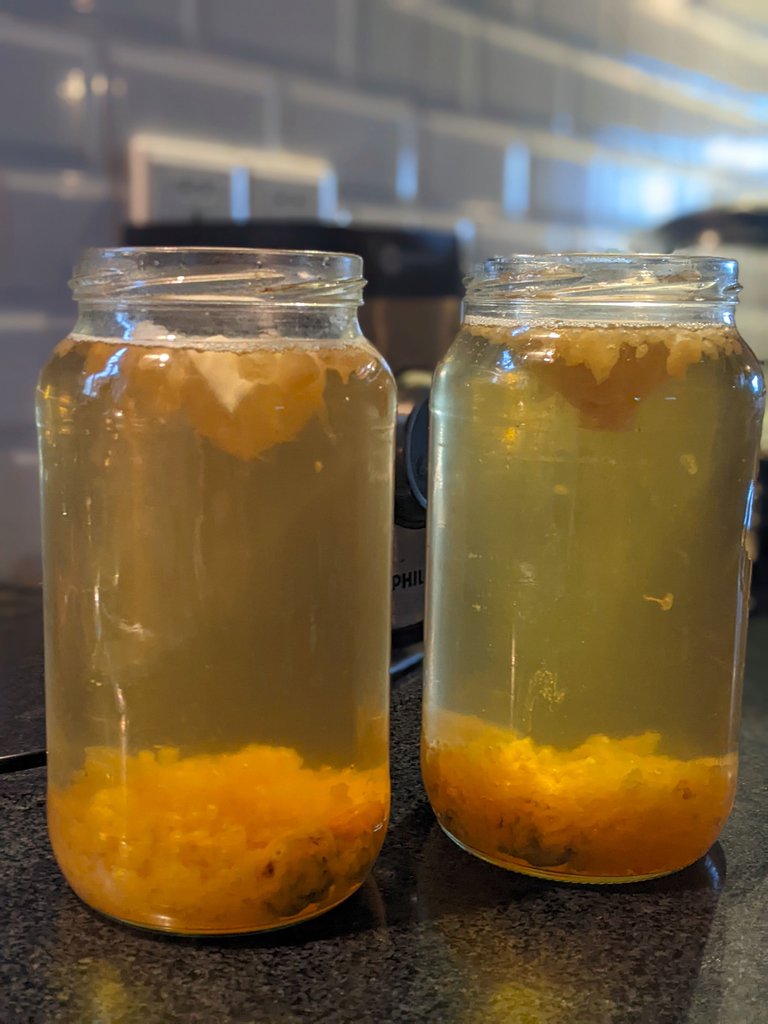
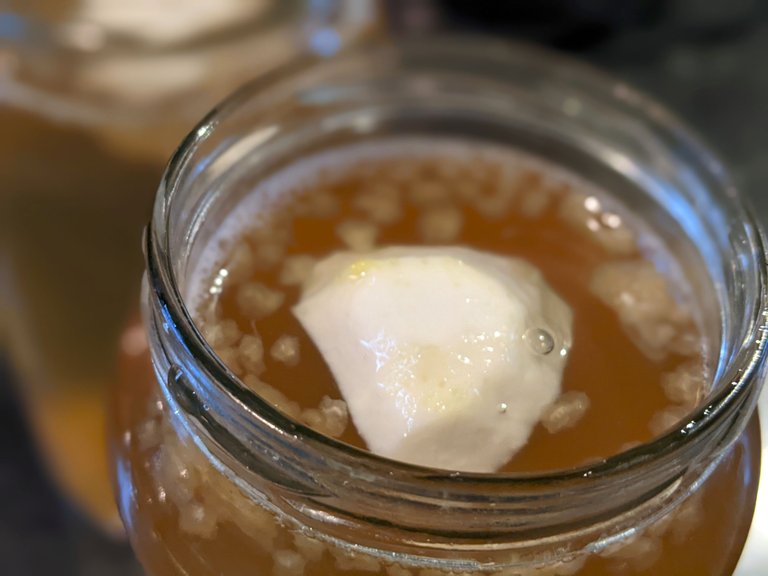
Step 3: Cover the mason jar loosely with cheesecloth secured by a rubber band. Place the jar at room temperature and allow it to ferment for at least 24 hours. Keep the jars away from direct sunlight and changing airflow (like next to a window) as this will cause temperature fluctuations which your kefir doesn’t like.
Depending on the climate you live in, you can extend the fermentation time up to 72 hours. Even though I live in the tropics, my primary ferment takes 48 hours. After only 24 hours it still tastes too sweet for me.
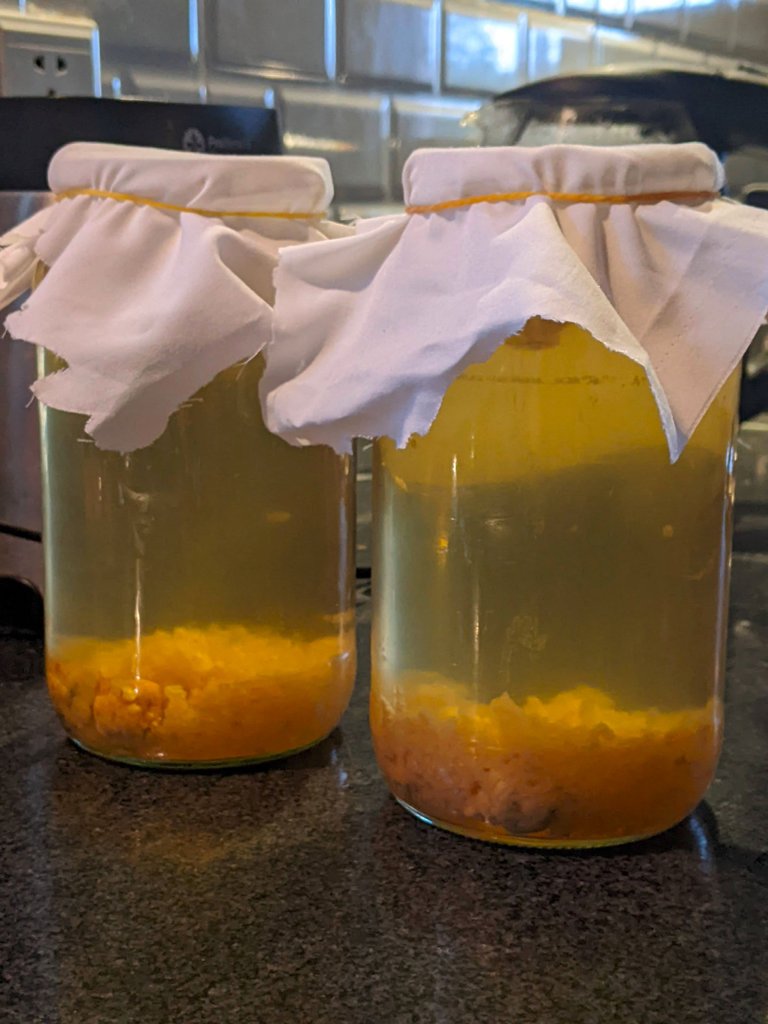
It's so much fun to look at the fermentation of water kefir... the brew is really alive. It reminds me of small lava lamps. constantly grains are going up and down... so much fun.
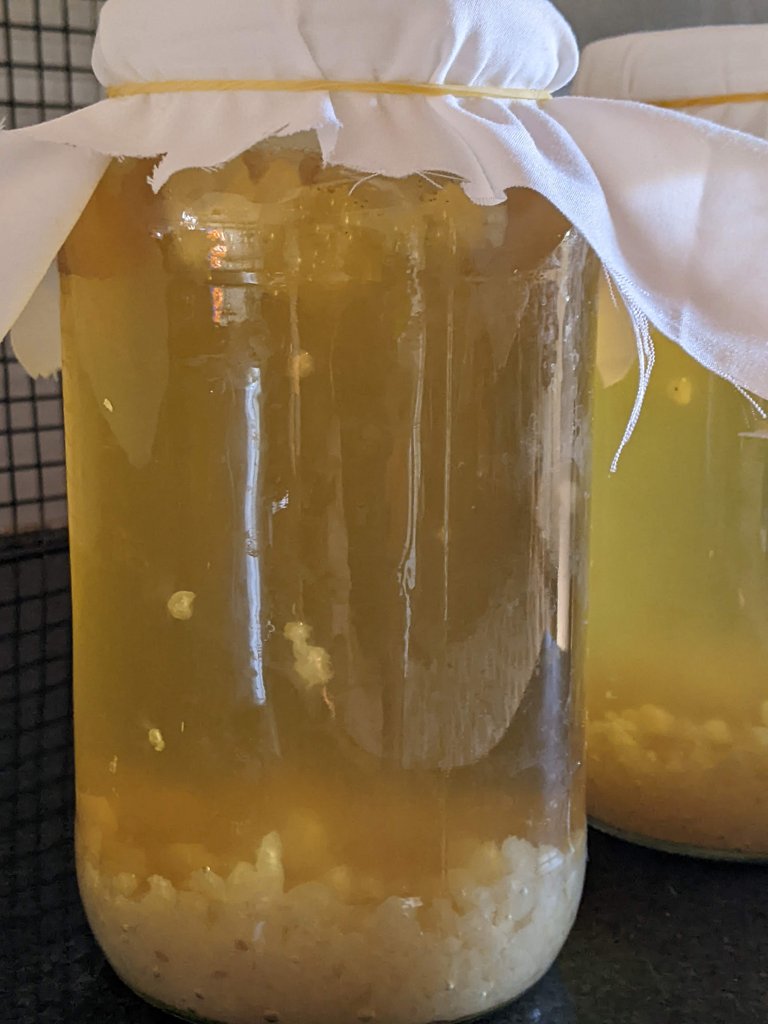
Step 4: Strain and store or brew a new batch of the kefir: After fermentation, strain the kefir through a fine-mesh strainer into a clean pitcher. Discard the spent lime, fig, and dried fruits (if used). Reserve the water kefir grains for future batches. You can store the kefir grains in the refrigerator for up to 3 months by submerging them in sugar water.
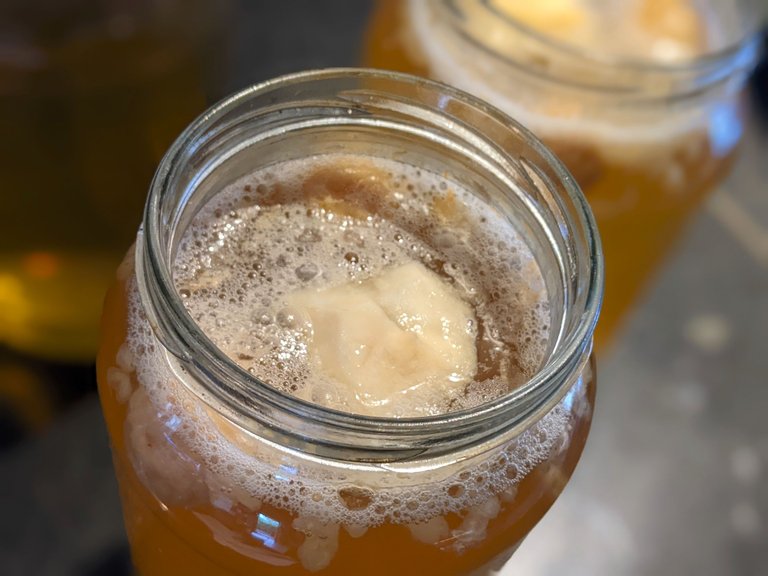
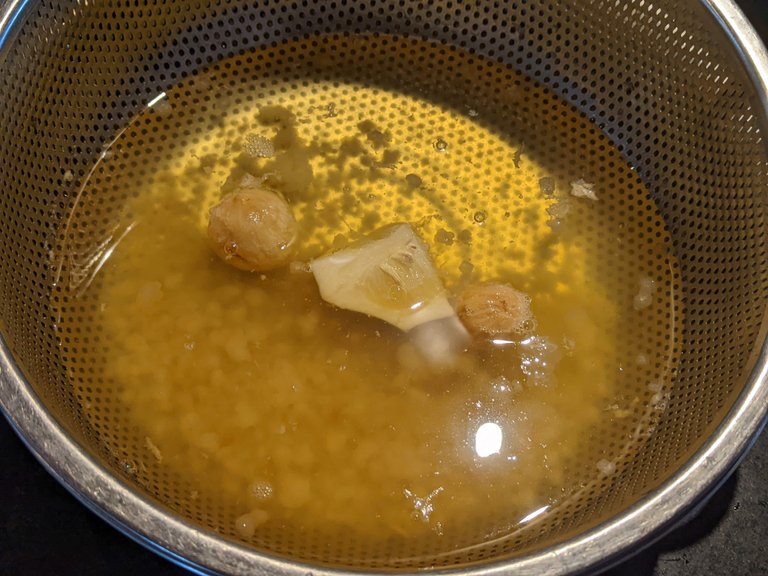
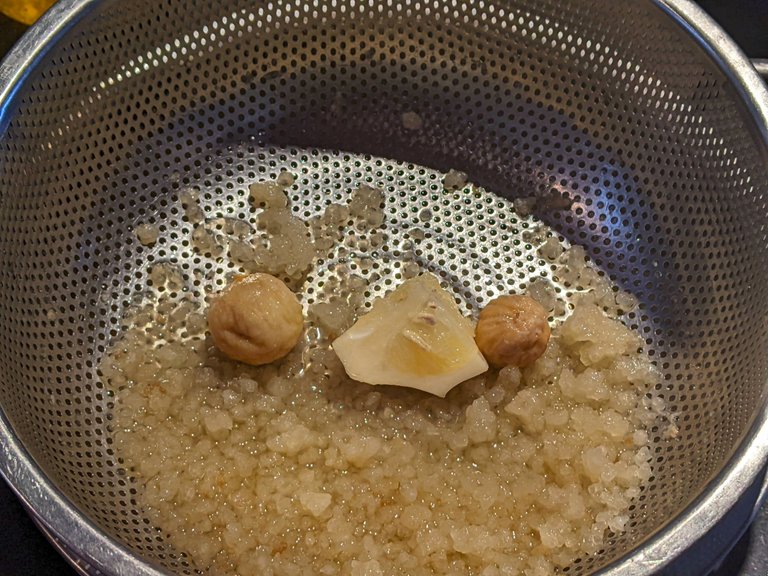
Add this point you can already drink your water kefir. However, all bottle explosion hazards aside, I strongly recommend you proceed with a secondary fermentation to add additional flavor and fizz.
Secondary fermentation
After the primary fermentation has yielded a batch of refreshing water kefir, embark on a secondary fermentation to elevate its flavor and fizz. This simple step allows you to infuse your kefir with a variety of fruits and spices, transforming it into a sparkling drink that tantalizes the taste buds.
To a clean flip-top bottle, add 1 cup of fruit juice, fresh fruits, herbs, spices, or herbal tea. Gently pour your freshly strained water kefir into the bottle. Leave about ½ inch to 1 inch or more of headspace at the top of the bottle to accommodate the carbonation that will occur during fermentation.
The past week I have made a few bottles and I like to experiment with different flavors in every bottle. Since I am constantly brewing 2 bottles per batch I always make two different flavors.
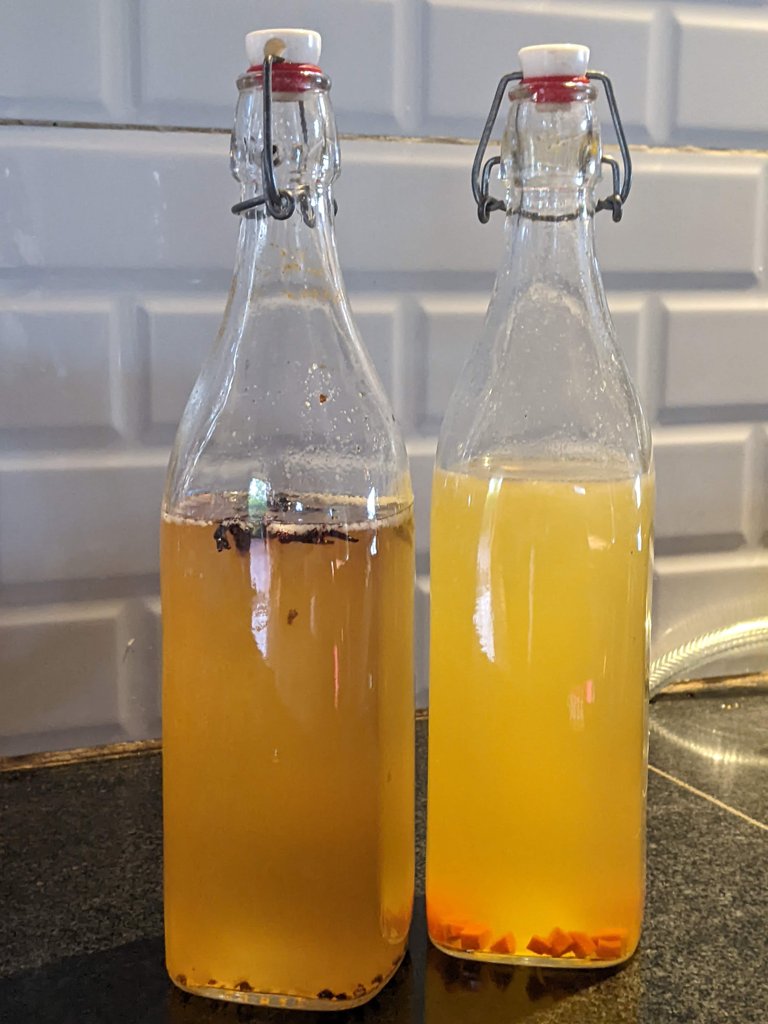
These are hibiscus - red pepper and lemon juice and turmeric before secondary fermentation.
Flavor combos I made this week (ingredients are for 1 bottle):
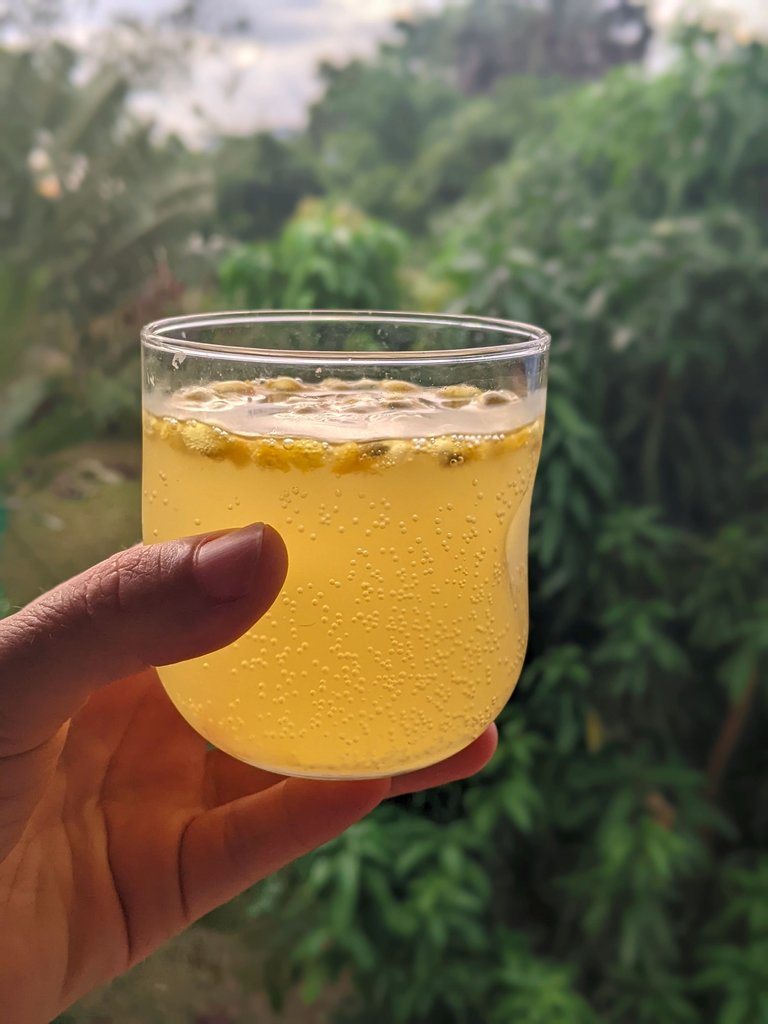
- ½ lemon, juiced + 1 tbsp chopped fresh turmeric root
- A few pieces of dried roselle hibiscus + a few crushed red peppercorns
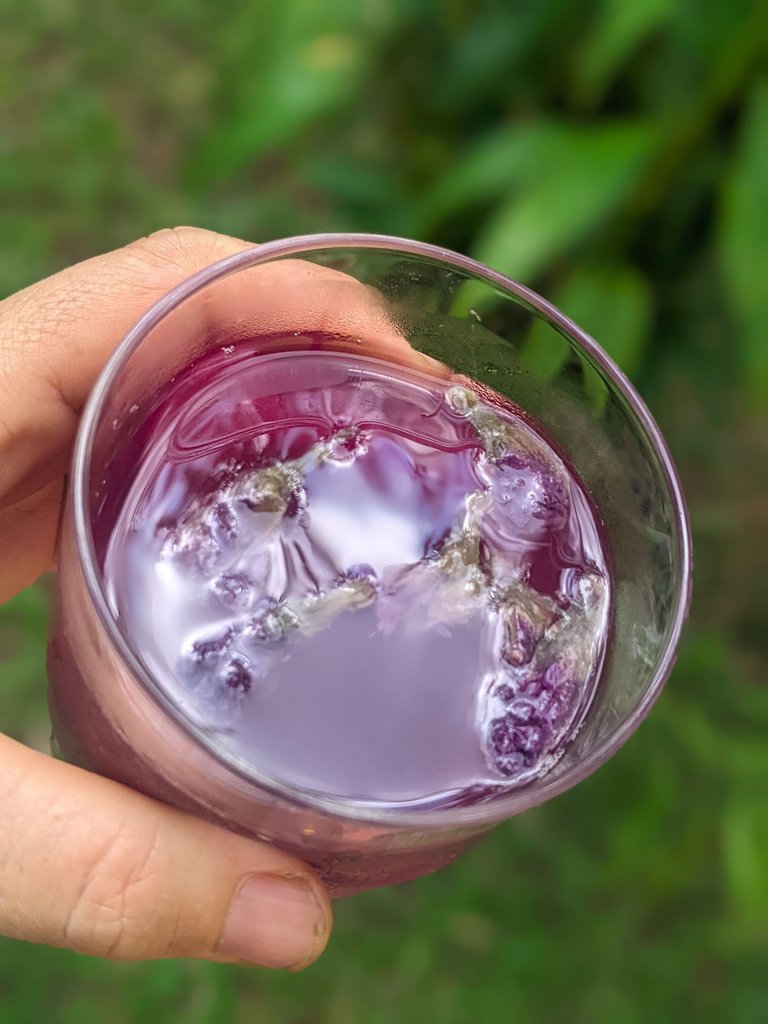
- 1 cut-up stalk of lemon grass (only the end bit and I trim the other leaves away) + ½ to 1 tbsp dried butterfly pea flowers
- The pulp of one passion fruit + 1 tbsp turmeric (be careful, burp often as I made this one twice, the first experiment exploded)
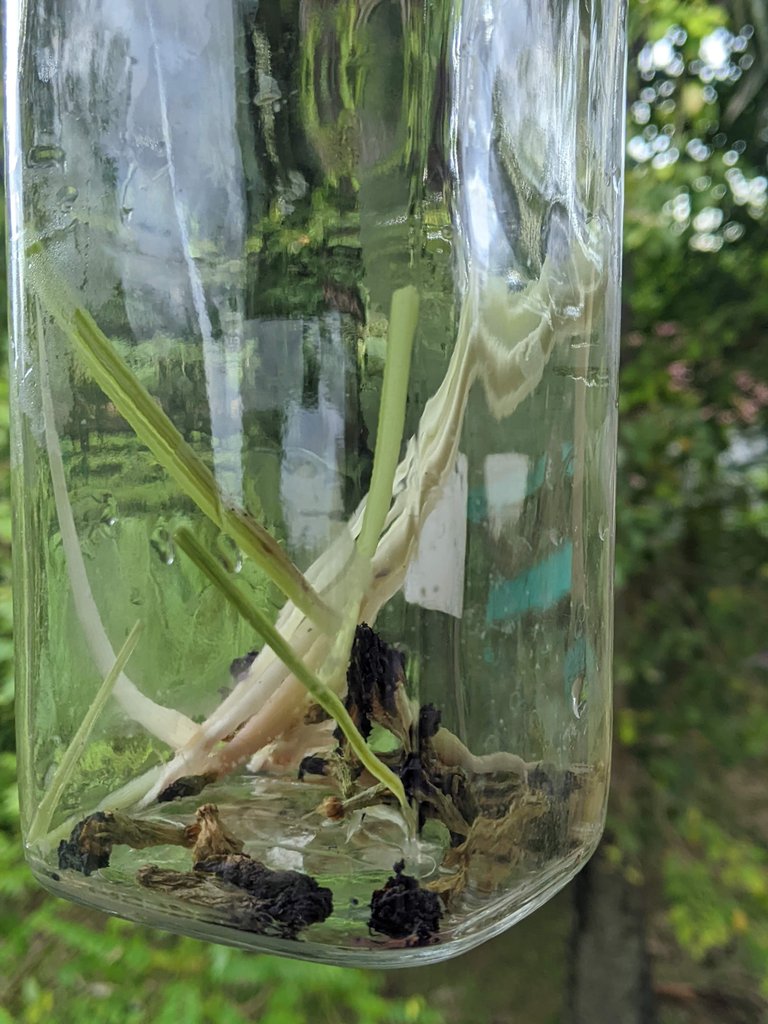
(Lemon grass and butterfly pea)
Securely seal the flip-top bottle to prevent the release of carbon dioxide which will create the fizz. Place the sealed bottles (preferably in a contained environment like a bucket or box) at room temperature away from direct sunlight and changing airflow (like next to a window) as this will cause temperature fluctuations which your kefir doesn’t like.
Ferment for an additional 12 to 24 hours. Warm temperatures will accelerate the fermentation process, while cooler temperatures will slow it down. If you are using fruit juice or fresh fruits, burp the bottle every 8-12 hours to release some gas and avoid explosions.
FYI: the explosion I had was in the bottle where I used fresh passion fruit pulp and turmeric.
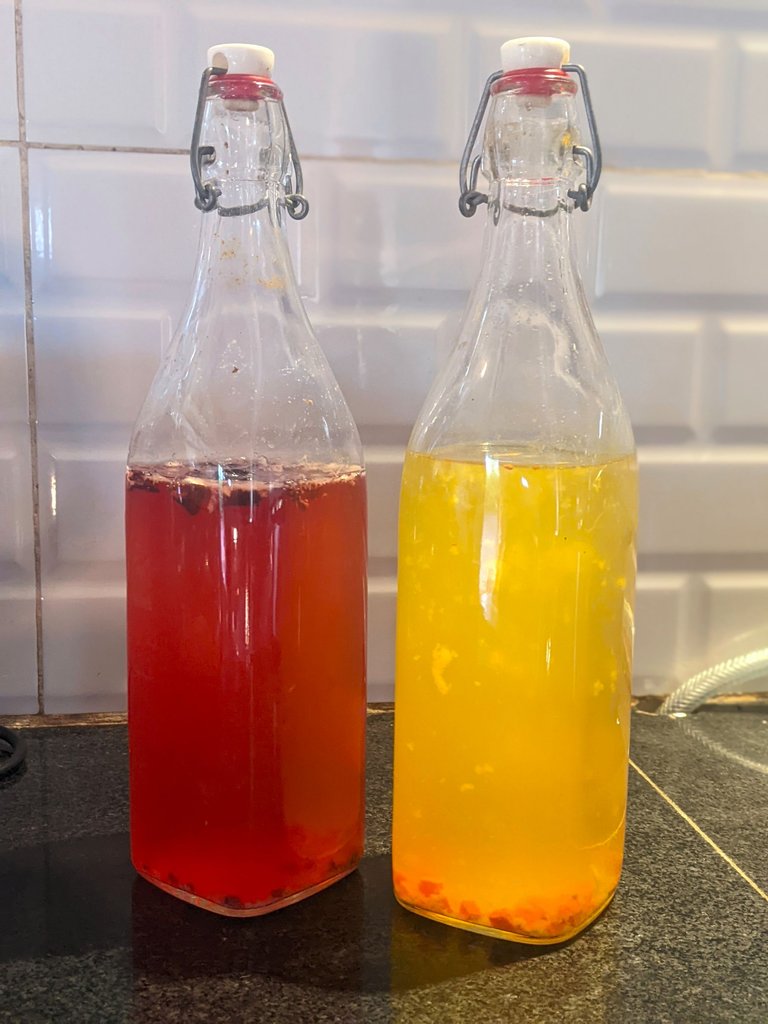
These are hibiscus - red pepper and lemon juice and turmeric after secondary fermentation.
When you have the desired level of carbonation transfer the bottles to the refrigerator to stop the fermentation. Always open your bottles carefully, preferably over the sink. The pressure built up during fermentation may cause the kefir to fizz and foam upon opening.
Enjoy this wonderful fizzy probiotic drink!
IMPORTANT NOTES
Why consider adding the following ingredients to your second ferment:
Dried fruit - Incorporating dried fruit into your water kefir brew not only enhances the flavor profile but also provides essential minerals that nourish the kefir grains. The dried fruits will float to the top when fermentation is complete, serving as a visual indicator that your kefir is ready to enjoy. However, make sure you use dried fruits that don’t contain sulfur as this might damage your grains. Sulfur dioxide is used as a preservative in dried fruits, to extend their shelf life and prevent browning.
Lime or lemon - the acidity of the lime or lemon prevents the growth of kahm yeast. Though this is a harmless yeast and won’t make you sick, it affects the taste of the kefir.
Himalayan pink salt - though this is mainly important when using white sugar in combination with filtered water - which are both stripped from their minerals to ferment, I add a little anyway to keep my grains happy. If the sugary water lacks the minerals needed you might notice that your grains will become sluggish. The dried fruit will also help boost mineral and nutrient profile.
FYI: kefir grains are the happiest when they are brewing kefir. Though you can put them on hold by placing them in the fridge in a sugary solution when going on a holiday or when you simply don’t have time to brew (even though it doesn't take much time), your grains should maintain a constant brewing process. Meaning, when you start your second fermet you also make a new sugary solution to start a new batch.
HAPPY FERMENTING! WISHING YOU ALL A HAPPY AND HEALTHY DAY ღ ღ ღ

ALL CONTENT IS MINE AND ORIGINAL!
PICTURE(s) TAKEN WITH GOOGLE PIXEL 3 XL
LET'S CONNECT!
🥑🍓🍆 FIND MORE YUMMY PLANT-BASED CREATIONS BELOW 🥑🍓🍆
HOMEMADE GLUTEN-FREE BUCKWHEAT BREAD
MIDDLE-EASTERN INSPIRED POMEGRANATE EGGPLANT WALNUT BAKE
Hi @amy-goodrich
This is an excellent, healthy, delicious recipe; however, please read our community rule number 6. Thank you.
Hi. I am sorry about this. I have been a little absent on hive over the past few months and just found the community rules post back after doing a search. I didn't realize drinks where not allowed as I posted tepache and other drinks before. Again I am so sorry about this. Not sure if I can still change the post to the amazing drinks community, if not I will definitely keep this rule in mind for future posts. Have a beautiful day 💚🙏
Don't worry, leave your post here. We know you've been away a bit, so no problem.
It must be so darn satisfying to make these delicious masterpiece drinks. Yum. I will stick to buying them.😊💚
Hehe... It's very easy to make and I love watching them ferment. They are so much more alive than the kombucha ferments.
Cooolll excelent reciept ,,;))
Thank you 🙏💚
$WINE
That looks like an interesting way to make drinks :) How long do the grains last?
This post has been manually curated by the VYB curation project
Thank you. The life of the grains depends on many factors. Normally they grow and you can keep using.
Sometimes, however, they stop growing and producing more grains so you might have to buy new ones when this happens. So I would say the last many months or even years if you treat them well.
Thank you for this really great guide! I heard about this process a few months ago and since then I have been very curious to try out!
Thank you. It's super easy you ll see. Here the trickiest part was finding the grains. Good luck
Great recipe
Posted using Proof of Brain
Thanks 🙏💚
It's weird how nature offers us all we need for a nice and healthy life but most of us forget about it and tend to buy such things that would be a lot safer and cheaper to prepare on our own. I am one of those people too since I never thought about creating a probiotic by myself, shame on me! :D
I hope my post has inspired you to make your own. So many easy to make probiotic drinks. We make kombucha, tepache, sometimes ginger beer and now water kefir too. It's so much fun and so good for you. Thanks for stopping by 💚
It is a great insoiration for sure! I don't think I ever prepared something like this before but will definitely share the recipe with my mom as she's a big fan for this kind of things and most likely she'll try it out 😁
I love probiotic water! I’ve never tried it with hibiscus and I believe it must be super tasty! It’s so refreshing! I’m gonna try to find some grains! Thanks a lot for sharing!
Thank you! We love the hibiscus red pepper flavor. Happy brewing 💚
I'd love to try it! Thank you for taking your time sharing all this. 🌷