Karcher 630M power washer repair - workshop

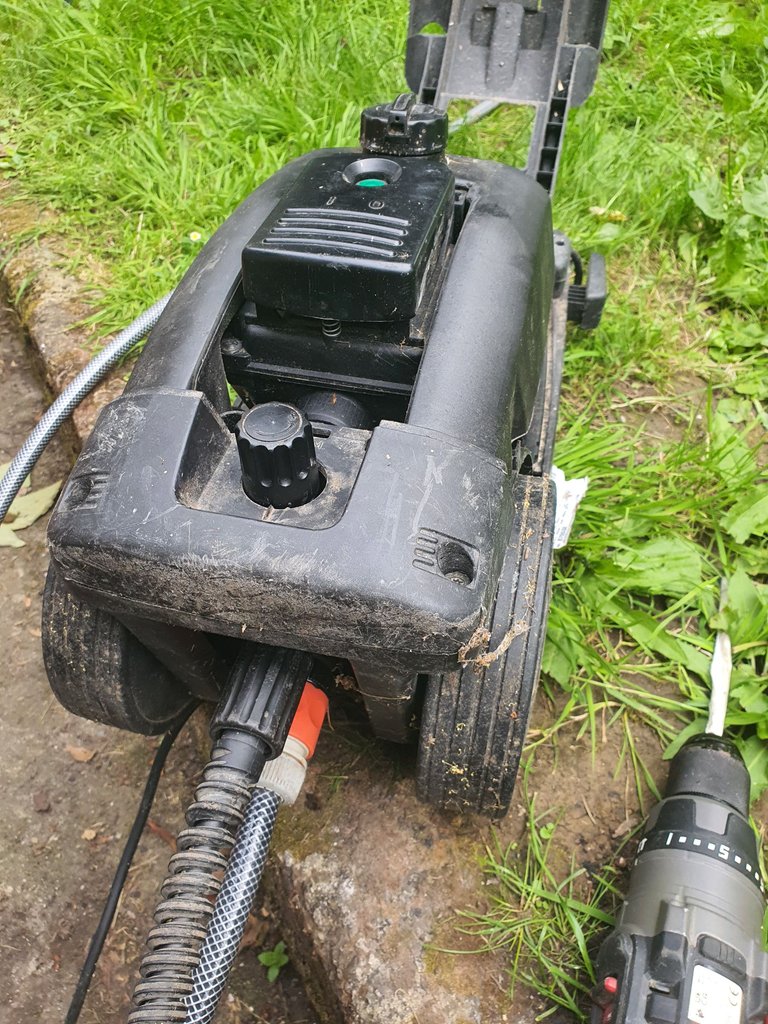
I had this old Powerwasher in my shed which hadn't been used for over 10 years. It was a pretty good one and I remember I used it to wash my whole house top to bottom many years ago.
A few weekends back I took it out with the intention of washing down the external paintwork to give the house a new lick of paint before winter. Like everything in my life at the moment it was not going to be that simple. After plugging it into the water hose and electrickery it did not work, not a sign of life.
Damn it. They are a handy machine to have around the house and garden and I have lots of projects ahead that would need one. It was probably broken by one of the other family members and put back in the shed with not a word. Looks like I will be forking out a couple of hundred to get a new one.
It's not wrong to repair
I know nothing about how these work and already had plans to bring it to the dump. I figured the motor was burned out and buying parts is usually made very difficult by companies. Strangely they would prefer you to go buy a new one if it breaks.
On searching I couldn't find much info on this model online but figured I would do a little teardown for shit and giggles. I might be able to salvage some parts and learn something.
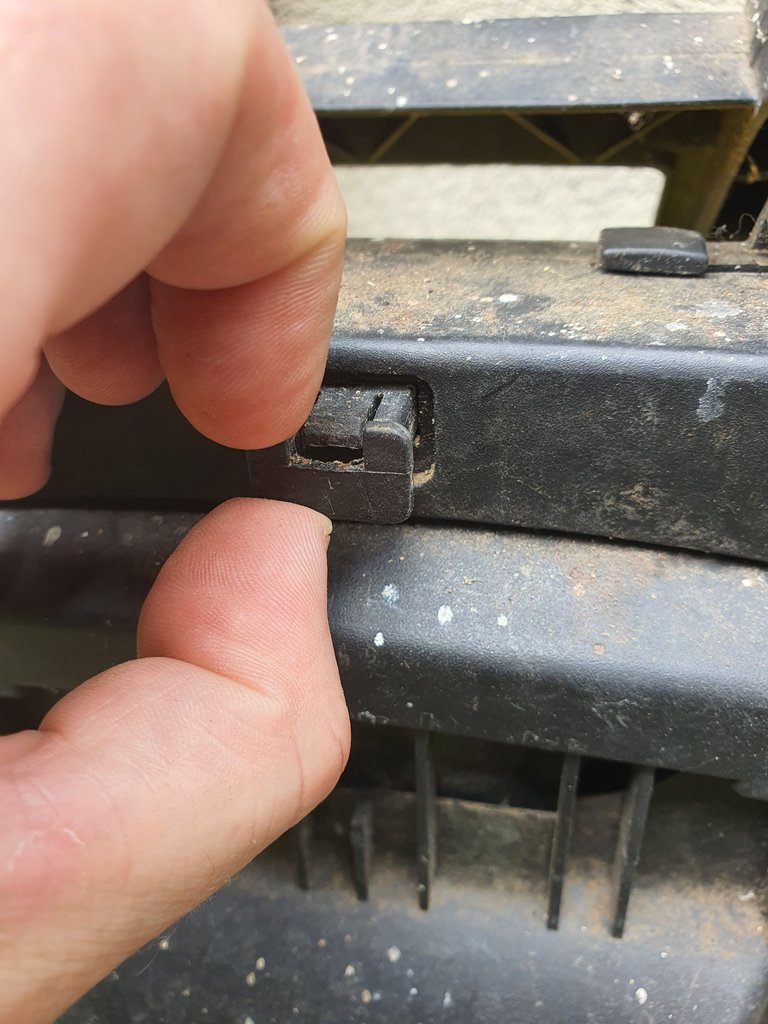
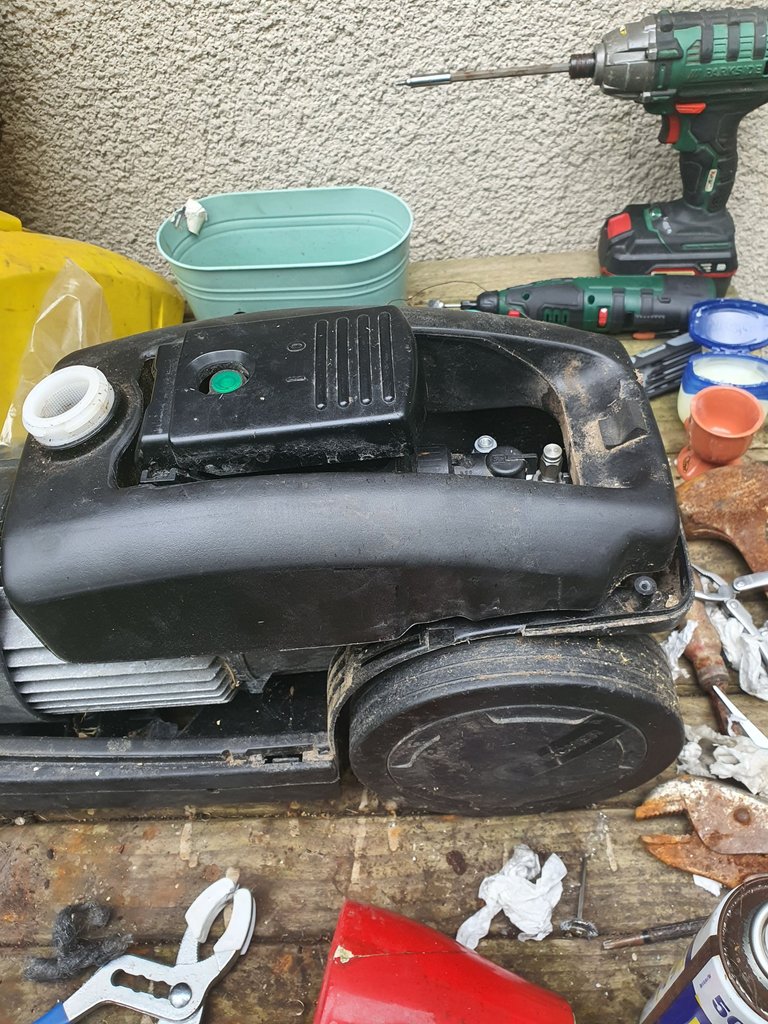
I popped the top off, which was done by pulling out little clips underneath. That was the easy part. Then I was faced with lots of screws, these are Torex star-shaped screws and a signal that they really don't want you taking this apart. Some of them had a flathead slot also so I started with these till I could figure out where my screwdriver bit set was.
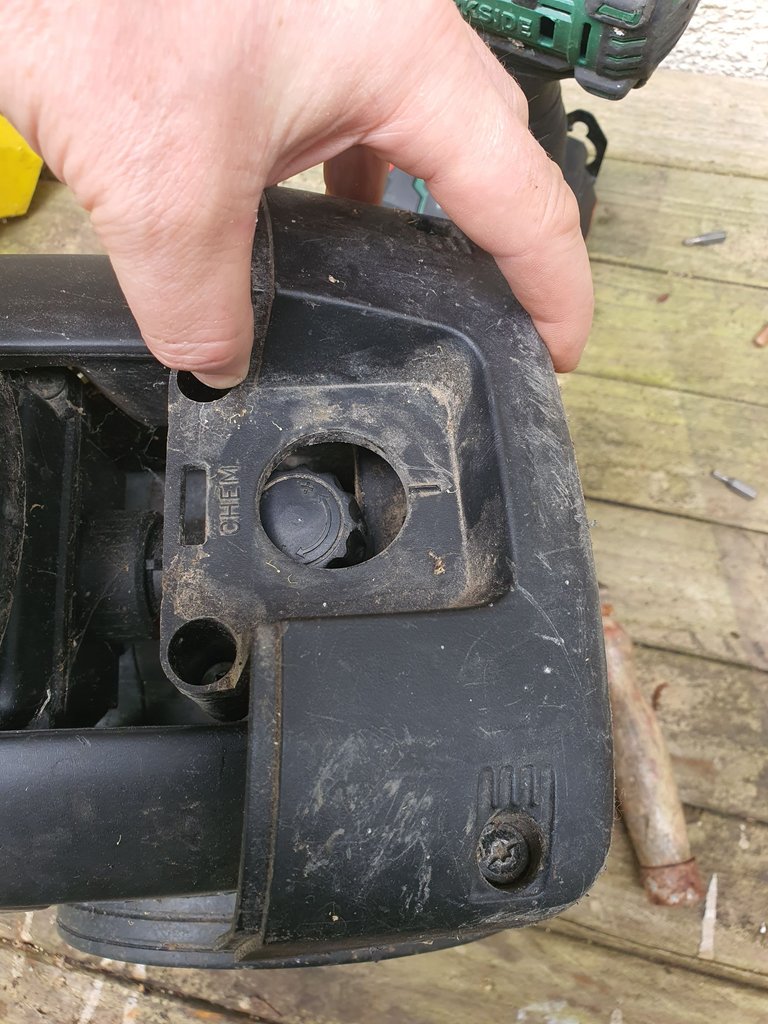
The next part to take off was the soap container. Four very tight screws later and off it came.
This is the volume knob of the soap. It allows you to add a little or a lot into the water as it comes out. Very useful for washing cars. The knob popped off with a bit of leverage.
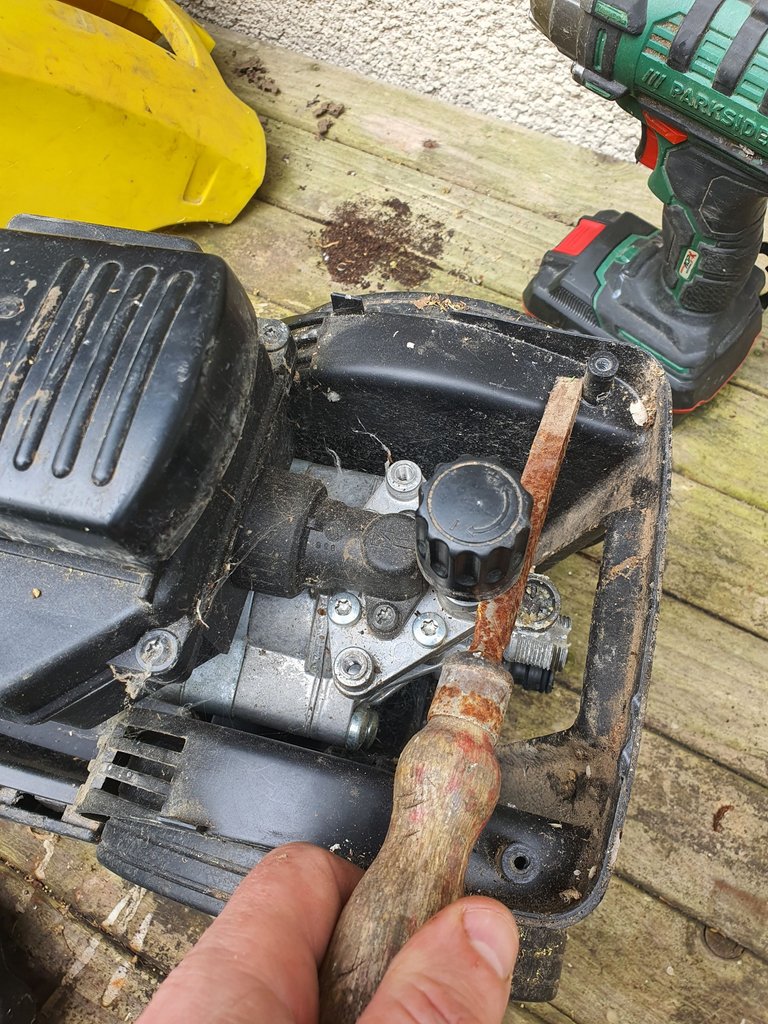
More screws which luckily I found the right driver for. They needed a lot of persuasion with my impact driver.
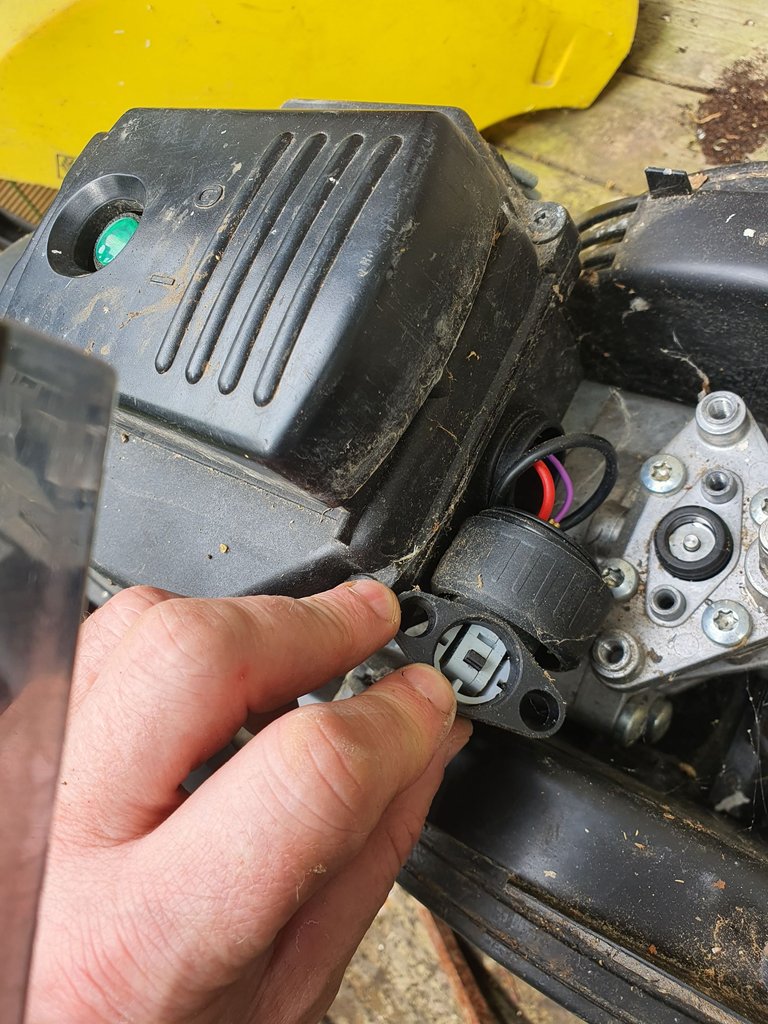
This gizmo is a switch which obviously gets pressed by the little valve it is joined to. At this point I plugged it in again to see what would happen if I pressed the switch.
To my amazement, the motor purred to life. This surprised me and now I knew the button presser mechanism wasn't doing its job. I decided to dig deeper.
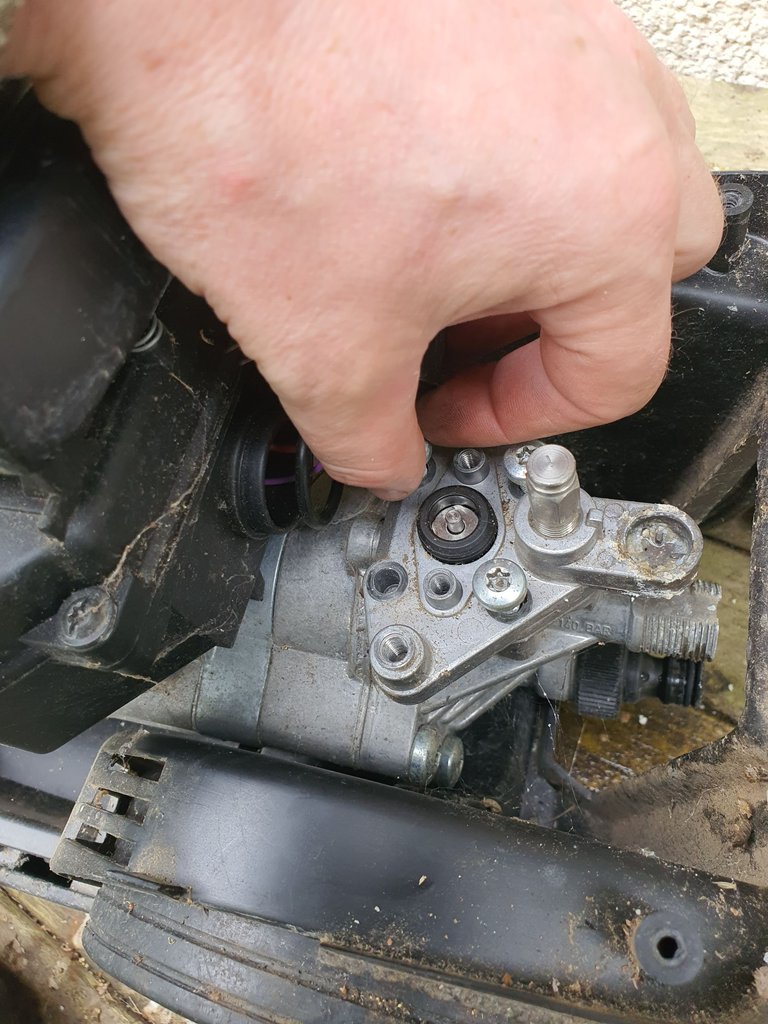
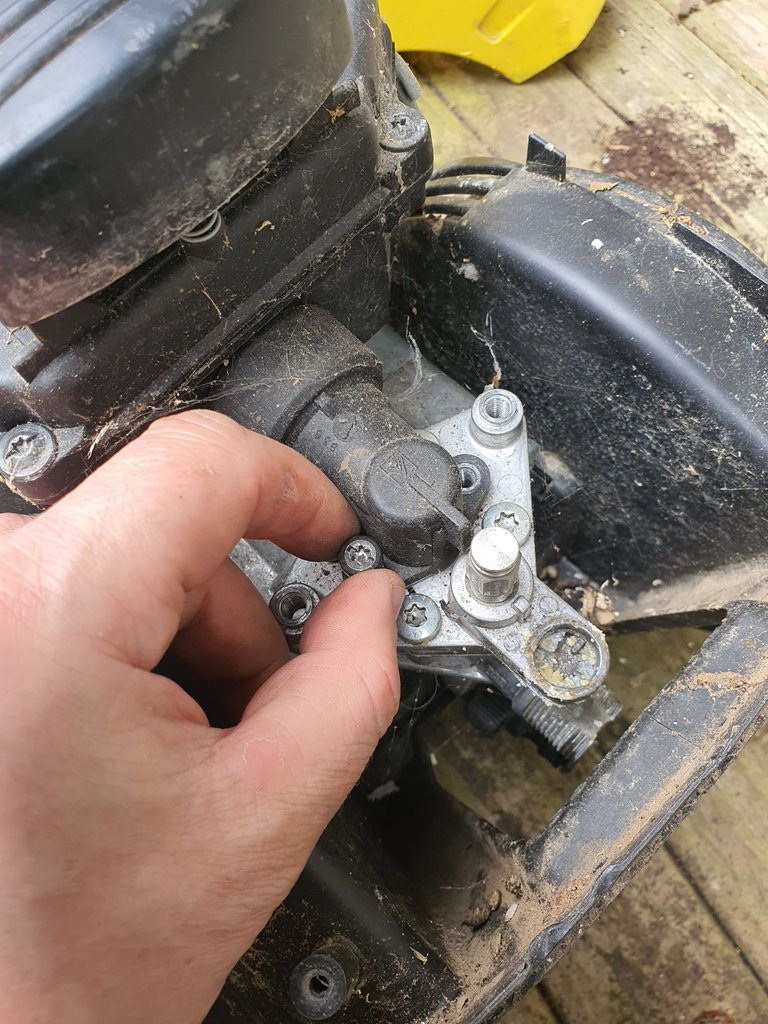
Four more screws and I could take off some sort of upper casing to the valve. These screws were very tight and took some hammer action to loosen. The main part of this assembly is made from Aluminium and through the many years every screw has gotten corroded and seized.

This revealed more bits and bobs—the housing for the button presser valve and the entryway for the soap.
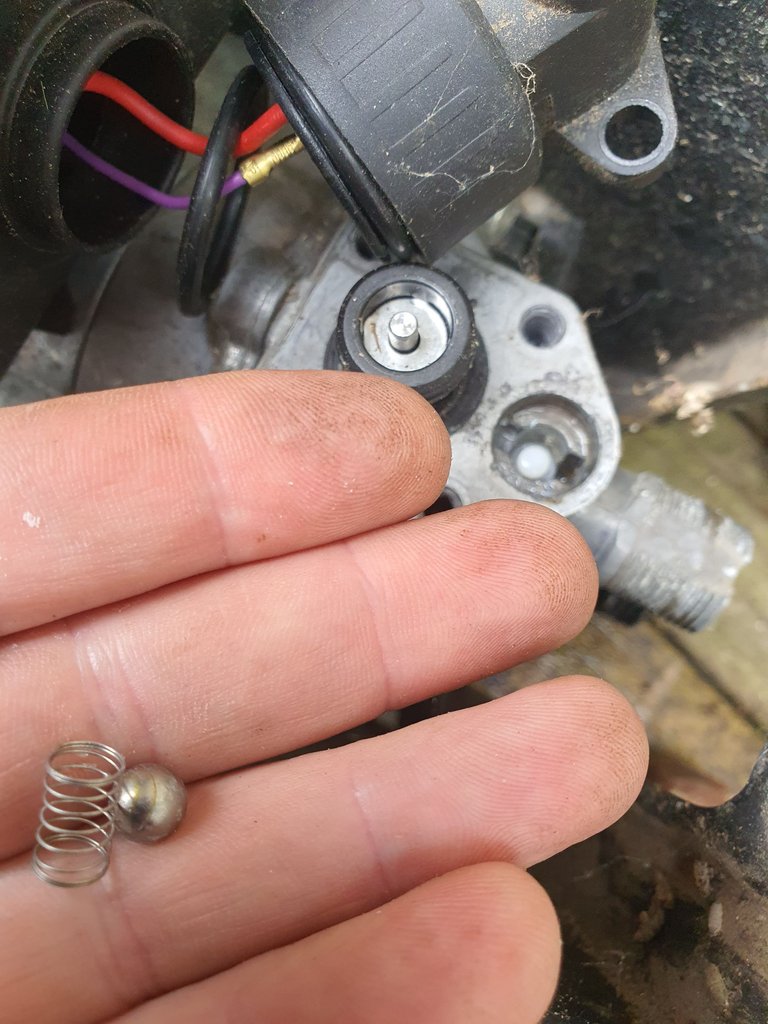
Inside the soap valve was a little ball bearing and spring. I took these out and kept them safe.
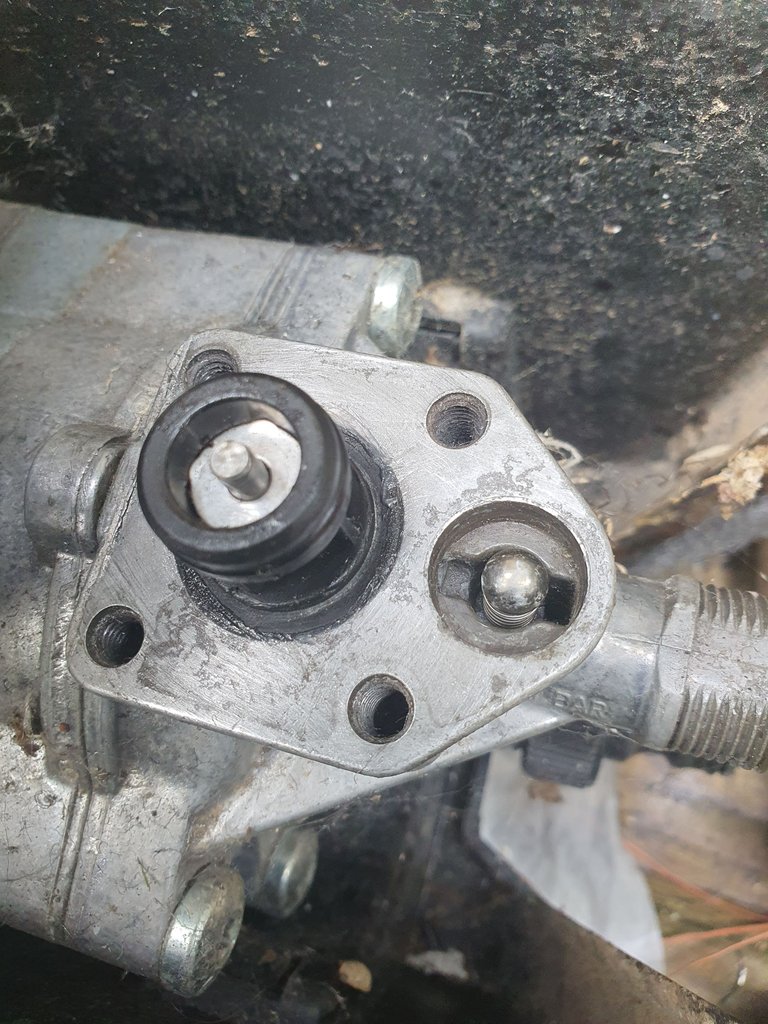
On pulling off the plastic covering over the button pressing valve thingy I could see a lot of milky corrosion around it. That was not a good sign. No wonder it was stuck.
I tried to free the valve itself but it would not budge. I tried many tools to pull it out and was worried that I would break it.
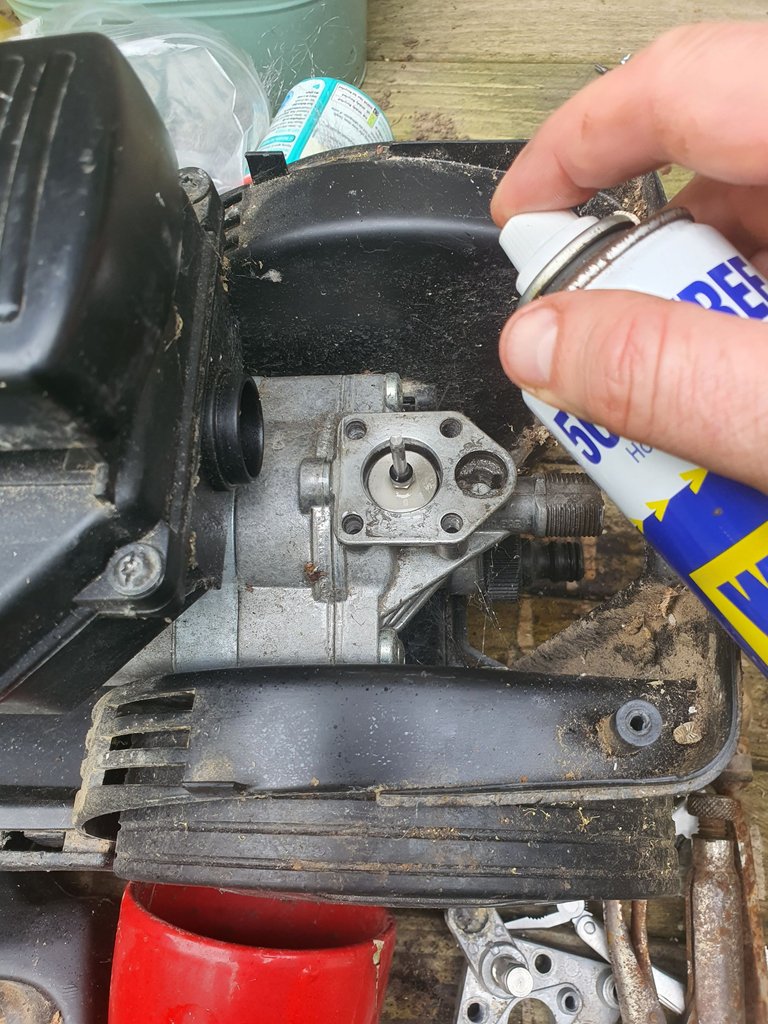
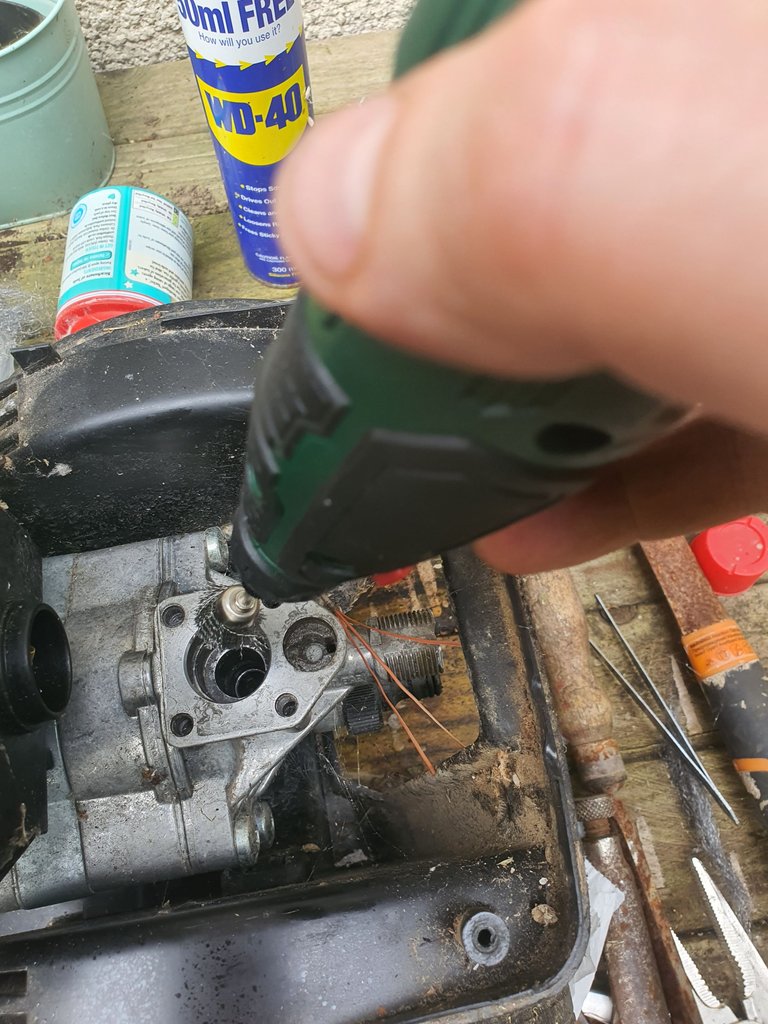
Out came the big guns. First I tried WD40 and let it do its thing for a while. Unfortunately, no help there. It was still stuck fast.
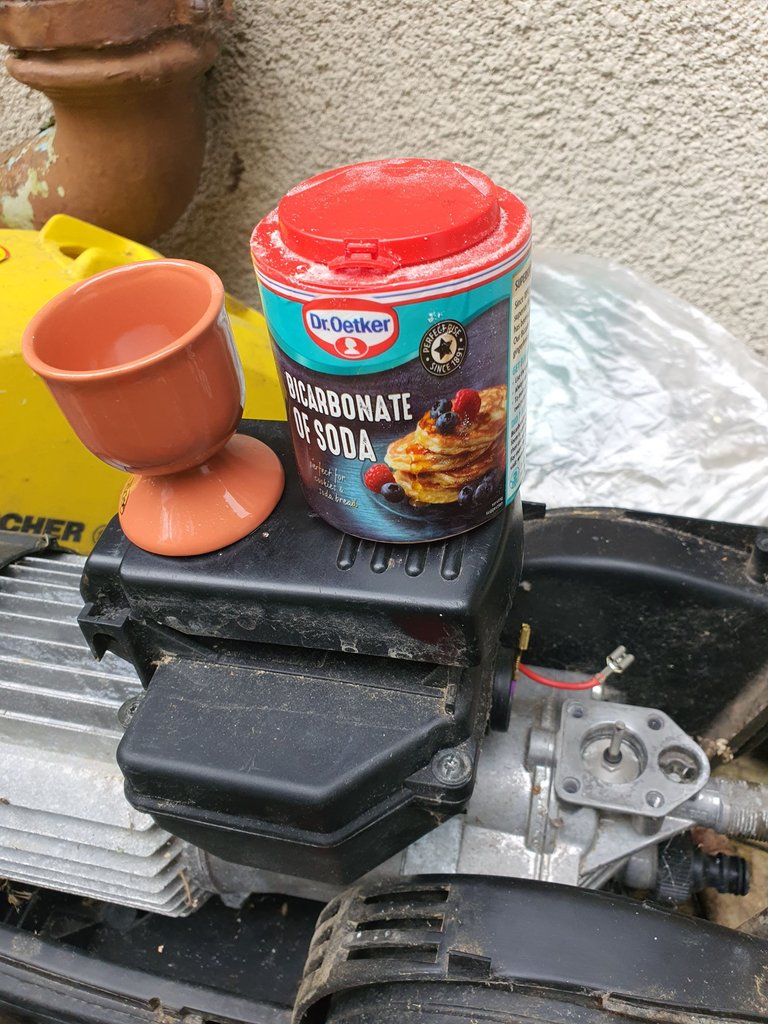
Then I tried some white vinegar and baking soda. I figured this might help as white vinegar is acidic and the backing Soda caustic so one of them would surely work.
I tried both and left soak for another while.
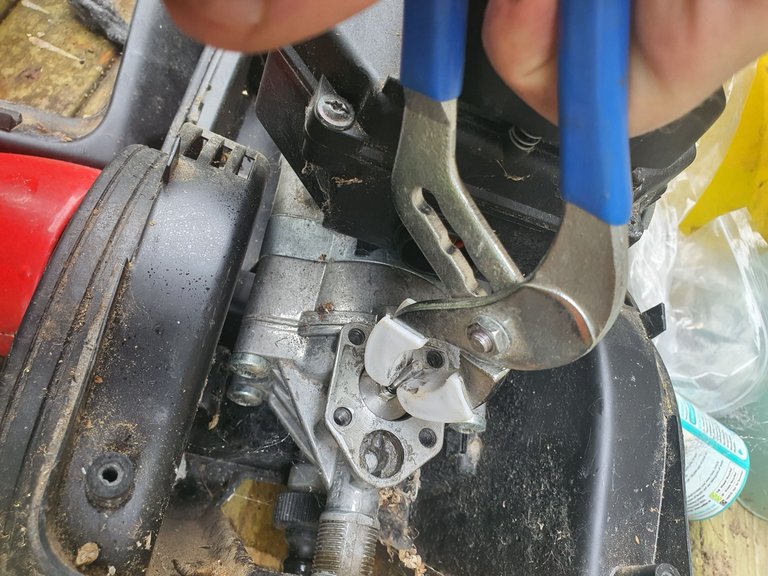
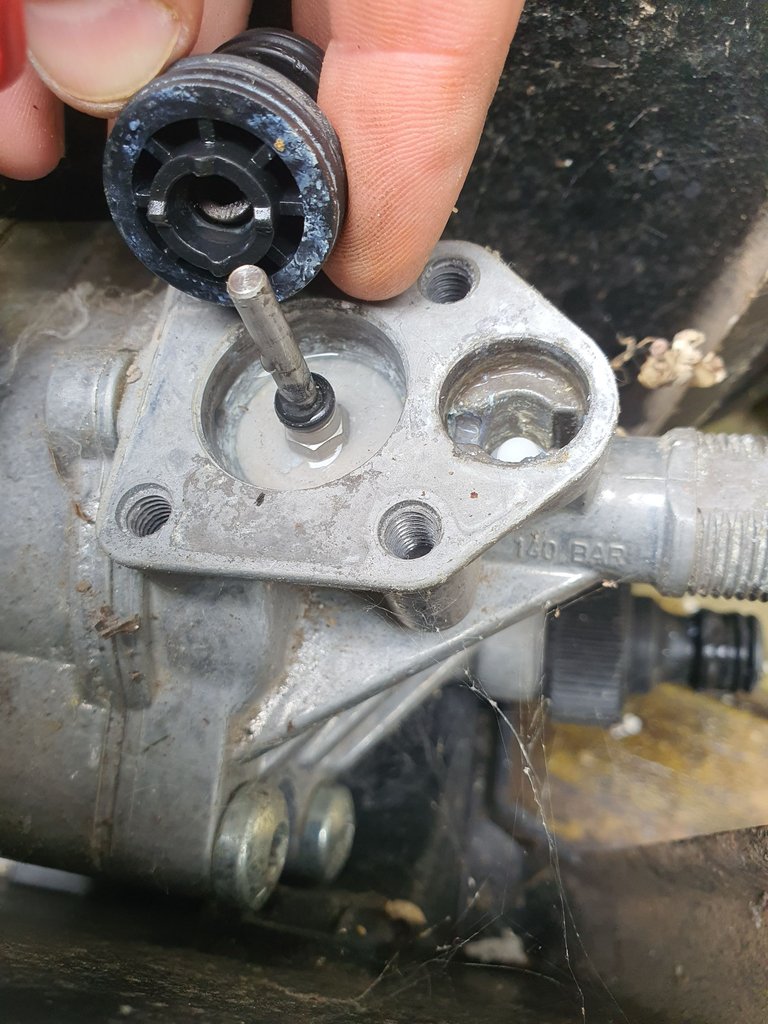
Then more pulling and tapping. Finally, it came out. I don't know what actually worked, as my tests were a building of frustration rather than a scientific process, I just wanted to get it out.
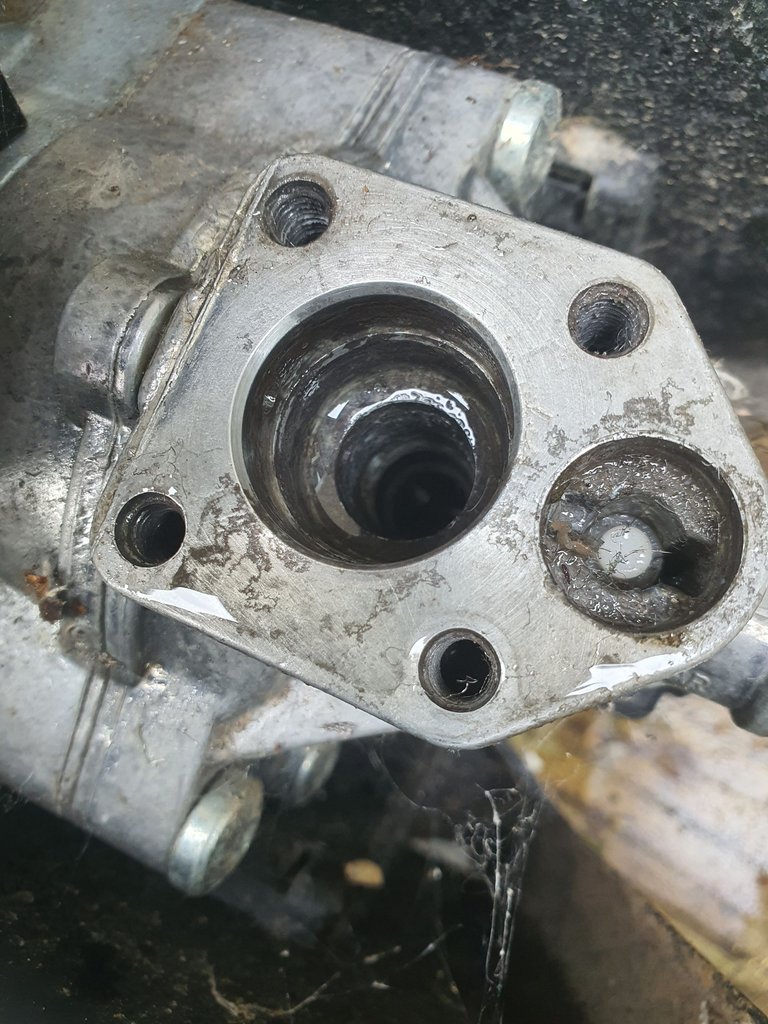
The valve housing was very rough and dirty. No wonder the thing was stuck. But, How to clean it, I knew I would have to be gentle so as not to damage the seal.
I tried a wire brush on my Dremel but couldn't get it deep enough to clean the bottom. It was also a bit too rough for the job.
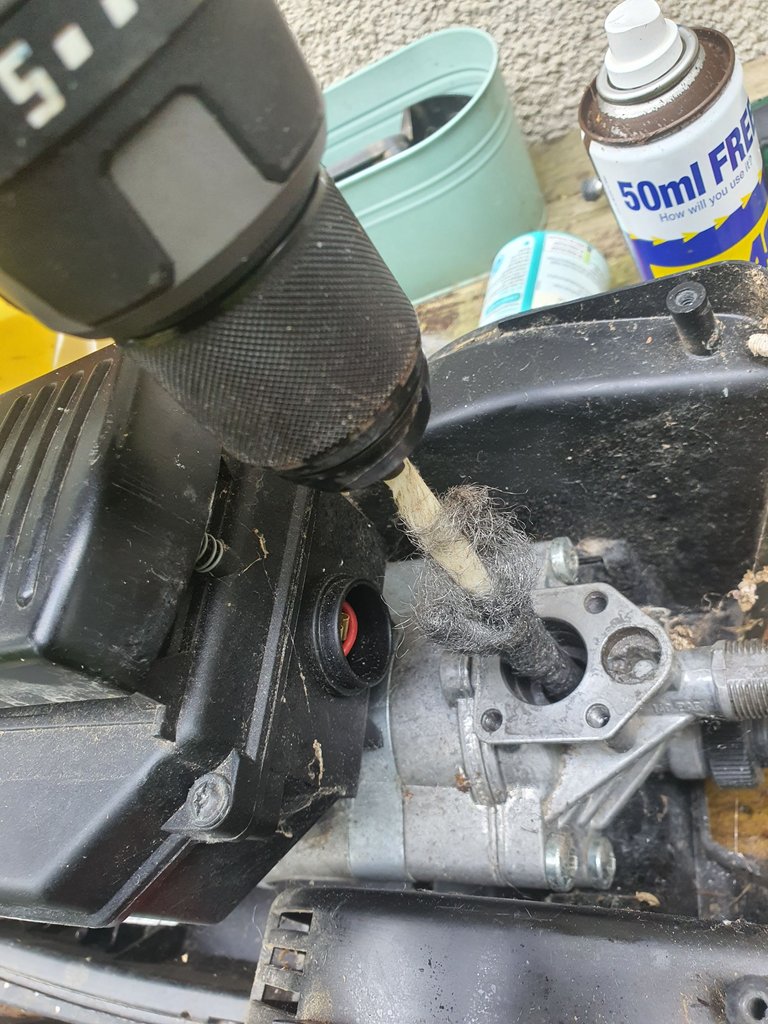
I decided to stop that nonsense and instead wrapped some wire wool around a piece of stick ( it was actually a wick form the bottom of plant pots to soak up water)

Using a drill I spun it in the hole and made it shiny new.
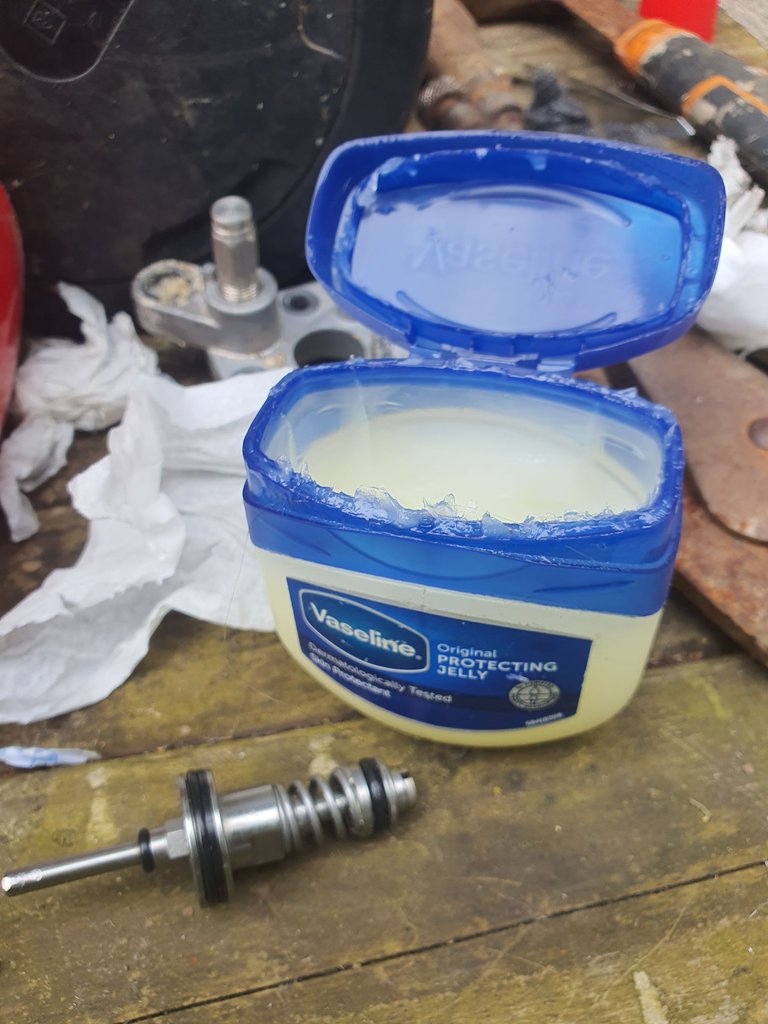
The valve thing also got a clean and luckily the O rings seemed to still be in good condition.
Now came the part where I could put everything back together. I put Vaseline on the O rings just in case.
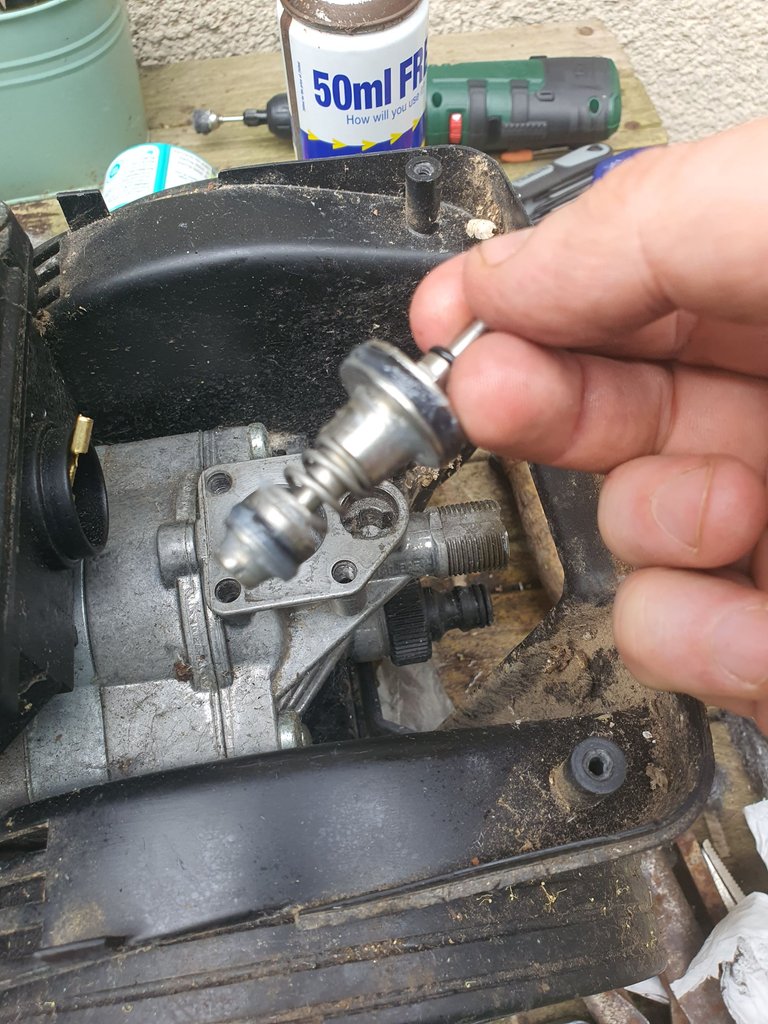
Then reversed my process of putting everything back in place. The previous images helped a lot. The ball and spring went back in.
Eventually, I had it done and luckily no spare parts were left over. Now it was time for the test. Would I be able to bring this thing back to life and save myself some money?
I connected back up the hose and power. Then with anticipation pressed the button. Nothing, Damn it! What a waste of an hour. I went back to my shed to plug out the extension cable and discovered it was already unplugged. I must have pulled the cable while excitedly trying to plug in the other end.
I fixed the issues and then clicked the button again and the wonderful sound of electricity rushed through its veins and it came to life, like new.
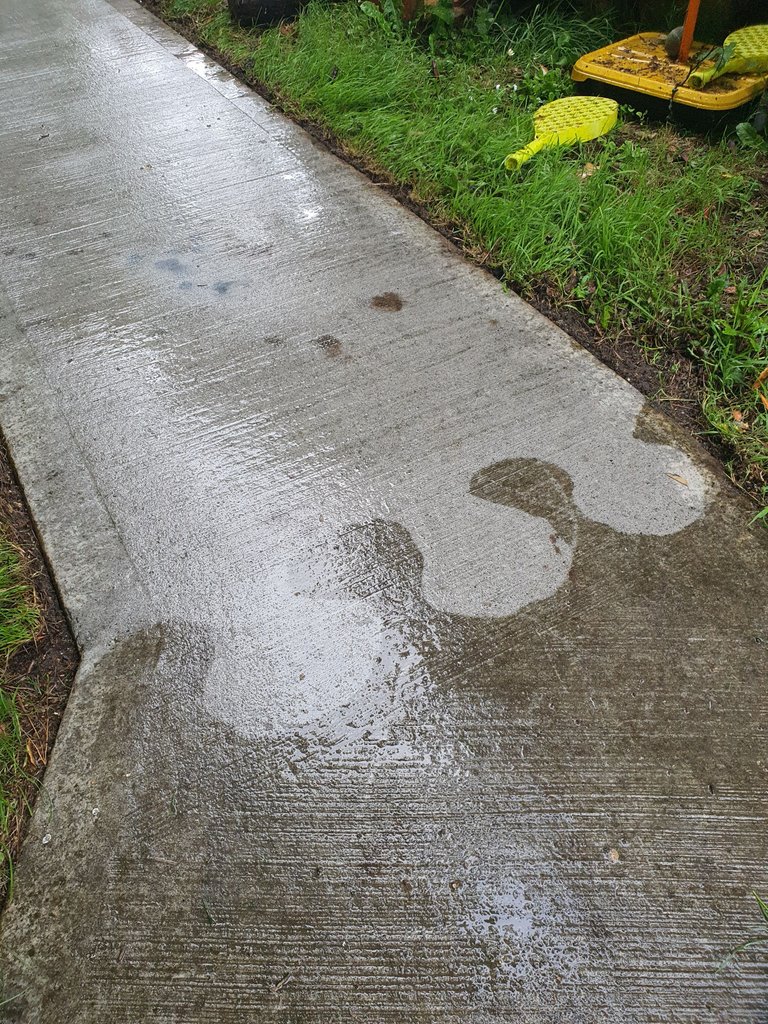
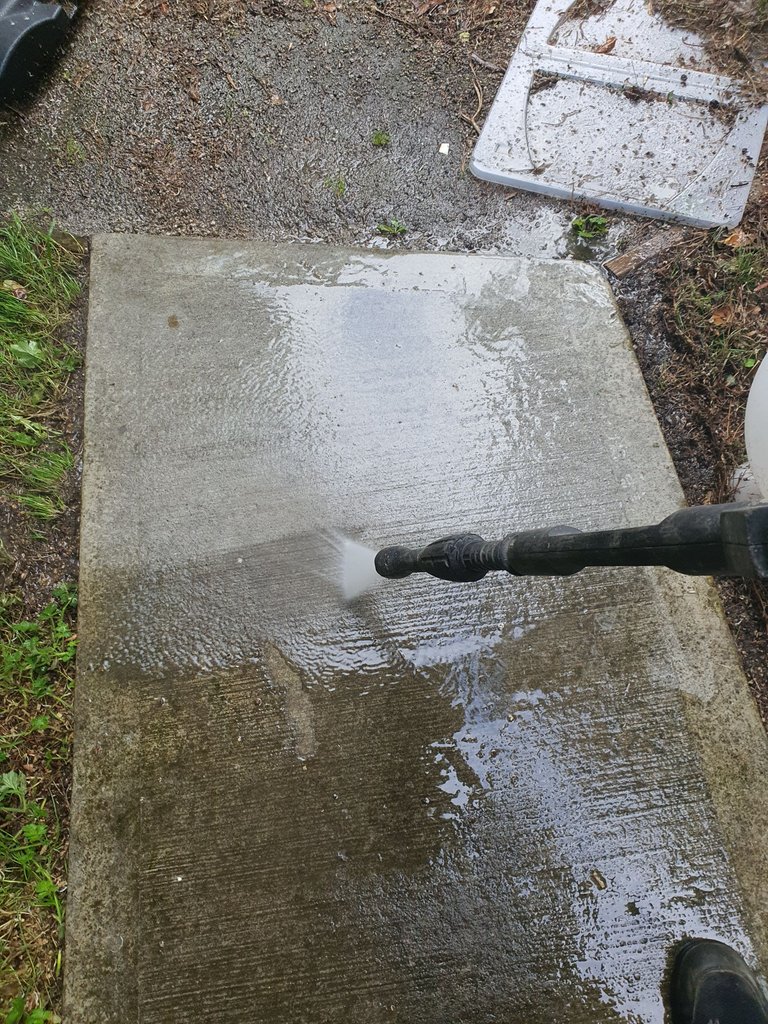
After a quick test on my path I decided to close this case. I was a happy camper. Having brought something destined for the electric bin back to life and saved myself some money.
I also learned how these things work and how they may not work. It seems that the aluminium body can rust with a layer of Alluminium oxide building up and clogging things. The newer/ more expensive models now use brass which is less likely to do so but with these older ones there could be this simple fix which I decided to share with the class.
This is probably a post that nobody asked for and will be of use to no one. But maybe, one day someone will find it and it could be a lifesaver.
Fixing things gives a great rush of endorphins and it is something which can stop the waste we produce. There has been a lot of talk about the right to repair where companies will make it impossible to fix things. Hello Apple. I am not saying Karcher is the same but a little bit of knowledge shared by them on how to fix this simple thing should it ever happen to one of their products would go a long way.
Being able to fix stuff will be one of the most sought-after skills to have when the collapse of society happens and we should not be scared of giving it a go. Whats the worst that can happen, it stays broken. Just remember Electrickery is dangerous so always plug out before plugging in your fingers.
Wow! Aren’t you one brave bear? You didn’t give up on the power washer, you saved it! And that’s admirable dearest friend. Sometimes we just need to face our challenges head-on instead of running away from them. The steps, backstory, and moral lessons that were embedded in this post made your post shine. Thanks for sharing😃
That is exactly the thing. Face the challenge head on and slowly but surely you can break it down and find the solution. Fixing things is something everyone should experience.
What an awesome post! I recently had to replace the pump on my Subaru pressure washer, which was probably comparable in difficulty to your fix, but required ~$50 in parts, so I feel more akin to you now than I did before I read the OP. I greatly admire some of the ad hoc tools and tricks you used to git 'r dun, like the steel wool on a stick and vinegar and baking soda cleaner. It is a great feeling to fix something and put it back into use, and by venturing to explore what was wrong with your Karcher and fix it you have made the world better, not just for you, but for me and everyone else on the planet.
Thanks!
Thank you for the very nice comment. It is a great feeling to fix something, A feeling that more people should get to experience. The amount of electrical waste I have found thrown away that just needed a simple fix is nearly criminal. I have found a Dyson Vacuum dleaner with just a blown fuse, a computer that had a corrupted Windows install and many things like that. All now living out their day in my service.
Schools should teach the basics of fixing things and with my son, like my father before me, I try to get him to help so he can catch the bug. (His little fingers come in very handy)
I homeschooled and taught my sons math with tape measures.
This is indeed incredible
You did a brave work by deciding to repair your washer
And am pretty sure you have learned a lot in the process.
Weldone.and that's a great job.
Thanks very much. I did learn a lot. At the end of the day it was a simple enough fix.
This is a great post! I am sure it'll inspire many to 'give it a go' and repair their own tools/ machines. Personally I loved how clean our garden path looked. 🥰
Thanks, Missus. You are one of the lucky ones who got to experience the big grin on my face when I got it working. When I get all the other jobs done around the house I will finally make a start on the painting outside.
Congratulations @ammonite! You have completed the following achievement on the Hive blockchain And have been rewarded with New badge(s)
Your next target is to reach 5500 comments.
You can view your badges on your board and compare yourself to others in the Ranking
If you no longer want to receive notifications, reply to this comment with the word
STOP