Make A Crafted Caged Cup With Me
Hello beautiful members of this prestigious community. Happy new week to all of you.
Last week, I shared a funnel corset and I think I got a lot of people who showed interest on the caging part.
So I thought to myself, why don't you help them get better at it by sharing more details, tips and tricks on making a beautiful bust caged cup corset?
And here I've made out time to share what I know with you beautiful people even though I was too busy to make a post yesterday. You all have a special place in my heart.
Based on popular demand, I decided to share a few tips on how to get a bust cage properly.
Firstly, you need to know that bust caging doesn't work for all bust size, especially smaller size.
You also need to know that a few things will help your bust to go round or go flat.
What can help? Using the right boning size, placing the boning properly, using the right interface and drafting properly with the right body measurement.
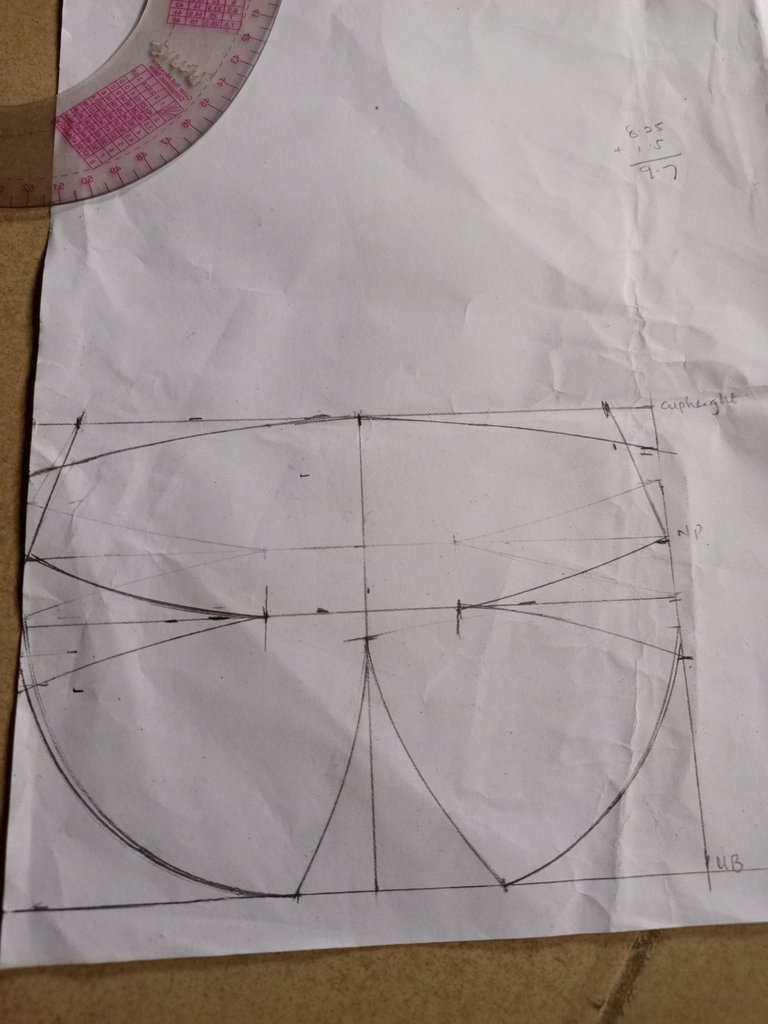
You'll need to first get your cup width ,to achieve this and how to get it is by measuring one side of your boobs/ cup wearing a very good bra.
And then cup height to , measure from your under bust to where you want your cup to stop.
That's the two main criteria to get this block as seen in the picture, then get your bust span, nipple point and do your tightening.
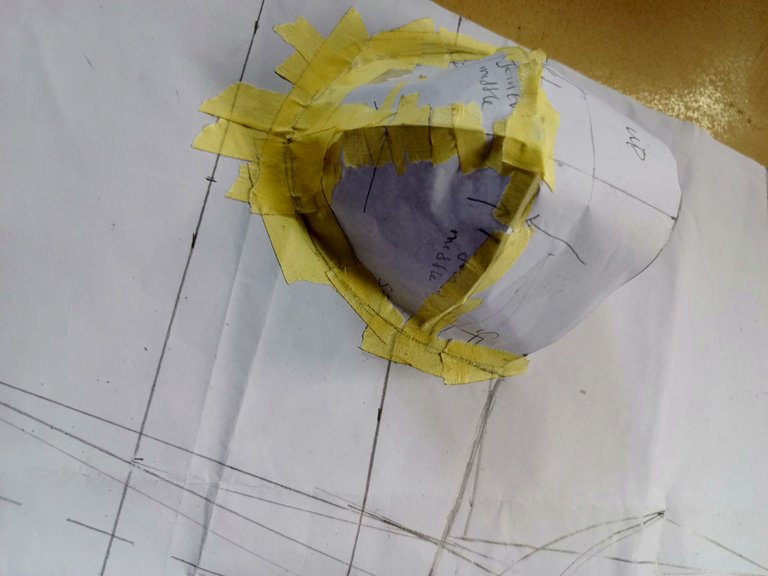
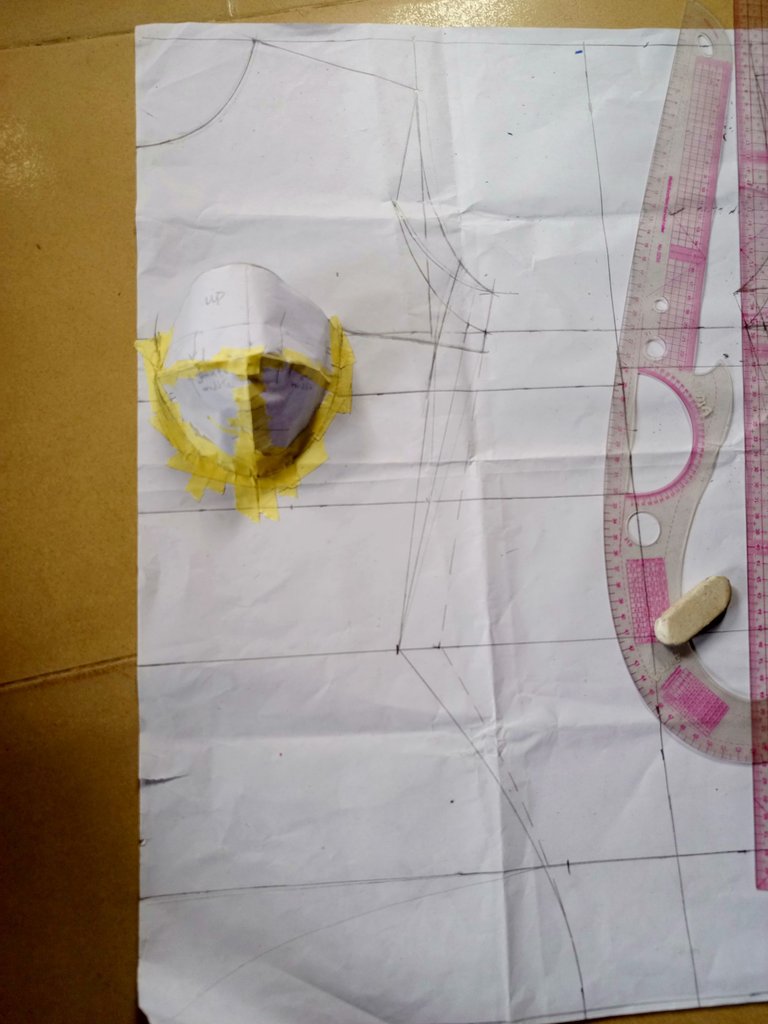
The next thing you'll do is to draft your basic bodice and close that cuo with a masking tape. Place the crafted cup on your bodice and make sit for your cup on your bodice as seen here.
Detach your cup and then place on another paper to add your seam allowance before transfering on fabric.
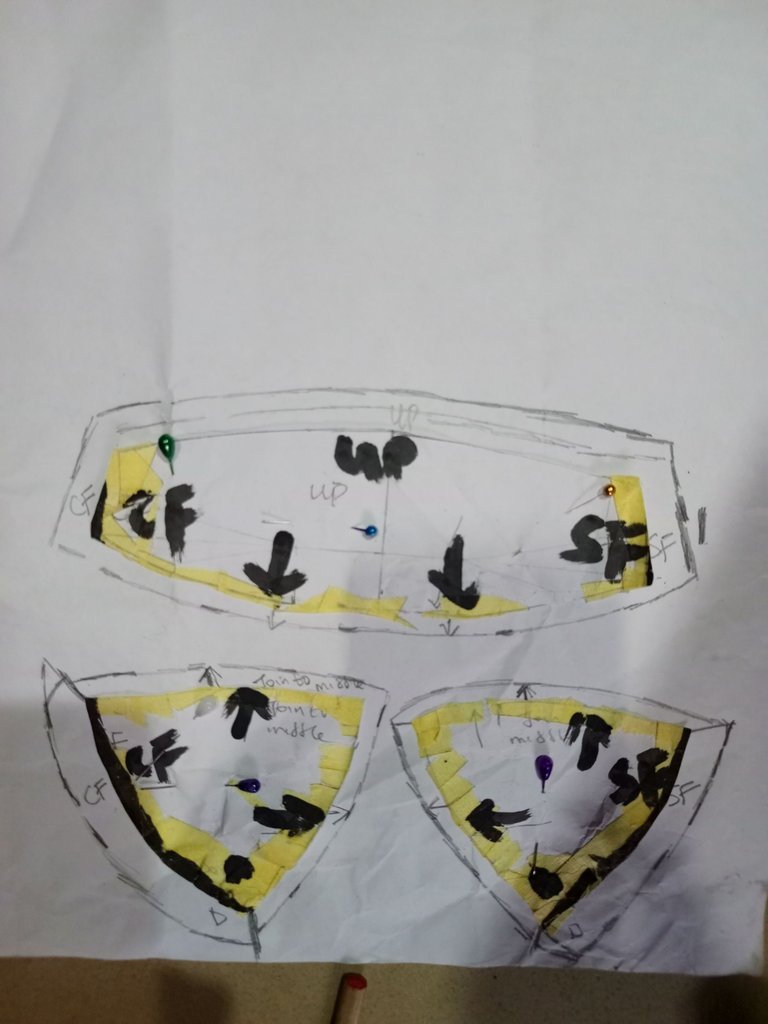
Interface your fabric for the cup with hair stay and collar stay and then join. Remember to label your pattern else you'll cry premium tears as confusion will set in.
This is what it should look like.
And here.
The next thing to do is to cage
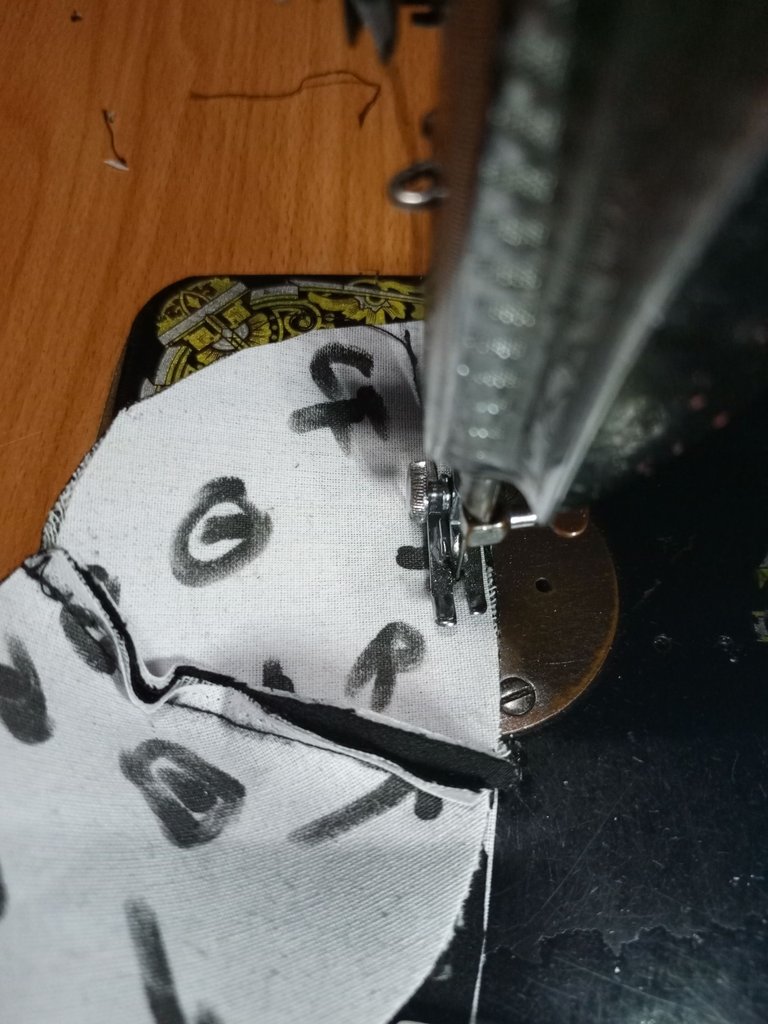
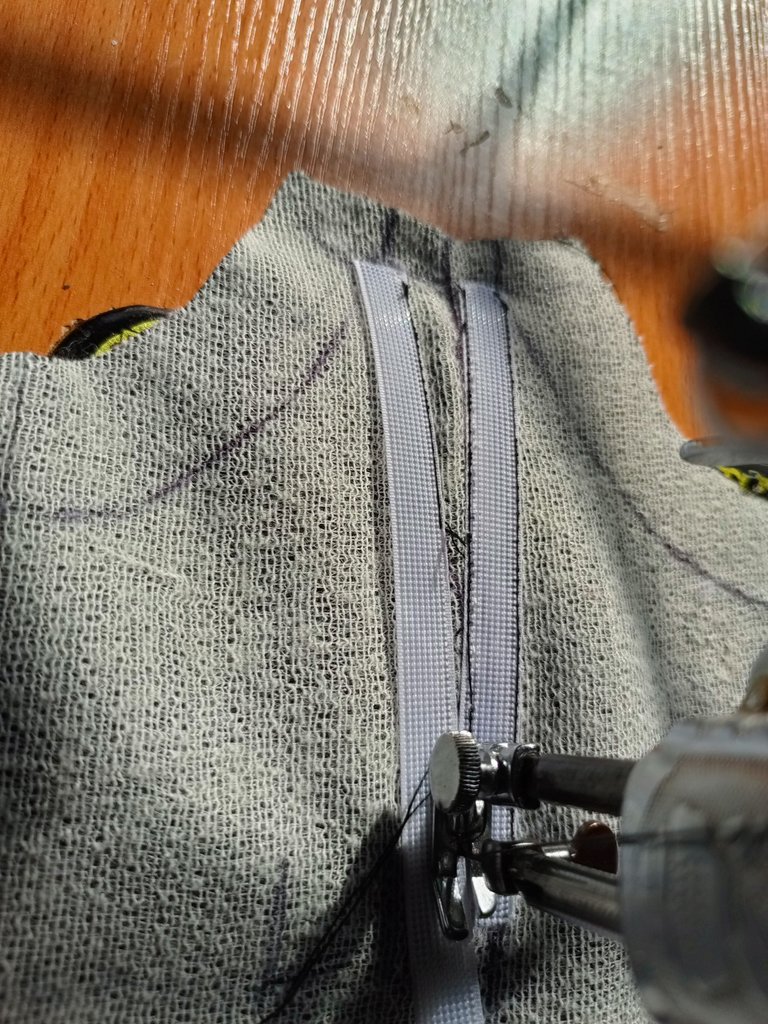
Use a 8mm Rigilene bonning to cage and place the curve part of the boning on the fabric.
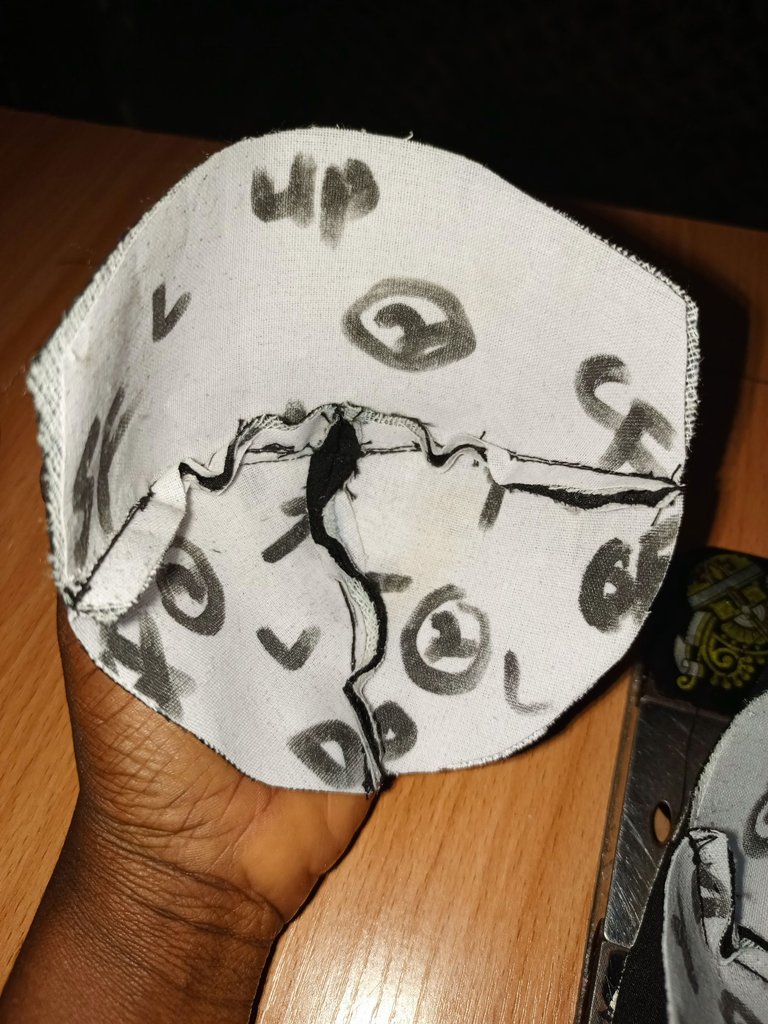
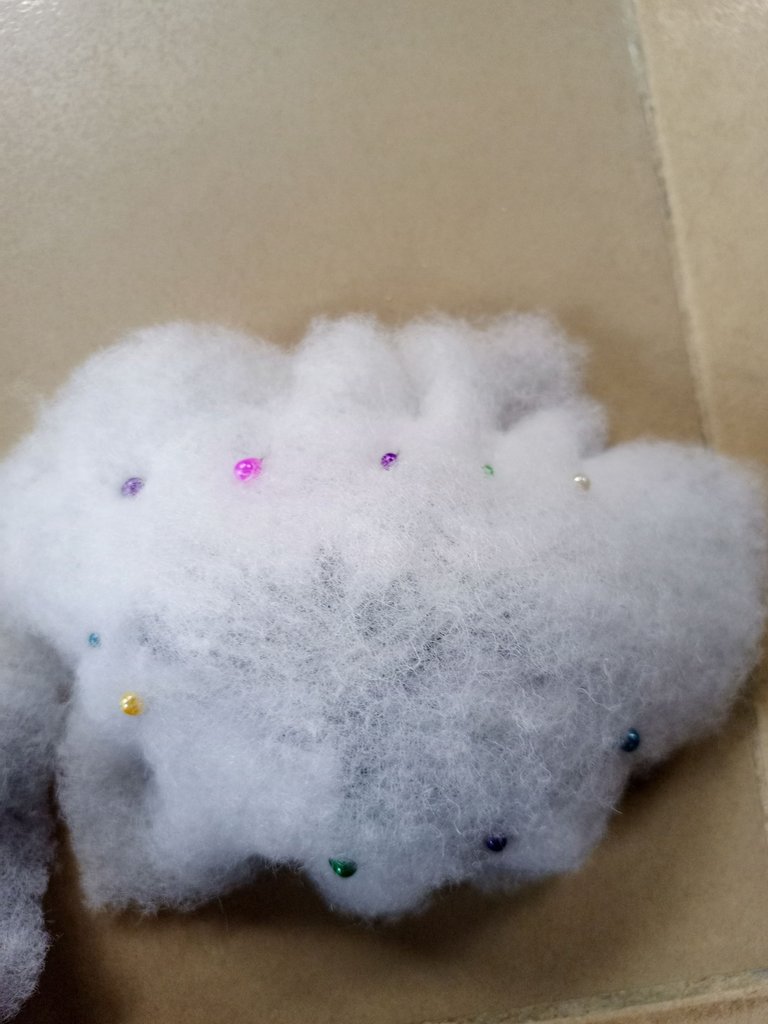
Use a 1 inch fiber to flesh placing it all around the caged cup and securing with pins before sewing.
Next is to work on the bodice, place your 10mm or 12mm Rigilene boning adding style lines as desired on front piece and back piece and then join.
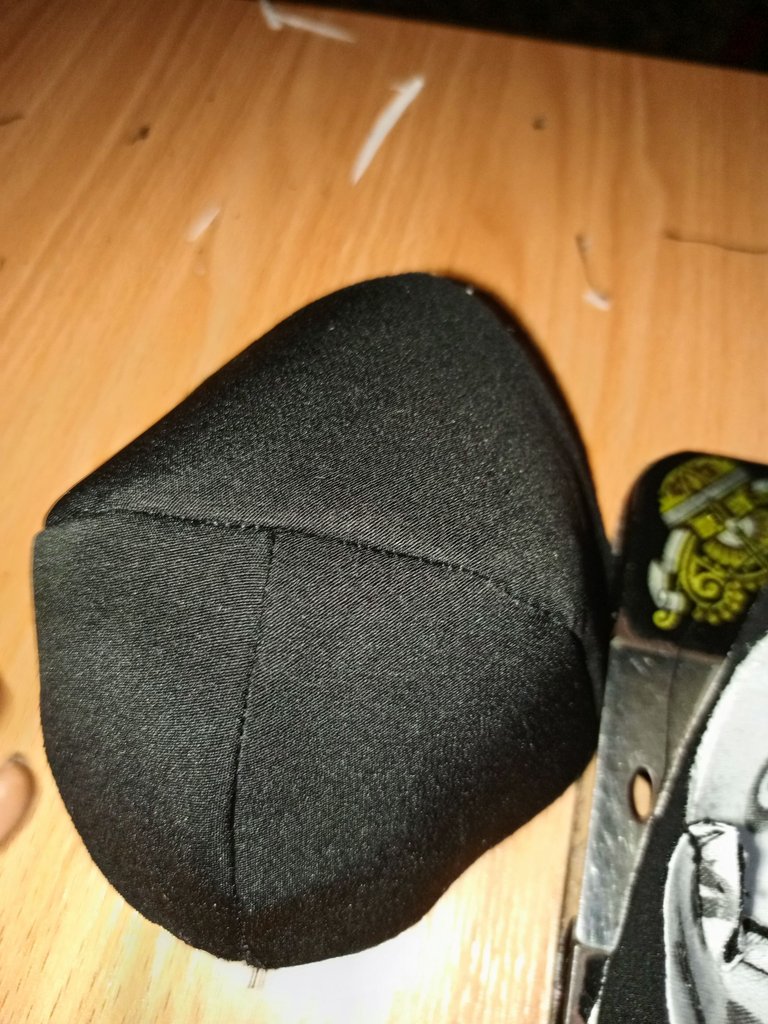
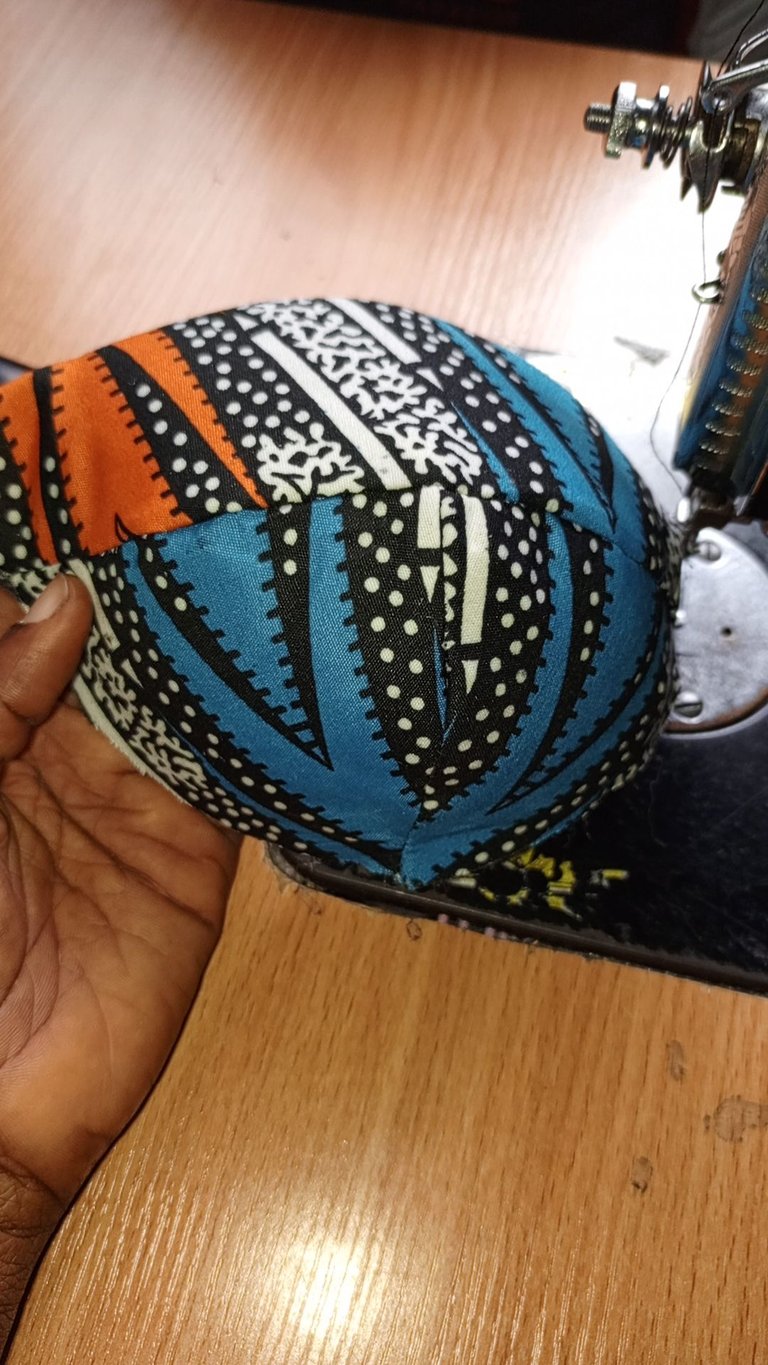
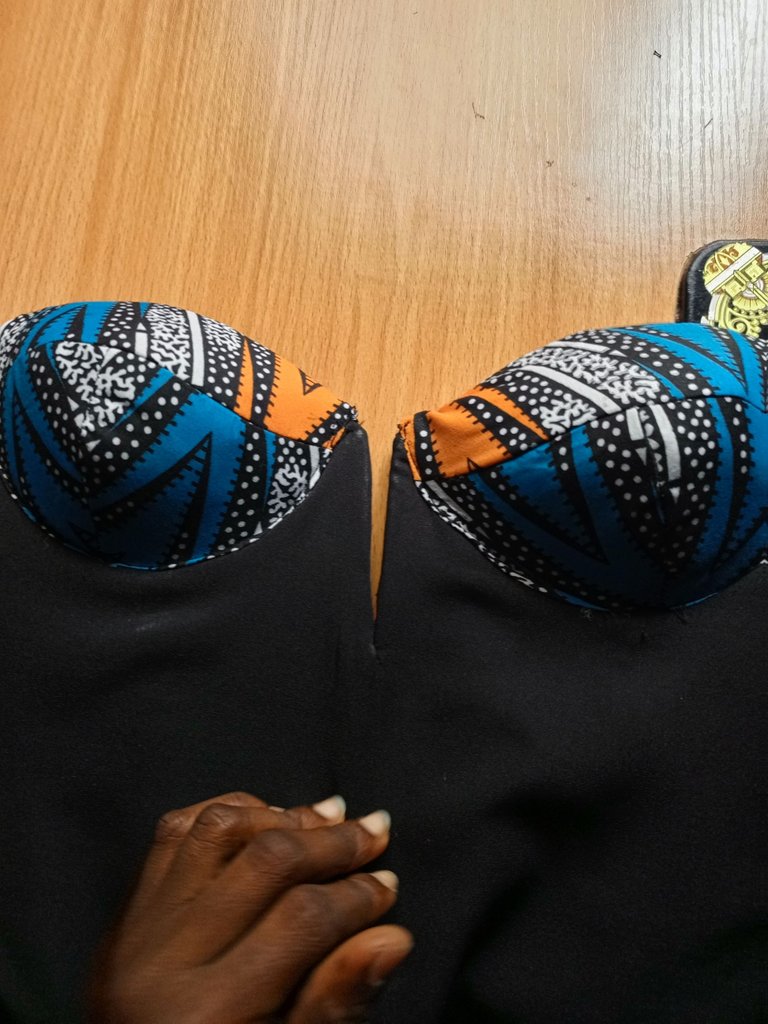
Use a fabric of your choice to cover your cage cup as seen here.
For me I used an African print and see how pretty my crafted cup came out.
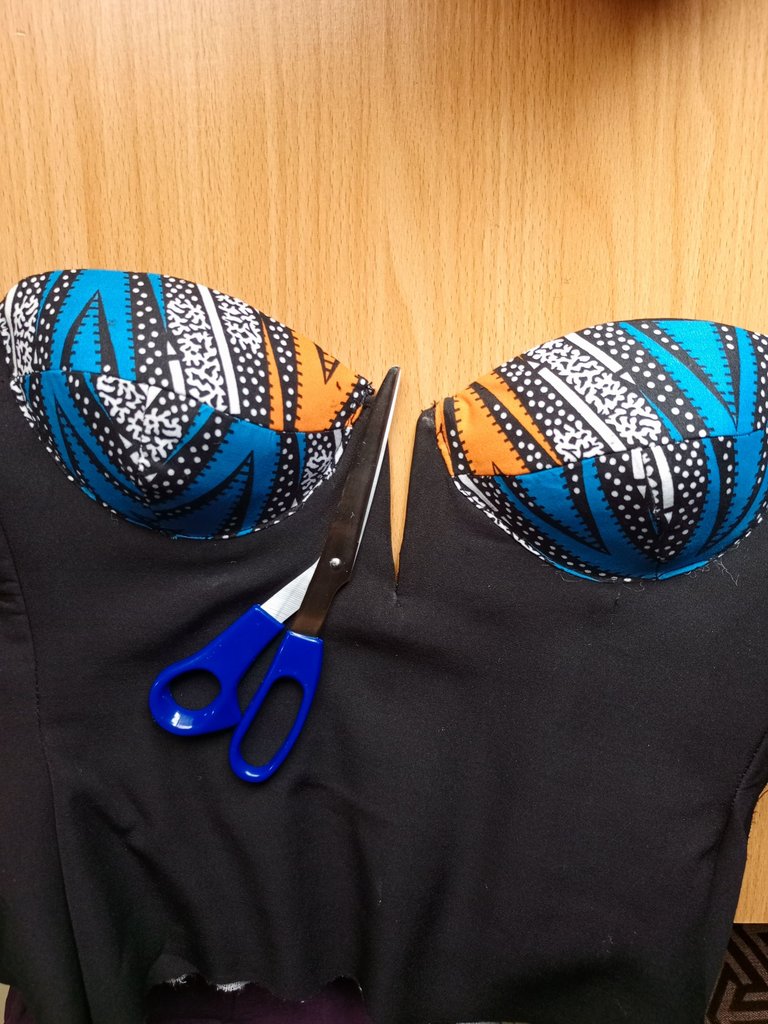
Sew your crafted cup on the sit of your upper bodice and your outfit is good to go. You can rock it as a tube, with a yoke, with a Chantilly lace underneath or however you desire to style it.
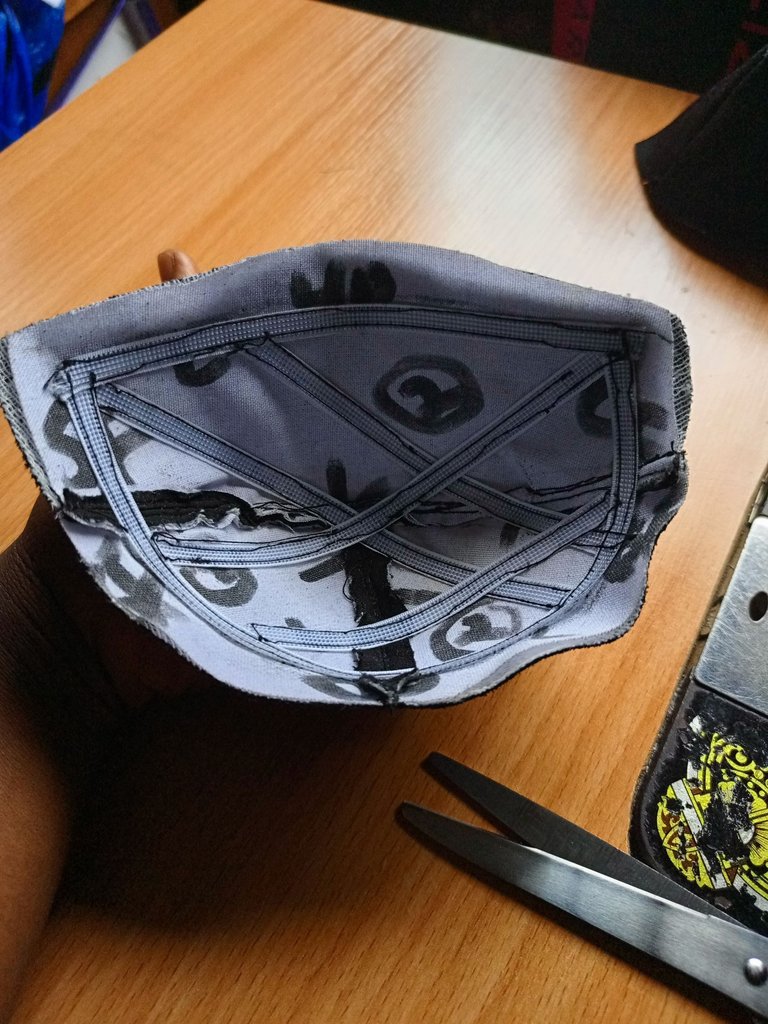
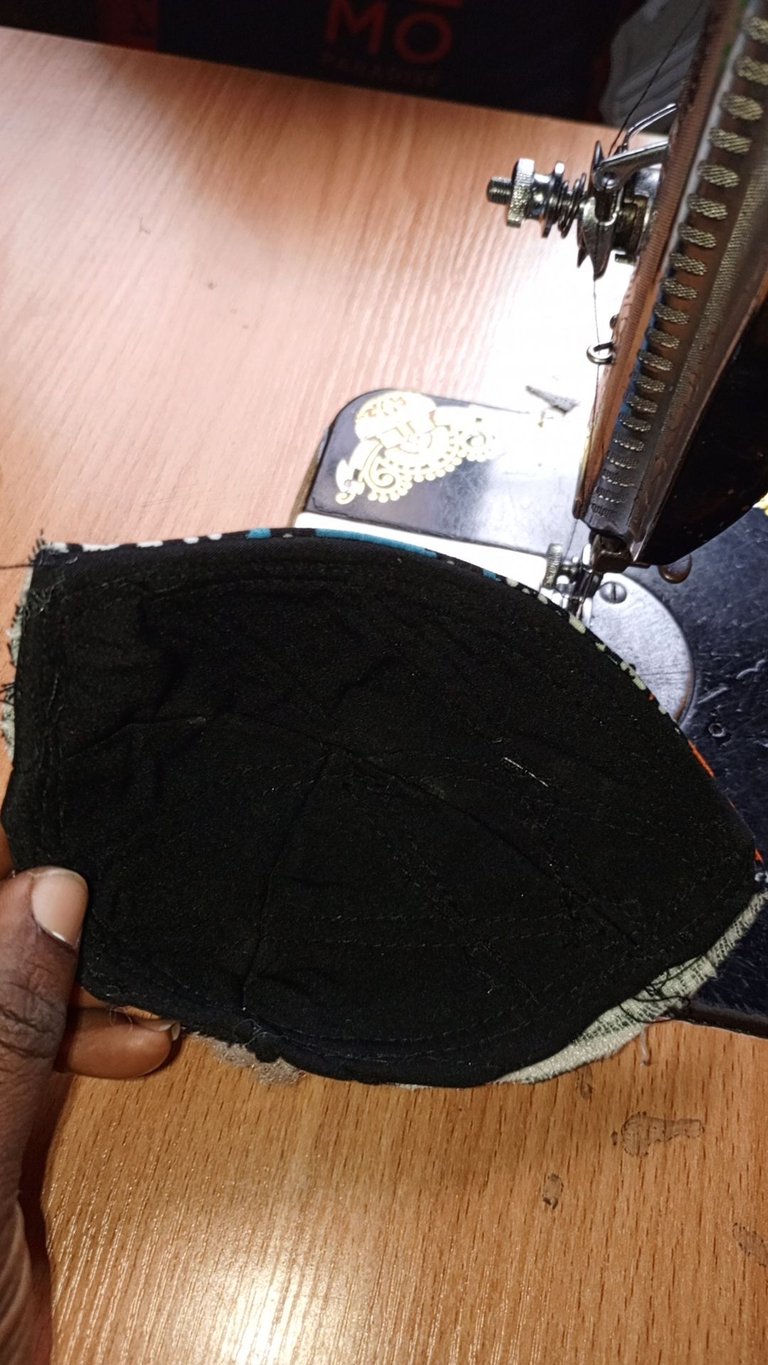
This is one of my assignment in school, I think it's one of my favorite cup.
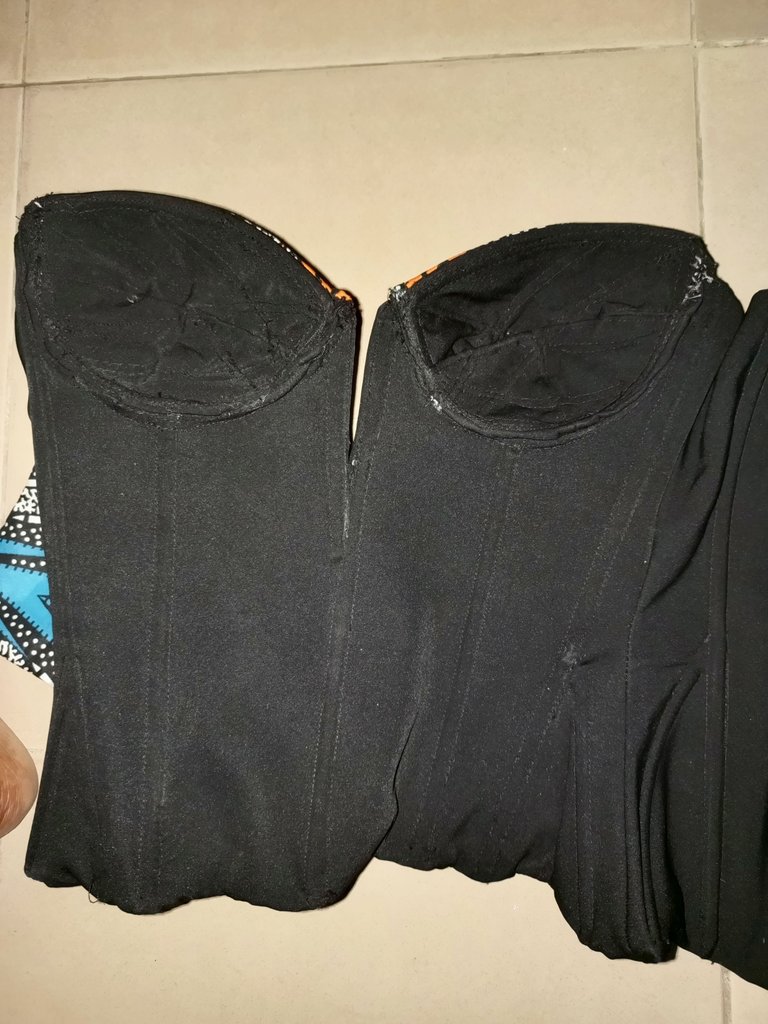
See how neat the inside looks like. Looking so beautiful and attractive just like the front.
I'm glad I can share details with you all and I believe this explanation will help those struggling with bust caging to get better at it. I hope it is helpful.
You're welcome.
Images used belong to me.
Amie,
ᵀʰᵉ ᵍⁱʳˡ ʷⁱᵗʰ ᵃ ᵇⁱᵍ ʰᵉᵃʳᵗ ❤
Uploaded using 3Speak Mobile App
▶️ 3Speak
View or trade
LOHtokens.@amiegeoffrey, You have received 1.0000 LOH for posting to Ladies of Hive.
We believe that you should be rewarded for the time and effort spent in creating articles. The goal is to encourage token holders to accumulate and hodl LOH tokens over a long period of time.
Wow. This is wonderful! I love the step by step explanation. Good job, Amie 👏
Thank you very much
Very detailed, you're really good with this!
Thanks a lot
Thanks for sharing this detailed tutorial despite your busy schedule. We appreciate your effort, well done.
selected by @ibbtammy
Thank you
You have been so detailed in your explanations
Thank you for such a great tutorial
You're welcome