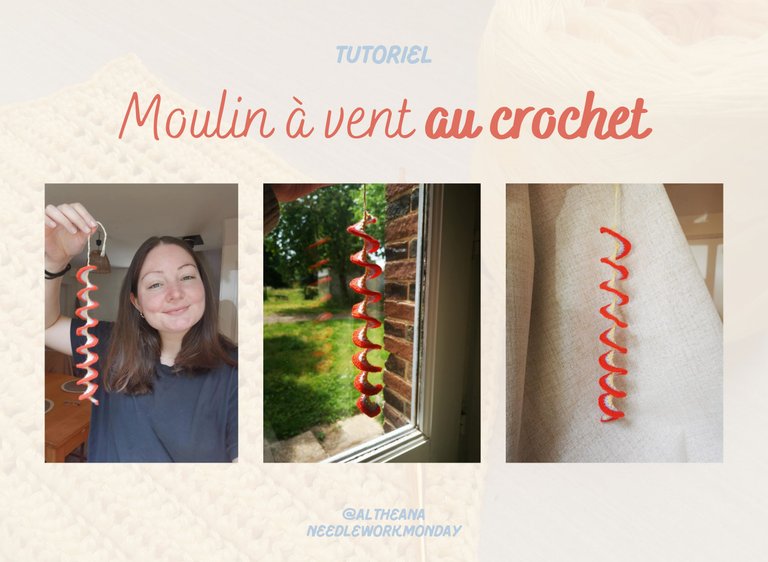
Tutorial : Crochet windmill // Moulin à vent au crochet [EN/FR]

Hello friends and crochet lovers! I hope you're all doing well today 😁
A while ago, I stumbled across a photo of a crocheted windmill, and naturally, I wanted to make one too!
I found a tutorial on TikTok, selected three colors, and got started making one. 😊
It's a very quick project and ideal for beginners, as all you need is a basic stitch knowledge. In less than an hour, you can have your own little windmill!
And you can hang it just about anywhere outside; it moves in the wind!
In short, here's a written tutorial for making your own crocheted windmill 👇
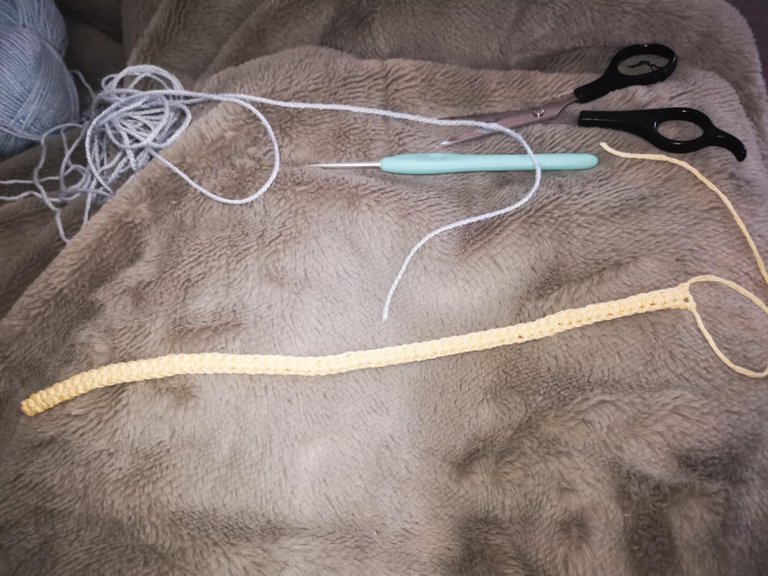
Materials
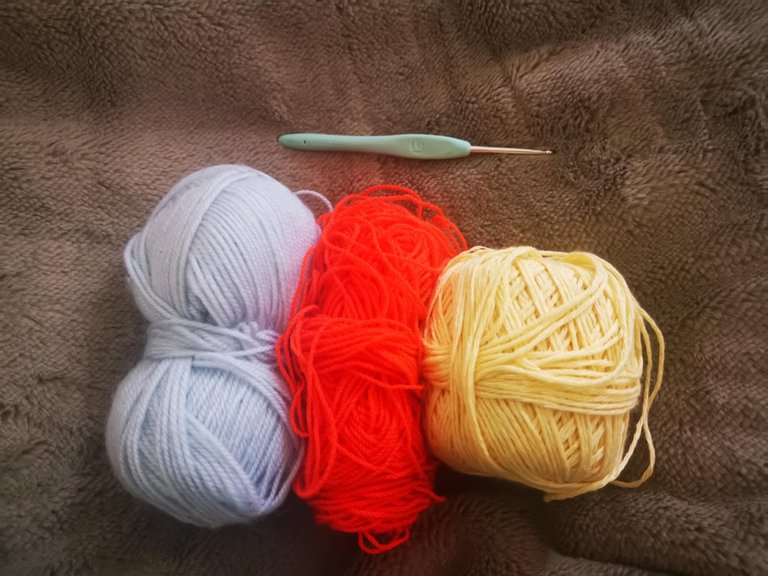
- 3 balls of yarn in different colors;
- A 3 mm crochet hook.
Steps to follow
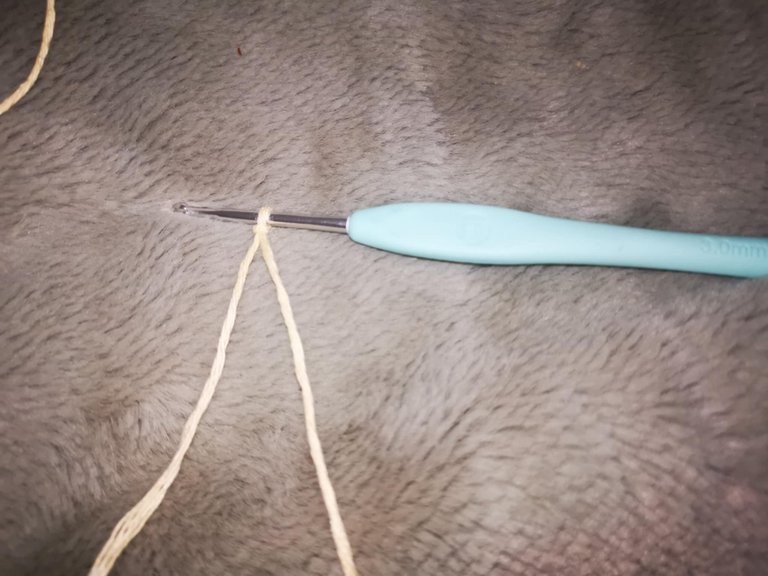
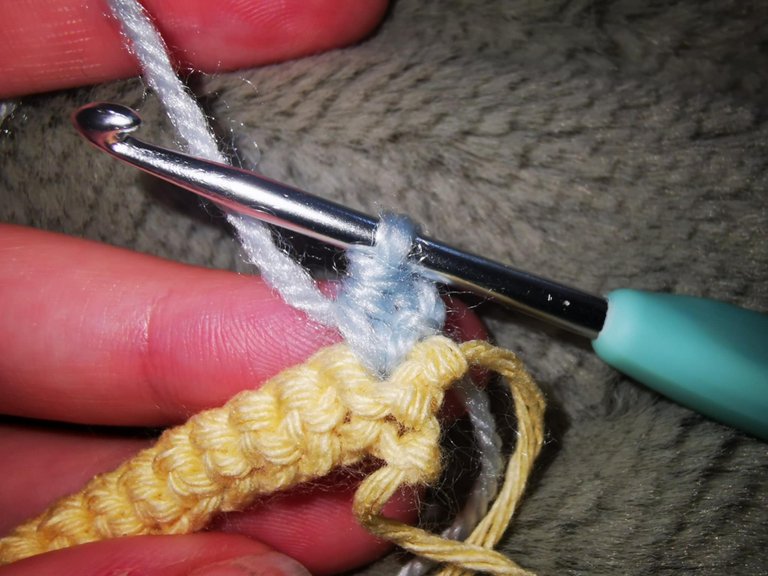
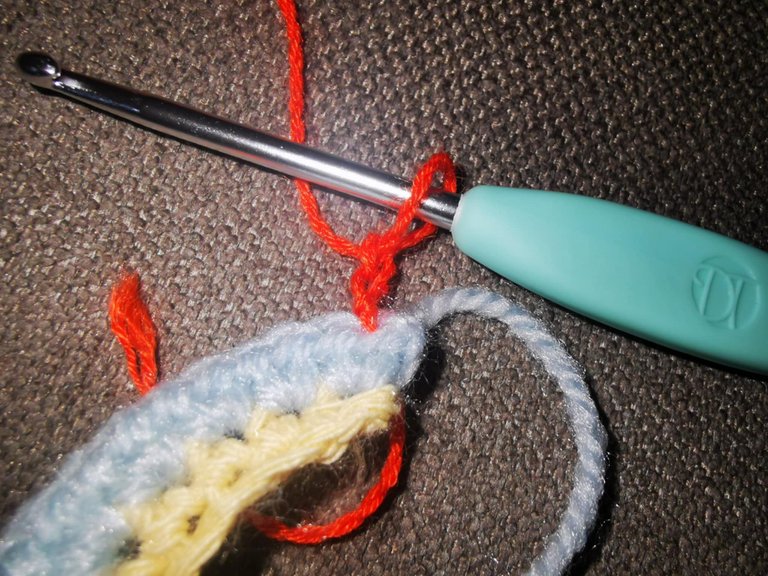
To begin, you need to make a slip knot:
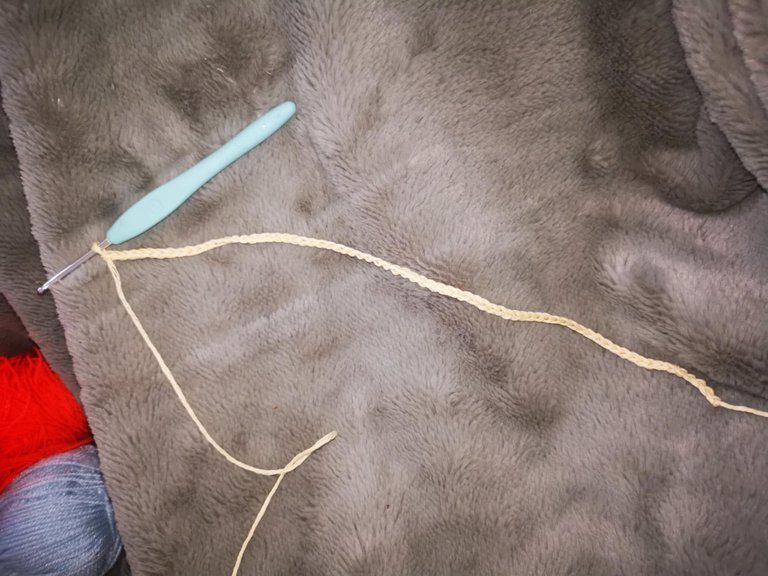
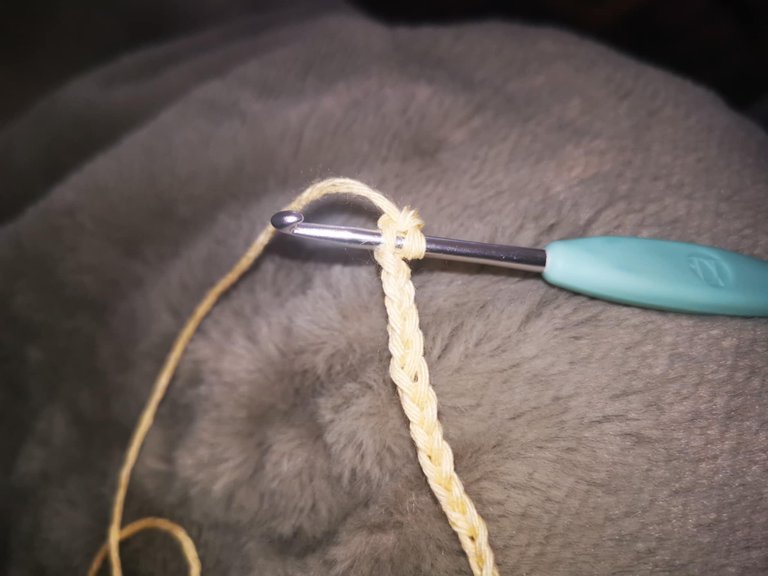
Next, you need to cast on a chain of the desired length. I made 70 chains.
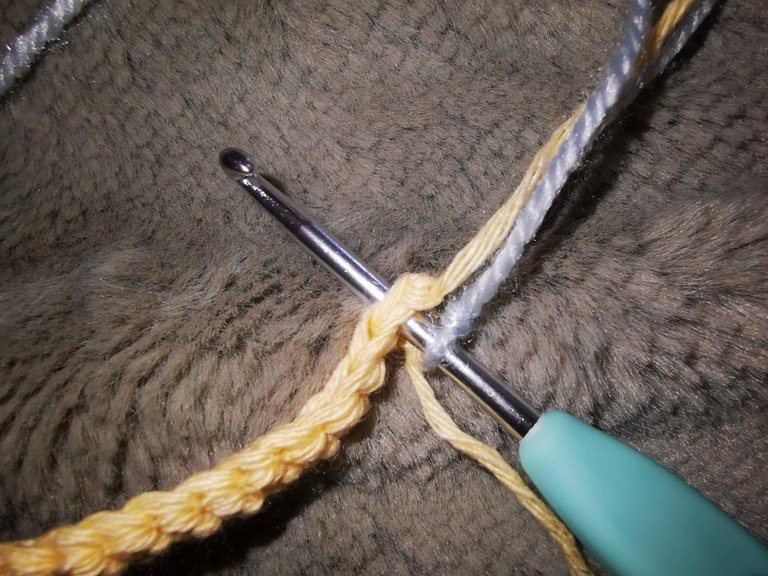
For row number two, keep the same color and insert the second stitch from the hook. You need to make a classic row of single crochets, so one single crochet in each stitch.
And once you reach the end, you need to make a chain stitch and cut the yarn, leaving a small tail (about 15 or 20 cm).
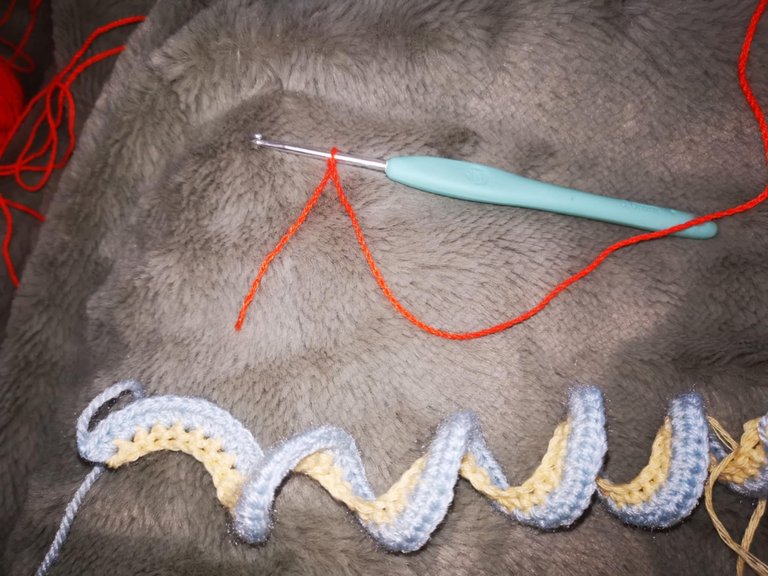
For row number three, you need to start by turning the project, then make a slip knot with the new color and insert it into the first stitch of the row by making a slip stitch.
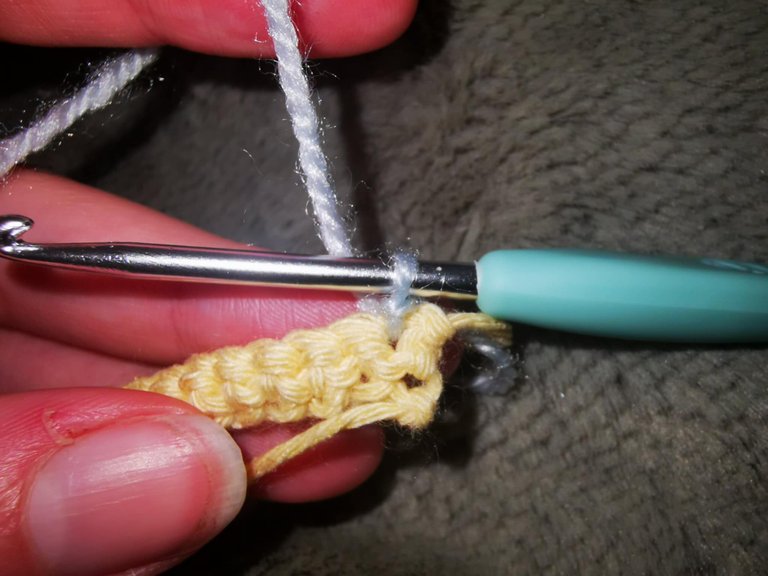
Next, you need to cast on 2 chains and make a half double crochet in this first stitch of the row.
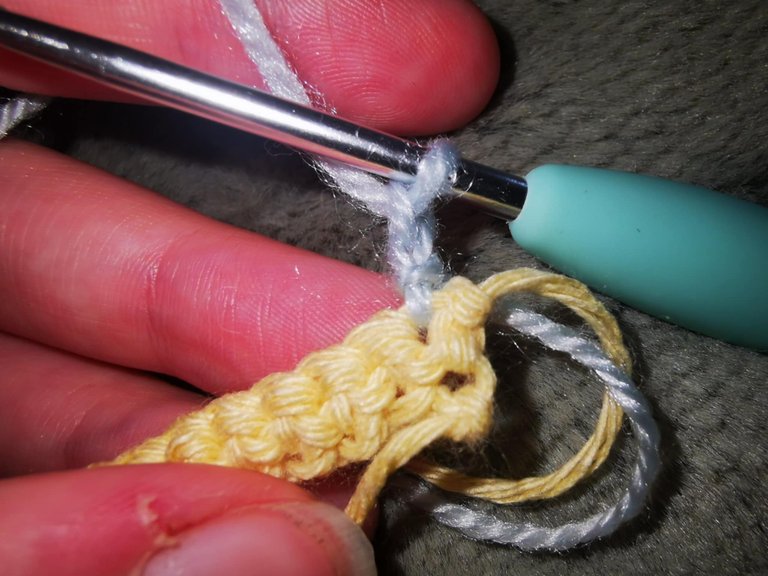
Next, make two half double crochets in each stitch of the row. At the end, chain one and cut the yarn.
For row 4, turn the project and insert the new color by making a slip stitch in the first stitch of the row.
Then, cast on two chains and make a half double crochet in this first stitch of the row.
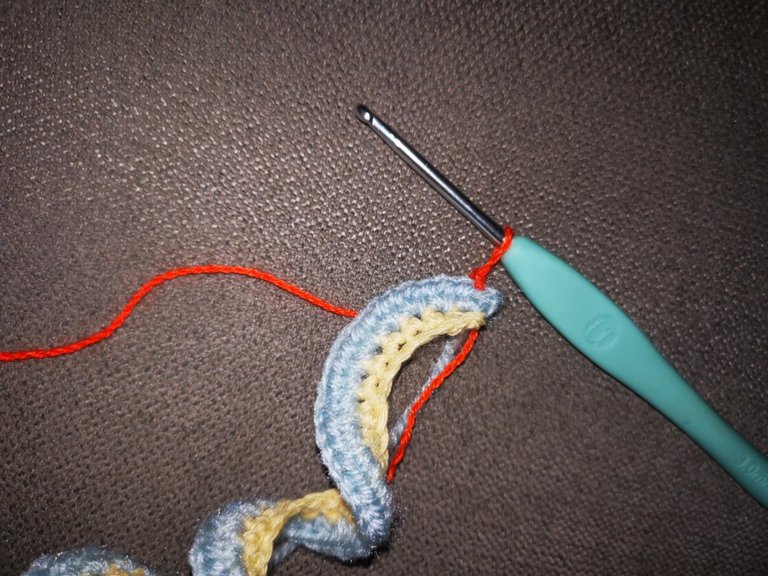
Next, make two half double crochets in each stitch of the row.
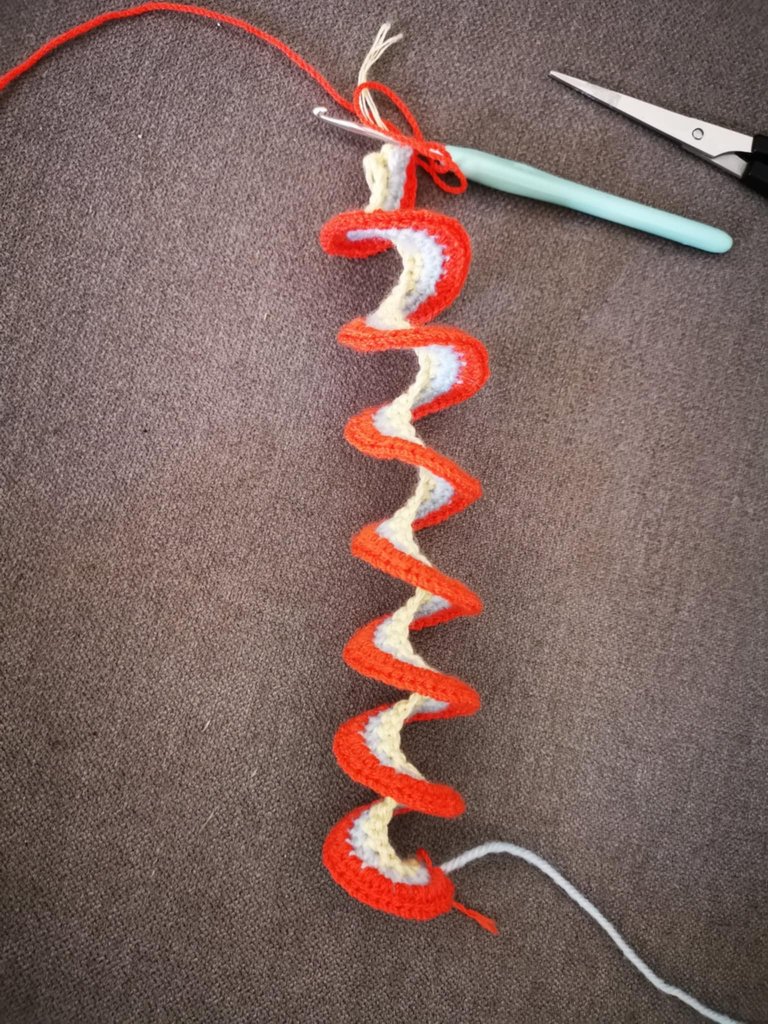
And at the end, simply chain one and cut the yarn. And don't forget to tuck in the wires.
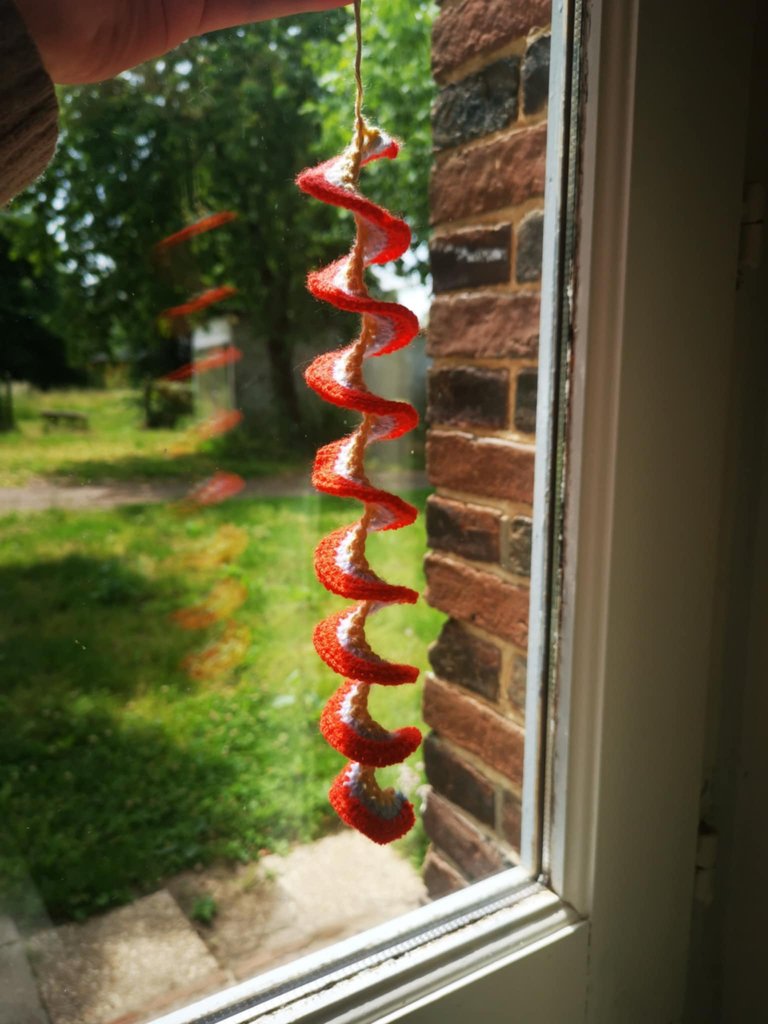
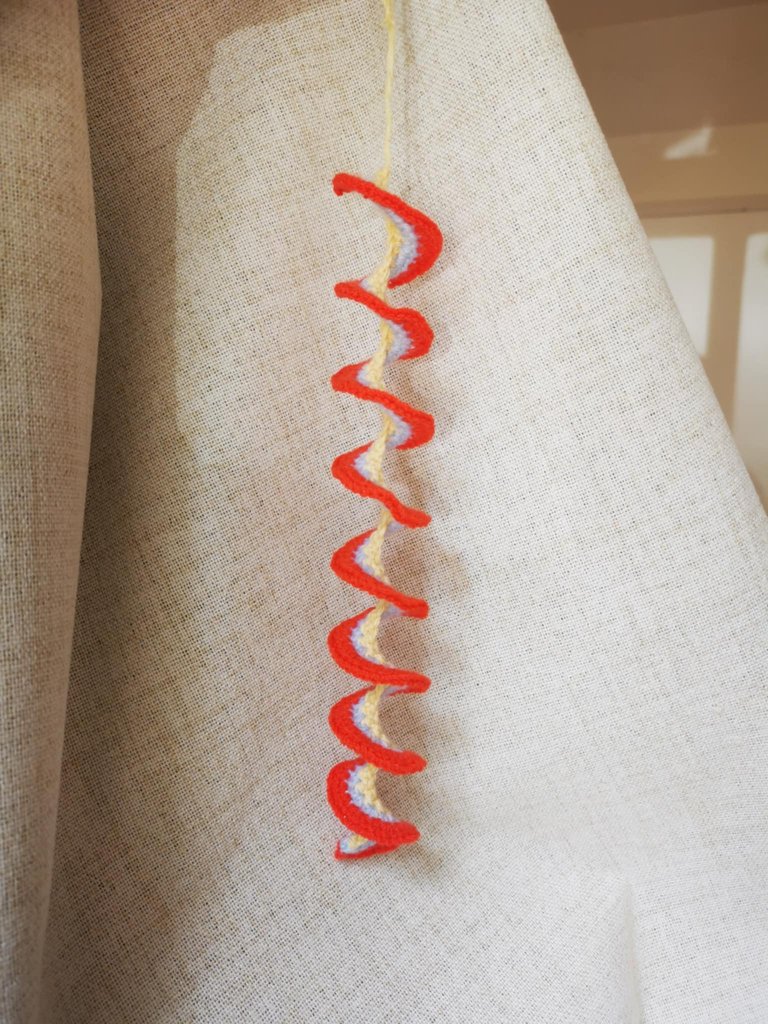
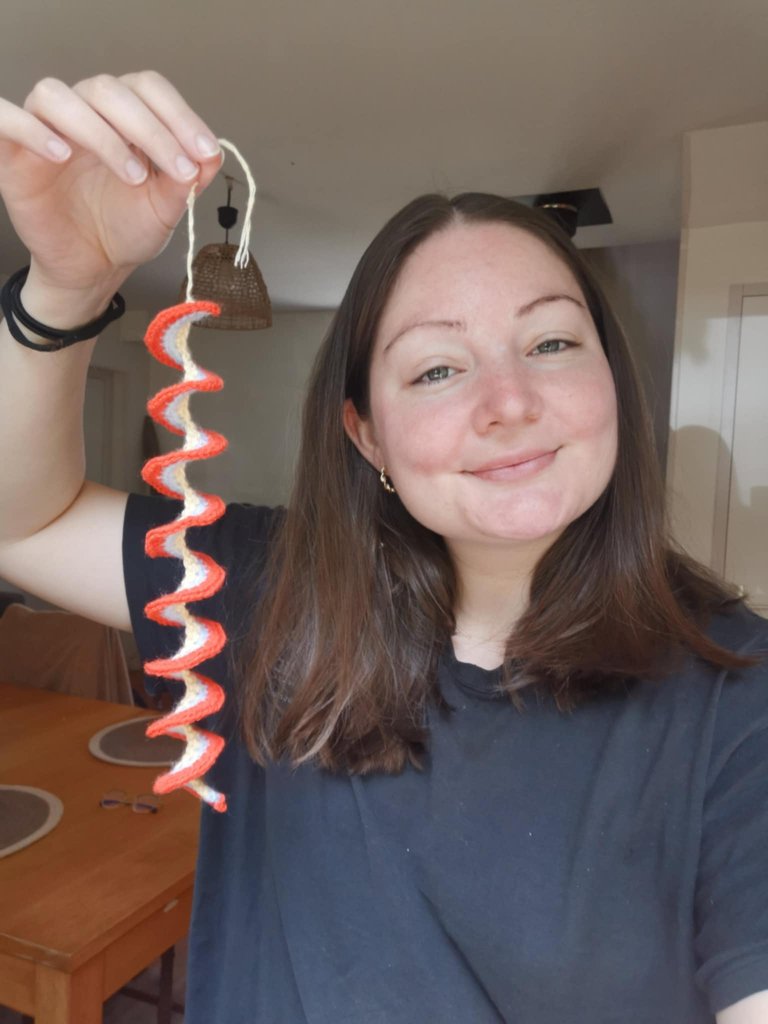
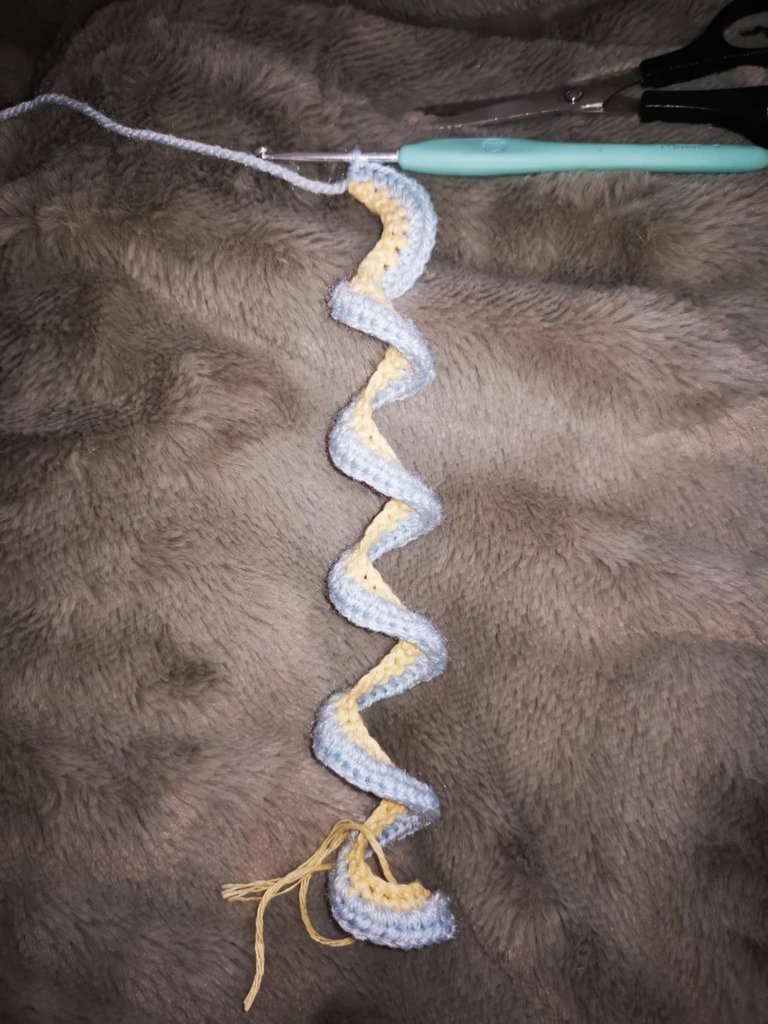
And there you have it, the windmill is ready! All that's left is to hang it outside, on a branch for example 🌳
If you want it larger and with more colors, simply repeat the same pattern on each additional row.
It's very cute, it spins in the wind, it's almost hypnotizing, that's why I chose a bright orange!
I'm thinking of making another one soon as a gift for @genesisledger's mom, who's celebrating her birthday very soon! 😊
Anyway, I hope this quick little tutorial will inspire you to make your own windmill 😁
See you soon,
Johanna
PS: I used Google Translate to translate the English part.
Hello les amis et les crochet lovers ! J’espère que vous allez tous très bien aujourd’hui 😁
Il y a quelque temps, je suis tombé par hasard sur la photo d’un moulin à vent fait au crochet et évidemment, j’ai eu envie d’en réaliser un, moi aussi !
J’ai trouvé un tutoriel sur Tiktok, j’ai sélectionné 3 couleurs et je me suis lancée dans la confection d’un moulin à vent. 😊
C’est un projet très rapide à réaliser et idéal pour les débutants au crochet, puisqu’il suffit de connaître les points de base pour pouvoir le réaliser. En moins d’une heure, vous pouvez avoir votre petit moulin à vent !
Et vous pouvez l’accrocher un peu partout dehors, ça bouge avec le vent !
Bref, voici un tutoriel écrit pour réaliser votre propre moulin à vent au crochet 👇
Le matériel
- 3 pelotes de couleurs différentes ;
- Un crochet 3 mm.
Les étapes à suivre
Pour commencer, il faut faire un nœud coulant :
Ensuite, il faut monter une chaînette de mailles en l’air de la longueur souhaitée. Pour ma part, j’ai fait 70 mailles en l’air.
Pour le rang numéro deux, on garde la même couleur, et on va piquer dans la seconde maille en partant du crochet. Et il faut faire un rang classique de mailles serrées, donc une maille serrée dans chaque maille.
Et une fois arrivé au bout, il faut faire une maille en l’air et couper le fil en laissant une petite longueur (environ 15 ou 20 cm).
Pour le rang numéro 3, il faut commencer par tourner le projet, puis faire un nœud coulant avec la nouvelle couleur pour l’insérer dans la première maille du rang en faisant une maille coulée.
Ensuite, il faut monter 2 mailles en l’air et faire une demi-bride dans cette première maille du rang.
Puis, il faut faire 2 demi-brides dans chaque maille du rang. Et arrivé à la fin, il faut faire une maille en l’air et couper le fil.
Pour le rang 4, il faut tourner le projet, et insérer la nouvelle couleur en faisant une maille coulée dans la première maille du rang.
Puis, il faut monter 2 mailles en l’air et faire une demi-bride dans cette première maille du rang.
Ensuite, il faut faire 2 demi-brides dans chaque maille du rang.
Et arrivé à la fin, il faut simplement faire une maille en l’air et couper le fil. N'oubliez pas de rentrer vos fils.
Et voilà, le moulin à vent est prêt ! Il ne vous reste plus qu’à l’accrocher dehors, sur une branche par exemple 🌳
Si vous le voulez plus large et avec plus de couleurs, il vous suffit de répéter le même schéma à chaque rang supplémentaire.
C’est très mignon, ça tourne avec le vent, c’est presque hypnotisant, c’est pour cela que j’ai choisi un orange flashy !
Je pense en refaire un prochainement pour offrir à la maman de @genesisledger, qui fête son anniversaire très prochainement ! 😊
Bref, j’espère que ce petit tutoriel rapide vous donnera envie de réaliser votre propre moulin à vent 😁
À bientôt,
Johanna
PS : J’ai utilisé Google Traduction pour traduire la partie en anglais.
Congratulations @altheana! You have completed the following achievement on the Hive blockchain And have been rewarded with New badge(s)
Your next payout target is 6000 HP.
The unit is Hive Power equivalent because post and comment rewards can be split into HP and HBD
You can view your badges on your board and compare yourself to others in the Ranking
If you no longer want to receive notifications, reply to this comment with the word
STOPThat's very nice
Thank you so much 🙏
Oh wow! so beautiful, makes a lovely decoration.
Thank you! I like it too 🤩
!INDEED
!BBH
Your post has been manually reviewed for curation by the Principality of Bastion.
Principality of Bastion - Our Leit Motiv? Let's Grow Together.
Principality's site | Minava NFT Market | Discord | Our Twitch Channel
You may TRAIL this account (or @hive-143869) if you like the curation we do, or join our discord to know more about what we do.
🙏🙏🙏
!BBH
https://www.reddit.com/r/Brochet/comments/1l9jdwo/crochet_windmill/
This post has been shared on Reddit by @arqyanedesings through the HivePosh initiative.