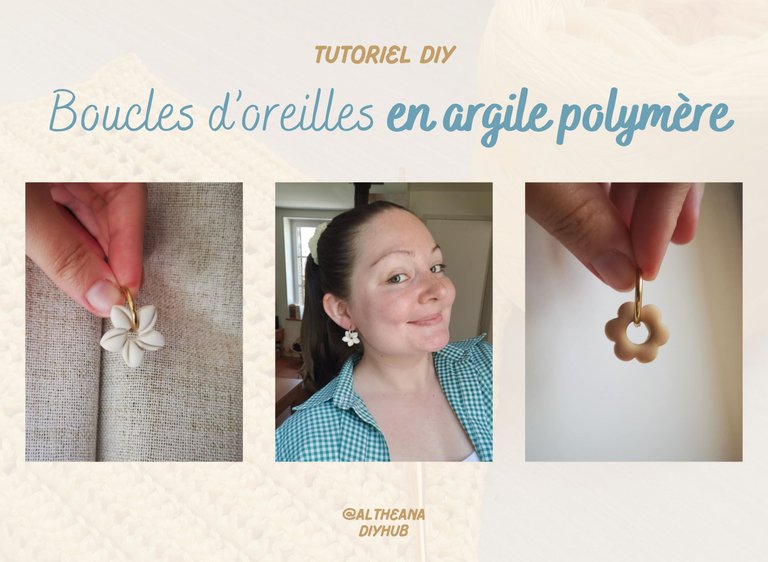
DIY : Polymer clay earrings // Des boucles d'oreilles en argile polymère [EN/FR]
Hello friends! I hope you're all doing well today 😁
A while ago, I discovered a new passion (yes, another one 🤣) and I started making polymer clay earrings.
My first creations weren't great, mainly because I didn't have the right equipment.
But recently, I bought some cookie cutters, as well as rulers to even out the thickness of the polymer clay. I tested my new purchases and took some photos while making a few tassels, so I'm going to share a little DIY tutorial with you 😊
Materials

- Polymer clay;
- Cutter cutters;
- Rulers for thickness (3 mm for me);
- A rolling pin;
- Corn flour to prevent the clay from sticking;
- A craft mat;
- A pen cap to create the holes for the tassels;
- A brush to remove excess cornflour;
- Stainless steel rings
…
You'll also need an oven or air fryer to "cook" the polymer clay.
Production steps
To begin, cut out a little dough and knead it.
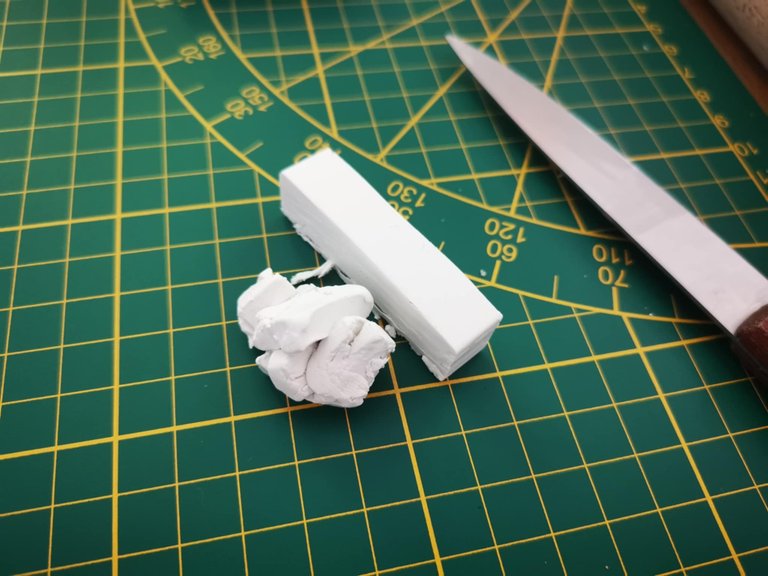
Polymer clay is quite compact and hard, but warming it between your hands will soften it and make it malleable.
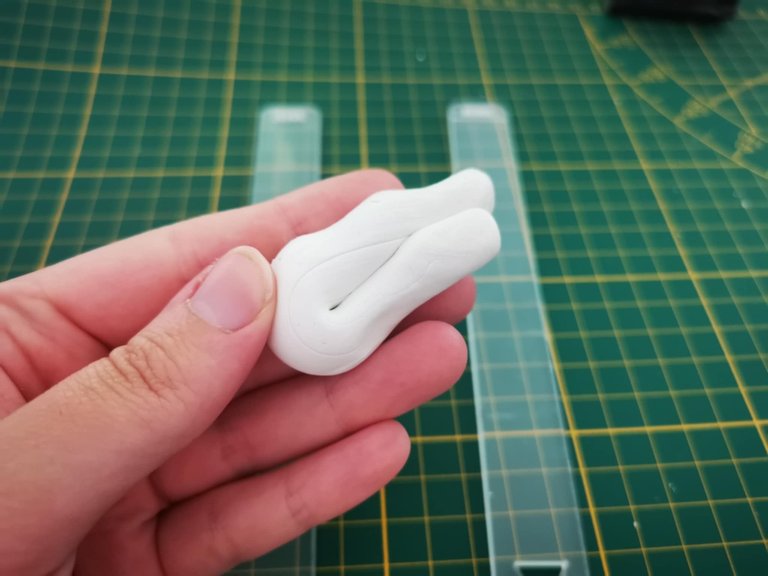
After 5 minutes of kneading, you can place it on the mat to roll it out.
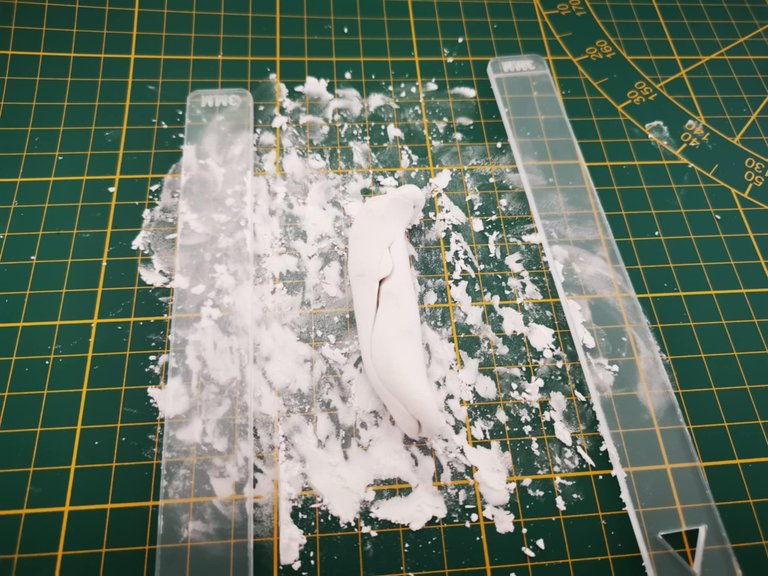
So, place the dough between the two rulers and roll it out with the rolling pin. The rulers help to achieve an even thickness.


Personally, I forgot to put a little cornflour on both the mat and the rolling pin... so it stuck and I had to start again. So, don't forget to sprinkle a little cornflour on the mat and the rolling pin 🤣
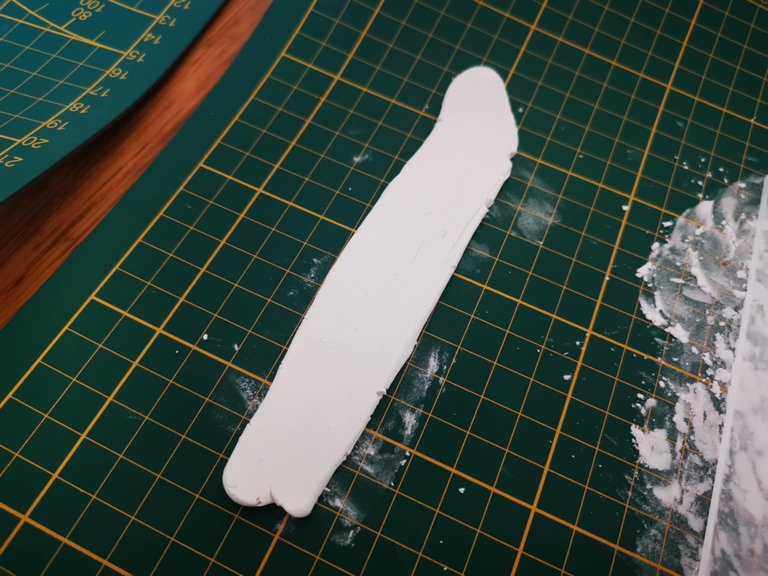

In short, once your dough is well rolled out, you can take your cookie cutters and cut out some pretty shapes.
There are several techniques, and I tried two of them:
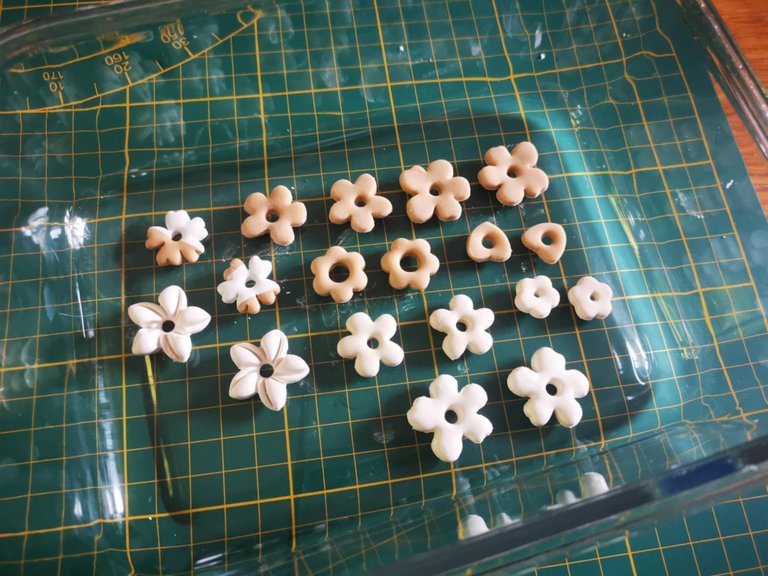
First, I simply cut out shapes with the cookie cutters, but I had a slight problem: I couldn't remove the polymer clay from the cutter once it had detached from the rest. This resulted in very ugly and irregular shapes.
Here are the ones I managed to achieve:
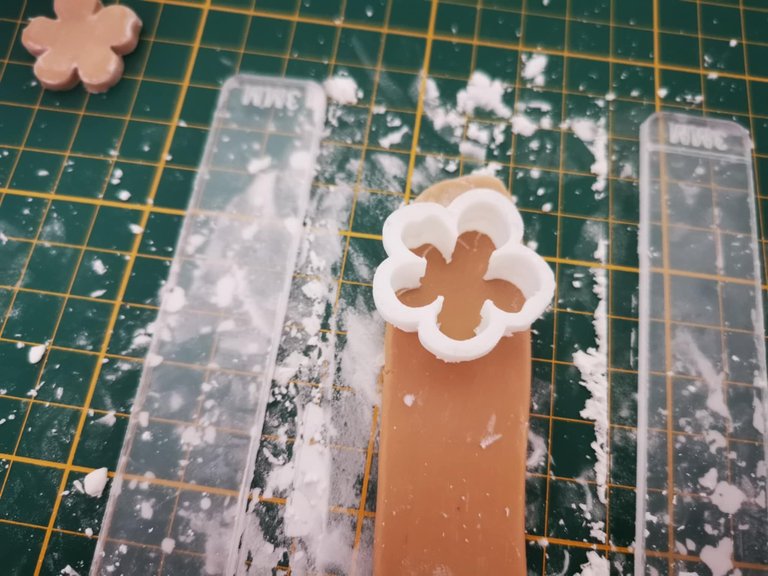
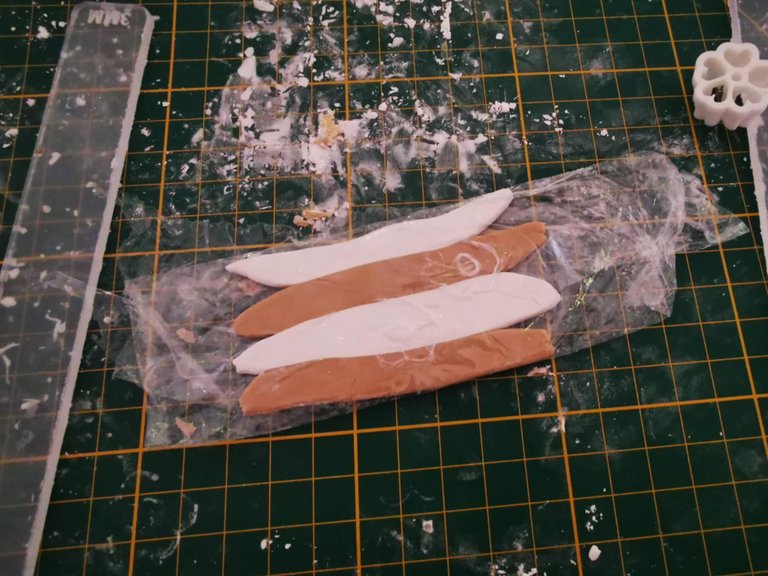
Then, I tried a new technique! I rolled out my dough and covered it with plastic wrap before cutting out the shapes. Two advantages: the polymer clay doesn't stick to the cutter, and it creates a rounded effect on the tassel.
Here, I wanted to create a color duo:
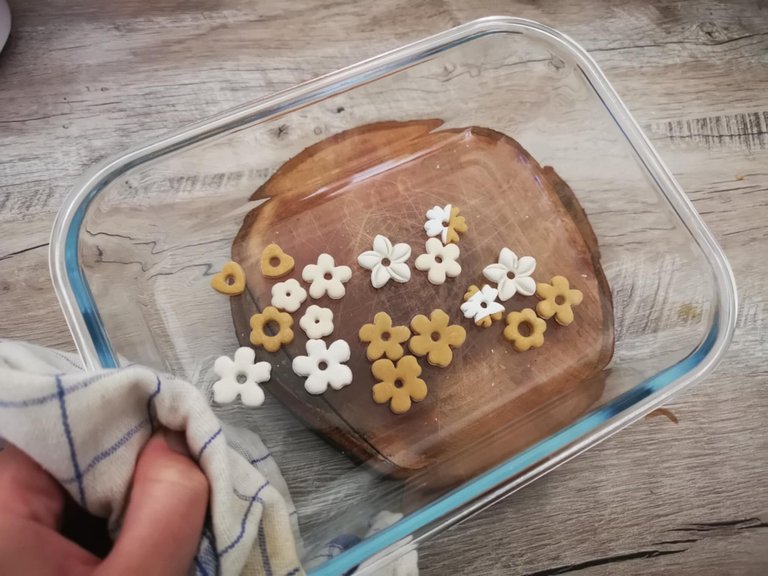
I preferred the second technique with the cling film and made other tassels that I placed in a baking dish (or in the air fryer):
Some tassels had a little cornflour residue, so I used a brush to dust them off.
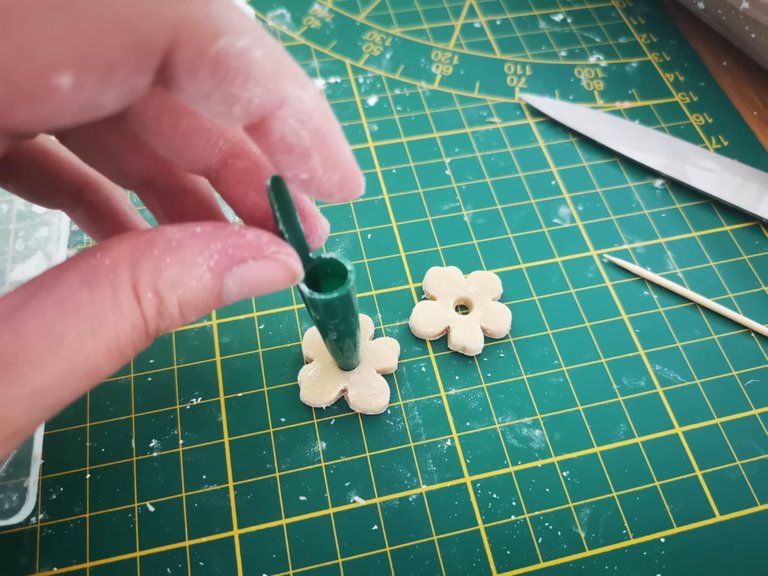
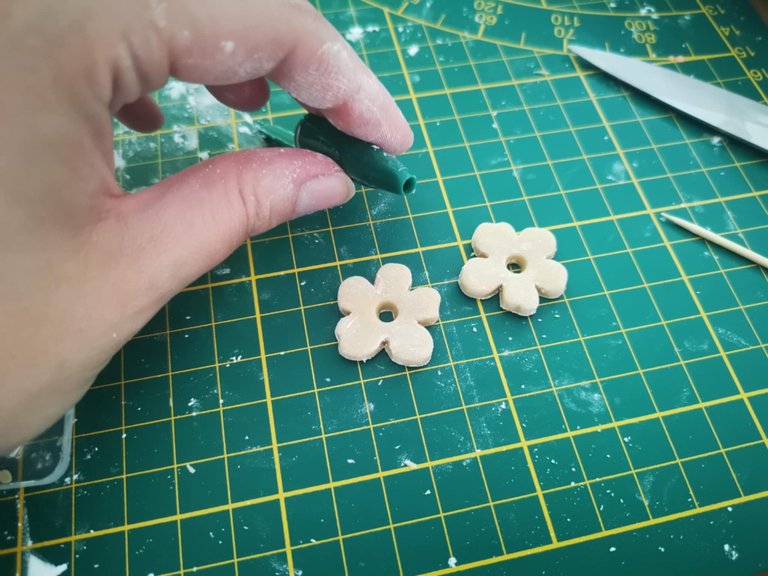
And for the cookie cutters that didn't have holes, I poked a hole in the tassels with the cap of a pen.
Then, I moved on to baking!

For this, I baked them for 30 minutes at 110 degrees in the air fryer. The baking time and temperature depend on the brand of dough you use.
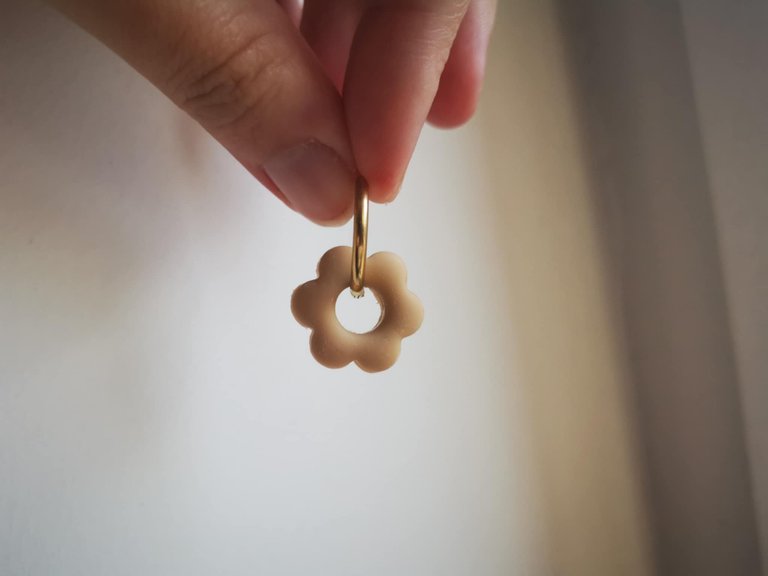
Here's the result:
It's not particularly noticeable, but they have hardened.
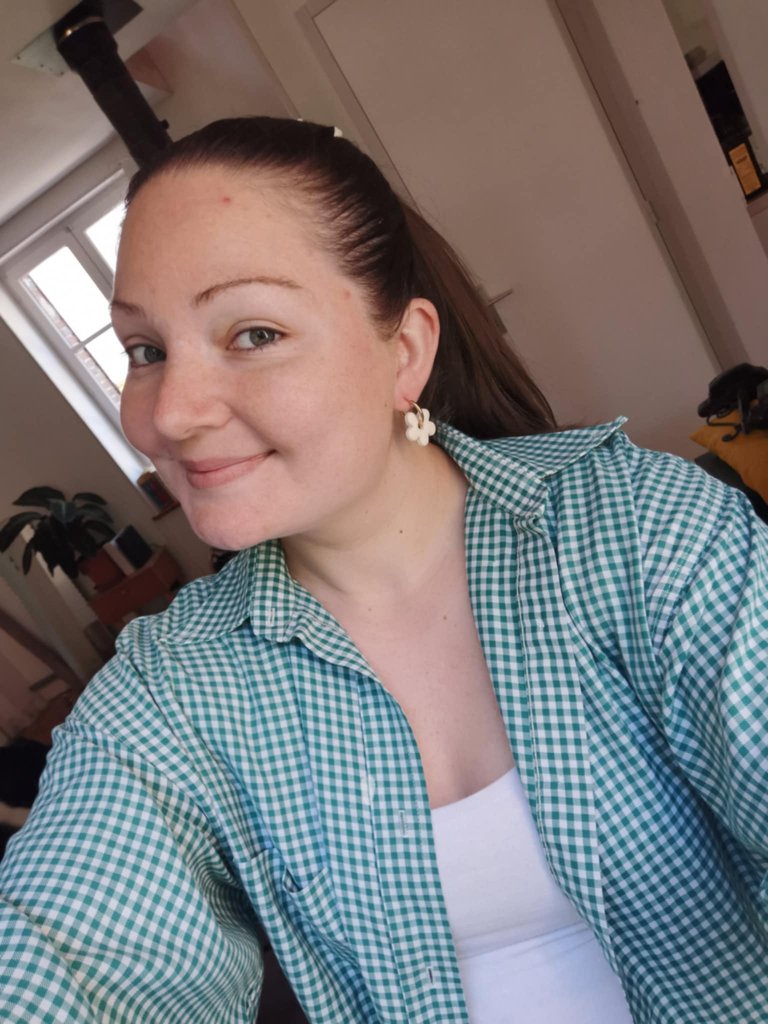
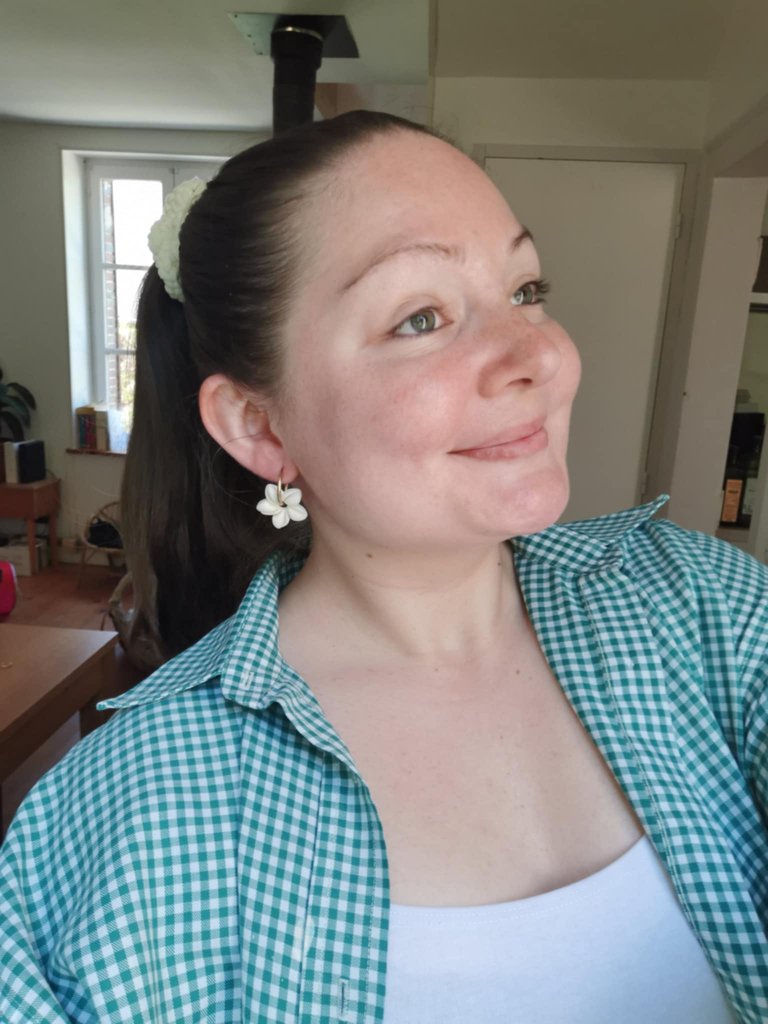
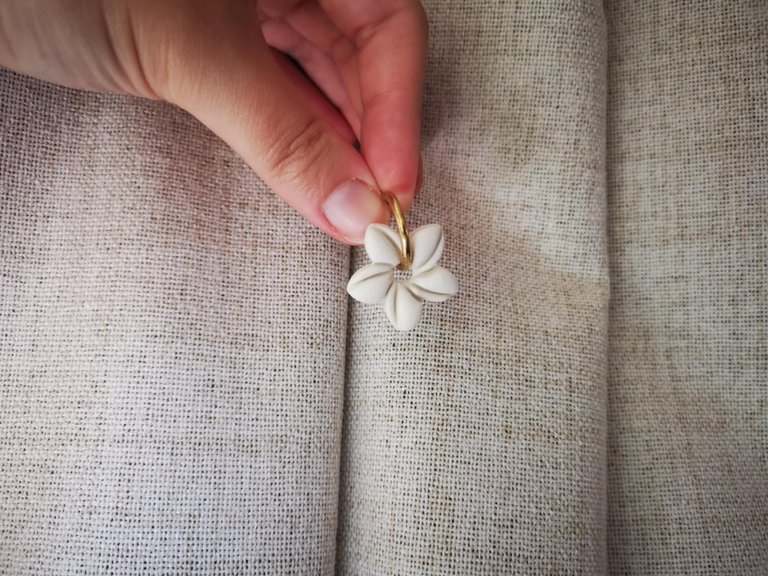
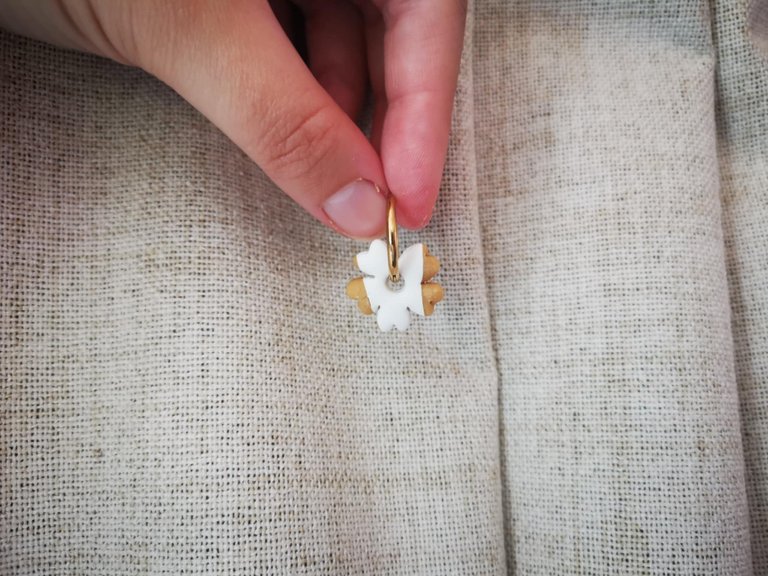
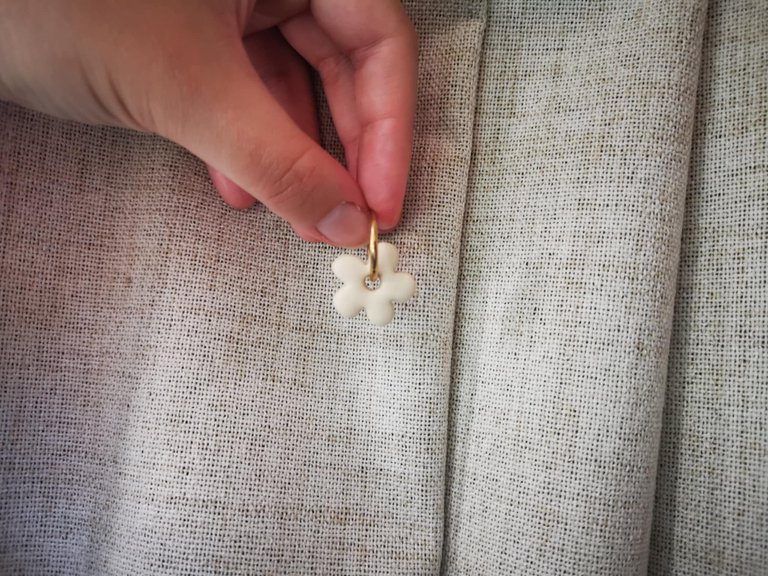
I then soaked them in water and dried them. And I put them on the hoops so I could wear them:
If you want your earrings to be truly perfect, I recommend sanding them (with an electric nail file, for example). This will remove all the small imperfections.
Then, varnish them to give them a little shine.
Anyway, I hope this little tutorial for making your own polymer clay earrings inspired you! 😁
See you soon,
Johanna
PS: I used Google Translate to translate the English part.
Hello les amis ! J’espère que vous allez tous très bien aujourd’hui 😁
Il y a quelque temps, je me suis découvert une nouvelle passion (oui encore une 🤣) et j’ai commencé à faire des pampilles en argile polymère.
Mes premières créations n’étaient pas au top, notamment parce que je n’avais pas le matériel adapté.
Mais récemment, j’ai acheté des emporte-pièces, ainsi que des règles pour unifier l’épaisseur de la pâte polymère. J’ai testé mes nouveaux achats et j’ai pris quelques photos lors de la réalisation de quelques pampilles, alors je vais partager un petit tuto DIY avec vous 😊
Le matériel
- De l’argile polymère ;
- Des emporte-pièces ;
- Des règles pour l’épaisseur (3 mm pour ma part) ;
- Un rouleau à pâtisserie ;
- De la farine de maïs pour éviter que la pâte ne colle ;
- Un tapis pour activité manuelle ;
- Un bouchon de stylo pour créer les trous des pampilles ;
- Un pinceau pour enlever l'excédent de farine de maïs ;
- Des anneaux en acier inoxydable
- …
Il faut également un four ou un air fryer pour faire “cuire” l’argile polymère.
Les étapes de fabrication
Pour commencer, il faut découper un peu de pâte et la malaxer.
L’argile polymère est assez compacte et assez dure, mais en la chauffant entre vos mains, vous allez la faire ramollir et elle va devenir malléable.
Au bout de 5 minutes de malaxage, on peut déjà la placer sur le tapis pour l’étaler.
Donc, on place la pâte entre les deux règles et avec le rouleau à pâtisserie, on étale. Les règles permettent d’avoir une épaisseur homogène.
Pour ma part, j’ai oublié de mettre un peu de farine de maïs sur le tapis et sur le rouleau… donc ça a collé et j’ai dû recommencer. Alors, n’oubliez pas de mettre un peu de farine de maïs sur le tapis et sur le rouleau 🤣
Bref, une fois que votre pâte est bien étalée, vous allez pouvoir prendre vos emporte-pièces et découper de jolies formes.
Il existe plusieurs techniques et j’en ai testé 2 :
J’ai d’abord simplement découpé des formes avec les emporte-pièces, mais j’ai eu un léger souci : je n’arrivais pas à enlever la pâte polymère de l’emporte-pièce une fois qu’elle s’était détachée de l’ensemble. Cela donnait des formes très moches et irrégulières.
Voici quand même celles que j’ai à peu près réussi :
Ensuite, j’ai testé une nouvelle technique ! J’ai étalé ma pâte et je l’ai recouverte de film étirable avant de découper les formes. Deux avantages : l’argile polymère ne colle pas à l’emporte-pièce et cela crée un effet bombé à la pampille.
Ici, j’avais envie de faire un duo de couleur :
J’ai préféré la deuxième technique avec le film étirable et j’ai fait d'autres pampilles que j’ai placé dans un plat allant au four (ou au air fryer) :
Certaines pampilles avaient un peu de résidus de farine de maïs, alors j’ai utilisé un pinceau pour les dépoussiérer.
Et pour les emporte-pièces qui n'avaient pas de trous, j’ai créé un trou sur les pampilles avec le bouchon d’un stylo.
Ensuite, je suis passé à la cuisson !
Pour ça, j’ai fait cuire pendant 30 minutes à 110 degrés dans le air fryer. Le temps de cuisson et la température dépendent de la marque de votre pâte.
Voici le résultat :
Cela ne se voit pas spécialement, mais elles ont durci.
Je les ai ensuite trempées dans l’eau, puis séchées. Et je les ai mises sur les anneaux pour pouvoir les porter :
Si vous voulez que vos boucles d’oreilles soient vraiment parfaites, je vous conseille de les poncer (avec une ponceuse électrique pour les ongles par exemple). Cela permet d’enlever toutes les petites imperfections.
Puis, de les vernir pour leur donner un petit côté brillant.
Bref, j’espère que ce petit tutoriel pour fabriquer vos propres pampilles en argile polymère vous a inspiré ! 😁
À bientôt,
Johanna
PS : J’ai utilisé Google Traduction pour traduire la partie en anglais.
That's so cute 🤩, with this new passion of yours, you can explore it more and have fun making different design out from it. 💃
Thank you so much! Yes, there are so many possibilities to explore 😁
This post is as beautiful as the work you have presented. You are quality in every sense of the word. Thank you so much for choosing DIYHub to share your creativity.
selected by @jesuslnrs
That's very kind, thank you for all your compliments, they mean a lot to me. I'm glad you like these creations! Thank you 🥰
The outcome looks so pretty and lovely, thanks for sharing
That's kind of you, thank you very much!🙏
Congratulations @altheana! You have completed the following achievement on the Hive blockchain And have been rewarded with New badge(s)
Your next target is to reach 95000 upvotes.
You can view your badges on your board and compare yourself to others in the Ranking
If you no longer want to receive notifications, reply to this comment with the word
STOPThey turned out great, my friend.
Thank you so much 🙏
I loved using this technique to personalize our accessories; it's perfect for adding our own personal touch. I'm eager to learn how to make them; with your step-by-step instructions, it's very easy to do. Thanks for sharing your knowledge.
Me encantó la utilización de esta técnica para personalizar nuestros accesorios, es ideal para darle nuestro toque personal. Ya quiero aprender a hacerlos, con tu paso a paso se puede realizar muy bien. Gracias por compartir tus conocimientos.
I'm so glad that this tutorial is useful to you and that you like these creations. Thank you for your kind comment! 😁
!HUG
Your post has been manually reviewed for curation by the Principality of Bastion.
Principality of Bastion - Our Leit Motiv? Let's Grow Together.
Principality's site | Minava NFT Market | Discord | Our Twitch Channel
You may TRAIL this account (or @hive-143869) if you like the curation we do, or join our discord to know more about what we do.
🙏🙏🙏
!BBH
The detailing on them along with the finished product is just beautiful. A creative field suits you really well with all the crafts you create them in perfection!
Thanks for sharing :)
Thank you for your kind comment, your compliments touch my heart, my friend. Have a wonderful day. 😁