DIY clay ring stand/Creative Sunday
Assalam o alikum everyone!
How are you all? Hopefully you all are doing great.
Today here is my new effort after few days I am back to show my effort with you guys.
Today is sunday and as always todag I am participating in @creative-sunday.
So as you all know today is sunday and on Sunday, everyone are cleaning their houses.
So that's why I was organizing my jewelry collection today while was organizing my jewelry there was a lot of mass of my rings some were lying here and there and I couldn't find any of my ring in its proper place. So I thought ,why not create a stand or a ring organizer to keep them on one place.
Therefore I thought to make a ring organizer with clay.
How did I make this clay ring stand ?
Are you people excited to know the procedure
So don't wasting our important time let's start the procedure step by step
Material required
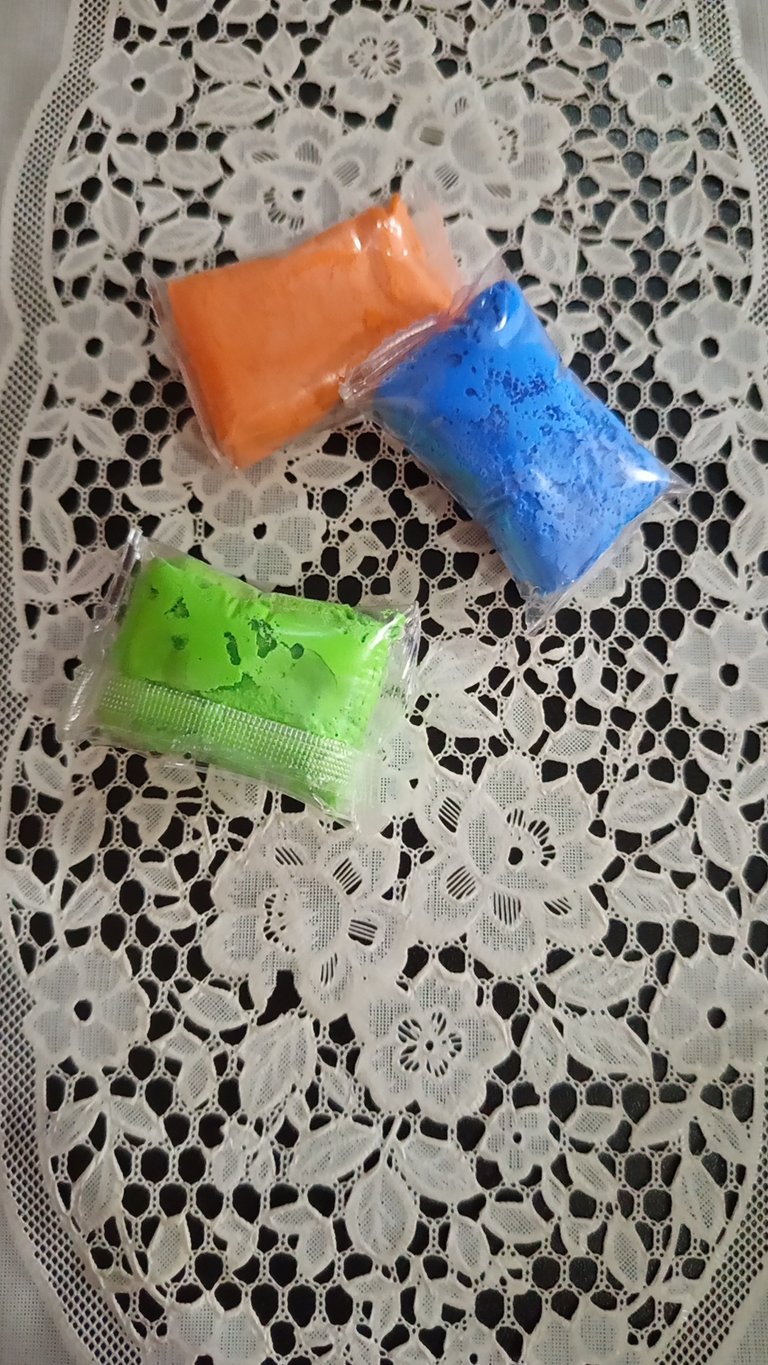
• Different colours of clay ( orange, green, blue and baby pink)
• A cardboard circle
• Paints ( blue, orange,green and black)
• Painting brushes
• Toothpicks
Here is the picture of material that I required to make it.

I had also shared the video of all procedure
Video
Procedure
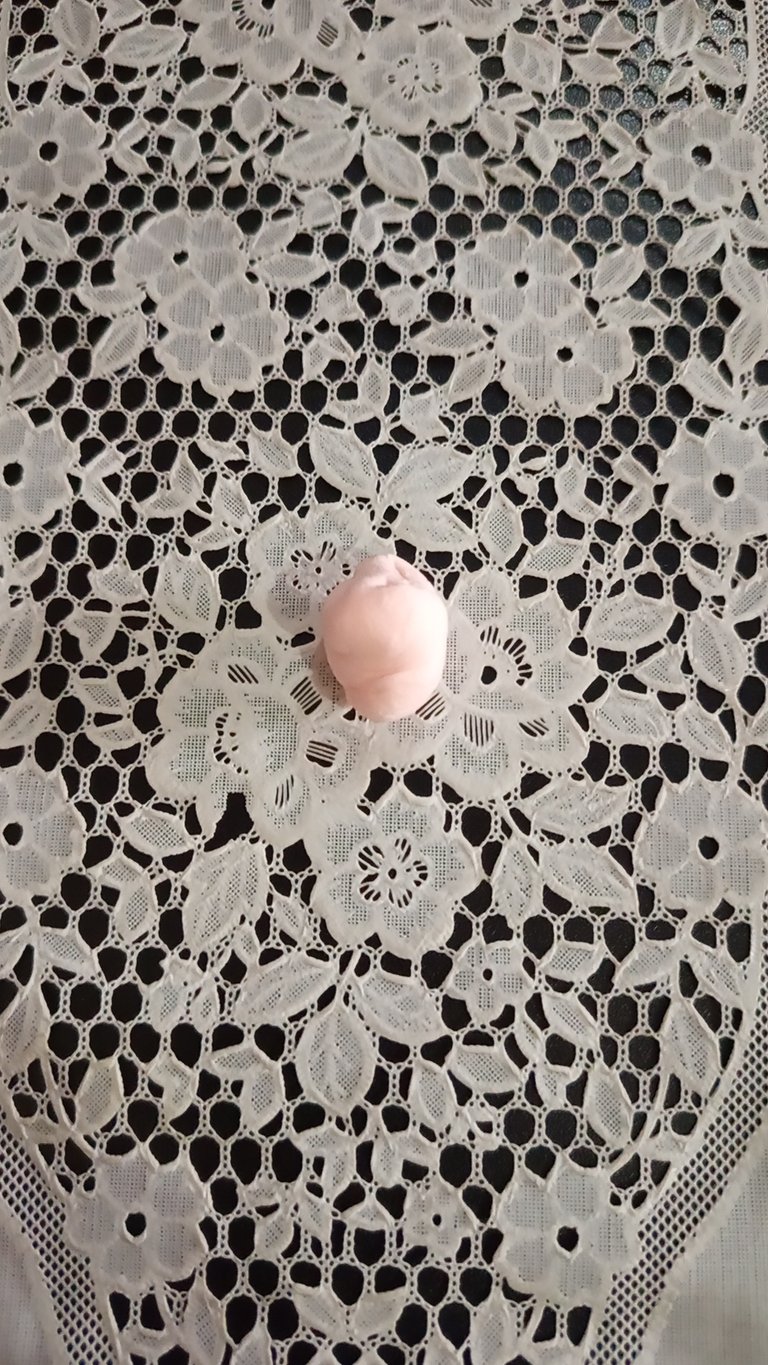
First of all I started with cardboard and orange clay.
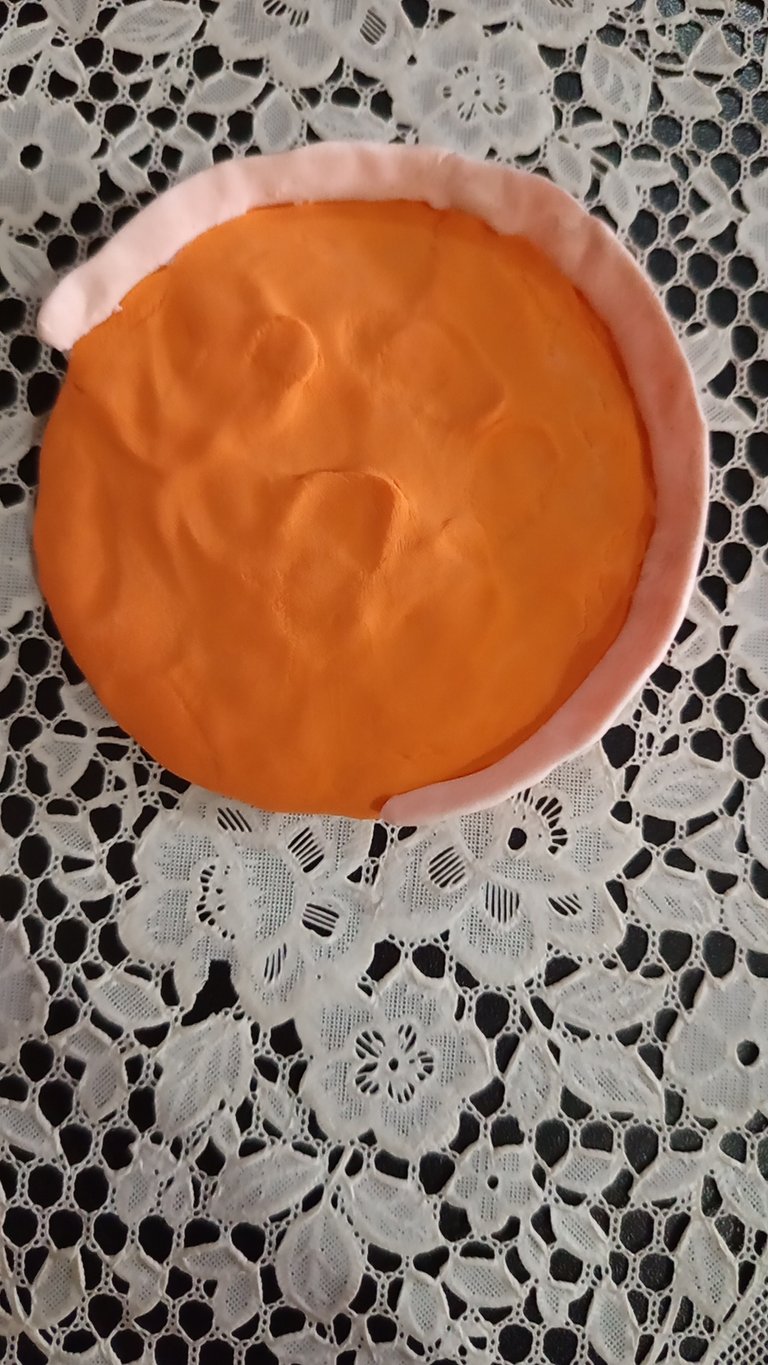
First I covered cardboard completely with orange clay.
Then I used baby pink clay to make it's boundaries I took out baby pink clay and longer it and attached it with cardboard to give a look of its boundaries.

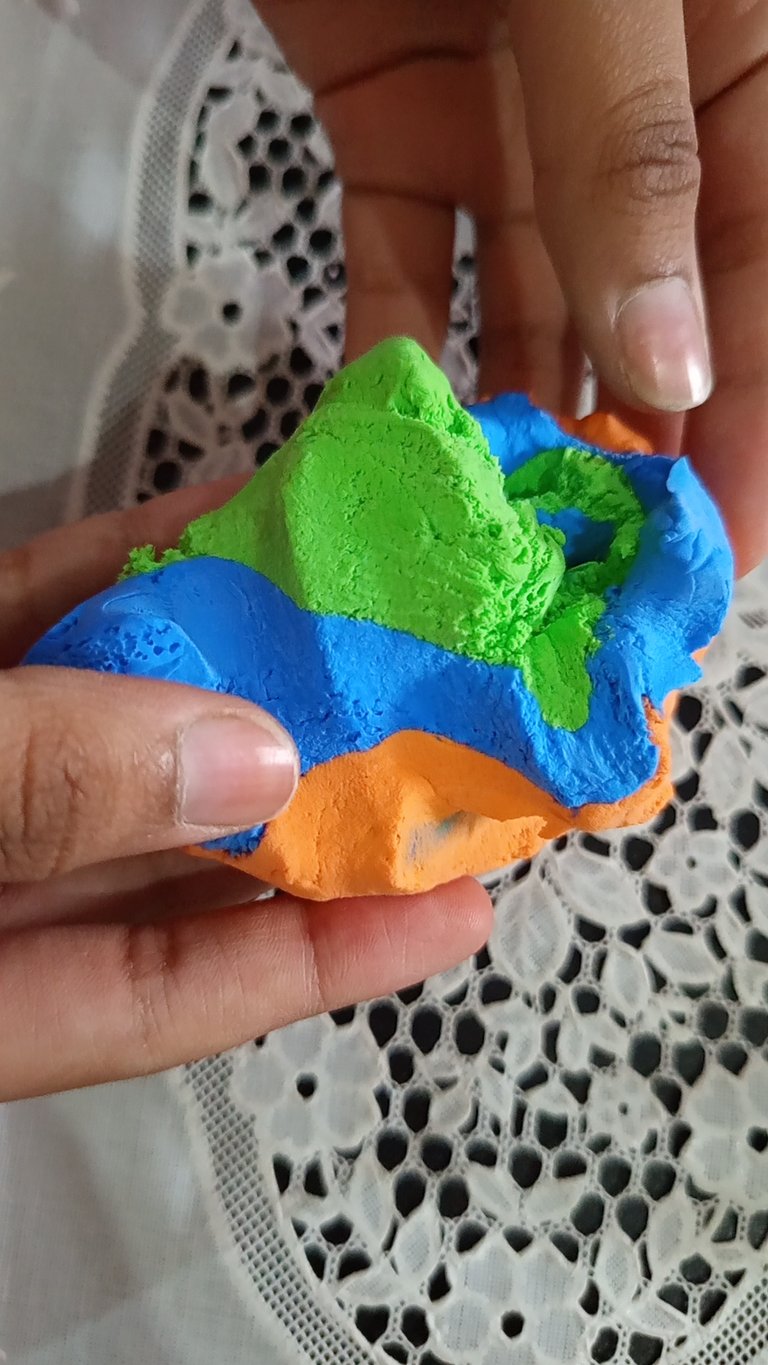
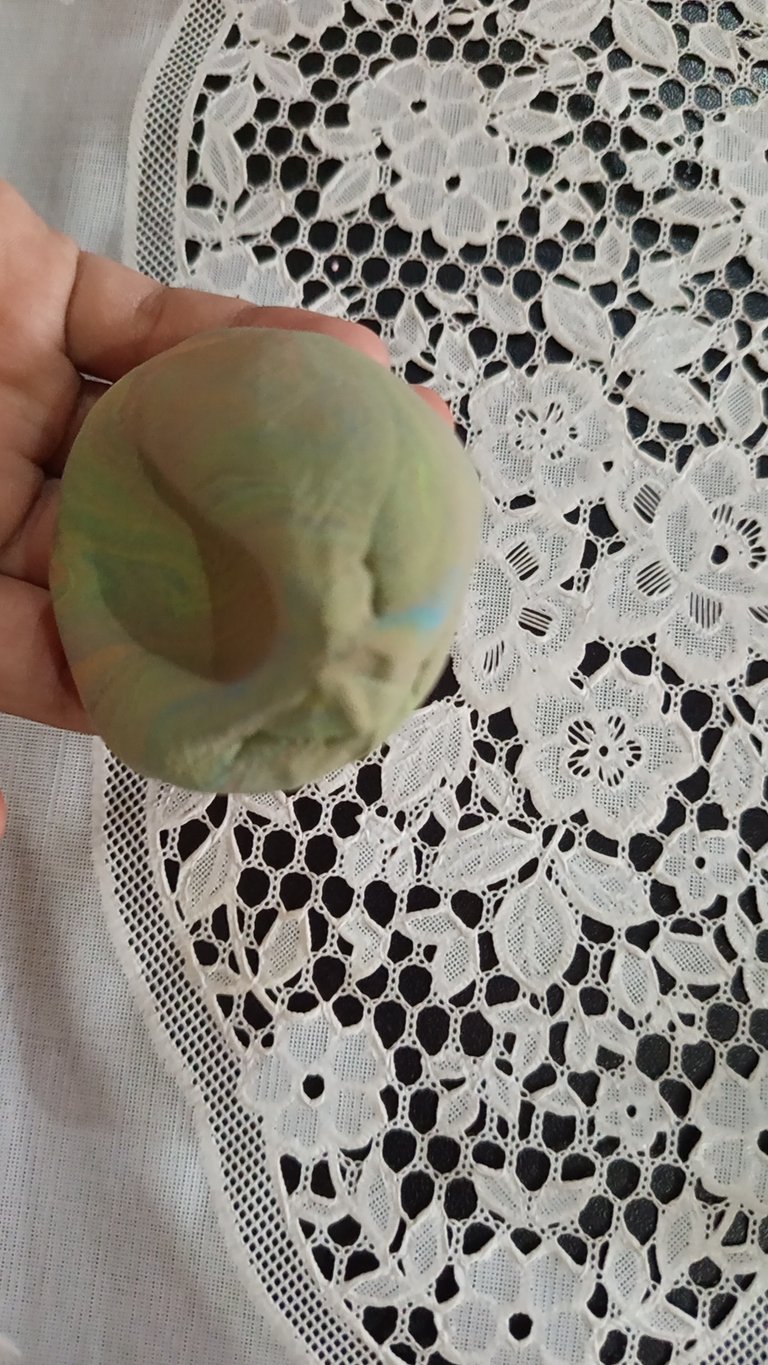
After doing that I used three colours of clay.
I used green clay,blue clay and orange clay and mix it well until the colour changes.
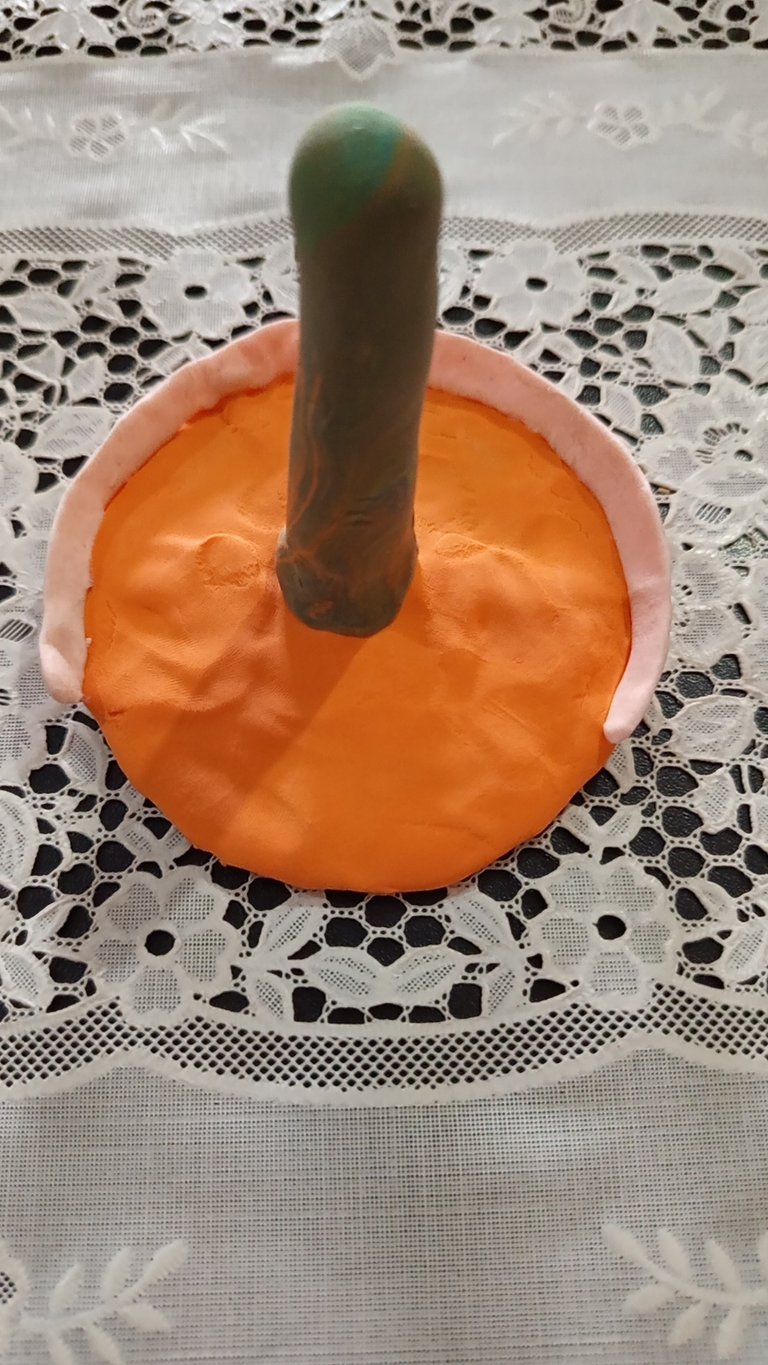
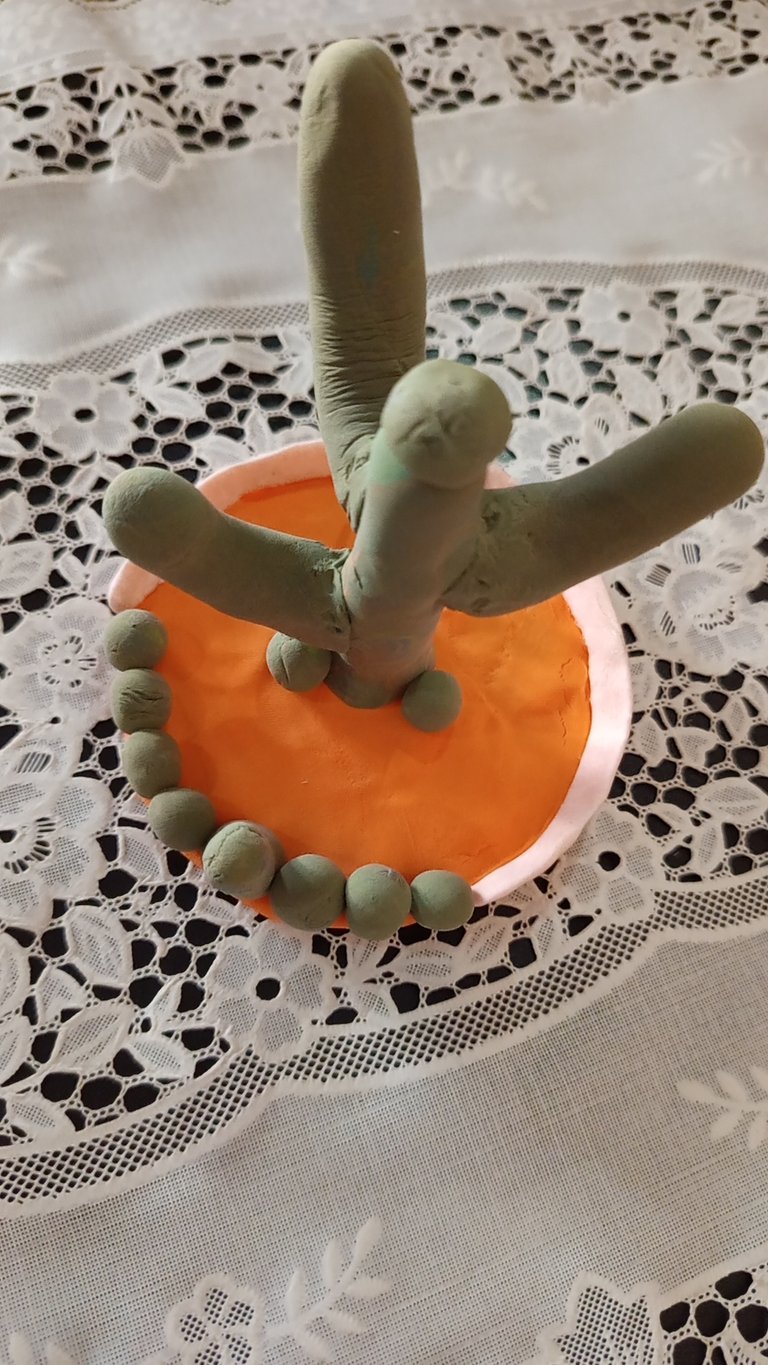
When the colour change so I used it and made a thick and long step and added a toothpick and attached it with cardboard.
I added a toothpick in it so that it becomes stable, stays straight up and doesn't fall over.
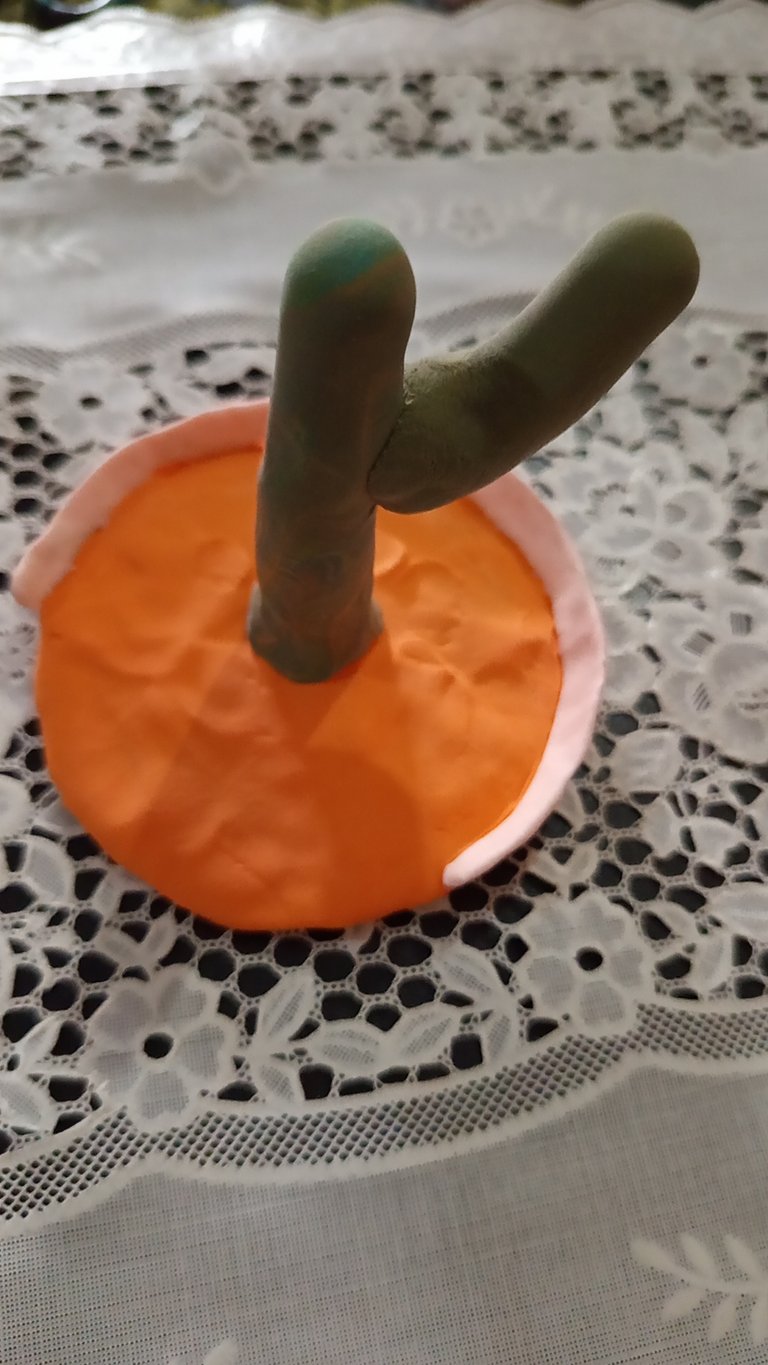
Using the the same method I made some more branches and also attached then with it.
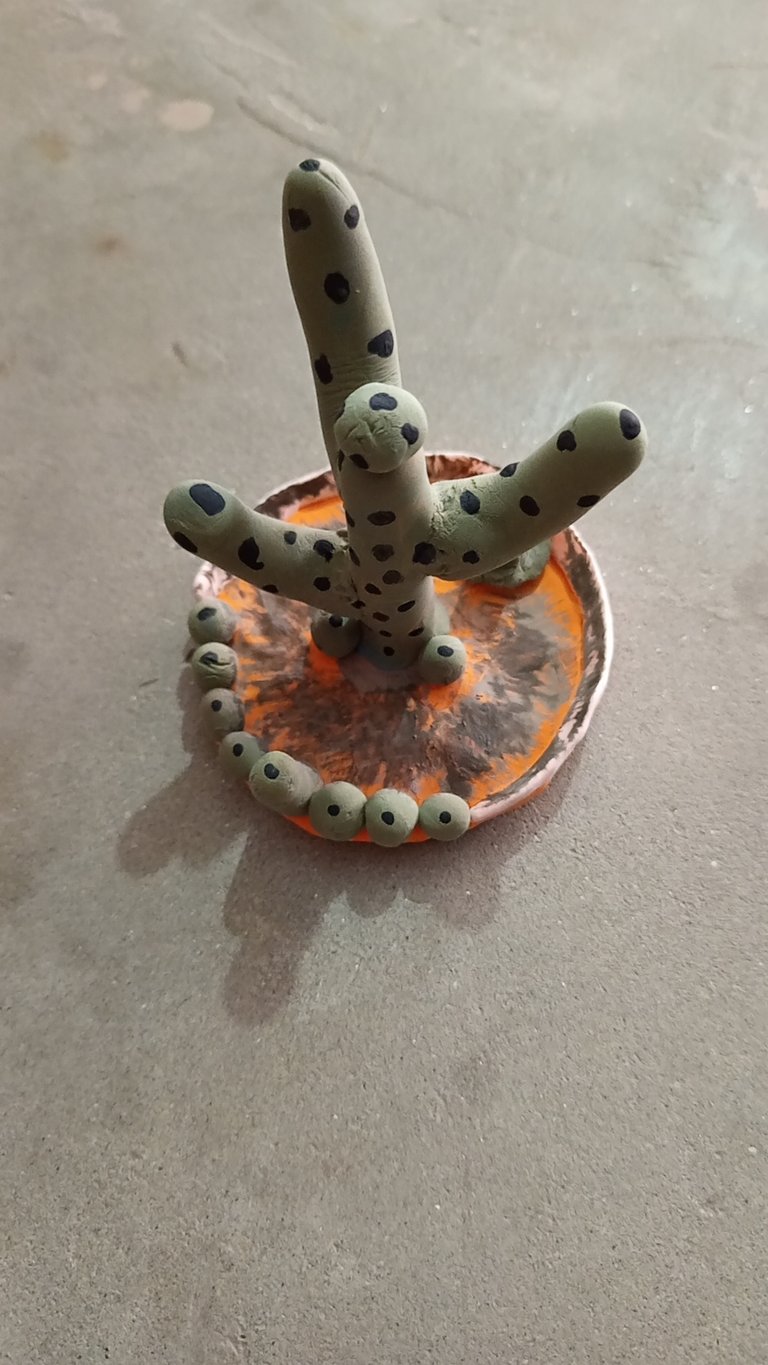
That's not a tree it's looks like a cactus 🌵 plant so that'swhy it's branches looks like that.

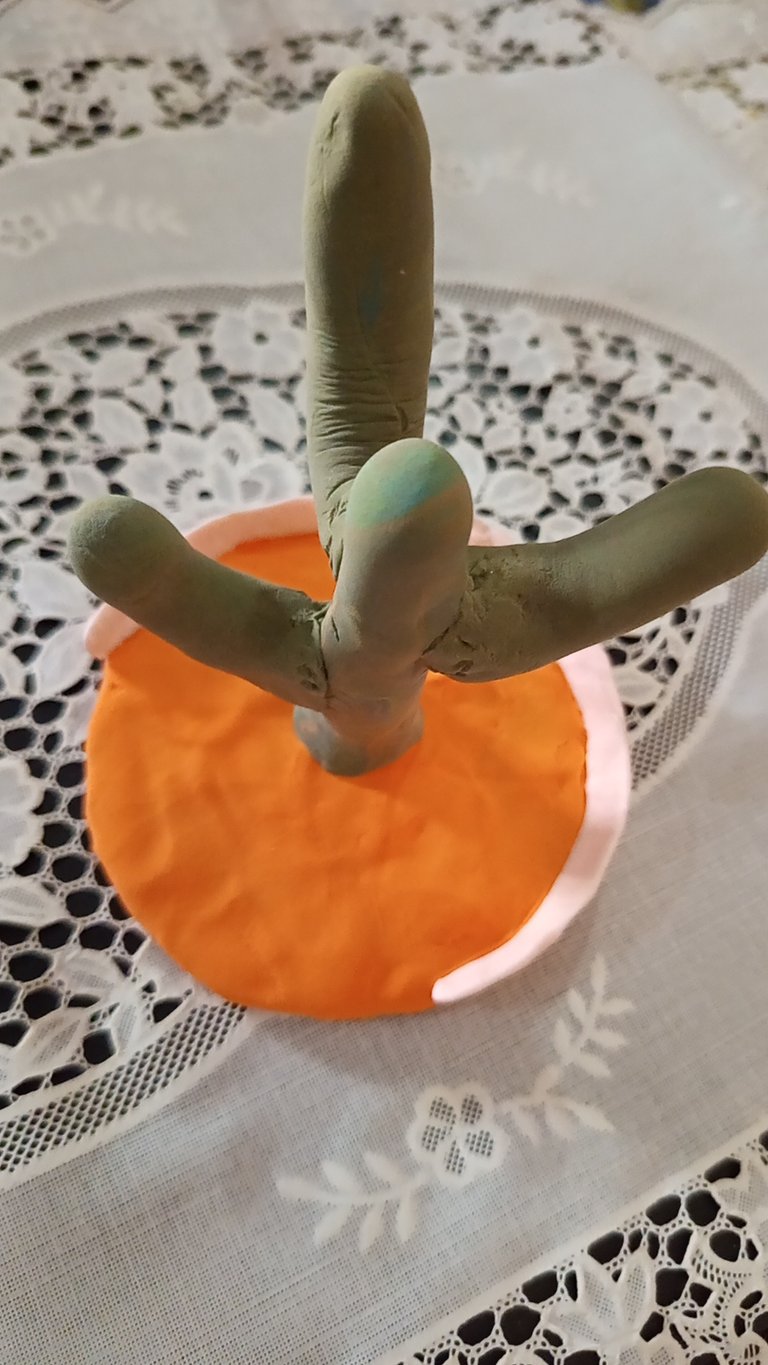
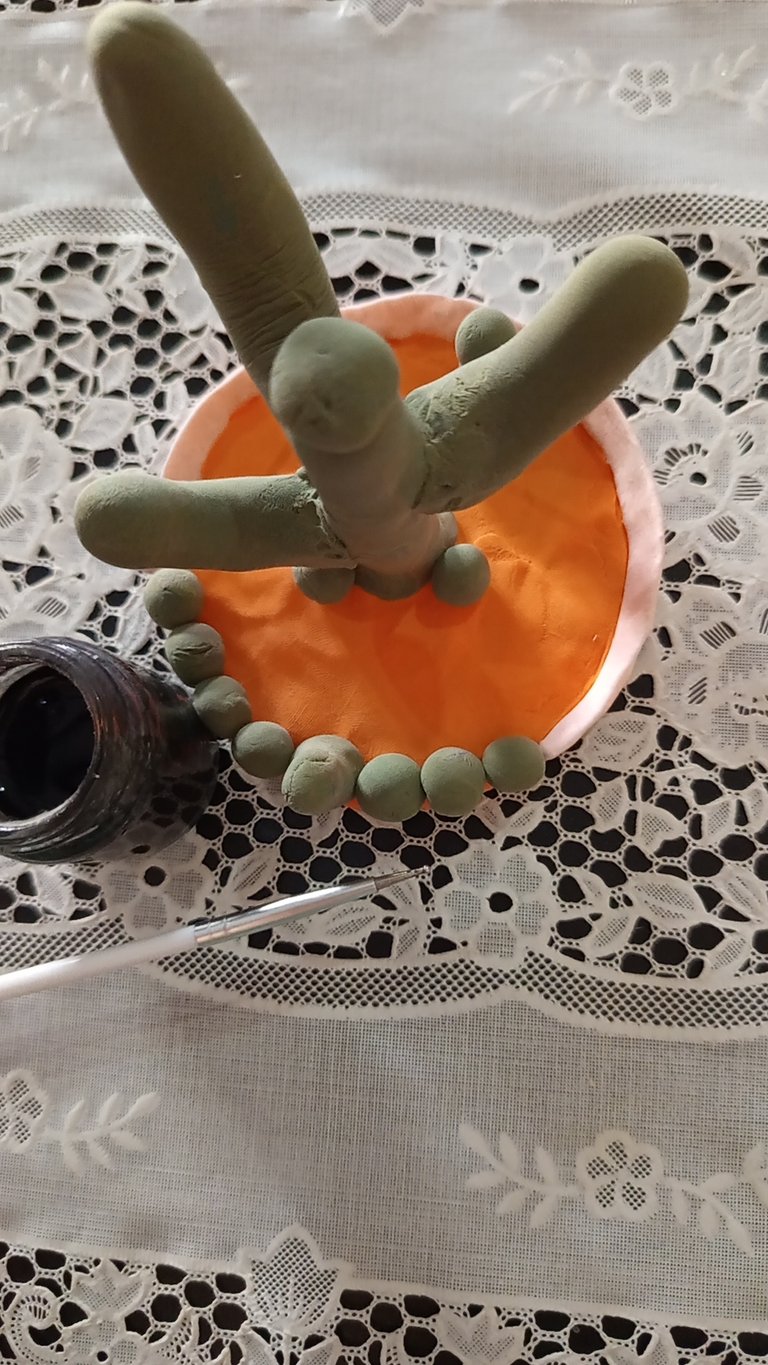
Then using the same clay I filled all empty place with dots and now it's boundaries are complete.
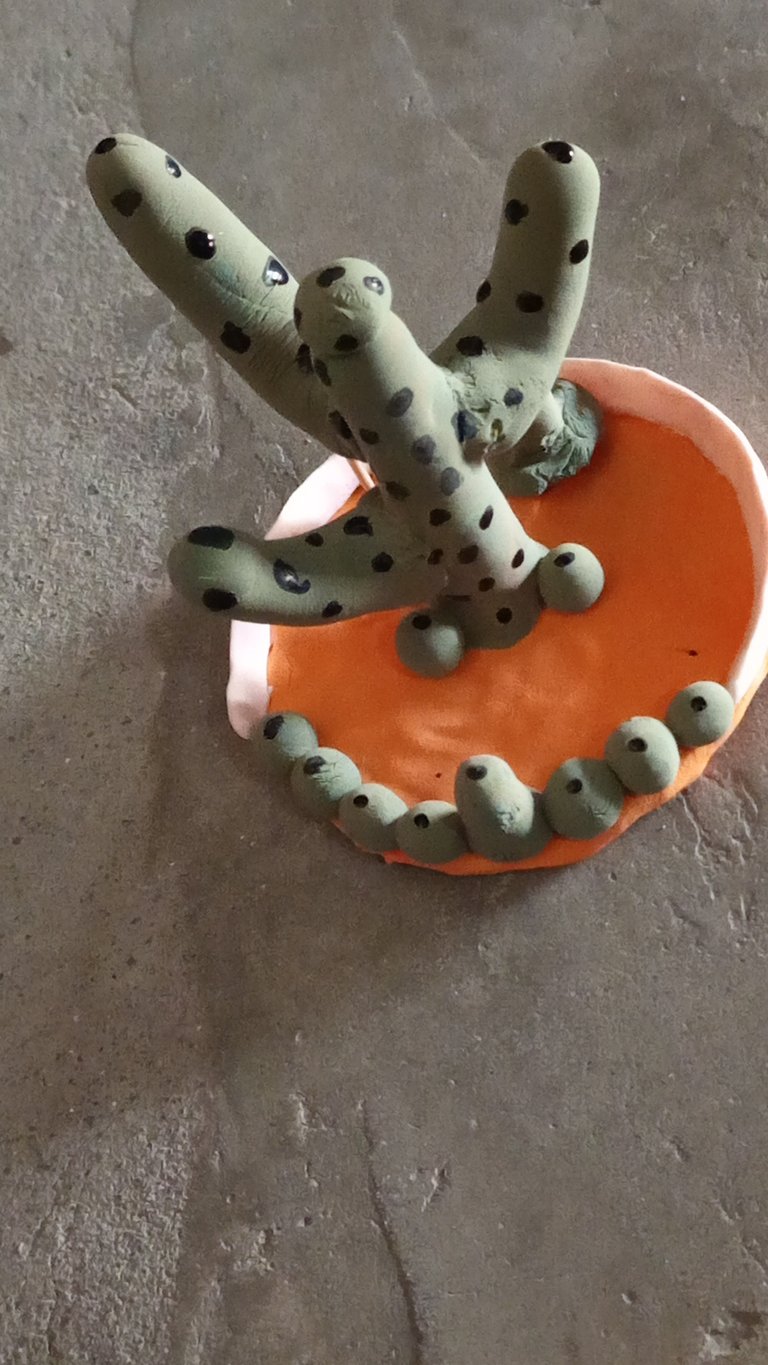
After that I choose black paint and a painting brush. When I take the picture of material I don't took black paint but for it's more decorations I choose black colour.
So I used black paint and a painting brush to make some dots on it.
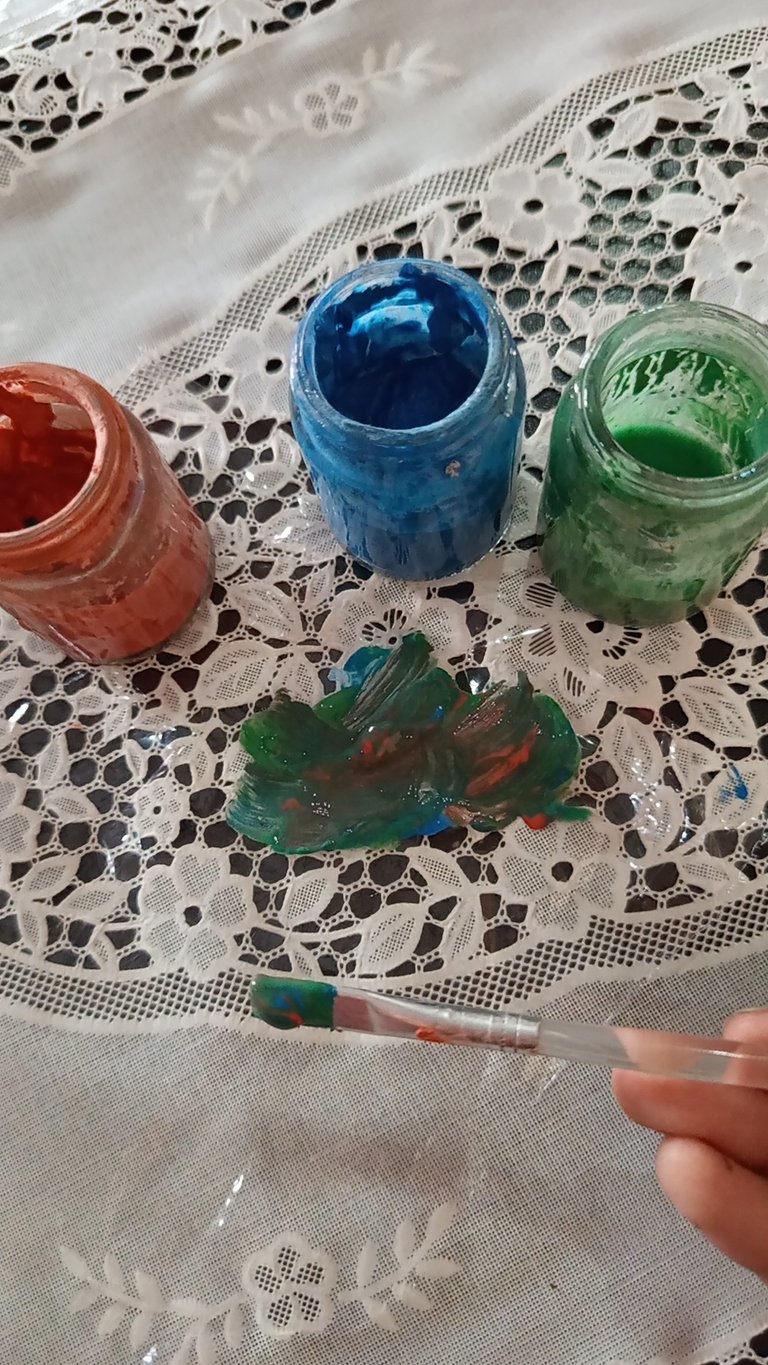
After that I used green, blue and orange paint and mixed a little amount of all of these.
Then I took out a painting brush ( fan brush ) and colored its surface roughly.
Let me show you guys.
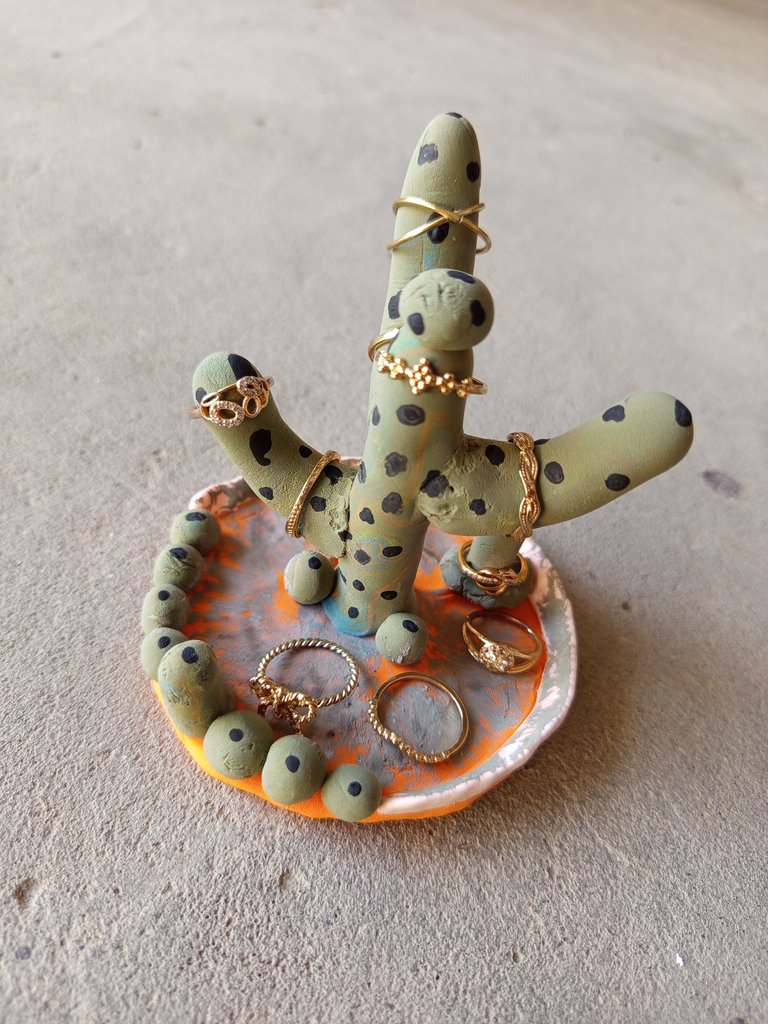
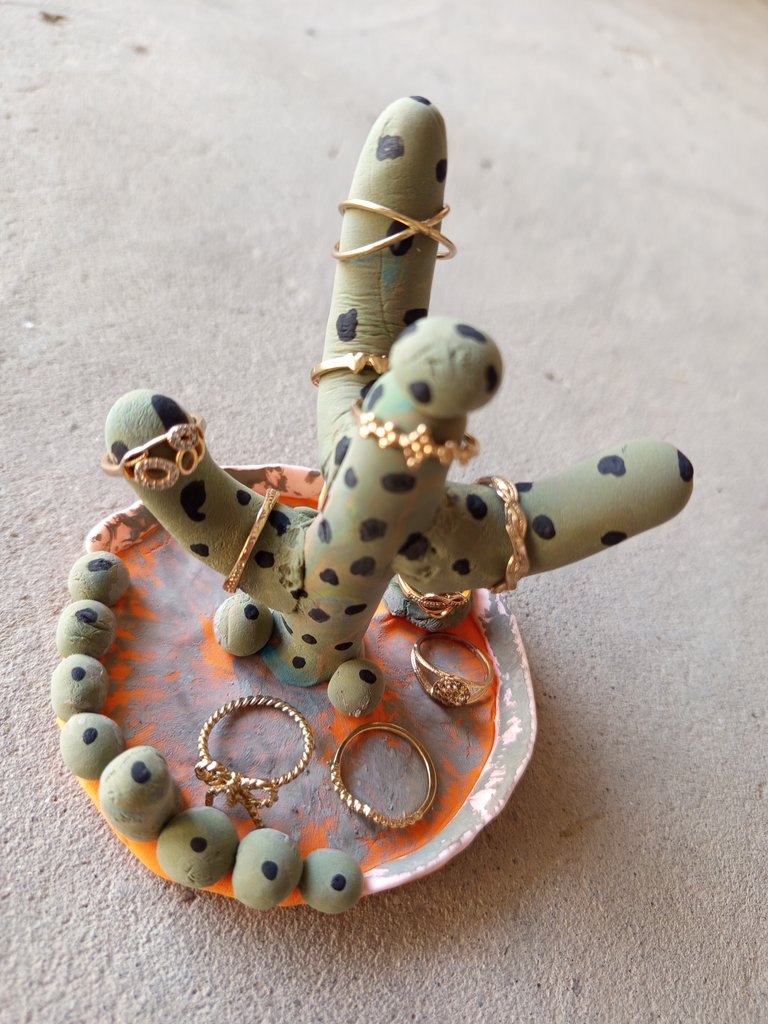
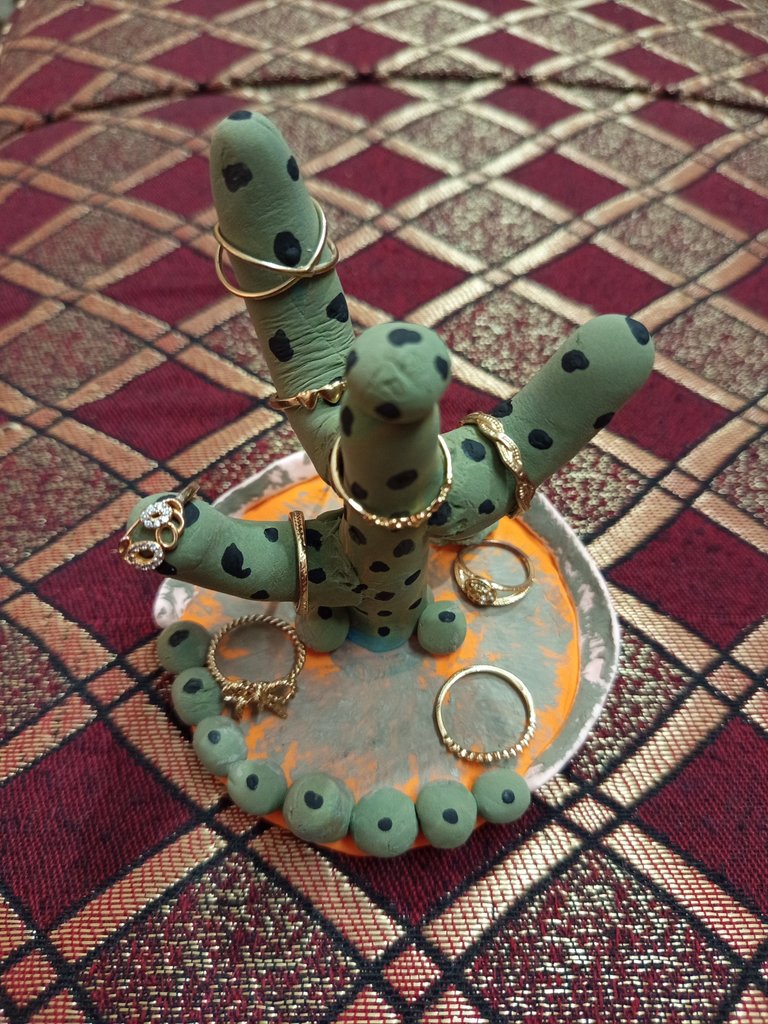
After doing that all procedure I added my rings in it and now it's done 👍
I like it very much. Are you people like like ?
If you people like it so don't forget to give me your feedback. I will be wait for your feedback.
Final look
That's my effort for today.
I will be back with another refreshing idea soon guys.
Till then Allah Hafiz and take care and also remember me in your prayers.
May God bless you all
Bye bye 👋
View or trade
LOHtokens.@aesthatimahi, You have received 1.0000 LOH for posting to Ladies of Hive.
We believe that you should be rewarded for the time and effort spent in creating articles. The goal is to encourage token holders to accumulate and hodl LOH tokens over a long period of time.
This is so charming and eye-catching.
Such a cute and unique way to store rings. And this would also make it so easy to find the ring you want to wear. You have done a great job.
Thank you so much for liking it and for your supportive compliment.
I am so much glad you like my effort.
You received an upvote ecency